Matt's (Post) 150G Cube Build Thread

TheRealRuk

New member
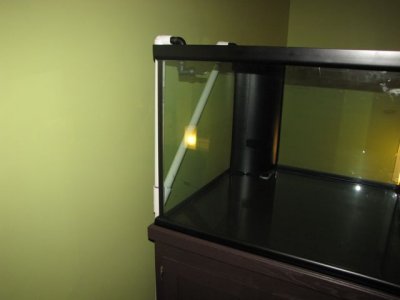
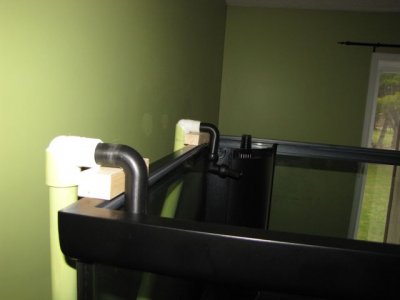
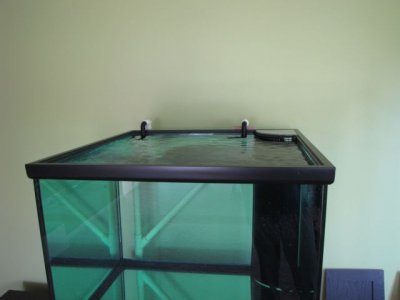
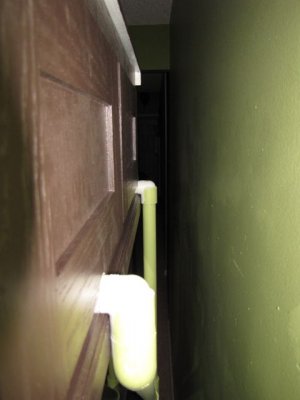
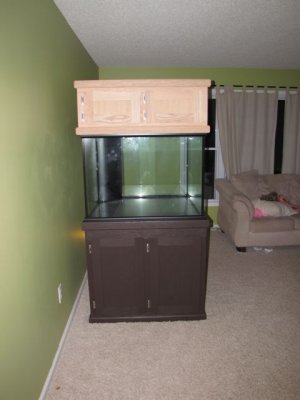
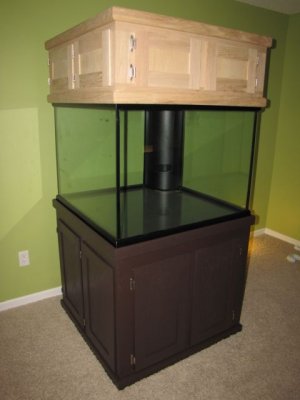
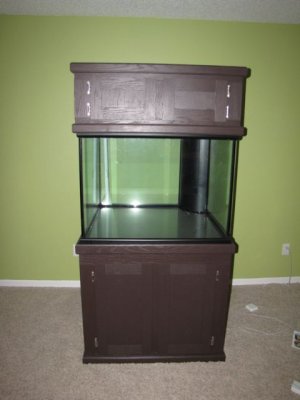
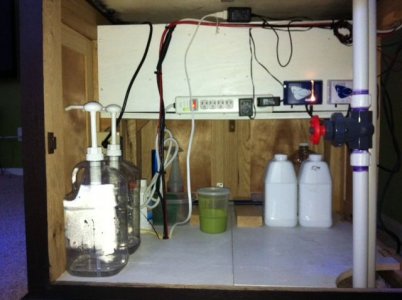
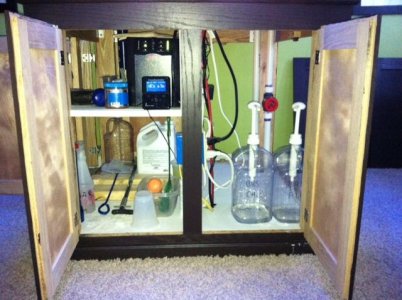
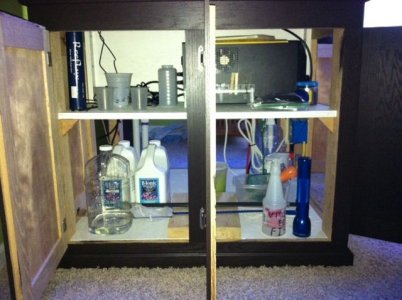
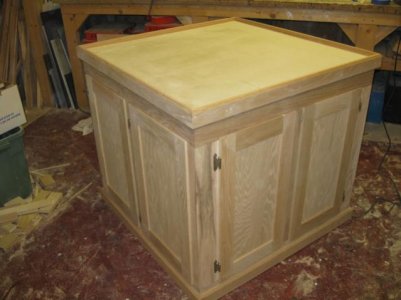
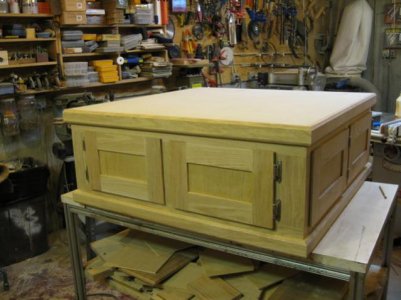
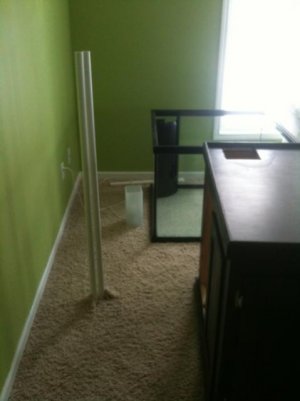
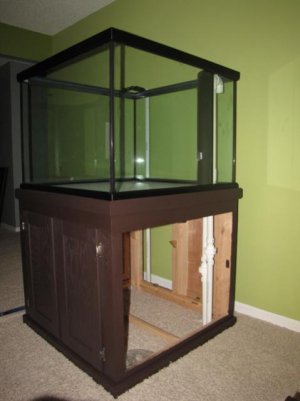
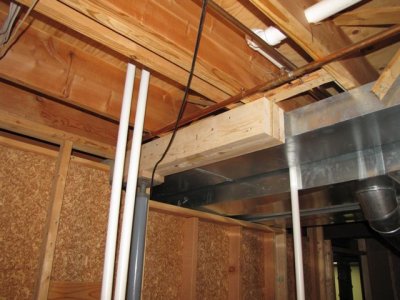
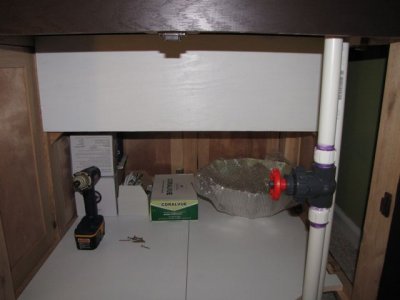
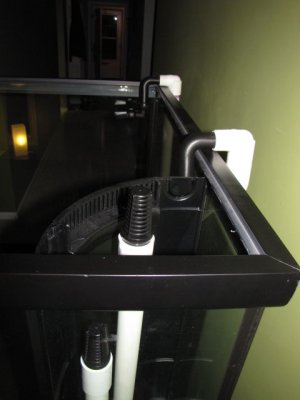
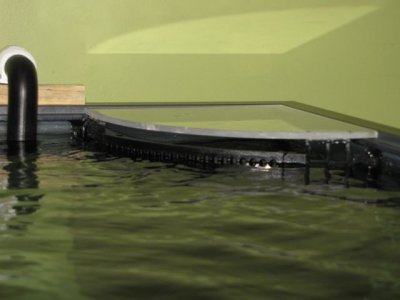
As the title states, this is my post build thread. The tank has been up and running for about 8 months. I value and appreciate everyone's experience and comments (especially moving forward) and as you'll see (and probably already know from your own experience) my tank seams to be ever evolving. I think I've completely redone my sump 3 times, the entire aqua-scaping twice, and plan to redo the returns next, then the canopy, then the... I should have started this a long time ago, but I'm a little behind in the art of doing our tanks justice with a camera. Being very new and inexperienced when I (and the wife) set it up; I hope by posting some of my mistakes, I can save someone unnecessary aggravation.

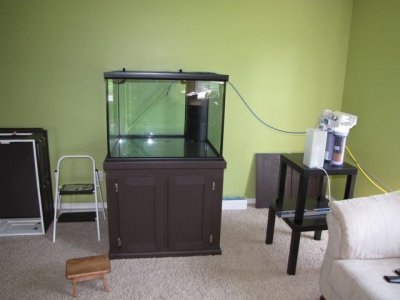
Prior to setting up this tank, my wife, scratch that... Santa got me a 24g Aquapod for ChrisTmas 2 years ago. We did okay but were having problems keeping some of the coral alive long term. We figured it was the lights and instead of popping a couple hundred on decent lights decided to upgrade the system all together... The next short sequence of events was a blur and somehow we ended up going from a 24g to a 150g. During this experience I learned:

Lesson #1, as much as my wife plays the voice of reason when it comes to the reef budget; when she's in the local fish shop, the sky's the limit...

The real reason we were having so much trouble was the digital thermometer we had was ten degrees off... The tank was running in the 90's; which led to:

Lesson #2, Redundant thermometers or temp probes...

My name is Matt, this is my story... and I'm sticking to it.
 
My father built the stand and canopy, which turned out better than I could have hoped for. We had the dimensions of the tank and the estimated weight, but no real experience with functionality. The tank is a 150G Marineland (36x36x27) reef ready (single corner overflow) cube. I had seen the same cube on a stand that, to me was a little low; so I opted to raise it up a bit. I went with about 33 in for the height of the stand. In hindsight, I wish we made it a couple inches lower because of problems we've experienced with the canopy and the overall height of the tank. I wasn't to concerned about the space underneath the stand because we opted to plum down to the basement.
 

Attachments

  • IMG_0783.jpg
    IMG_0783.jpg
    36.3 KB · Views: 4
  • IMG_0791.jpg
    IMG_0791.jpg
    45.7 KB · Views: 3
You are very lucky to have such a talented father to build that stand. It looks like he did a great job on it. Cut to the chase............Where are the done pictures?
 
You are very lucky to have such a talented father to build that stand. It looks like he did a great job on it. Cut to the chase............Where are the done pictures?

I am very blessed to be my fathers child. I was rebellious and had no interest in things like carpentry when I was a kid... I'm trying to make up for lost time.

Sorry Tent Boy... I'm told there has to be at least some foreplay...
 
So again we decided to plum everything into the basement. I used 1 inch hard PVC for all the pluming. We decided to go with a "Herbie" style single overflow (for quietness and security in not overflowing into my living room if the main overflow pipe got plugged up); and then bring the return up over the back. I didn't have it in me to try and drill the returns through the back of the new tank. I went back and forth on this for a while, but am happy with the over the top return because it just leaves me with more options in the future.

These are some of the earlier pictures, as I started plumbing (and asking questions) I started adding gates and ball valves where they should be. i.e. on the main overflow pipe going into the sump in the picture above.

Reinforced the floor and managed to fit the sump directly below the tank. The return pipe just squeezed between to heating return ducts.
 

Attachments

  • IMG_0800.jpg
    IMG_0800.jpg
    23.1 KB · Views: 4
  • IMG_1713.jpg
    IMG_1713.jpg
    31 KB · Views: 3
  • IMG_1709.jpg
    IMG_1709.jpg
    28.7 KB · Views: 4
  • IMG_1719.jpg
    IMG_1719.jpg
    40 KB · Views: 3
  • IMG_1717.jpg
    IMG_1717.jpg
    60.8 KB · Views: 3
Very nice! Looks like a tight squeeze through the ductwork!

What kind of stain is that on the oak? ...and is that white oak?

It looks like you can take the panels off the stand all the way around? That's awesome!
 
I have this perfectionist sickness that tripped me up on a lot of different aspects of the build. One was the with the plumbing, threaded vs non-threaded, 90's vs 45's, cement vs. tape, etc... I spent too much time figuring and refiguring head loss... I bought an inexpensive heat gun from Home Depot which works fantastic for the < 45 degree bends.

I have to take the time to give props to the boys at ARC (Buffalo). The guys were and continue to be fantastic help and insight in all aspects of my system.
 

Attachments

  • IMG_1807.jpg
    IMG_1807.jpg
    32.1 KB · Views: 4
  • IMG_1826.jpg
    IMG_1826.jpg
    37 KB · Views: 3
  • IMG_1771.jpg
    IMG_1771.jpg
    30.2 KB · Views: 3
  • IMG_1806.jpg
    IMG_1806.jpg
    29.8 KB · Views: 4
So, it looks like you have two drain pipes, one is siphoning and the other is for emergency? Does the emergency handle a very small amount of water continuously?
I guess I can wait to see more pics... ;)
 
As you can see ended up splitting the return with a Y. Later adding a gate right above the return pump and 2 ball valves before the end of the return pipes before they go over and into the tank. I didn't have much head loss having the sump elevated on a bench and directly under the DT. I used a Blueline 55 for the return pump (trying to keep my wattage down).

I now have a Vortech MP 40 and an MP 10 in the tank for added flow...

I'd like to revamp the return section from the floor up. Bringing it to the front of the tank so the flow points towards the corner over flow (next project). I would take the ball valves out and I already took the gate out. (I'll be looking for input on that later...)
 

Attachments

  • IMG_1767.jpg
    IMG_1767.jpg
    23.1 KB · Views: 4
  • IMG_1779.jpg
    IMG_1779.jpg
    24.2 KB · Views: 4
  • IMG_1809.jpg
    IMG_1809.jpg
    23.9 KB · Views: 3
  • IMG_1822.jpg
    IMG_1822.jpg
    29.5 KB · Views: 4
So, it looks like you have two drain pipes, one is siphoning and the other is for emergency? Does the emergency handle a very small amount of water continuously?
I guess I can wait to see more pics... ;)

Yes, it does take in a small amount. For the life of me I couldn't figure out why I would get water level fluctuations in my return corner overflow and the return section in my sump. It would run silent for days, then drop 3 inches in the overflow section, then 2 hours later come back up again. It was reeking havoc on my ATO, and adding noise a lot of noise to my living room. I though it was power fluctuations on my return pump, the MP's kicking up to full on reef crest mode...

I started a thread and "copycon" recommended closing the gate a little until there was a trickle down the emergency pipe. It's been working flawlessly ever since; and very quiet.
 
Some quick stand and canopy shots... You can see the tank from the hallway as soon as you enter the front door, and of course from the living room.
 

Attachments

  • IMG_1697.jpg
    IMG_1697.jpg
    34 KB · Views: 3
  • IMG_1704.jpg
    IMG_1704.jpg
    32.1 KB · Views: 8
  • IMG_1726.jpg
    IMG_1726.jpg
    32.2 KB · Views: 3
Looks like you have some kind of a shelf inside the stand for something?

Again, really nice work throughout. I may go to a siphon type overflow at some point.
 
Looks great! Did you seal the inside of your canopy?

I used a couple coats of Kilz and then a coat of white exterior semi gloss paint. White is key to reflect the light. I'm sure there are better solutions out there but I think at this stage I was rushing to get the tank up and running. I haven't had any problems with the wood or paint on the inside of the canopy. I even had some condensation up there for a little while before I vented it.
 
Looks like you have some kind of a shelf inside the stand for something?

Again, really nice work throughout. I may go to a siphon type overflow at some point.

Thank You, and there is a shelf on the inside of the stand for misc stuff. I ended up putting a 1,500w UPS in there with only the Vortech's plugged into it. Then I put a board up to mount some electrical. I'll look for a better picture of inside the stand.
 
Inside the stand...
 

Attachments

  • Inside Stand 1.jpg
    Inside Stand 1.jpg
    48.5 KB · Views: 3
  • Inside Stand 2.jpg
    Inside Stand 2.jpg
    65.7 KB · Views: 4
  • Inside Stand 3.jpg
    Inside Stand 3.jpg
    59 KB · Views: 3
Back
Top