Ok...so I, like many reefers, wanted to upgrade my T-5 lighting to something better. I had pretty much 2 options: MH or LED. I could have tried to supplement my T-5s, but that would have made my tank top very cluttered. Not a fan of clutter.
Reviewing LED lighting pretty much narrows it into 2 catagories: cheap Chinese lights, and brand-name LED lighting. If your tank is small, you can maybe get away with a Kessil 150 for like $225, but unfortunately my tank is a 46 gallon bow. Not huge, but big enough that I would need at least 2. Radions and AIs look great, but cost just as much. I wasn't looking to spend ~$600-$800 on a light. Chinese LEDs look fine, but do they even work? Are they cheap performing? Will they actually yield results? MH is cheap in the short term, but replacement lights are spendy. Then there is the heat issue.
So...I had to balance my requirements. Money was a biggie. I could give up control, since I was getting LEDs and using less energy and creating less heat. MH would bleed me dry, and I didn't want to keep pouring money into bulbs. So I decided I would meet in the middle: cheap Chinese LED, and tweak it to meet the demands that corals ACTUALLY have.
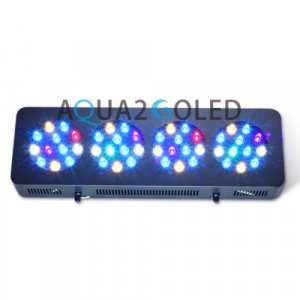
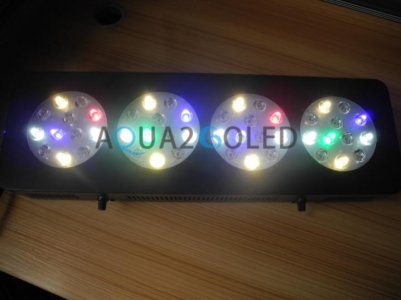
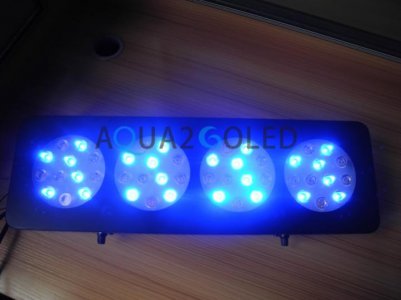
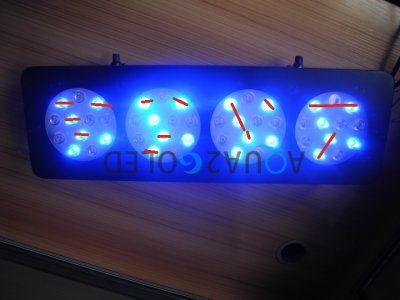
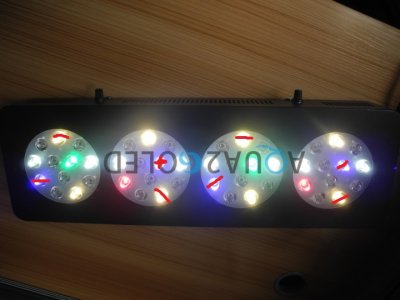
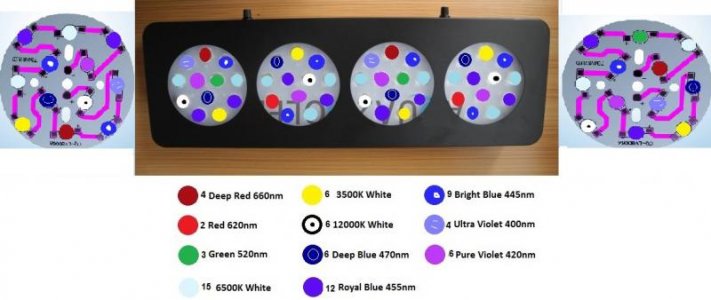
SO...this is that build log. I am buying the light, a 21" wide, 4x12 LED/pod light rated at 120w. It is too short for my tank. SO i will be adding to the sides, swapping out the LEDs that are in it for a better spectrum, and upgrading the cooling system and power drivers to handle a 50% increase in LEDs.
I am sure some people may not like how I do this. I am sure I will mess up at some point, or regret certain decisions. I fully expect that. I know there are likely better ways to do some of this. My thought is that this is the best balance FOR ME, considering my time, cost, and desires. I hope some people find this useful, and maybe it might inspire some confidence in DIY Leds!

