MinibowMatt
Active member
I finally got around to starting my new Electric panel. I am moving from a huge board with a ton of house receptacles on it, to a compact design with panel mount sockets.
I made the case from 3/16" Acrylic I had green around, so I used it. I cut the holes on a manual vertical mill, it was way easier than my small CNC or a scroll saw etc...
The design:
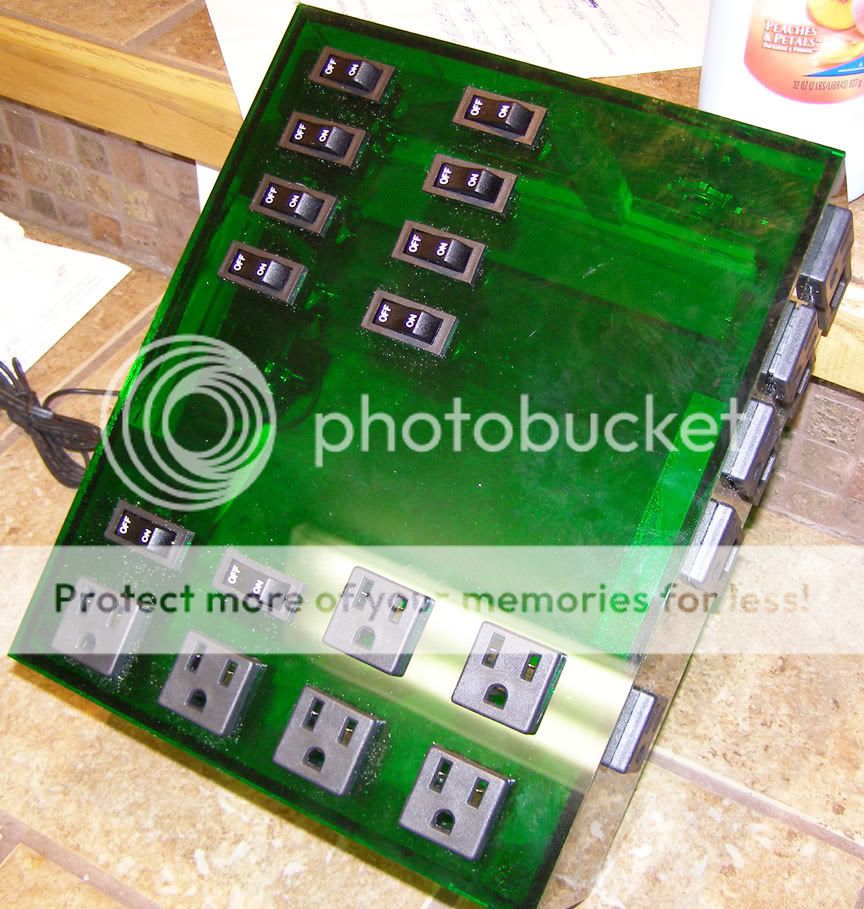
The top 8 switches will give me manual control of my NeptuneJr controlled equipment. On each side of the panel is an IEC (computer power) socket which will come from the DC8, then to the switch, then back to the receptacle next to the IEC socket. This will allow me to manually switch that piece of equipment off without going into the computer or ACJr. The panel also has 6 'always on' sockets, and 2 more manually switched sockets.
Believe it or not, thats all I need! I have a couple extra receptacles in the tank area should I need one, but this is all my major equipment.
Front view:
Side view (same on both sides):

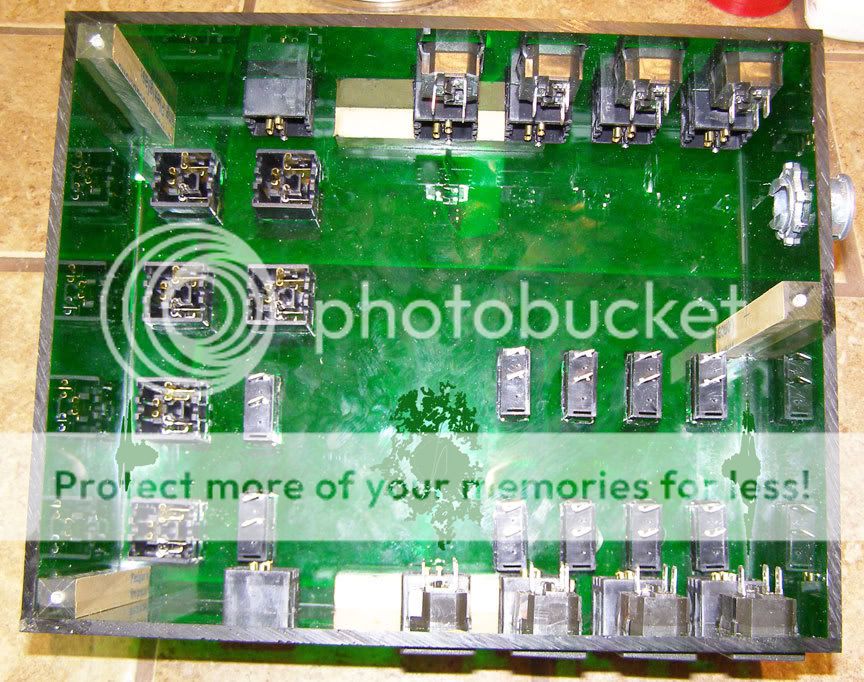
Inside, before wiring:
I made the case from 3/16" Acrylic I had green around, so I used it. I cut the holes on a manual vertical mill, it was way easier than my small CNC or a scroll saw etc...
The design:
The top 8 switches will give me manual control of my NeptuneJr controlled equipment. On each side of the panel is an IEC (computer power) socket which will come from the DC8, then to the switch, then back to the receptacle next to the IEC socket. This will allow me to manually switch that piece of equipment off without going into the computer or ACJr. The panel also has 6 'always on' sockets, and 2 more manually switched sockets.
Believe it or not, thats all I need! I have a couple extra receptacles in the tank area should I need one, but this is all my major equipment.
Front view:
Side view (same on both sides):
Inside, before wiring:
")