Ok so rather than build everything up front and then post a thread as to what I did I will post my build thread now so I can hopefully get some good advice and feedback moving forward. I've seen build threads posted in DIY and New to the Hobby. I decided on the latter since this is my first "œreal" build.
It's been over 8 years since we moved and sold our old 50g SW tank. My wife and I have brought up the subject of doing another SW tank quite often over the past few years. This Christmas we bought a 5 gallon FW setup for our 5 year old and this was what drove us to finally get back in the hobby.
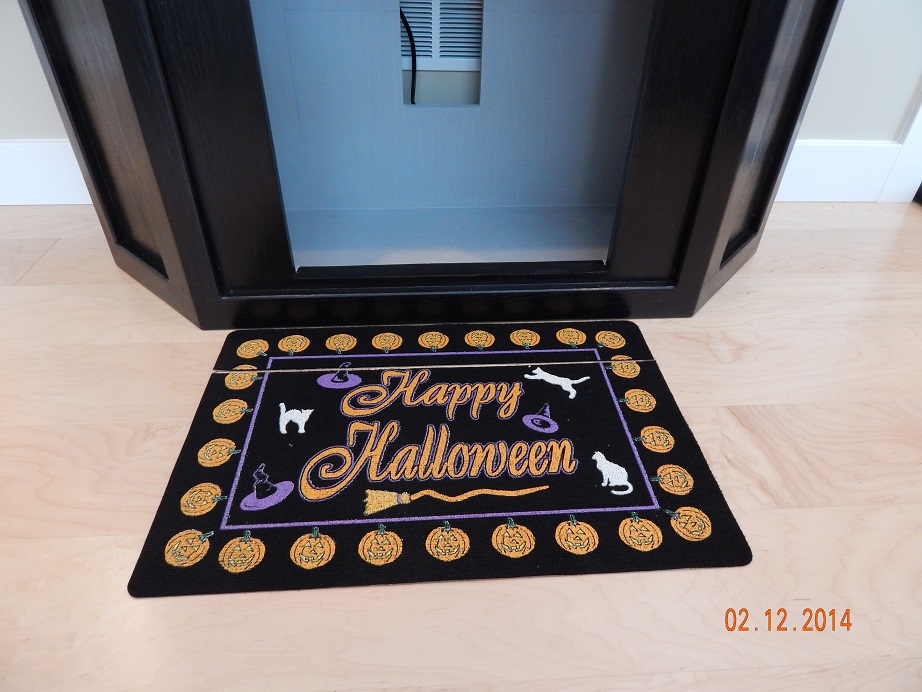
One main issue we always had was where the tank would go. Two years ago we finished our basement and I wish I'd of planned for this then. The spot we decided on is good in that it won't get any direct sunlight and it's a nice viewing location, but it's bad because it must sit flush against the wall and I can't use the space in the room behind it. Therefore nothing can hang of the back and I'm limited to the under the stand space for the sump and other equipment.
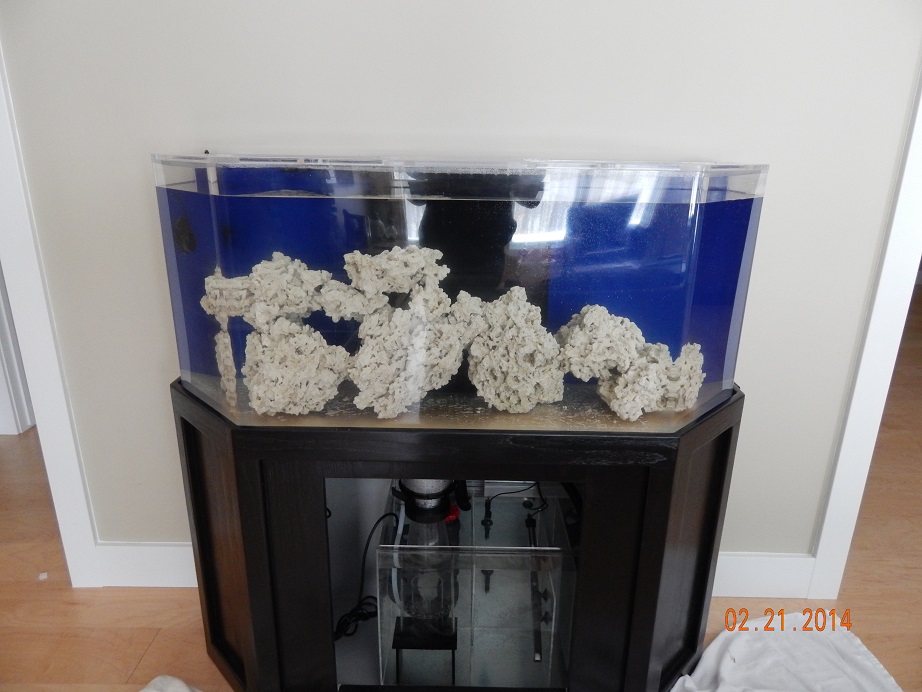
Here is a pic of where it will go.
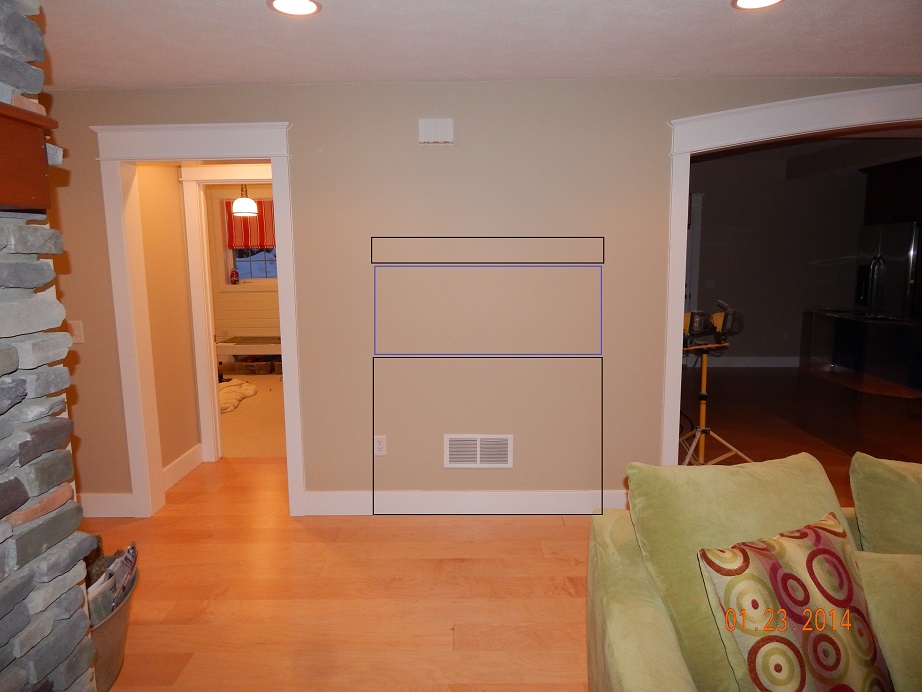
Since this is sort of a hallway type area my wife really wanted me to go with a bow front or an aquarium with angled sides so the human traffic flow would be natural. We were thinking somewhere between 50-75 gallon as the size for our tank. After searching online I got a little sticker shock from the price of new acrylic tanks. I then decided to checkout craigslist and found one I thought would suit our needs. I bought a 60 gallon flat back hex aquarium with light for $180 that I thought would fit the space well.
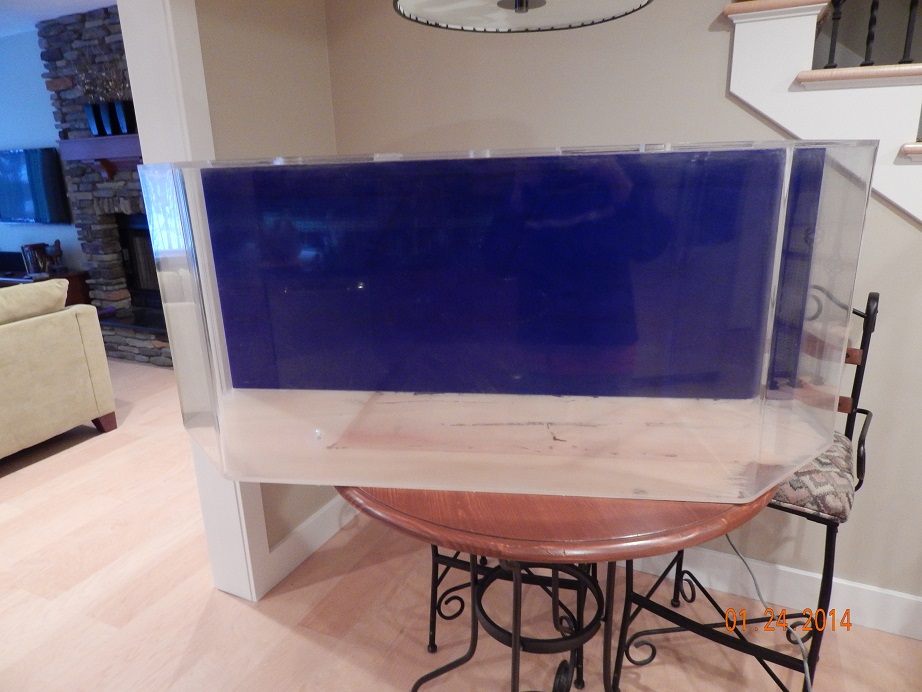
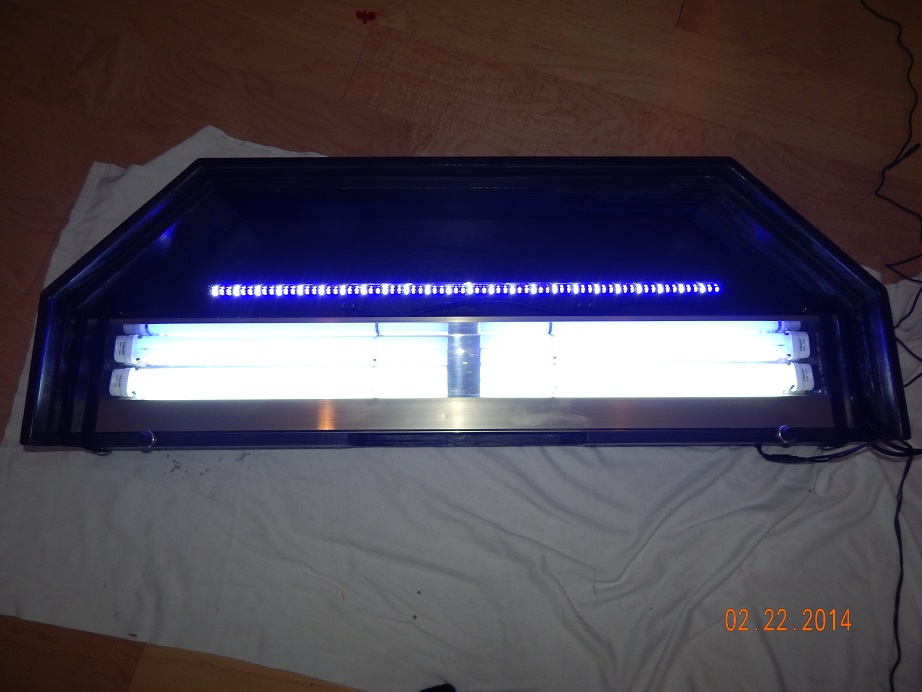
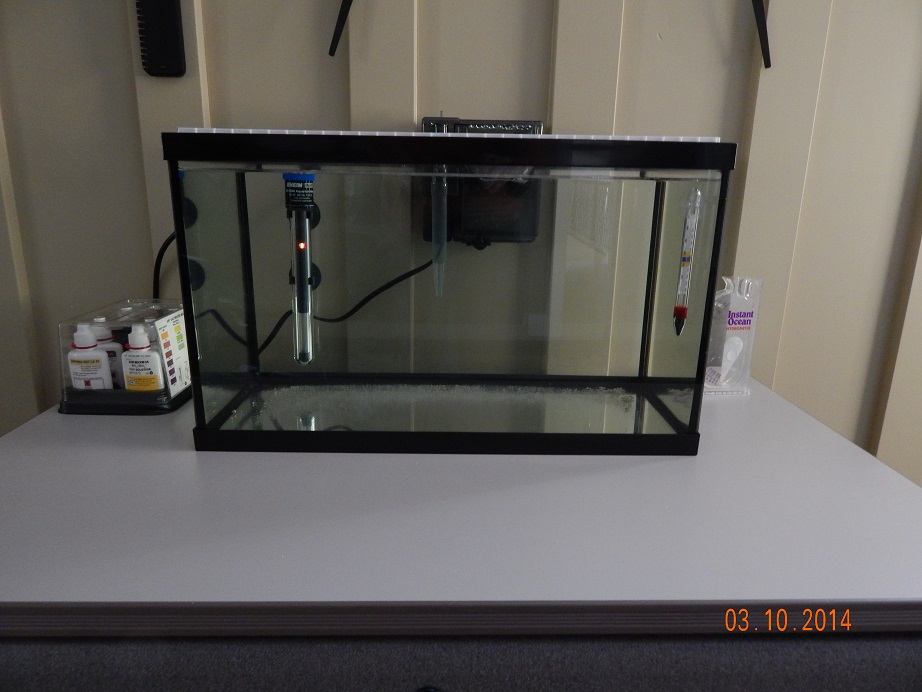
The tank is 48"w x 20h x 16d. The light is a 48" Coralife compact fluorescent. I purchased new bulbs for the hood 2x 65w 10k and 2x 65w actinic.
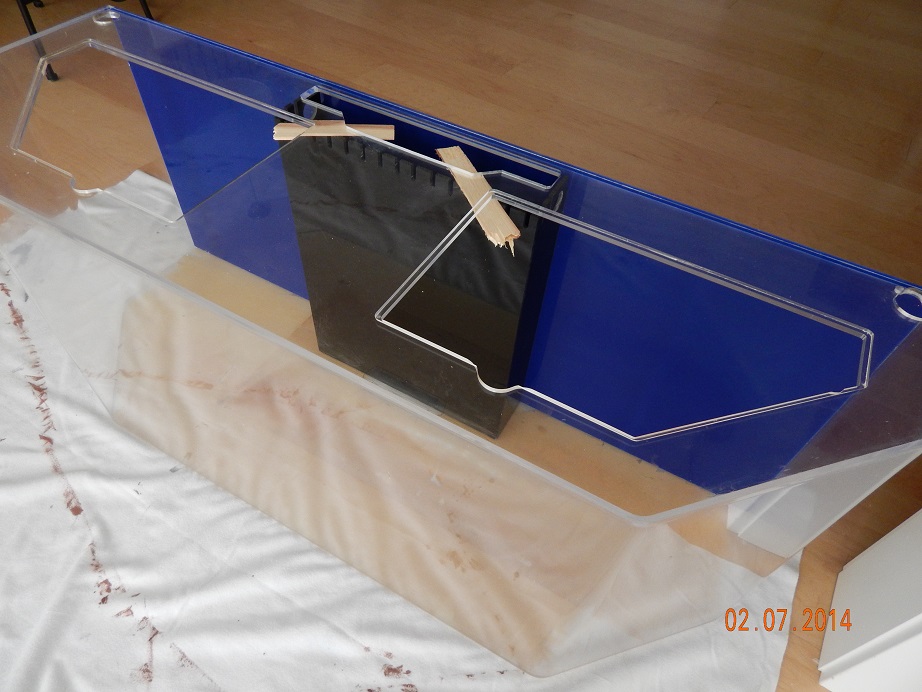
Now I needed a stand. I thought it would be easy finding a stand but after many hours of searching online I couldn't find anything new for less than $600. I broadened my range on craigslist and found this exact same tank (with clear back) that included the stand. So I drive 2.5 hours to buy this setup. I paid another $180 for the stand/canopy which also included another tank. I will use the original (pictured above) tank because it's less scratched and we spent 3 days with sand paper, drills and buffing equipment to remove the scratches. Also the 2nd tank was in worse shape to begin with.
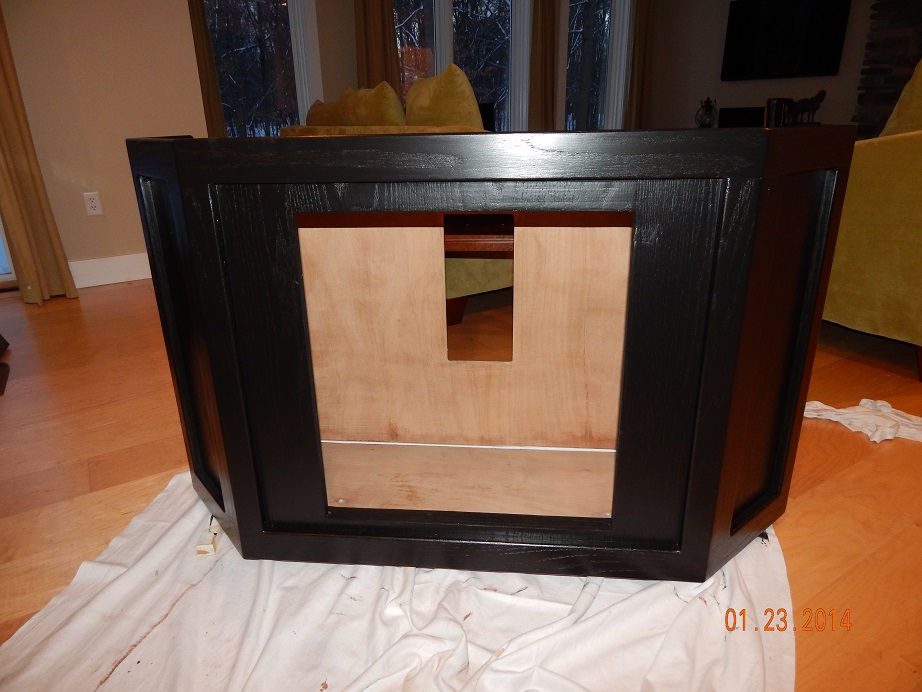
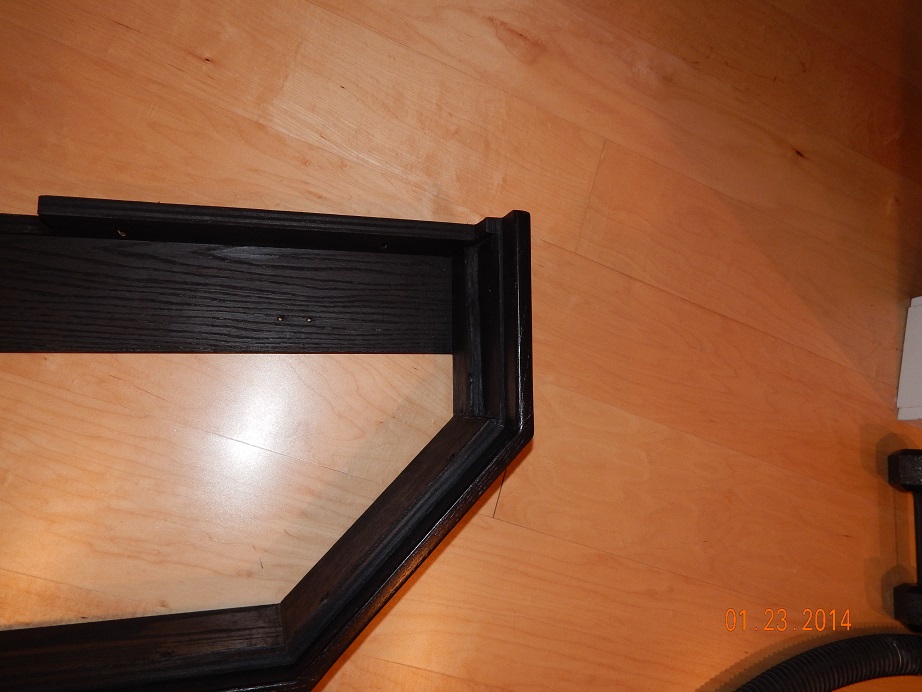
The stand had an old wood smell and it wasn't the stain color we wanted. It was however well built with solid oak and ¾ oak plywood. It was originally stained a burgundy red and we thought we wanted it to match the rest of the woodwork in our basement. So we sand down the stand, apply wood conditioner and stained the stand with the same stain used elsewhere in our basement. When finished it looked nice but didn't quite match the other woodwork in the room. I thought we were doing things right by applying the wood conditioner but this made the stain look too orange (I later read on the conditioner that it wasn't recommended for hard woods). Areas where we didn't apply the conditioner looked perfect:debi:. I then decided to not match the woodwork and just stain it black. I wish I'd of taken pictures of the original stand and with the other stain but I started documenting this too late. Here is a pic of the stand after staining it black.
I also wanted to protect the interior of the stand from moisture since I will be putting a sump inside. I caulked the seams up to 3" high of the interior base. I then primed it with some leftover Killz and painted the interior with two coats of exterior gray paint that I had lying around.
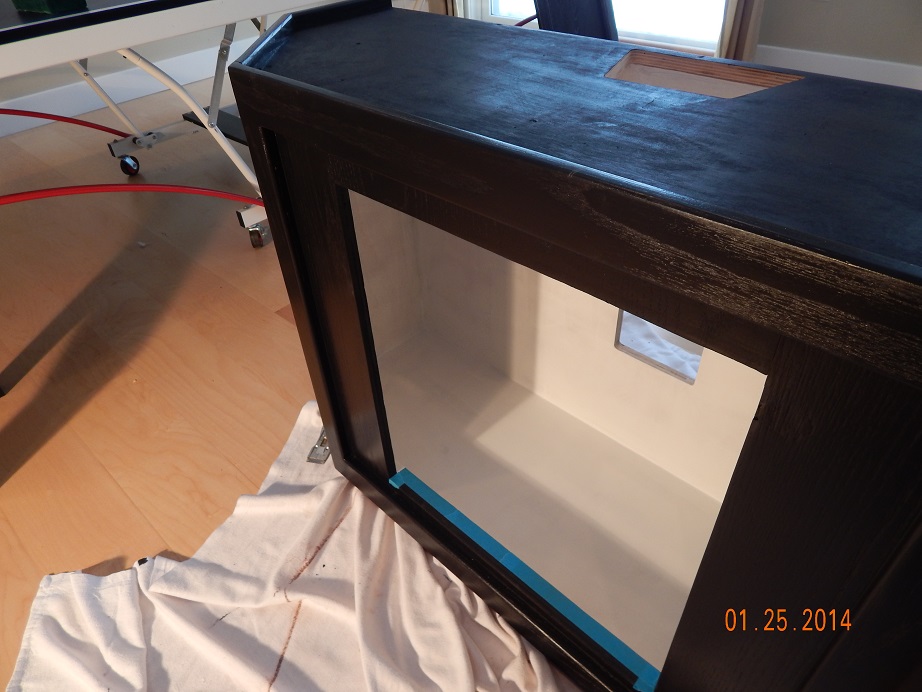
I know this won't hold water for long but I'm hoping that if I put a water sensor alarm in the base it might help.
While I had the paint out I figured why not paint the back. My wife gave me a little look here as she knows the back will be against the wall and nobody will see it.

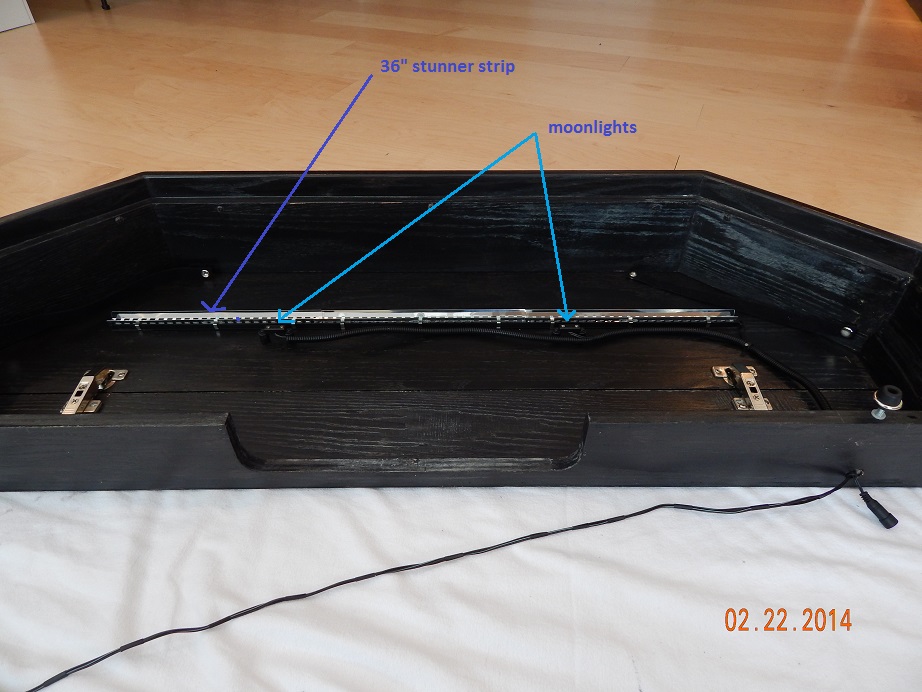
The stand also came with a hood. It's only about 6" tall but I'm hoping to be able to work with it. The 48" light wouldn't quite fit in it so I notched out some wood on the interior of the hood to allow it to fit.
The lift up portion of the hood is not pictured since I haven't put it back together yet. I bought some new European hinges since the old ones were rusted out.
I still need to varnish the stand and hood. I don't want a high gloss look so I'm thinking of using a minwax satin for the seal coat. I may do one coat of high gloss first to up the protection and then a coat of satin to reduce the sheen. I haven't decided on that yet though.
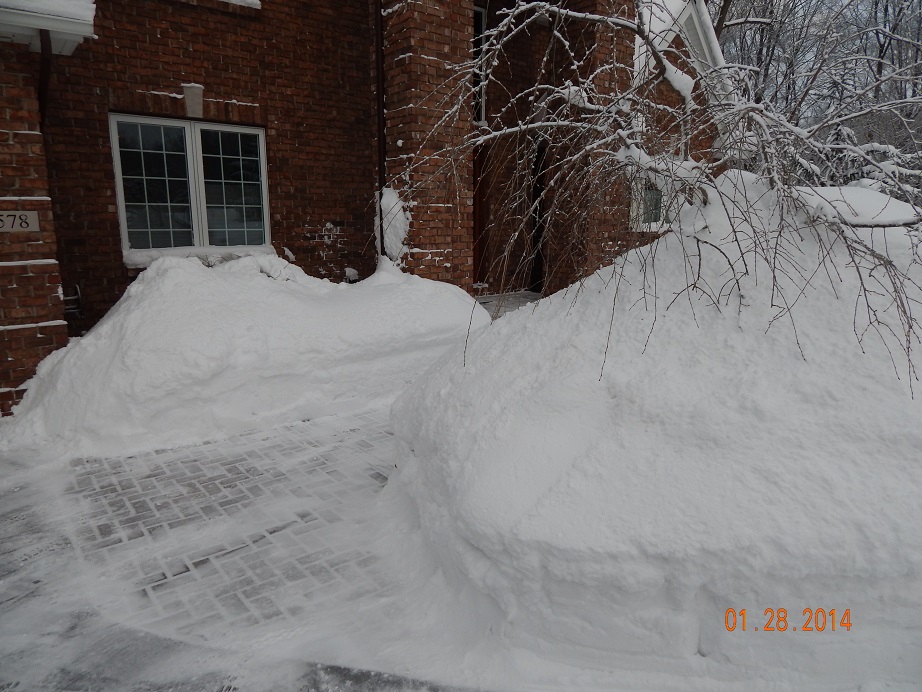
Not to change the subject but I took some pics of the snow we've had this year. For those who like snow here's what it's like in West Michigan this year.
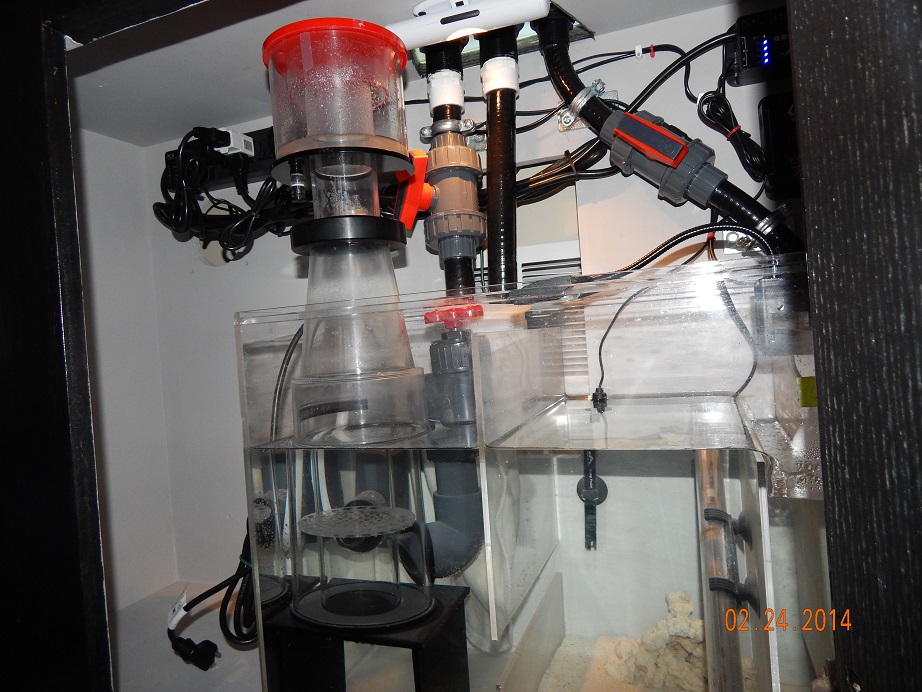
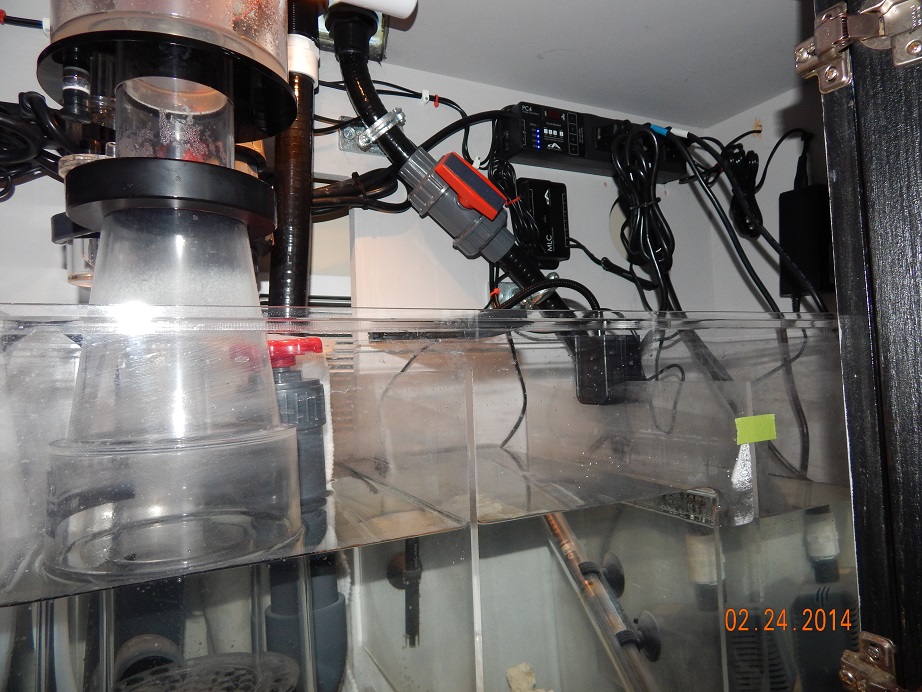
Next up is the plumbing. Since the tank will be viewable from 3 sides and be flush against the wall I decided that I would do a full height center overflow. A fellow reef central member is making the overflow box for me. I plan on doing the Herbie overflow with two 1" drains and a ¾ return line. I'm very limited in space for a sump. I thought I could squeeze a 20g long through the front opening but it will not fit. On eBay I found a 19gallon sump that will fit. I wish I could've gone larger but without building one myself this was the largest I could find that would fit through the door. The sump is 24"w x 15"tall x 12" deep. Based on my sump selection and dimensions I bought Reef Octopus NW- 110 skimmer. I also bought a Rio 2100 for the return pump.
From reading this forum I know everyone recommends RO water. We have softened well water with around 400 TDS. Rather than hauling jugs of water to/from the store I decided to install an RO system. I went with a system that would have two outputs; one for aquarium water through Post RO DI and another for drinking water through a post RO carbon filter.
Here's a pic of the RO setup.
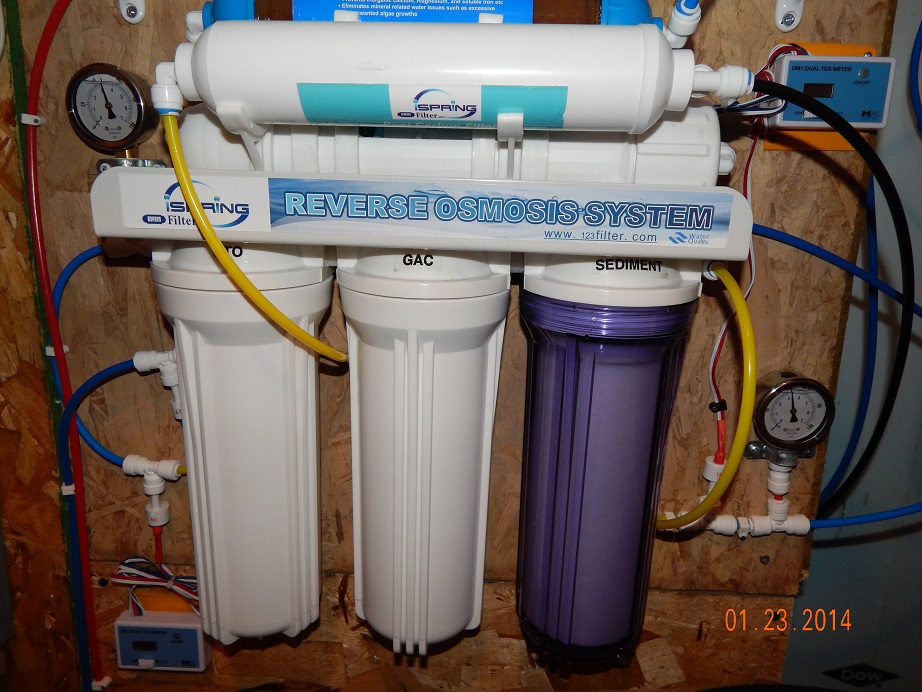
After the filters I'm getting around 12 TDS for drinking water and 0 TDS for aquarium water.
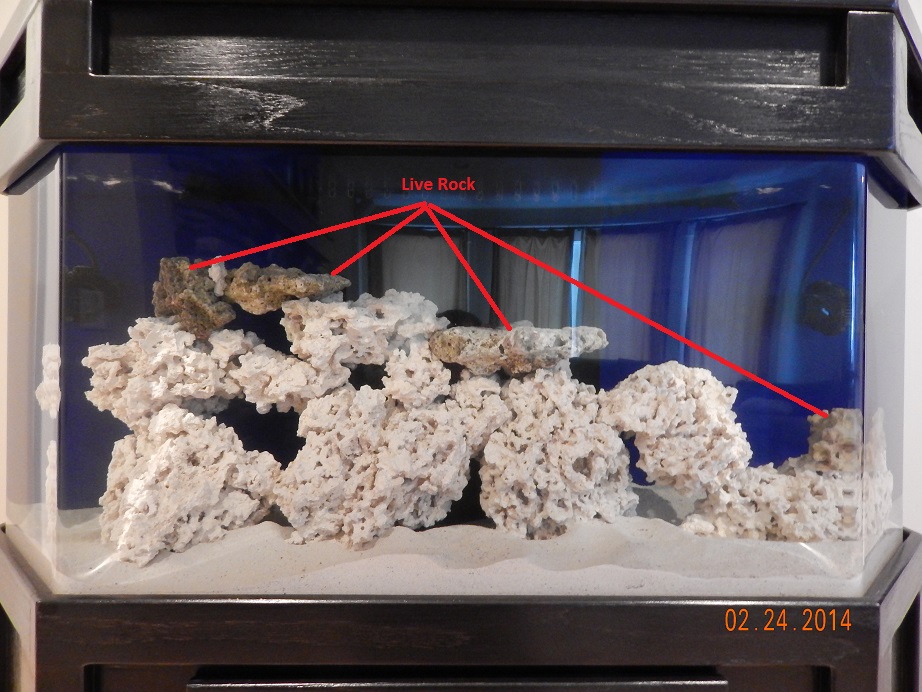
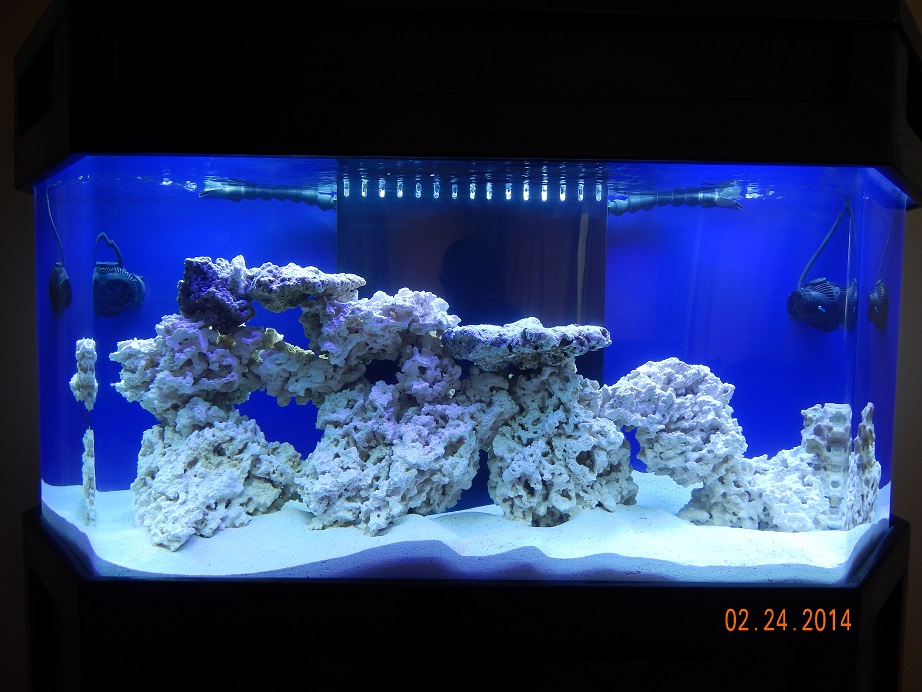
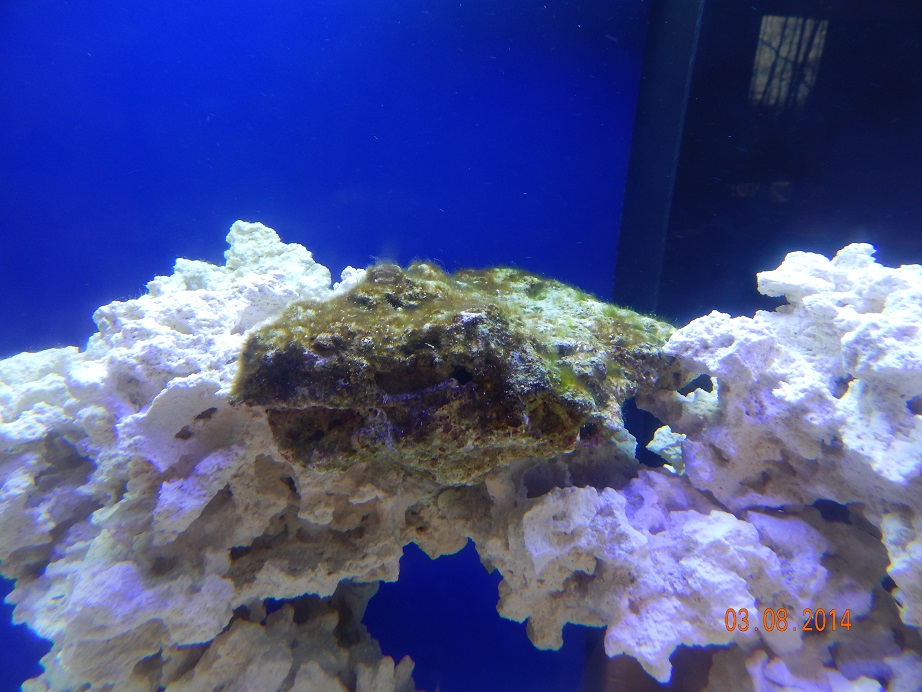
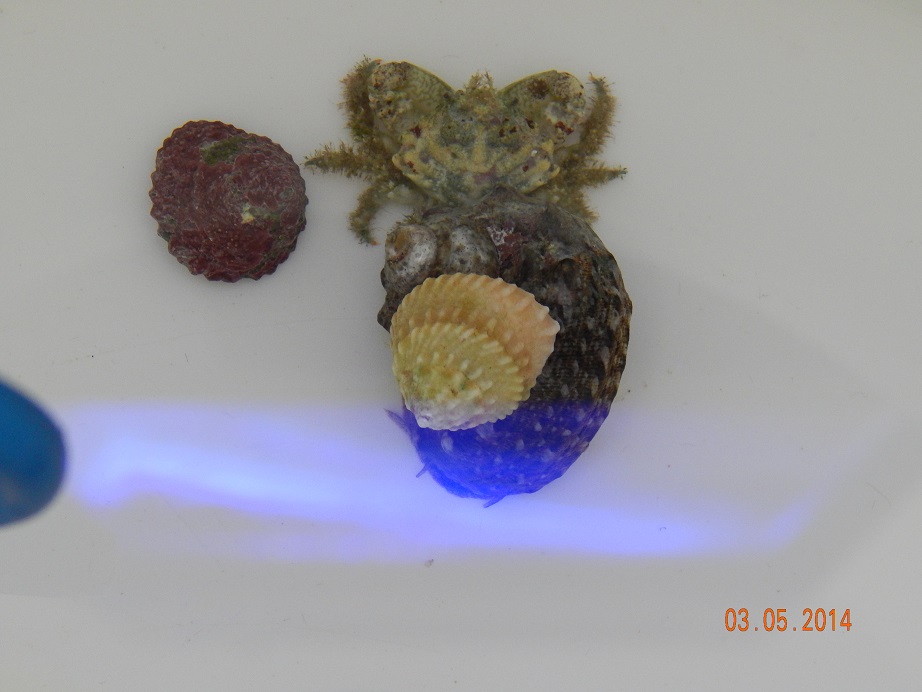
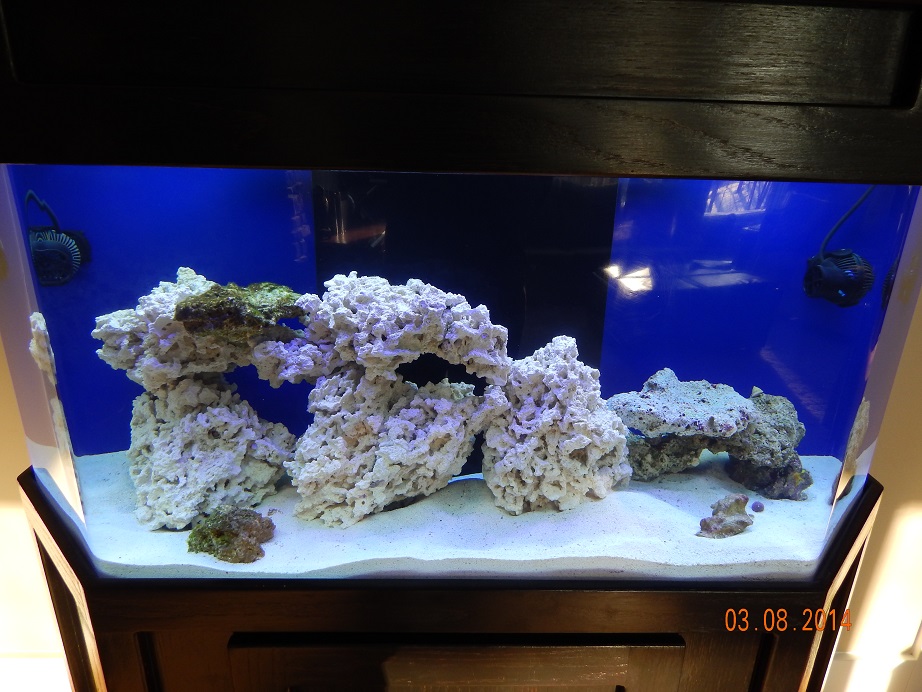
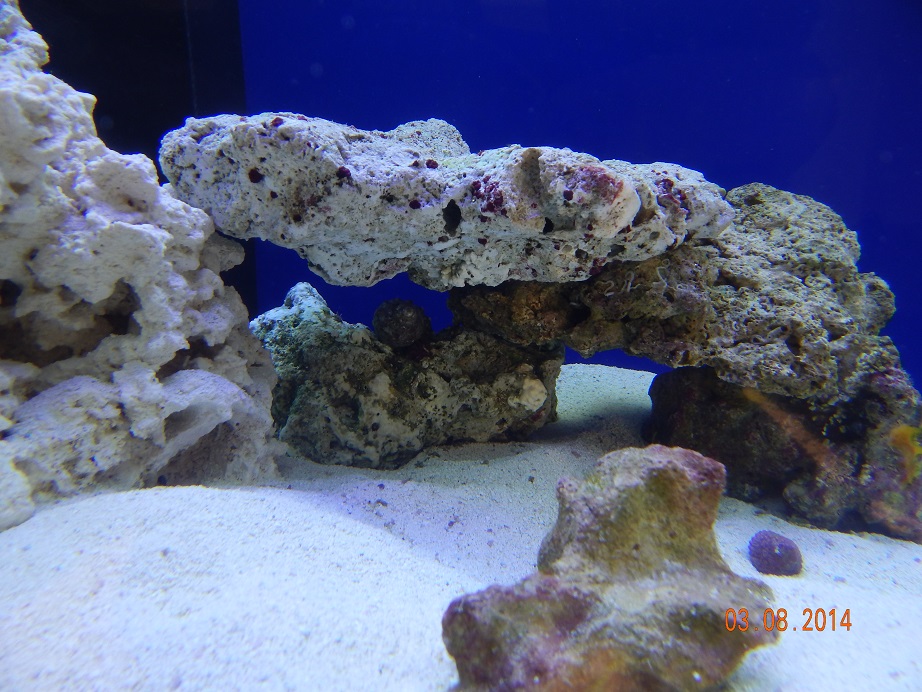
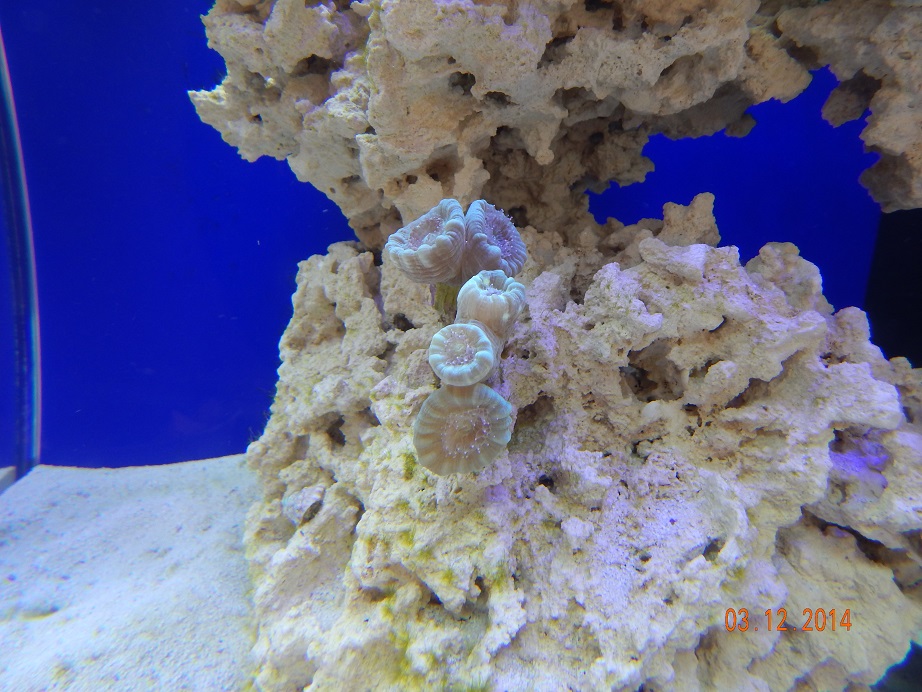
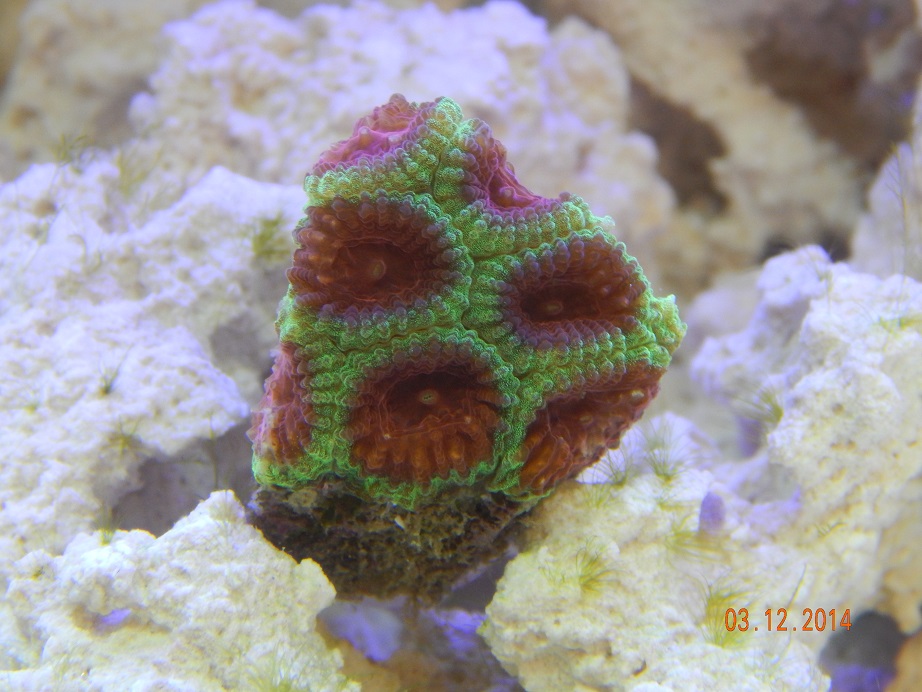
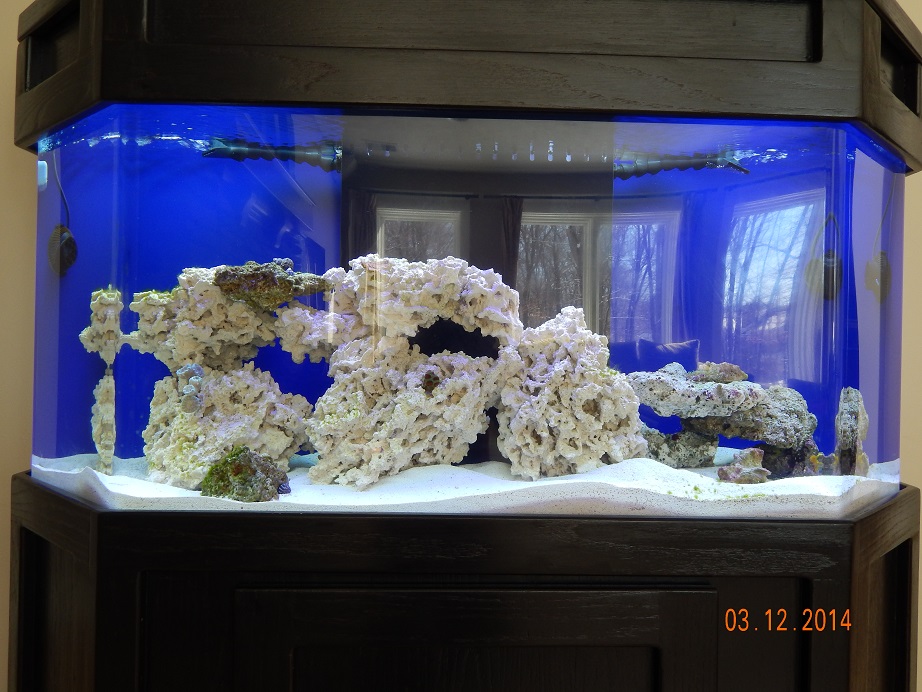
On our want list now is a couple of clownfish, and an anemone once the tank is mature. The rest of the animals we will decide as the tank progresses. We haven't decided on SPS or LPS corals. If we decide on SPS I think we will need better lighting or may supplement the compacts with LEDs. I plan on getting some live rock for seeding and using dry rock for the rest. Most of my thoughts right now are in the tank building stage but once the tank gets water in it and starts the cycle process we will research more about the fish and corals we would like to pursue.
That is all the work that's been done for now. My plans at this point are to varnish, drill the tank and install/plumb the overflow box. I will try to post updates as they are happening.
Feel free to respond with any advice, critiques or any other comments. Thanks for sharing in our experience.
It's been over 8 years since we moved and sold our old 50g SW tank. My wife and I have brought up the subject of doing another SW tank quite often over the past few years. This Christmas we bought a 5 gallon FW setup for our 5 year old and this was what drove us to finally get back in the hobby.
One main issue we always had was where the tank would go. Two years ago we finished our basement and I wish I'd of planned for this then. The spot we decided on is good in that it won't get any direct sunlight and it's a nice viewing location, but it's bad because it must sit flush against the wall and I can't use the space in the room behind it. Therefore nothing can hang of the back and I'm limited to the under the stand space for the sump and other equipment.
Here is a pic of where it will go.
Since this is sort of a hallway type area my wife really wanted me to go with a bow front or an aquarium with angled sides so the human traffic flow would be natural. We were thinking somewhere between 50-75 gallon as the size for our tank. After searching online I got a little sticker shock from the price of new acrylic tanks. I then decided to checkout craigslist and found one I thought would suit our needs. I bought a 60 gallon flat back hex aquarium with light for $180 that I thought would fit the space well.
The tank is 48"w x 20h x 16d. The light is a 48" Coralife compact fluorescent. I purchased new bulbs for the hood 2x 65w 10k and 2x 65w actinic.
Now I needed a stand. I thought it would be easy finding a stand but after many hours of searching online I couldn't find anything new for less than $600. I broadened my range on craigslist and found this exact same tank (with clear back) that included the stand. So I drive 2.5 hours to buy this setup. I paid another $180 for the stand/canopy which also included another tank. I will use the original (pictured above) tank because it's less scratched and we spent 3 days with sand paper, drills and buffing equipment to remove the scratches. Also the 2nd tank was in worse shape to begin with.
The stand had an old wood smell and it wasn't the stain color we wanted. It was however well built with solid oak and ¾ oak plywood. It was originally stained a burgundy red and we thought we wanted it to match the rest of the woodwork in our basement. So we sand down the stand, apply wood conditioner and stained the stand with the same stain used elsewhere in our basement. When finished it looked nice but didn't quite match the other woodwork in the room. I thought we were doing things right by applying the wood conditioner but this made the stain look too orange (I later read on the conditioner that it wasn't recommended for hard woods). Areas where we didn't apply the conditioner looked perfect:debi:. I then decided to not match the woodwork and just stain it black. I wish I'd of taken pictures of the original stand and with the other stain but I started documenting this too late. Here is a pic of the stand after staining it black.
I also wanted to protect the interior of the stand from moisture since I will be putting a sump inside. I caulked the seams up to 3" high of the interior base. I then primed it with some leftover Killz and painted the interior with two coats of exterior gray paint that I had lying around.
I know this won't hold water for long but I'm hoping that if I put a water sensor alarm in the base it might help.
While I had the paint out I figured why not paint the back. My wife gave me a little look here as she knows the back will be against the wall and nobody will see it.
The stand also came with a hood. It's only about 6" tall but I'm hoping to be able to work with it. The 48" light wouldn't quite fit in it so I notched out some wood on the interior of the hood to allow it to fit.
The lift up portion of the hood is not pictured since I haven't put it back together yet. I bought some new European hinges since the old ones were rusted out.
I still need to varnish the stand and hood. I don't want a high gloss look so I'm thinking of using a minwax satin for the seal coat. I may do one coat of high gloss first to up the protection and then a coat of satin to reduce the sheen. I haven't decided on that yet though.
Not to change the subject but I took some pics of the snow we've had this year. For those who like snow here's what it's like in West Michigan this year.
Next up is the plumbing. Since the tank will be viewable from 3 sides and be flush against the wall I decided that I would do a full height center overflow. A fellow reef central member is making the overflow box for me. I plan on doing the Herbie overflow with two 1" drains and a ¾ return line. I'm very limited in space for a sump. I thought I could squeeze a 20g long through the front opening but it will not fit. On eBay I found a 19gallon sump that will fit. I wish I could've gone larger but without building one myself this was the largest I could find that would fit through the door. The sump is 24"w x 15"tall x 12" deep. Based on my sump selection and dimensions I bought Reef Octopus NW- 110 skimmer. I also bought a Rio 2100 for the return pump.
From reading this forum I know everyone recommends RO water. We have softened well water with around 400 TDS. Rather than hauling jugs of water to/from the store I decided to install an RO system. I went with a system that would have two outputs; one for aquarium water through Post RO DI and another for drinking water through a post RO carbon filter.
Here's a pic of the RO setup.
After the filters I'm getting around 12 TDS for drinking water and 0 TDS for aquarium water.
On our want list now is a couple of clownfish, and an anemone once the tank is mature. The rest of the animals we will decide as the tank progresses. We haven't decided on SPS or LPS corals. If we decide on SPS I think we will need better lighting or may supplement the compacts with LEDs. I plan on getting some live rock for seeding and using dry rock for the rest. Most of my thoughts right now are in the tank building stage but once the tank gets water in it and starts the cycle process we will research more about the fish and corals we would like to pursue.
That is all the work that's been done for now. My plans at this point are to varnish, drill the tank and install/plumb the overflow box. I will try to post updates as they are happening.
Feel free to respond with any advice, critiques or any other comments. Thanks for sharing in our experience.
")