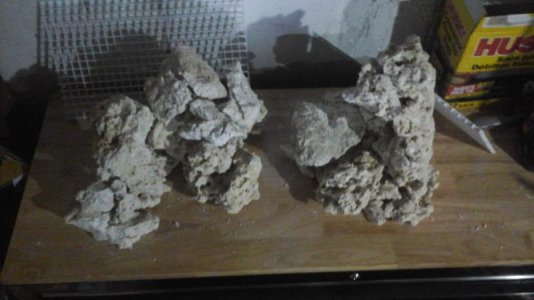
Well, if you plan on putting any section of rock together permanently (not the whole thing, but sections of them), using cardboard as a way to see how it fits before you put it in your tank allows you to be as messy as you want without risking scratches, or worse, dropping some taking it in and out as you mess around with the shapes and arrangements.
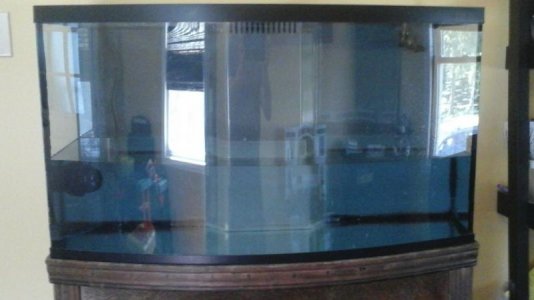
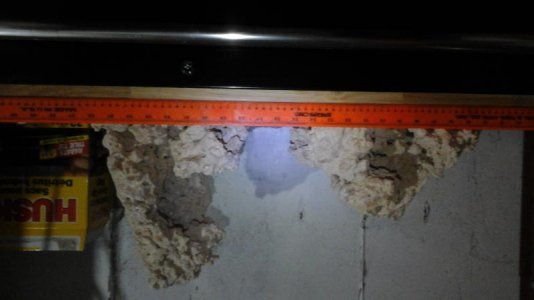
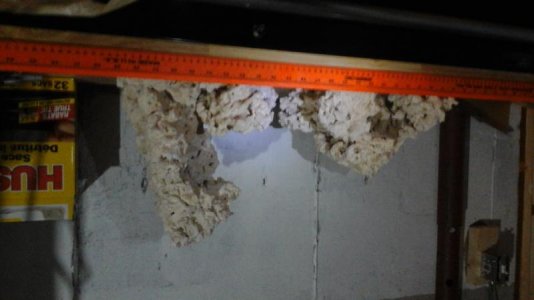
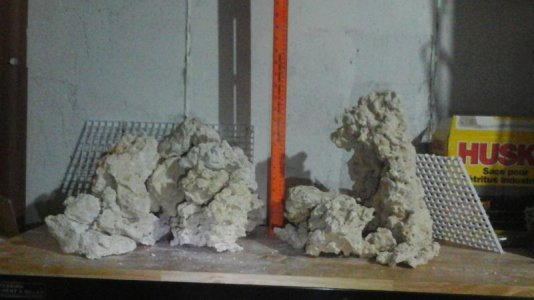
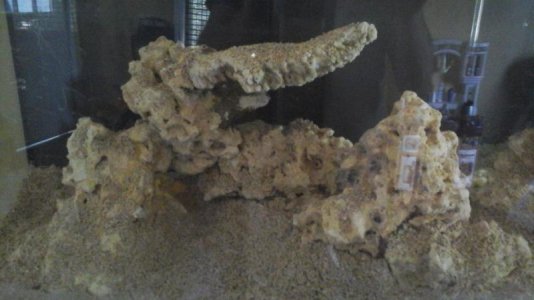
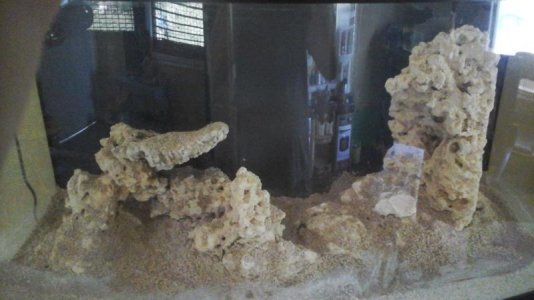
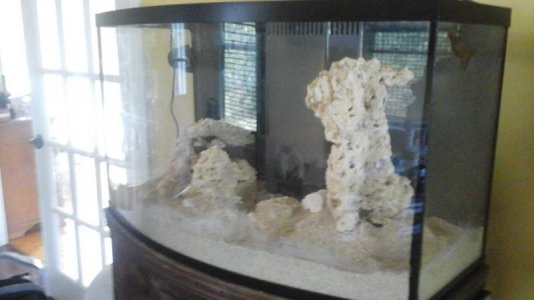
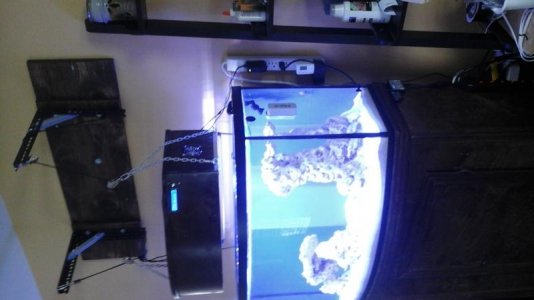
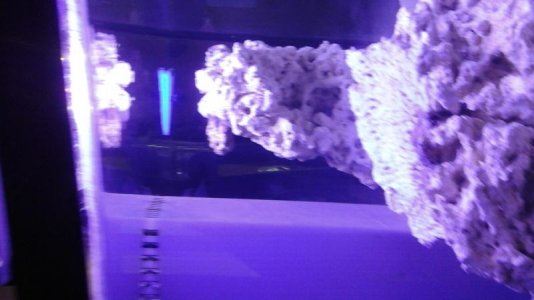
I used fiberglass rods and hydraulic cement to make about 6 sections of rockwork exactly how I wanted them, and purposely designed them so they each interlock with another, like a puzzle. It looks like one solid structure but it's not and the rocks are placed in the tank, right on the bottom glass with sand filling in around them (so my sifters and diggers don't topple any of it).
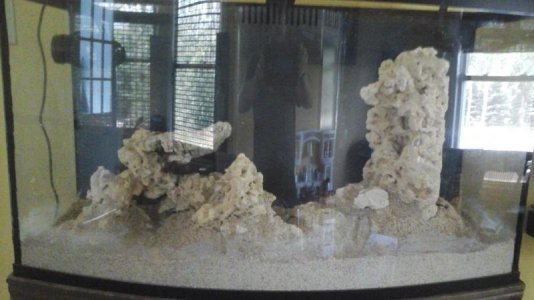
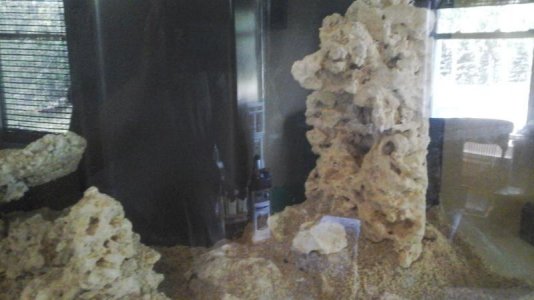
Here are the six sections, all placed together (with a fake rock wall behind them (you can see the fresh hydraulic cement)