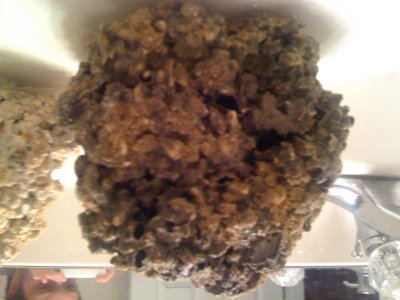
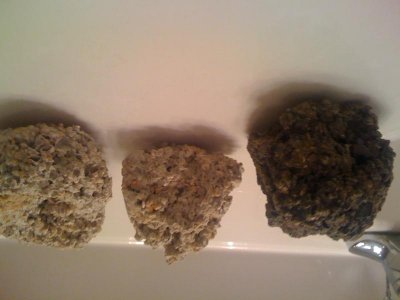
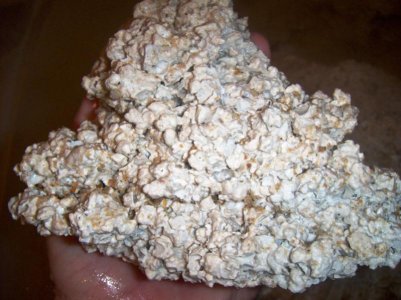
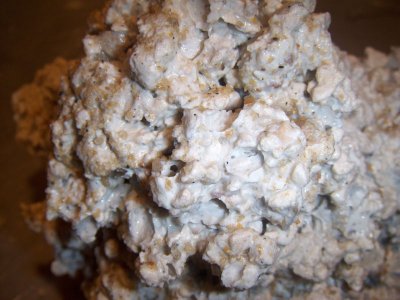
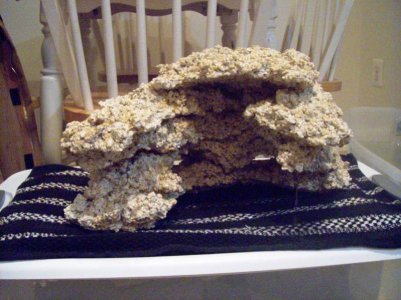
OMG There is a Rock in My Garage...

I've wondered how well something like this would work. Definitely interested in pics of the progression.
 
I waited about 18 hours and pulled the first batch...they were too soft and crumbled. The inside where they broke was still very wet. I'm still going to let them dry, they should be good in the sump as rubble.

I have a second batch in another container that I am going to wait to take out. I made what I hope turns out to be a pretty cool arch in there, so I want to be sure that doesn't break, or at least has the best chance.
 
The arch turned out pretty nice, didn't crumble like the others. Also got a few pretty good chunky rocks out of that batch as well.

I found a local supplier for white portland cement, the difference in color is amazing. I made two rocks tonight. When I pull them day after tomorrow I will post pics of everything thusfar.
 
I just made the same rock last night using the same video as a guide. I also was able to find the white portland cement at a local masonry supply store. The rock came out great!! It looks just like live rock and much more poreous. I can put it under my sink faucet at half flow and it runs right through the rock like a sponge.

I had much better success when the pieces were thicker than say an inch. Thiiner than that and they are too brittle. Thicker and they are super solid. I think the next batch I will try a bit more portand and a little less rock salt to gain some additional strength. I am trying to build one piece for my hex tank that is full of caves and arches to allow plenty of flow around the rock work.

Anyone have a local source for limestone sand? I had no luck finding the inexpensive aragonite sand that use to be so common years ago. This is only used for the forms but you need a lot of it to build big pieces.
 
I agree, I love the way it's coming out so far, my only issue is the sand I'm using for molding is sticking to the rocks. That kind of annoys me since it's brown/orange... I'm going to try scraping it off once the rocks set up a bit more.
 
I was worried about the same thing even though there wasnt that much sand on the surface. I kept my mix a little on the dry side so I think that helps with keeping it from attaching to the surface.

I just bought a cheap dish scrubber brush with nylon bristles at the dollar store. This allows you to get into all the nooks and crannies to brush off the sand. It also knocks down the thin films of concrete that are covering the voids left by the salt disolving within the mix. It actually makes the pieces look much more poreous.

I had my second thoughts about the possibility of silica being leached from the sand used in the forms but after seeing how much was just easily brushed off during the curing process it didn't bother me as much. Brushing took off about 90 percent of the sand that was coating the surface.

I was just thinking about the earlier post about the mix crumbling. How long did you let the concrete cure before immersing it in the water? I was concerned about the salt reacting with the concrete and only let it cure for 12 hours before I soaked the rocks in water.

I will try and get some pictures of the rock for everone to see tonight. This stuff looks really good!
 
My first ones crumbled because I didn't let them stay in the mold long enough, they literally broke in my hands as I was taking them out. As for how long I waited before submerging them, for the most part it was roughly 12 hours (overnight.)
 
Lol, I did the same thing trying to check out a piece before it dried. I was pretty impatient to see the results of that batch. The broken pieces will work well to attach drags to in the future though.
 
Here are some quick pics from the iPhone, so the quality is meh...

*edit

No idea why they imported upside down...I wasn't standing on my head when I took them...honest.
 

Attachments

  • IMG_0279.jpg
    IMG_0279.jpg
    52.8 KB · Views: 5
  • IMG_0278.jpg
    IMG_0278.jpg
    38.2 KB · Views: 5
3dblake, that rock looks great! Is that one rock really that dark or is it just the picture?

Here are some close up pictures of mine before I have scrubbed off the sand from the mold. More crannies than an english muffin! I love this stuff.

The third shot is the base of where my arch will connect to. Lots of shelves for corals.
 

Attachments

  • HPIM1328.jpg
    HPIM1328.jpg
    75.8 KB · Views: 7
  • HPIM1330.jpg
    HPIM1330.jpg
    98.2 KB · Views: 5
  • HPIM1334.jpg
    HPIM1334.jpg
    82.3 KB · Views: 6
Yeah, that dark rock is the grey portland cement I used for my first batch. I was really impatient Saturday morning and didn't want to wait for the mason supply to open on Monday to get white. LOL

That third rock you made looks great, the fish and corals are going to love that.
 
3dblake, I was reading another thread and they were talking about using calcium carbonate or dolomite lime in the mix for making home made rock. I was actually thinking about using it for the mold sand since it is relatively cheap.

Thanks for the comment on the 3rd piece. I saw another reefer on the board that made a structure that looked like a bonzai tree, very cool. My issue is my tank is so narrow and tall that I need to have fabricated rock work to make it stable. Are you making this rock to be you base rock or is going to be the majority of rock in your tank? Are you seeding bacteria with other pieces of live rock?
 
I'm upgrading from a 29 to a 90. I have about 15 pounds of live rock I got from the LFS. I just plan on putting them together in the new tank and letting them get seeded that way.
 
3dblake - My rock has completed curing and I was wondering how your progressing on your cure. Heads up, I found an article about getting a pH spike after placing the oystercrete in saltwater. My pH was lower a few weeks ago and I added salt to the fresh curing water, sure enough I had a little spike in Ph that lasted a few days. Might want to check it out. I'll post up some pictures as soon as I get it in the tank.
 
Back
Top