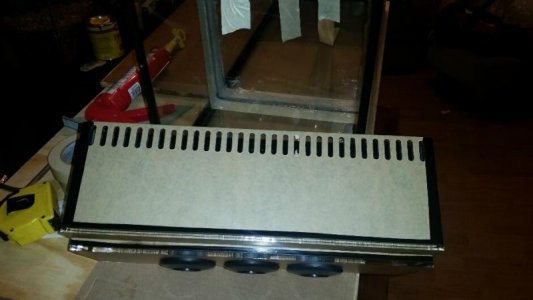
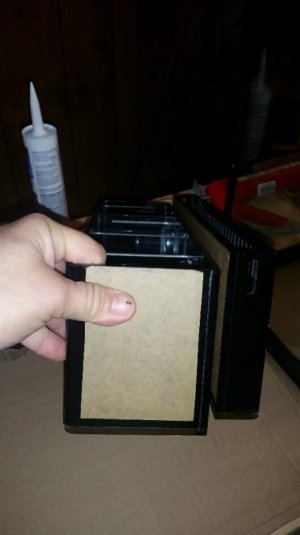
I'm definitely a measure 3 or 4 times cut once type of guy. It will be completely figured out before the bit hits the glass. I just looked at it and I think it will fit. The pass thru holes are towards the top of the exterior box. Will probably use 1" or 1 1/4" fittings inside the box. Where should the top of the 90s be in relation to the pass thru holes? Also, I would assume the emergency pipe height will be in relation to water level in exterior box not level of dt. Would that be correct?
I really appreciate the input.
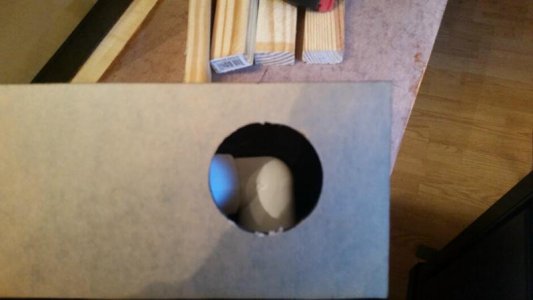
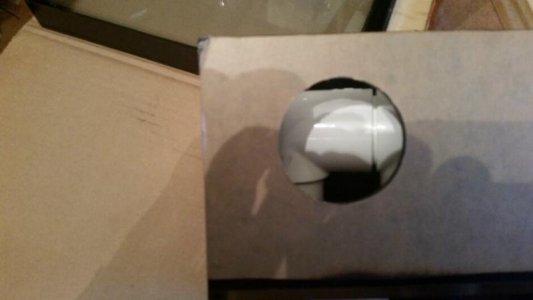
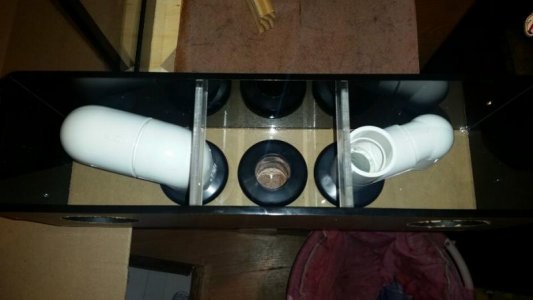
This is a relational drawing. Since I have no idea of where exactly the holes are on the back of the external box, nor the heights or widths of same, I can't use actual measurements. The 3/4" below the trim on the outside of the tank, is the the minimum distance down on the back of the tank that the holes need to be. Water line is center of the through holes (1 3/4" holes for 1" bulkheads) so the internal and external function as one body of water (no waterfall,) and the elbows are shown in relation to the high water level mark. (approx.) actual water level may need to be lower, depending on adjustment and performance of the open channel. Generally it is between the point illustrated and the horizontal center-line of the elbows. Top of the weir (standing water level in DT) is bottom of the trim as illustrated.
The waterfall into the internal box is ~ 1.5" not bad, but 1" is ideal. Raising the elbows higher (to raise the water level) is not really a good idea (see below.) But again, I don't have the specifics of your boxes.
You will notice that this setup as drawn, is not very safe. The distance from the inlet of the dry emergency (open center pipe) to the top of the external box is very small, with no room to play. This would be begging for a flood. Lowering the inlet to the dry emergency, could very well cause a start up issues, in that there may not be sufficient head pressure to purge the air out of the siphon.
Quite literally, everything needs to be lower in the external box, (including the through holes) while keeping the top edge where it is, even with the trim on the outside of the tank. However, this will also increase the waterfall height to the internal overflow, which will increase the sound level.
All in all, these systems and boxes should be custom built, rather than trying to adapt some manufacturers idea of what an overflow's configuration should be.