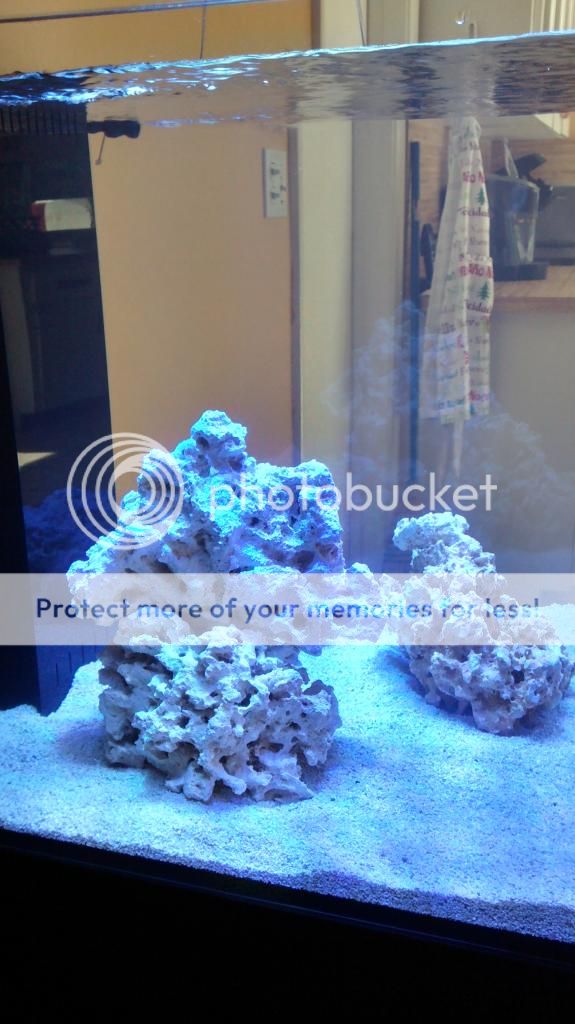
Just finish setting up my Kessil 360-WE on my 80 Gallon SC aquarium.
Very slow build.
Looks awesome. I didn't think a single 360-WE would be enough, but it seems plenty bright, looks good. What kind of corals are you thinking of keeping?
Just finish setting up my Kessil 360-WE on my 80 Gallon SC aquarium.
Very slow build.
I didn't think a single 360-WE would be enough, but it seems plenty bright, looks good.
I set up the Kessil 360WE on my 150g dry tank last night"¦I purchased 3x, but starting with only two. 1x light is advertised for a 24" footprint, but there seems enough overlap between 2x lights to cover the 60" width of my tank. I figure, if I position them 12in away from the center, I'll have the best coverage with possible reduced lighting 6" at the left and right edge, which will have little impact on future corals with my landscape.
Unfortunately, my build is on a temporary pause while my cabinet warranty claim is processed by SCA. I ordered the black cabinet (MDF board)"¦unfortunately the side walls are cracked and beginning to separate. On a positive note, I'm happy with the tank and Phillip at SCA was very helpful...now waiting on customer service to respond.
I ordered the black cabinet (MDF board)"¦unfortunately the side walls are cracked and beginning to separate. On a positive note, I'm happy with the tank and Phillip at SCA was very helpful...now waiting on customer service to respond.
I am very interested in getting the 150 but pictures of it seem to be scarce.
Any chance you could take some pics of the overflow and drilled holes? I am wondering if I can delete the overflow and go with a coast to coast after drilling my own holes.
Thanks in advance.
Glad to hear SCA has been handling the warranty smoothly.
Out of curisosity do you think it was a design flaw of the stand? I plan to reinforce with L brackets, but no matter what it will always be MDF (which is not stellar, but I have had tanks with MDF before).
I don't have the plumbing in place, however I was able to take a photo inside the overflow box (sorry about the reflection), with the ~1" drain/.5" return holes. The overflow box is siliconed glass box, incased with an acrylic overflow overlay to serve as a barrier from large foreign objects flowing in. The glass enclosure is very well built/siliconed"¦but I had to re-silicone the top portion of the acrylic overflow (nothing major).
Based on other's feedback, SCA may plug the existing holes and remove the overflow box, if you choose to go a different route. As with many others, I am replacing the bulkheads since they are metric and have difficulty finding compatible sized PVC piping/hose"¦not an issue if you use all the SCA supplied plumbing. I will likely use the existing holes as the main/emergency drains and run the return line from behind the tank/over the rim.
<a href="http://s1067.photobucket.com/user/freeflydive/media/Aquarium%20Build/FullSizeRender.jpg.html" target="_blank"><img src="http://i1067.photobucket.com/albums/u435/freeflydive/Aquarium%20Build/FullSizeRender.jpg" border="0" alt=" photo FullSizeRender.jpg"/></a>
<a href="http://s1067.photobucket.com/user/freeflydive/media/Aquarium%20Build/Overflow.jpg.html" target="_blank"><img src="http://i1067.photobucket.com/albums/u435/freeflydive/Aquarium%20Build/Overflow.jpg" border="0" alt=" photo Overflow.jpg"/></a>
She's getting wet.

simply beautiful.
Awesome tank! The lights look sick on top, tank looks like it fits the space perfectly. I really like Kessils too, especially with the controller out, its on my list for my dream tank down the road.
The stands need to be assembled and i don't like the looks of the turnbuckle type bolt assembly.
My 50g cube arrived yesterday and I am very impressed with the tank. The only issue I found with it and it's minor is that the black film on the back on one side doesn't quite reach the top. Very nice looking tank for the price!