This thread was really helpful in getting my tank setup exactly how I envisioned. There was a lot of options I didnt know about with SCA, had it not been for this thread.
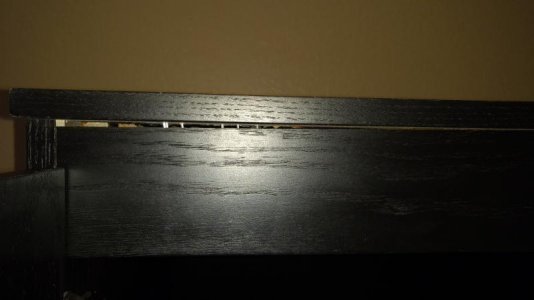
I was able to place my order with Steve to get a 90 "cube" and a stand. I custom ordered my tank to handle a Synergy Shadow overflow and I ordered the stand to be built 36" tall (6" taller than normal). Took a little under 2 months to arrive due to the holidays.
Not done yet, still have wire management to work on and to display the pump controls, light controller and my "timed and throttled" dosers. And waiting for the tank to settle in before I do any more stocking of course. Lots of other finishing touches here and there still needed.
This tank is going to be focused on anemones, with a few soft corals and a few fish. I wanted everything contained in the stand, everything accessible and easy to clean, and I wanted to have my rock arrangement simple and functional and easy to clean around. I wanted to have a lot more open water, with a single source-point of light and to "shadow" the glass sides and back as well as the equipment in the tank. This left a light focusing on the rock work (and eventual anemone home base) in a sort of "art gallery" lighting approach.
When I got started years ago, the Berlin method was all the rage. One of the things about the Berlin method that I always liked was how clean things looked and were easy to keep that way. I wanted to go back in that direction again, but not a full-on Berlin.
I chose not to use rock or sand from my existing system. The rock I used was ex-live rock I had sitting around for close to 10 years, that 2 months ago I picked out the ideal pieces then I rinsed them, put them in a tub with a couple small pieces of new live rock from the LFS, so that I could start seeding and cycling it in preparation for this new tank. I only wanted a light covering of sand, and I still had a 1/2 bag of old Southdown Play Sand that had never been used so, it got used.
")
Its currently creating a "dusting" effect where its drifting in around the rock and allowing some of the bottom glass to be exposed and Im kinda digging the effect. I have more used SD sand in a bucket that I can cook and clean if I need more sand later.
I transferred as little as possible from my old tank (a 110 gallon tall) with the exception of 1 flame angel, 1 wall hammer coral and a scarlet hermit crab that has to be over 10 years old, I was really shocked to find him when I was taking the old tank down. These guys will hold down the fort as the tank settles in.
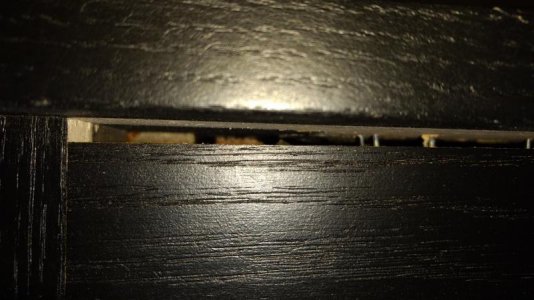
Plumbed the overflow with 1-1/2" pipe all the way to the sump for all 3 drain lines, I was able to tuck them back and up, and keep them from touching each other. The siphon line has the gate valve on it that is easily accessible, and out of the way. I used spa-flex tube for the last 1 ft that goes into the sump so that I can easily pull those out and the entire sump can easily slide out of the stand, without disassembling any drain pipes.
I used a 20 gallon high tank as my sump, with a Water blaster 5000 return pump. The return line has a no-metal check valve for when the return pump goes off. Even if the check valve were to fail the sump still holds all the drain back from the tank. I painted the back and side of the 20 gallon tank so that it still looks like its transparent, but I can hide wires behind it and not have to look at them or any water spots that might get back there.
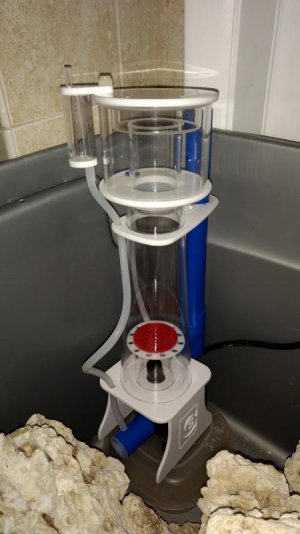
Skimmer was originally a big Octopus 200 with bubble blaster 3000 but that pump kept giving me troubles and the skimmer was bigger than I needed. I ended up just getting a new skimmer that was better sized and gave me more room in the sump, Octo 152. Ill be putting in some bubble trap panels in the sump, but I wont be doing anything "refugium" related this time.
Im using a 7 gallon rubbermaid "recycle" waste can for my topoff water chamber so that I can easily pull it out and put the ATO pump in a bigger tub outside of the tank if I plan to be away for a while. You can see the reaction chambers, one for carbon and the other for phosphate absorber (later on). These are plumbed off of the return line.
I have the DJ switches mounted on the upper rear, all of the power cords are routed through there. I still need to mount my 2 Ecotech MP40 controllers and the Kessil 360W light controller so they can be seen and accessed, I am limited by the cord length but I kind of want to mount them on the inside of the door. I aim to cover as much wiring as I can.
The sump is lit by a hidden single ultraslim flat-panel LED counter-top light 24" by 6" that is mounted on the inside top and angled for maximum effect. Its just right.
https://www.amazon.com/gp/product/B01M3NKQOP/ref=oh_aui_detailpage_o09_s00?ie=UTF8&psc=1


Thanks again for this thread guys !