Solar powered aquarium from Italy

Paolo Piccinell

insatiably curious
The biggest problems for an aquarist are:

1 - The need to work sometimes to earn money and pay aquarium costs

2 - The energy cost to properly manage a big reef tank

:idea::idea::idea:

I tried to solve them both by:

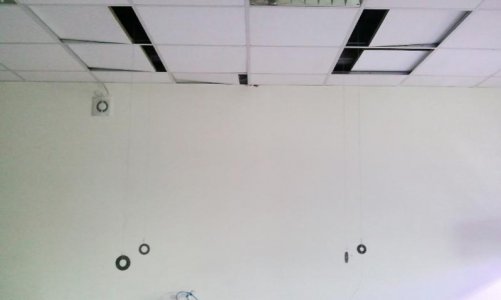
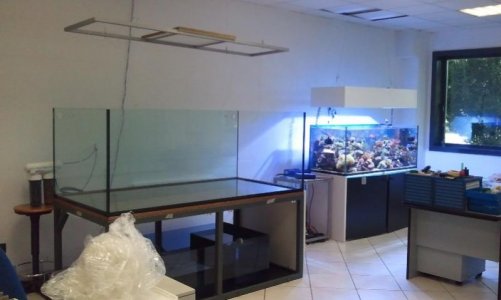
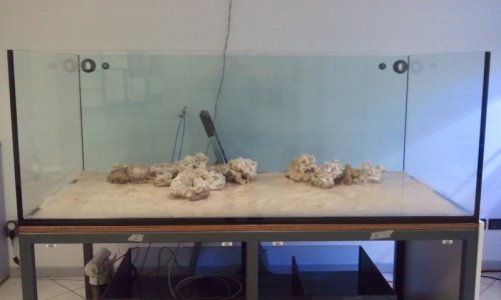
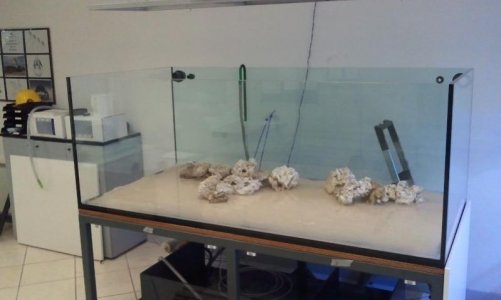
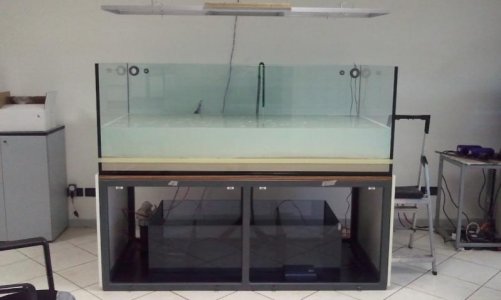
1 - placing the tank into my office

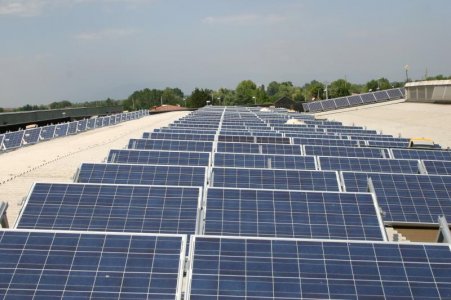
2 - installing solar panels on the roof

...but let me start from the beginning...


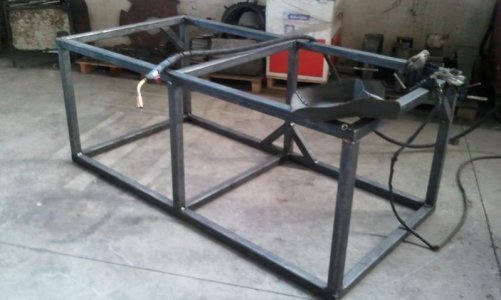
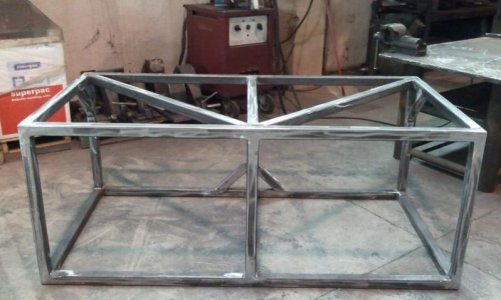
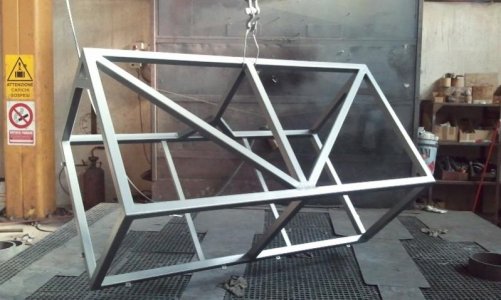
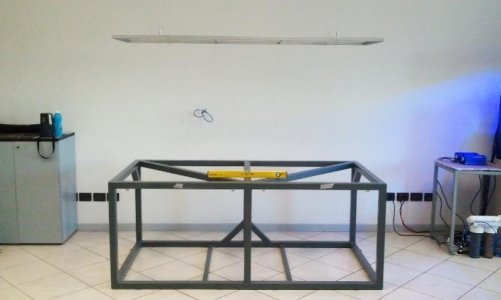
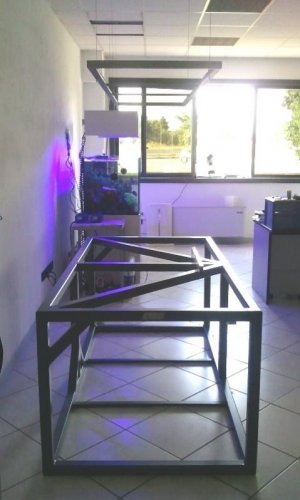
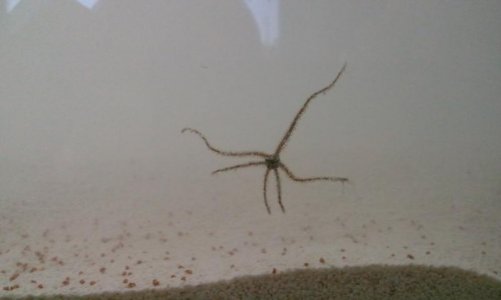
I actually own an ELOS 160 (550 litres - 160*60*60cm) berlin method sps dominated... the corals grow so fast and I don't want to give tham away, so I needed a bigger tank.

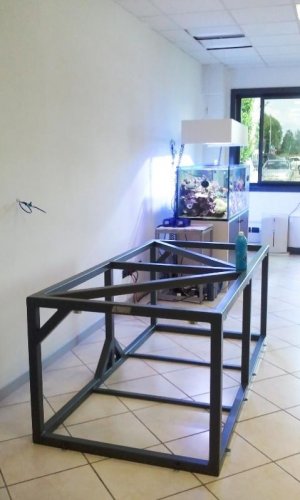
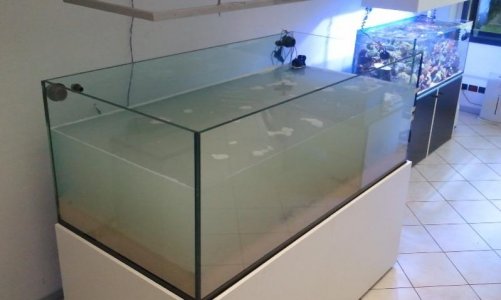
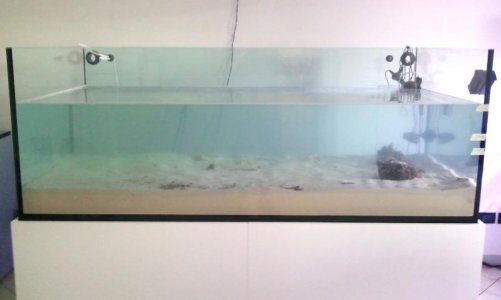
My wife denied the pesmission to install it at home (2 small children and power cost are prohibitive), so I decided to place it into my office... this way I can watch at it more than 10 hous per day!!! :bounce2:

In the last month the government launched new incentives for the installation of solar power plants so....:idea::idea::idea: why do not use solar energy to supply the aquarium?!?

The solar panels:
(ok, they do not just supply energy for the aquarium...):
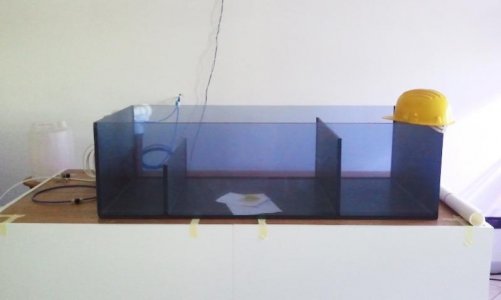
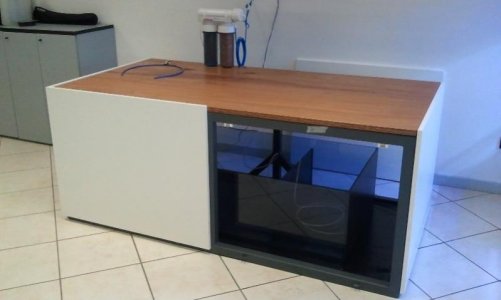
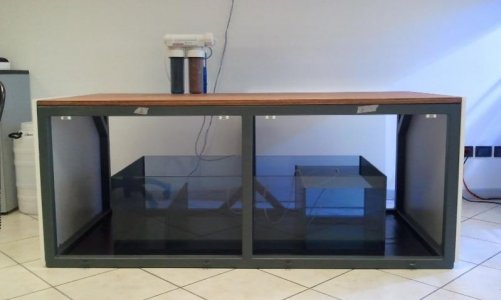
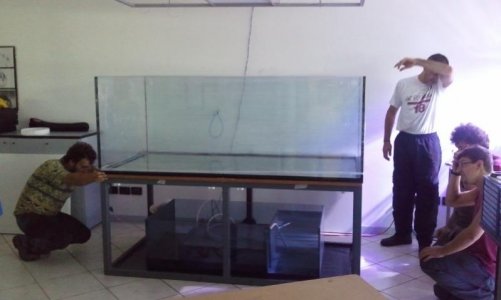
 

Attachments

  • 29 - Solar power.jpg
    29 - Solar power.jpg
    71.5 KB · Views: 4
Last edited:
Pics coming!

1 - The iron tubes for the stand

2 - stand assembly and welding

3 - 4 - Structure welded and grinded

5 - painting with epoxy coating
 

Attachments

  • 01 - taglio tubolari supporto 08.06.2011.jpg
    01 - taglio tubolari supporto 08.06.2011.jpg
    48.7 KB · Views: 5
  • 02 - supporto puntato.jpg
    02 - supporto puntato.jpg
    44.1 KB · Views: 4
  • 03 - supporto saldato.jpg
    03 - supporto saldato.jpg
    52 KB · Views: 3
  • 04 - particolare finitura.jpg
    04 - particolare finitura.jpg
    46.6 KB · Views: 5
  • 05 - supporto verniciato.jpg
    05 - supporto verniciato.jpg
    57.9 KB · Views: 7
Last edited:
More:

The stand set in place, I fixed the lighting cables on the concrete beams of the ceiling; fixtures and lighting ballasts will be hidden by ceiling insulating panels.

In the following pictures You can see the fixtures used and the zync-plated frame that will hold 3 400W MH lamps (lumenarc III) and 4 blue led bars (12 x 10W royal blue).
 

Attachments

  • 14 - Mobile posizionato.jpg
    14 - Mobile posizionato.jpg
    42.9 KB · Views: 6
  • 15 - Cavi telaio luci fissati.jpg
    15 - Cavi telaio luci fissati.jpg
    19.1 KB · Views: 6
  • 16 - Ferramenta telaio luci.jpg
    16 - Ferramenta telaio luci.jpg
    36.1 KB · Views: 6
  • 17 - telaio luci e mobile in posizone.jpg
    17 - telaio luci e mobile in posizone.jpg
    33.2 KB · Views: 4
  • 18 - confronto dimensioni.jpg
    18 - confronto dimensioni.jpg
    42.9 KB · Views: 5
Once the stand was set in place and the lighting structure fixed, I placed the 400 litres (100 gals circa) sump, PVC made, dimensions 140x70x40 cm.

Moving and washing 300 Kg of carbonate sand was a very long and tedious task, it took an entire day (and two days of bad backbone pain!!!)

The last two pictures show the first drop of water and the sump completely filled for leak testing.
 

Attachments

  • 19 - sump.jpg
    19 - sump.jpg
    21.5 KB · Views: 4
  • 20 - sabbia.jpg
    20 - sabbia.jpg
    52.3 KB · Views: 4
  • 21 - prima goccia.jpg
    21 - prima goccia.jpg
    30.9 KB · Views: 4
  • 22 - prova sump.jpg
    22 - prova sump.jpg
    32.5 KB · Views: 7
First pic shows "vertebra team" while placing the tank in place... half ton of glass and silicone glue!

The tank is finally in its place!!!:beer:

The dead rock basement for future rockwork


the last pic shows the tank finally alive... water starts running in circle and sand bed maturation begins!
 

Attachments

  • 23 - vertebra team.jpg
    23 - vertebra team.jpg
    33.7 KB · Views: 6
  • 24 - vasca posata.jpg
    24 - vasca posata.jpg
    38.1 KB · Views: 7
  • 25 - fondamenta rocciata.jpg
    25 - fondamenta rocciata.jpg
    31.9 KB · Views: 4
  • 26 - fondamenta di sbieco.jpg
    26 - fondamenta di sbieco.jpg
    33.6 KB · Views: 5
  • 27 - è viva!.jpg
    27 - è viva!.jpg
    32.7 KB · Views: 5
The first guest!

After 24 hours

After 96 hours...

For the next month DSB will be left its own... then live rocks, corals and fishes will be gradually added :celeb3:
 

Attachments

  • 28 - primo ospite.jpg
    28 - primo ospite.jpg
    20.8 KB · Views: 6
  • 30 - secondo giorno.jpg
    30 - secondo giorno.jpg
    34.5 KB · Views: 5
  • 31 - quarto giorno.jpg
    31 - quarto giorno.jpg
    26.7 KB · Views: 6
It looks like your off to a great start! I would love to know more about how your sump was constructed. From the pictures it looks like a PVC bottom, baffles and sides and glass front and back viewing panels.
 
It looks like your off to a great start!
Thanks!

From the pictures it looks like a PVC bottom, baffles and sides and glass front and back viewing panels.
Yes, that's it!

First area will be dedicated to a cryptic zone... a grid will hold rocks 5 centimetres above the bottom to help cleaning.
The central area will be dedicated to skimmer, calcium reactor, activated carbon.
The small compartment will contain the circulation pumps and the floating switches for RO system.

I will connect RO system in line with a floating switch and a safety timer to prevent flood; it is a system I used for years and it works; you can avoid the refill tank and you do not need to add water anytime...

Electrical connections will be fixed on the back wall, I left a lot of space between wall and tank.
 
The tank is running with bare sand to leave the infauna free to reach a good density in the sand bed.
Next october I will add live rocks and animals.

I do not have more pictures for the moment... sorry.

But I can tell you more about the solar power plant!

The system is composed of 520 solar panels and has a peak power of 100 kW.
It will produce yearly more or less 120 MWh of alternate current, saving 72 tons of CO2 emissions each year for a lifetime of 20 years approx.
This way I'll have free power from the sun fo my workshop and for my aquariums... at the same time I will indirectly protect the natural coral reefs in the oceans.

I'll be back next week, as I will receive the pumps and the PVC piping...
 
seguo :rollface:
Hi Paolo, what are the dimensions of the tank?
How many gallons? it looks like mine, i'm curious to know your equipment plan.
keep us uptodate
 
The tank is 2 metres x 1 metre x 75 cm - 1500 litres (400 gals circa).

Equipment?
For the moment:

- skimmer ati powercone 250 i (light skimming, I vill relay on BIG dsb)
- calcium reactor BM 150 C
- 2 pumps NJ 6000
- cooler TECO TR 20 ( the room is conditioned)
- 2 heathers Schego 600W Titanium
- circulation pumps.... 2 x vortech MP 60 ES
 
wow very nice build, how thick is the glass ?
Is it going to remain rimless ?
Superb work, is their much of a bow on the front screen ?

Looking forward to more updates
 
Back
Top