You are using an out of date browser. It may not display this or other websites correctly.
You should upgrade or use an alternative browser.
You should upgrade or use an alternative browser.
Starting ~800 Gallon Custom Reef Tank Build
- Thread starter ravi197699
- Start date

vikinglord13
New member
This is exciting!
ravi197699
Member
thank you vikinglord13, came back from vacation and did first coat of paint on the stand, I will be uploading pics soon,
ravi197699
Member
sump pictures
sump pictures
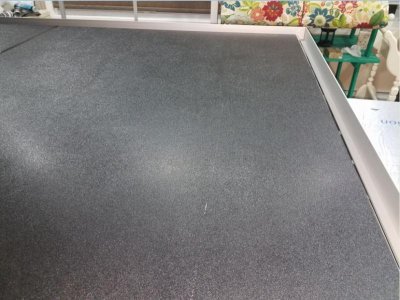
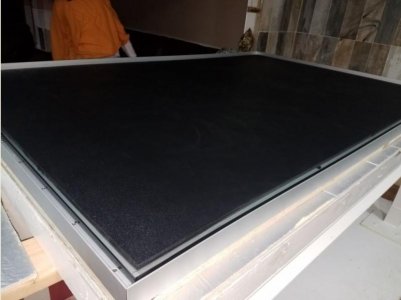
Sump got delivered yesterday, This is Aquaculture 350 Gallon poly single mold tank. I am pretty happy with dimensions of the sump, dimensions are 68" x 68" x 18" high.
sump pictures
Sump got delivered yesterday, This is Aquaculture 350 Gallon poly single mold tank. I am pretty happy with dimensions of the sump, dimensions are 68" x 68" x 18" high.
Attachments
ravi197699
Member
pics
pics
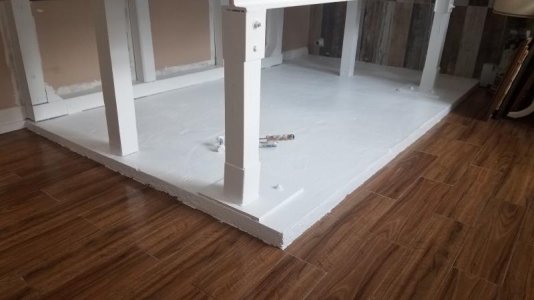
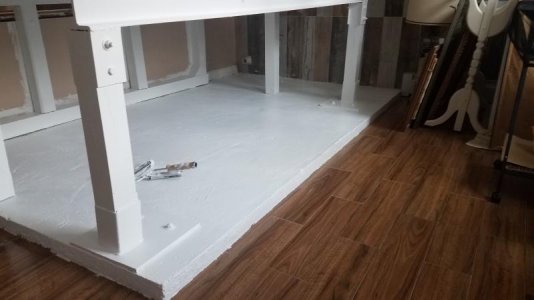
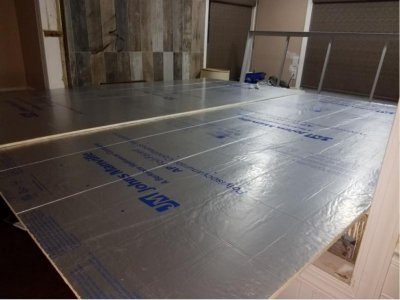
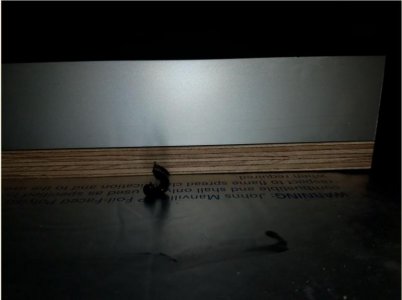
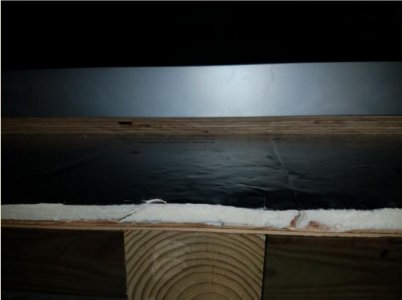
Spent some time yesterday and sealed concrete with concrete sealer, This stuff dries pretty quick, I did 5 coats until I don't see any pores anymore and it feels smooth, I filled clear silicone in all the openings on the floor so that water won't be able to go in if there is any spillage, specially under steel plates. This weekend I am going to put sump under the tank, and start adding rock and water to start cycling the rock.
pics
Spent some time yesterday and sealed concrete with concrete sealer, This stuff dries pretty quick, I did 5 coats until I don't see any pores anymore and it feels smooth, I filled clear silicone in all the openings on the floor so that water won't be able to go in if there is any spillage, specially under steel plates. This weekend I am going to put sump under the tank, and start adding rock and water to start cycling the rock.
Attachments
ravi197699
Member
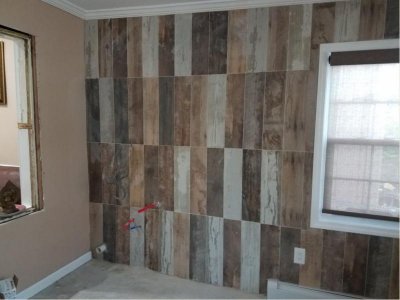
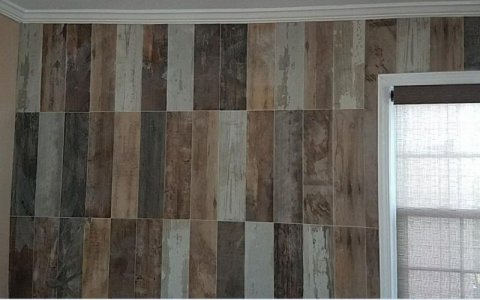
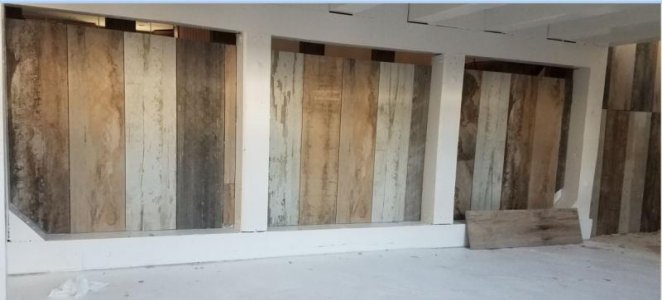
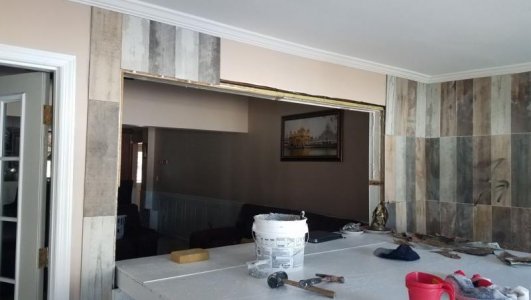
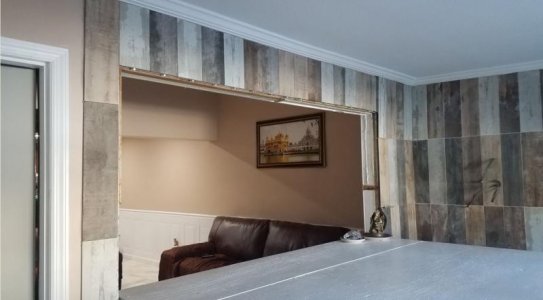
I was able to finish the tile work and took advantage of long weekend, here are some of the pictures of the tile work that I have finished under the stand and around where tank is going to sit.
Attachments

ravi197699
Member
Following along. Great progress so far and I like the tile on the walls.
Thank you, I did tiles under the stand as well just to project the walls from moisture, Installing new exhaust fans on the ceiling right above the tank, I will share pictures when done and installed.
ravi197699
Member
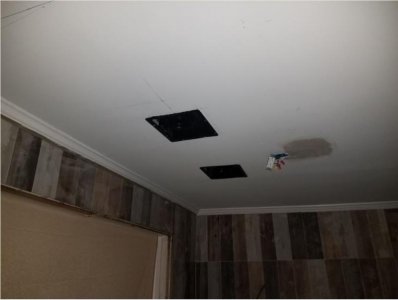
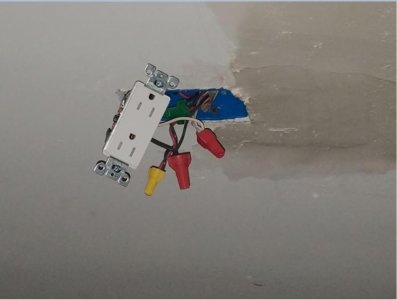
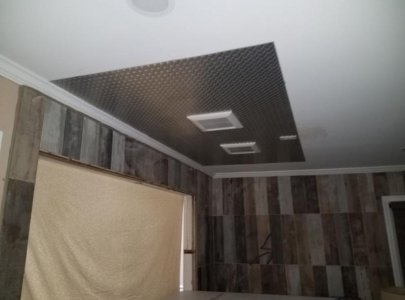
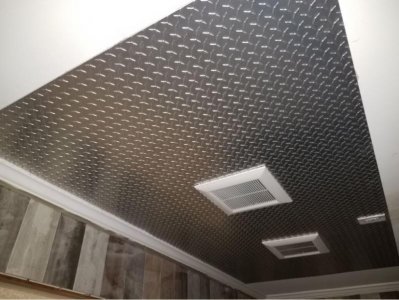
Installed exhaust fans right above the tank to remove humid air from the room, I have split air conditioning unit as well that is going to keep the room temperature at comfortable level, I will install the plumbing for chiller just to be on safe side and I have chiller that is commercial level sitting in my storage. I am having aluminum sheet installed above the tank as well, I don't want moisture to cause any damage to the sheet rock above. These fans are super quiet and they pull out 110 - 130 cfm each depending on speed setting. These are made by Panasonic and sound level is 0.3 at 110 cfg and 0.5 at 130 cfm speed . I have 1 outlet installed on the ceiling as well for light fixture, I will mount the light track so that I can move the light rack out of the way when working on the tank.Here are some of the pictures.. there are many more to come..
Attachments


ravi197699
Member
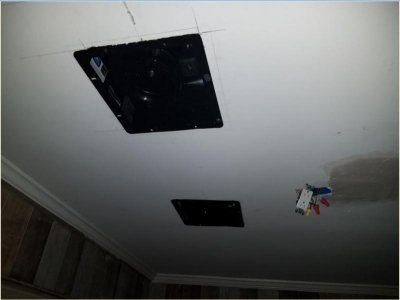
Thank you Tony, here are the pictures of the finished fans, We were able to get the exhaust fans completed which will be controlled by Humidity & Temperature controller, We installed new diamond aluminum plate on the ceiling, I am not sure if I should paint it white or leave it as it is? Please advise...
Attachments
ravi197699
Member
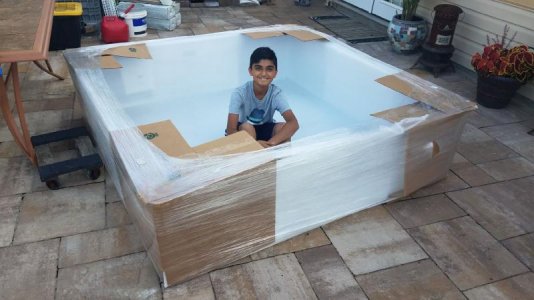
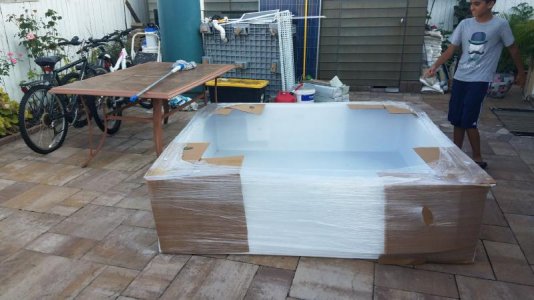
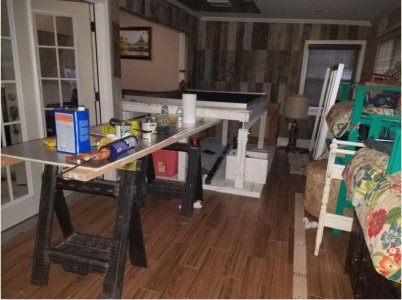
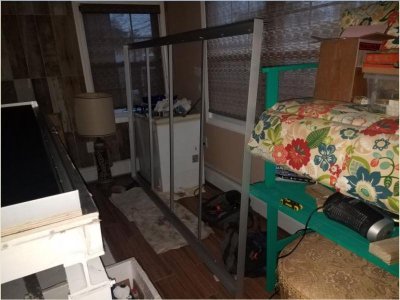
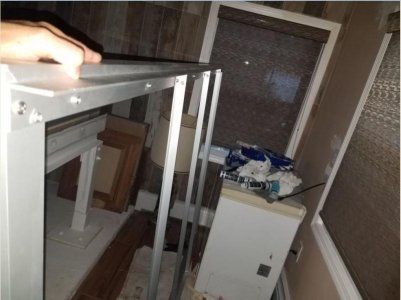
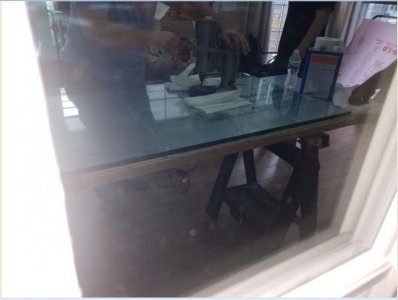
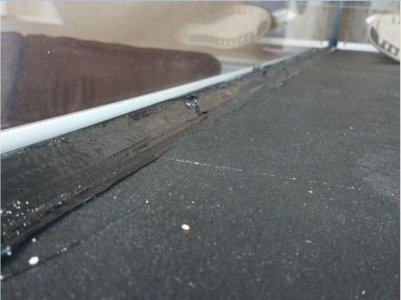
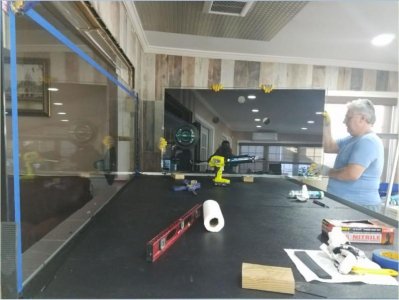
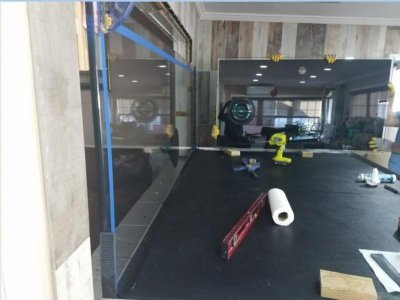
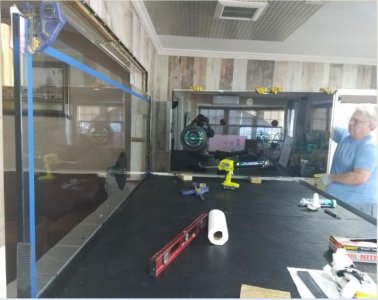
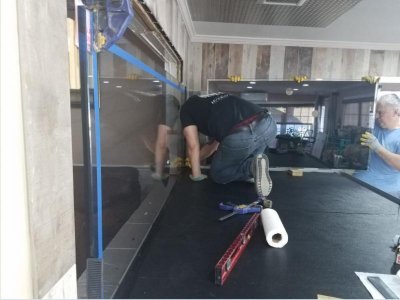
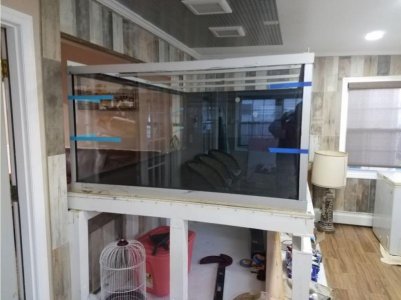
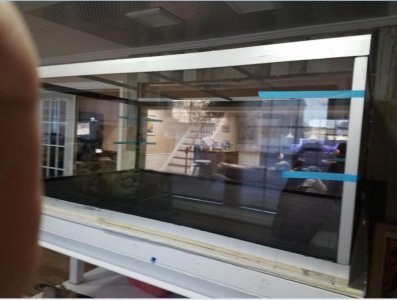
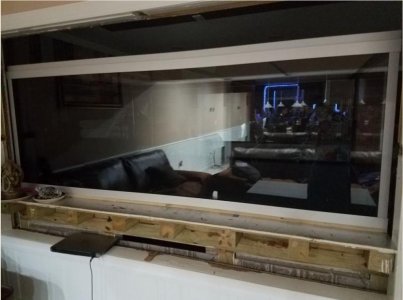
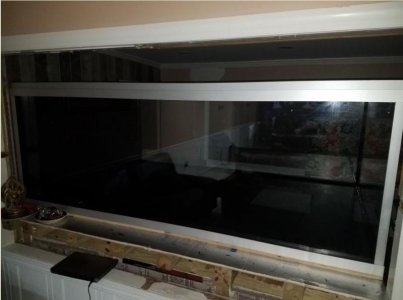
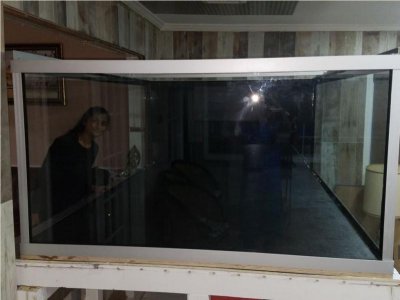
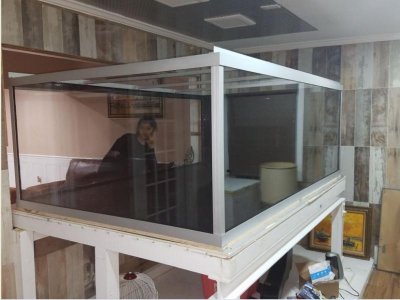
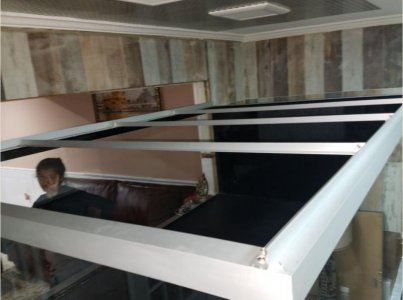
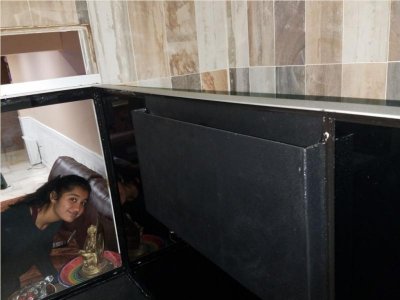
Tank is here ....
Tank is here ....
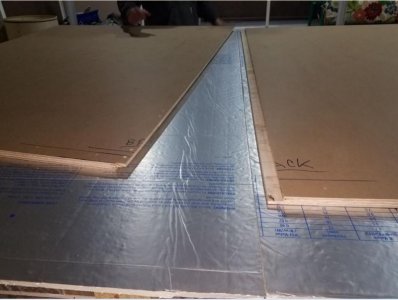
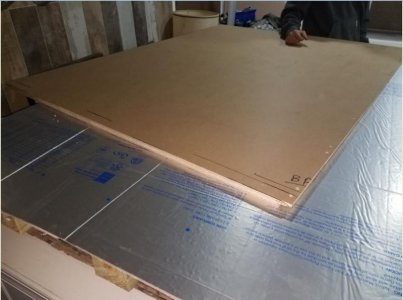
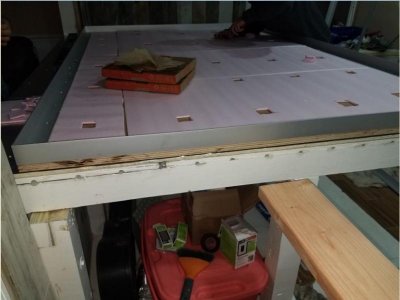
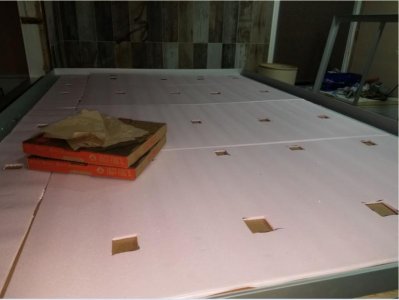
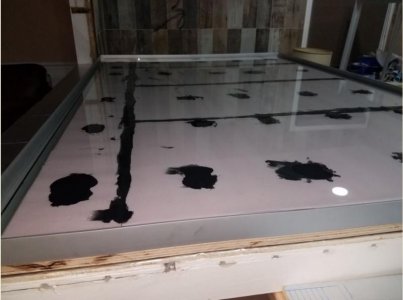
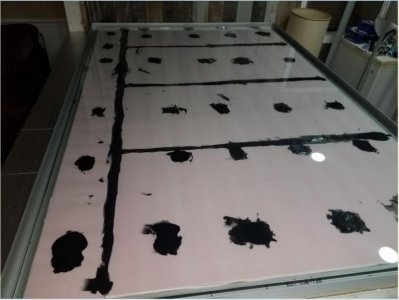
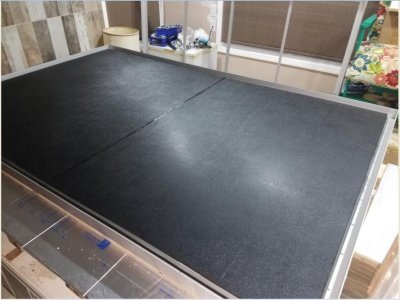
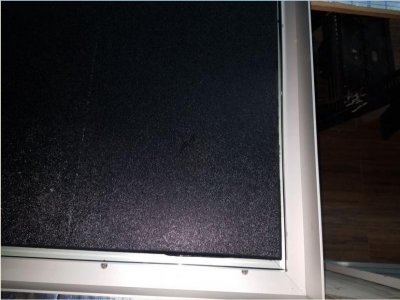
ok guys, tank was finally put together by builder and I was with them all day till 9pm and it was great experience and watched the entire process of putting tank together this size. It was planed very well and structure, support base sides and panels installation was executed very well. Not easy to handle large panes of the glass that is 3/4" thick. largest pane was the base which weigh around 500 lbs and I was nervous how we are going to tackle this big piece and set it in the frame that was put together at builders shop, This is my second tank from same builder and I highly respect his life long experience in building tanks. Tank is supported by anodized aluminum frame that is screwed in on the base on marine grade plywood, he used technique that he calls floating bottom of the tank, so there is marine grade plywood 3/4" thick and aluminum frame sits on the plywood and frame is secured on plywood with screws, then he added 1/8" insulation on the plywood and squares were cut out and filled with silicone which is raised higher than pink insulation and glass is sitting on that pink insulation and silicone, after this he added pads that glued on the side of the bottom pane and on aluminum frame which will keep gap between the frame and side pane and gap between bottom and side pane. then it was time to lay silicone and I have never seen this much silicone, I counted 46 tubes of commercial aquarium silicone that was used for this build and I was impressed by how it was laid on the seams, there are aluminum supports on the each corner which has layer of silicone and it is held in place by top and bottom frame, top frame is also custom frame that has 3 supports in the middle and double angled aluminum to add additional strength and it is all held together with marine grade bolts and nylon nuts and that has layer of silicone as well. Here are the pictures of the tank from begin and end.. Please feel free to comment..
Tank is here ....
ok guys, tank was finally put together by builder and I was with them all day till 9pm and it was great experience and watched the entire process of putting tank together this size. It was planed very well and structure, support base sides and panels installation was executed very well. Not easy to handle large panes of the glass that is 3/4" thick. largest pane was the base which weigh around 500 lbs and I was nervous how we are going to tackle this big piece and set it in the frame that was put together at builders shop, This is my second tank from same builder and I highly respect his life long experience in building tanks. Tank is supported by anodized aluminum frame that is screwed in on the base on marine grade plywood, he used technique that he calls floating bottom of the tank, so there is marine grade plywood 3/4" thick and aluminum frame sits on the plywood and frame is secured on plywood with screws, then he added 1/8" insulation on the plywood and squares were cut out and filled with silicone which is raised higher than pink insulation and glass is sitting on that pink insulation and silicone, after this he added pads that glued on the side of the bottom pane and on aluminum frame which will keep gap between the frame and side pane and gap between bottom and side pane. then it was time to lay silicone and I have never seen this much silicone, I counted 46 tubes of commercial aquarium silicone that was used for this build and I was impressed by how it was laid on the seams, there are aluminum supports on the each corner which has layer of silicone and it is held in place by top and bottom frame, top frame is also custom frame that has 3 supports in the middle and double angled aluminum to add additional strength and it is all held together with marine grade bolts and nylon nuts and that has layer of silicone as well. Here are the pictures of the tank from begin and end.. Please feel free to comment..
Attachments
ravi197699
Member

ravi197699
Member

ravi197699
Member

ravi197699
Member
ravi197699
Member


ravi197699
Member

ravi197699
Member
Similar threads
- Replies
- 4
- Views
- 217
- Replies
- 5
- Views
- 305