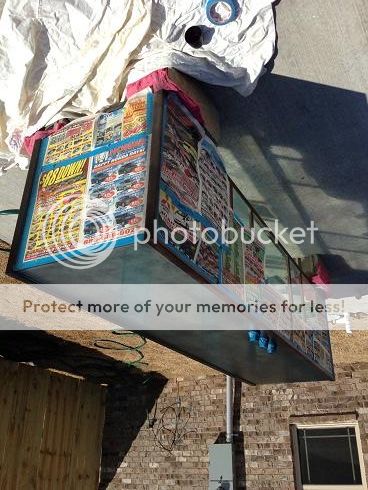
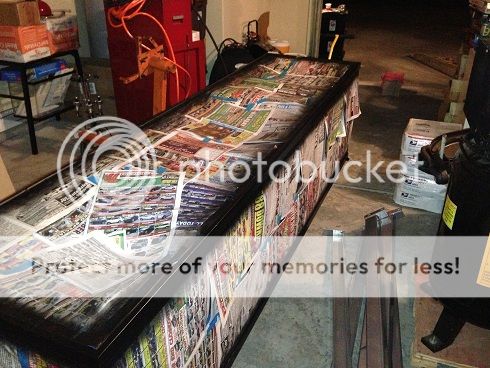
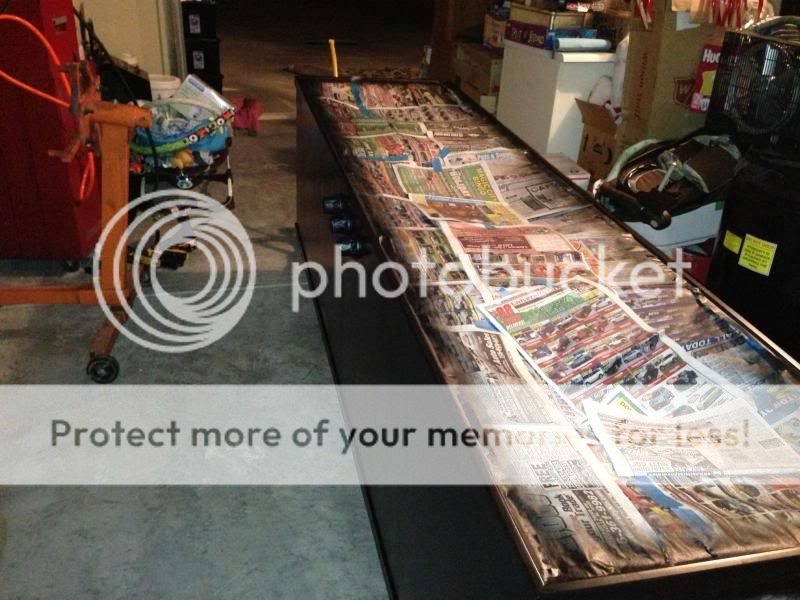
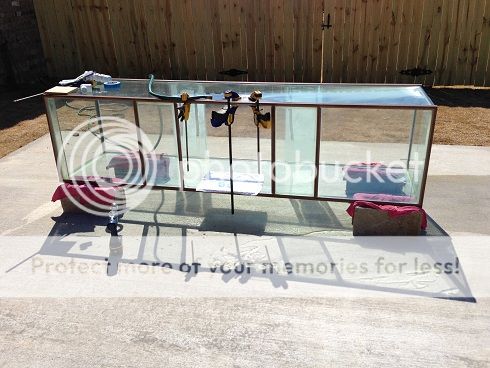
240 Gallon Ocean View aquarium - 96" x 24" x 25"
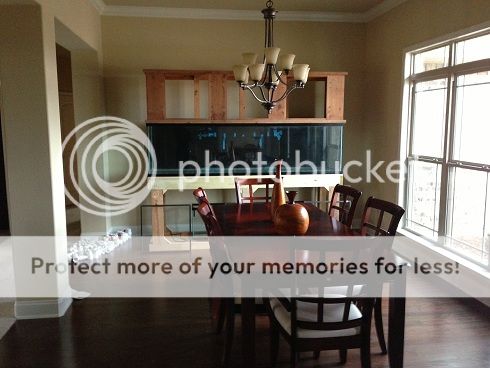
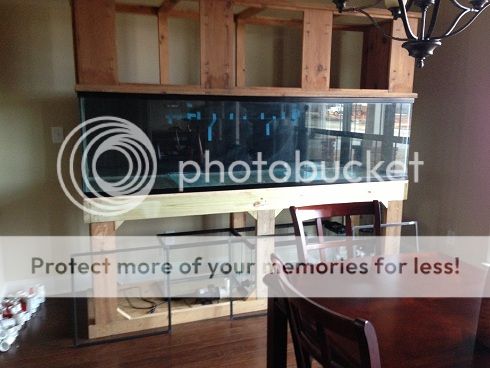
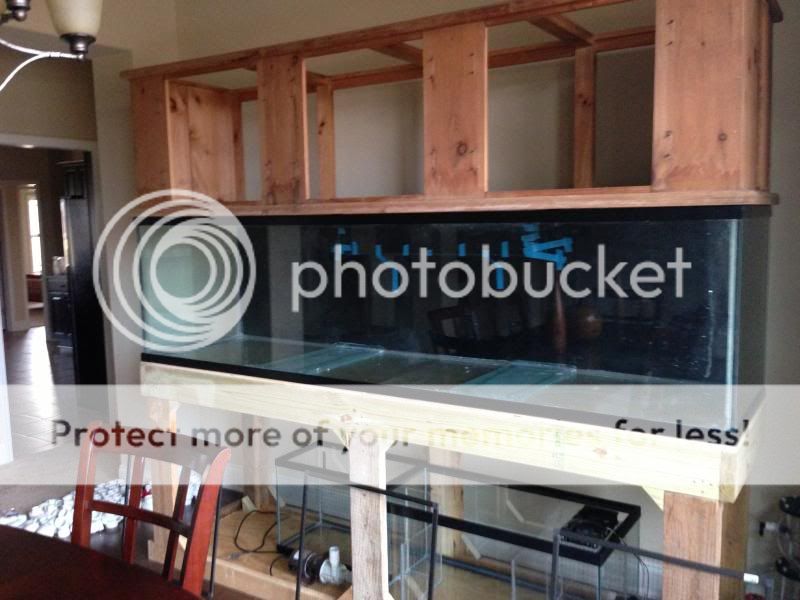
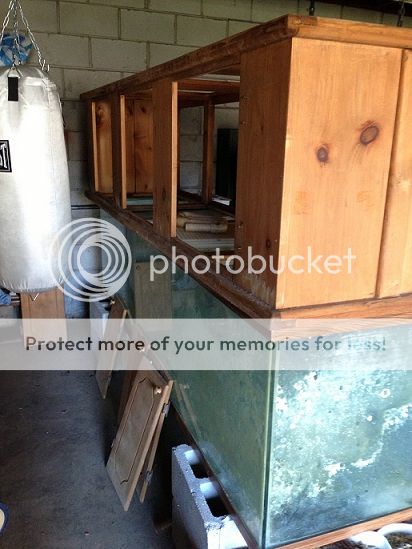
The tank was originally sitting on a 24" tall stand but I want to make it harder on myself and decided to build a 36" tall stand for better viewing. The plan it to take the existing stand and convert it to a canopy above the tank to house my LED penant lights and give it more of a built-in feel.
I will be finishing the stand and canopy to match at a later date but getting it set up and cycling is the first step since I am setting the tank of 4 hours from home. I just bought a new house that we will move into in 7 weeks, but I wnad to take advantage of that time and cycle the tank before I move all my livestock. I wanted to have the tank up this weekend but due to a bad design in my stand (I built one side 1/4" taller than the other so I have to do some leveling of the tank/stand before I can add water) I had to push that back until Easter weekend when I am back to the new house in Huntsville.
Ultimate goal is a mixed reef tank with about 35x turnover in the DT.
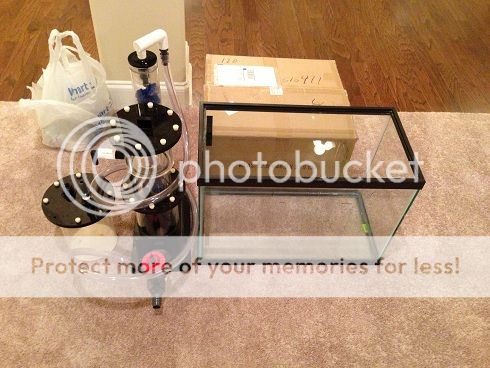
Some of the equipment I will be running:
Aquacontroller III with 3 DC8 oulets
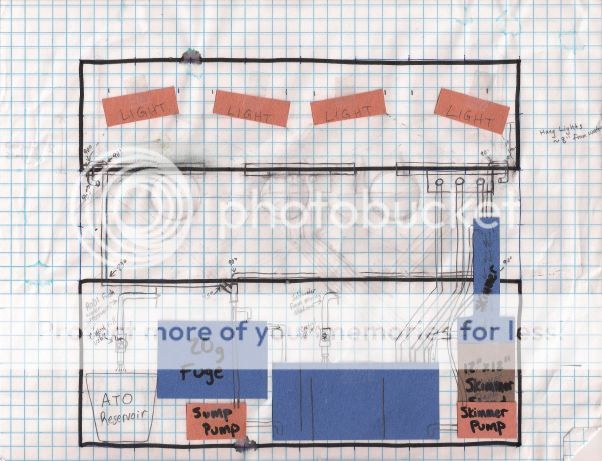
4 - 120w Bridgelux LED Pendant Lights
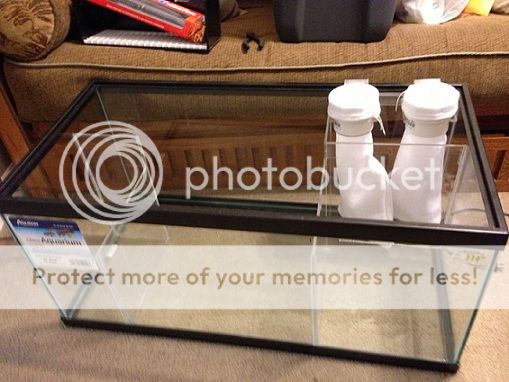
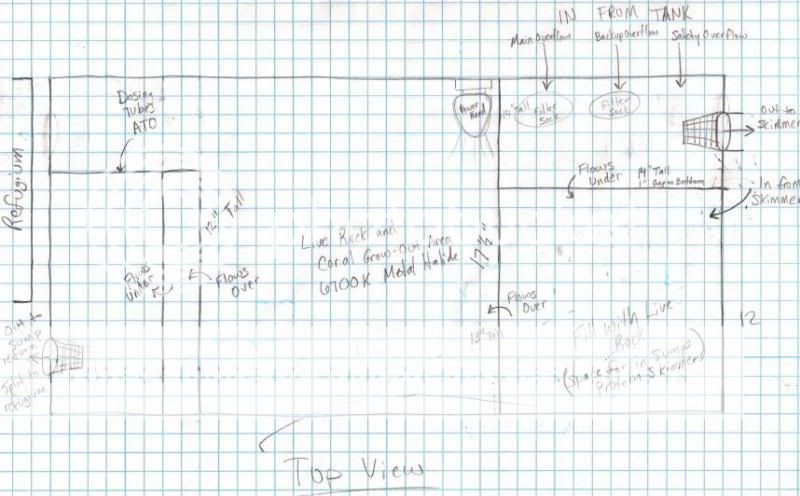
40b sump with a separate 20g Tall Refugium on reverse lighting cycle. 6x turnover rate through sump.
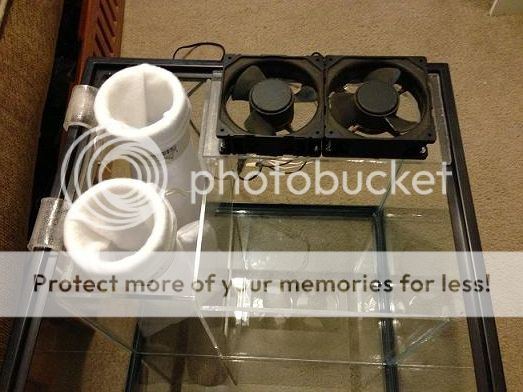
3 - 200W heaters as well as 2 cooling fans controlled by the aquacontroller to maintain 78.0-78.2 degrees.
Aqualifter Pump ATO controlled by float switch
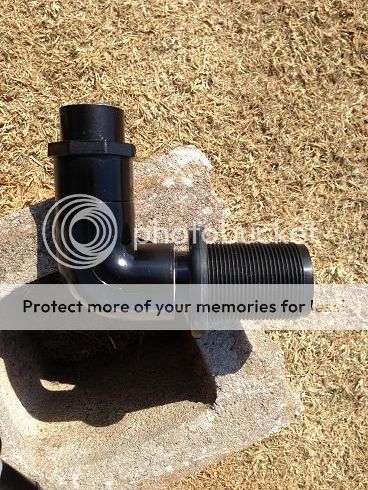
Return pump is a Panworld 250ps that will be feeding dual 1" returns down to 3/4" penductors, dialed down to about 1500gph total flow. But with the penductors I hope to realistically get 3000gph flow.
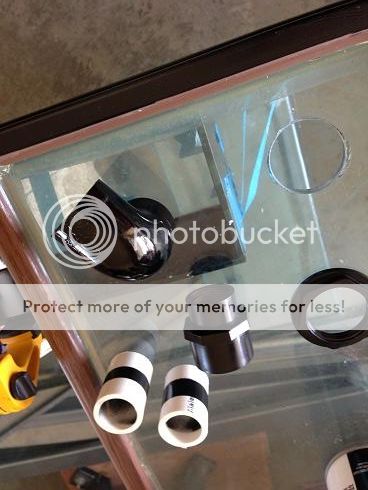
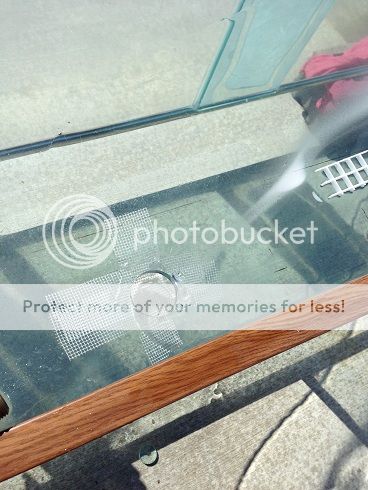
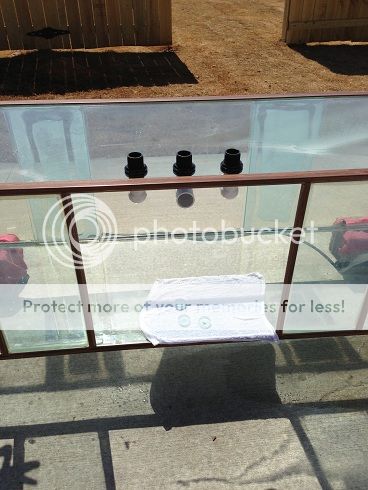
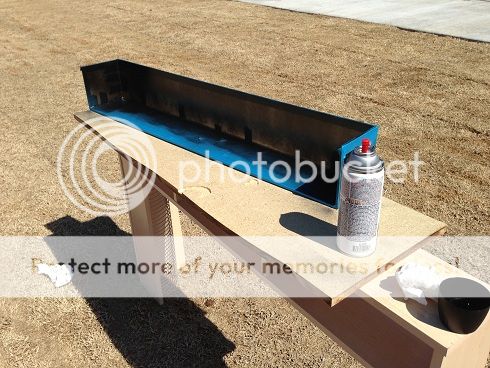
I custom drilled the tank and built a 36" overflow box with a Bean Animal Silent overflow system.
4 Hydor Koralia Pumps (5000gph total)
Skimmer I am going to run is an ETSS 600 skimmer pushed by a Little Giant 4mdq pressure rated pump at just under 700gph at the necesary 3' of head.
Bubble magus Dosing pump with 3 of the 5L dosing containers. Plan to dose Calcium, Alk, and possibly fuel or some other trace elements. I am using Reef Crystals Salt and I think my Magnesium will not require dosing. I am currently running Dr Drews dosing pumps with great success, but upgrading to the Bubble Magus
BRS Dual chamber reactor with GFO and phosban.
Coralife 9W UV Sterilizer
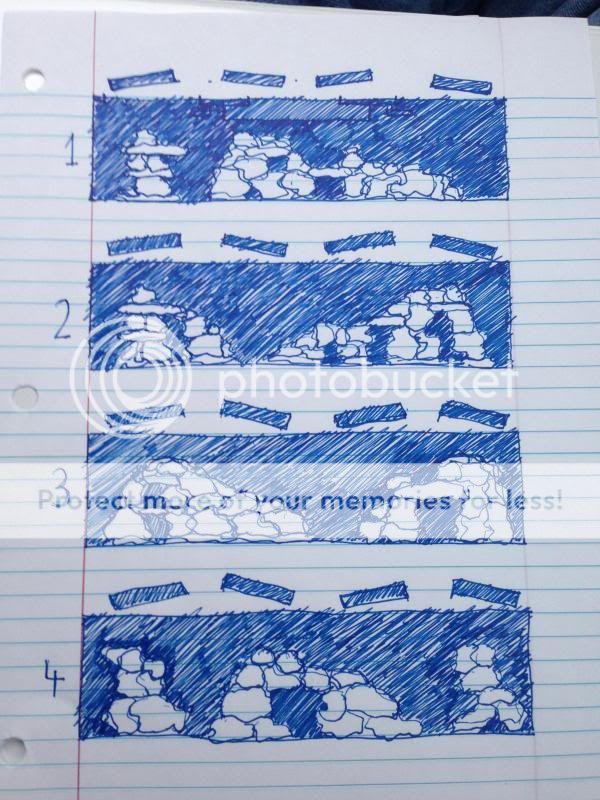
I have 110 lbs dry base rock from Reefrocks.net I am using as the lower base because they are flattened pieces. Then I have about 60lb dry rock of mixed pukani and reef saver rock. Then I have about 120 lbs of live rock that is getting cycled for the next two weeks, and finally about 100 lbs of live rock from my current 55g and 20g mixed reef tanks. So I hope to use a total of 170 lbs dry rock and 100 lbs of live rock in the DT and use about 50lb of live rock in the sump. I have about 420 lbs of rock but I only want to use about 320 in the tank.
I am using 160 lbs of sand from reefrocks.net so it is his Bahama Sand placed in after the rock forms are sculpted. Seeding it with 2-3 cups from my current tanks.
Setting up a dual 55g drum Saltwater Mixing Station that will refill fresh RODI and Fresh Saltwater by the turn on a gang value under the stand.
Coralife 50gpd RODI 4 stage unit, upgraded to a 75g membrane with the 150gpd upgrade from BRS.
For water changes, I plan for an 8% water change each week, so I will pump 20g of water from the sump straight down my Laundry drain then just open a valve to refill the 20g I removed and turn the system back on.
I will have a 30g RODI container under the stand for the ATO reservoir, so once a week I can turn the valve to fill that fresh water.
Future upgrades:
Genesis RENEW Automatic Water Change
4 Vortech W40es pumps OR 2 W60es pumps
I know there are tons of things I am missing, but I will update on a regular basis. It will be slow updates in the first few weeks because I cannot do anything to the tank for 2 weeks at a time while I am still living in Auburn (4 hours way).
The tank was originally sitting on a 24" tall stand but I want to make it harder on myself and decided to build a 36" tall stand for better viewing. The plan it to take the existing stand and convert it to a canopy above the tank to house my LED penant lights and give it more of a built-in feel.
I will be finishing the stand and canopy to match at a later date but getting it set up and cycling is the first step since I am setting the tank of 4 hours from home. I just bought a new house that we will move into in 7 weeks, but I wnad to take advantage of that time and cycle the tank before I move all my livestock. I wanted to have the tank up this weekend but due to a bad design in my stand (I built one side 1/4" taller than the other so I have to do some leveling of the tank/stand before I can add water) I had to push that back until Easter weekend when I am back to the new house in Huntsville.
Ultimate goal is a mixed reef tank with about 35x turnover in the DT.
Some of the equipment I will be running:
Aquacontroller III with 3 DC8 oulets
4 - 120w Bridgelux LED Pendant Lights
40b sump with a separate 20g Tall Refugium on reverse lighting cycle. 6x turnover rate through sump.
3 - 200W heaters as well as 2 cooling fans controlled by the aquacontroller to maintain 78.0-78.2 degrees.
Aqualifter Pump ATO controlled by float switch
Return pump is a Panworld 250ps that will be feeding dual 1" returns down to 3/4" penductors, dialed down to about 1500gph total flow. But with the penductors I hope to realistically get 3000gph flow.
I custom drilled the tank and built a 36" overflow box with a Bean Animal Silent overflow system.
4 Hydor Koralia Pumps (5000gph total)
Skimmer I am going to run is an ETSS 600 skimmer pushed by a Little Giant 4mdq pressure rated pump at just under 700gph at the necesary 3' of head.
Bubble magus Dosing pump with 3 of the 5L dosing containers. Plan to dose Calcium, Alk, and possibly fuel or some other trace elements. I am using Reef Crystals Salt and I think my Magnesium will not require dosing. I am currently running Dr Drews dosing pumps with great success, but upgrading to the Bubble Magus
BRS Dual chamber reactor with GFO and phosban.
Coralife 9W UV Sterilizer
I have 110 lbs dry base rock from Reefrocks.net I am using as the lower base because they are flattened pieces. Then I have about 60lb dry rock of mixed pukani and reef saver rock. Then I have about 120 lbs of live rock that is getting cycled for the next two weeks, and finally about 100 lbs of live rock from my current 55g and 20g mixed reef tanks. So I hope to use a total of 170 lbs dry rock and 100 lbs of live rock in the DT and use about 50lb of live rock in the sump. I have about 420 lbs of rock but I only want to use about 320 in the tank.
I am using 160 lbs of sand from reefrocks.net so it is his Bahama Sand placed in after the rock forms are sculpted. Seeding it with 2-3 cups from my current tanks.
Setting up a dual 55g drum Saltwater Mixing Station that will refill fresh RODI and Fresh Saltwater by the turn on a gang value under the stand.
Coralife 50gpd RODI 4 stage unit, upgraded to a 75g membrane with the 150gpd upgrade from BRS.
For water changes, I plan for an 8% water change each week, so I will pump 20g of water from the sump straight down my Laundry drain then just open a valve to refill the 20g I removed and turn the system back on.
I will have a 30g RODI container under the stand for the ATO reservoir, so once a week I can turn the valve to fill that fresh water.
Future upgrades:
Genesis RENEW Automatic Water Change
4 Vortech W40es pumps OR 2 W60es pumps
I know there are tons of things I am missing, but I will update on a regular basis. It will be slow updates in the first few weeks because I cannot do anything to the tank for 2 weeks at a time while I am still living in Auburn (4 hours way).


")