sam.basye
New member
Thanks, saf1 and Michael!
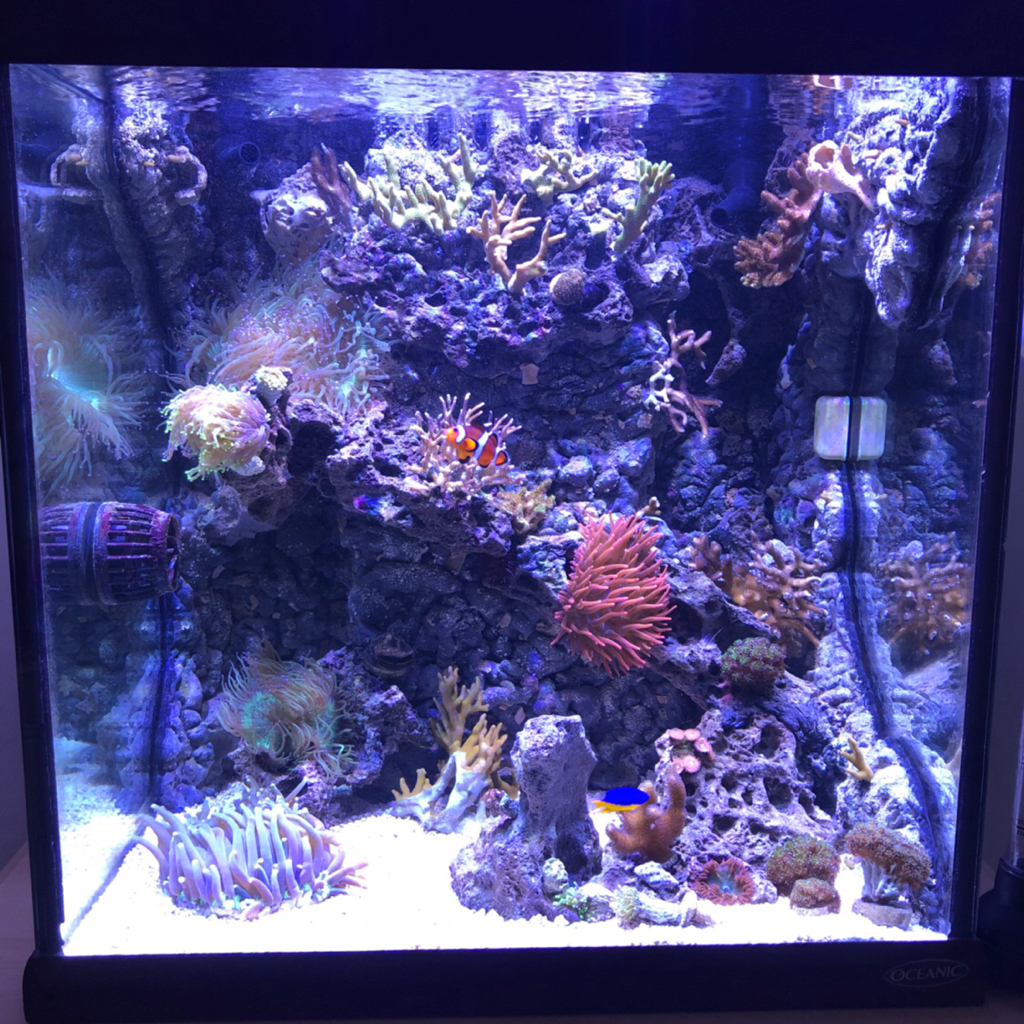
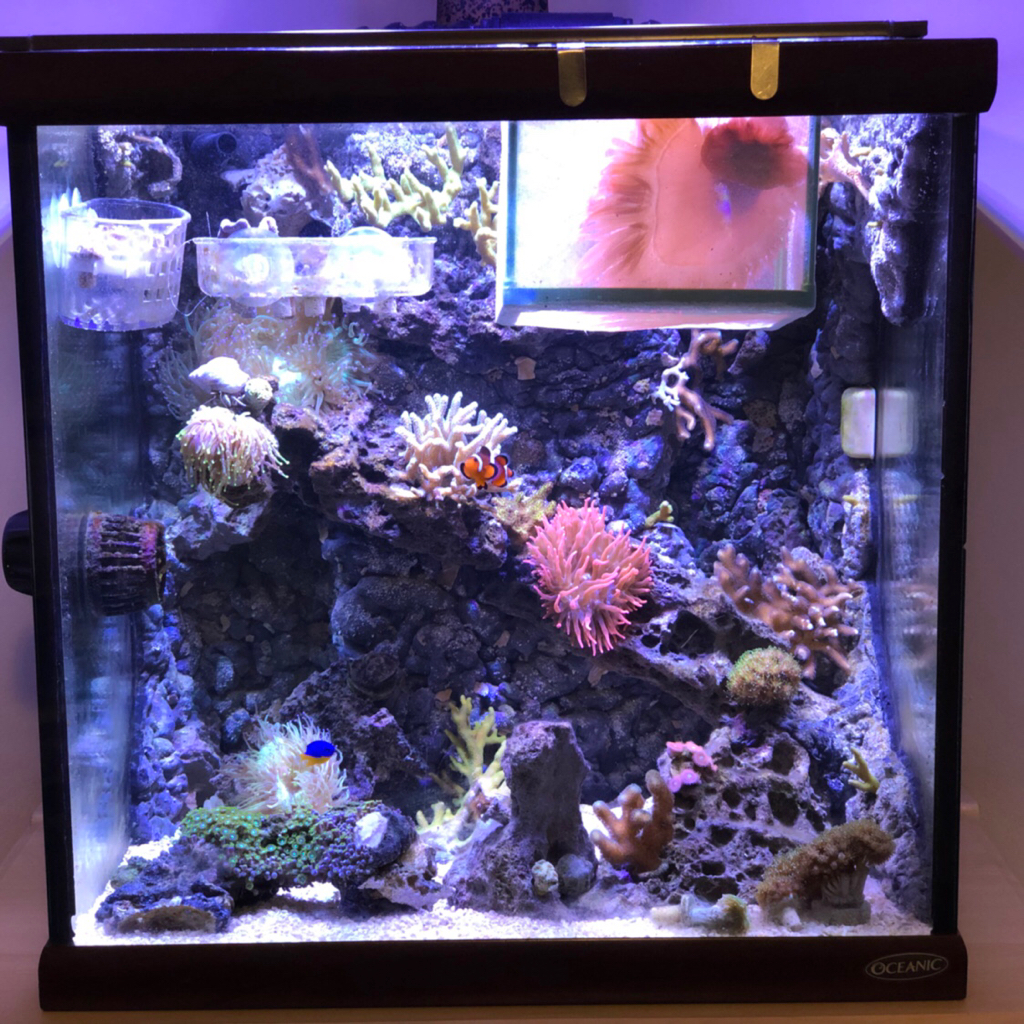
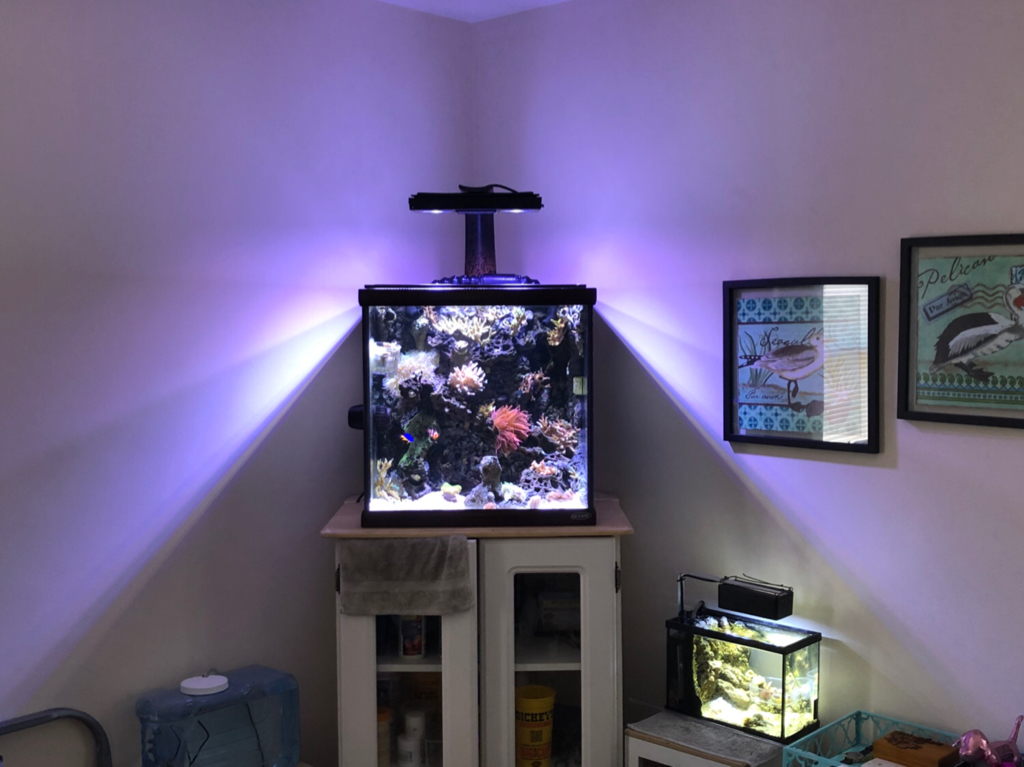
As for the wall, it's been 3.5 years since doing the first one, minus the wall in the 2.5, so I was ready to try doing another one. Plus, the excitement of a new tank also helps! Foaming the egg rate directly to the tank made it easier too. Trying to get the wall back in was a pain on the 26g. I had to break it to get it to fit..
I actually felt like this wall was easy and went really smoothly.
Make sure you look at the wall from every angle before filling it so you don't find a spot you missed. Lol
One thing I have thought after every wall I've made is I wish I used more rock. It's difficult zip tying the to the eggcrate so you can't see them once finished and rock is kinda expensive.
It was also challenging foaming the wall in the tank due to a lack of visibility and can/tube angling.
One thing I might try next time is not pressing all the air out of the entire wall so it doesn't look as flat.
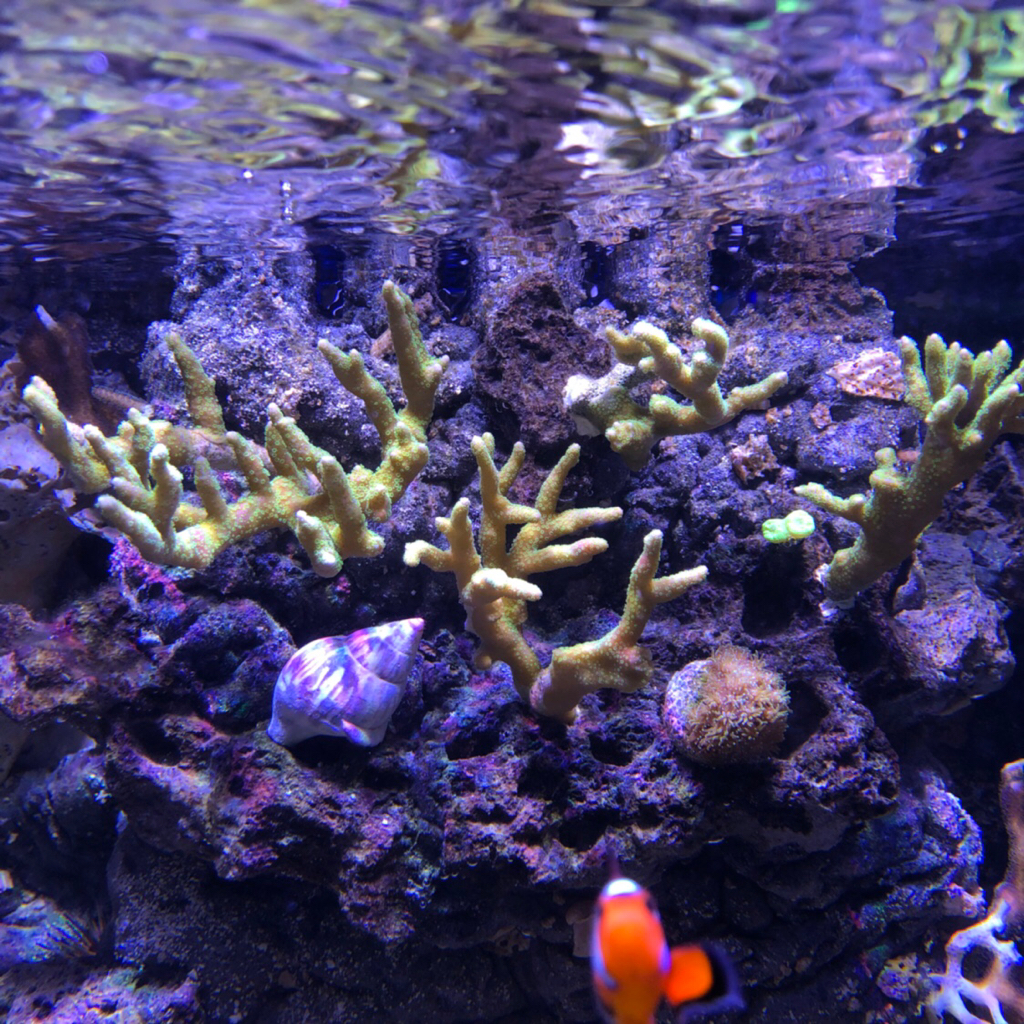
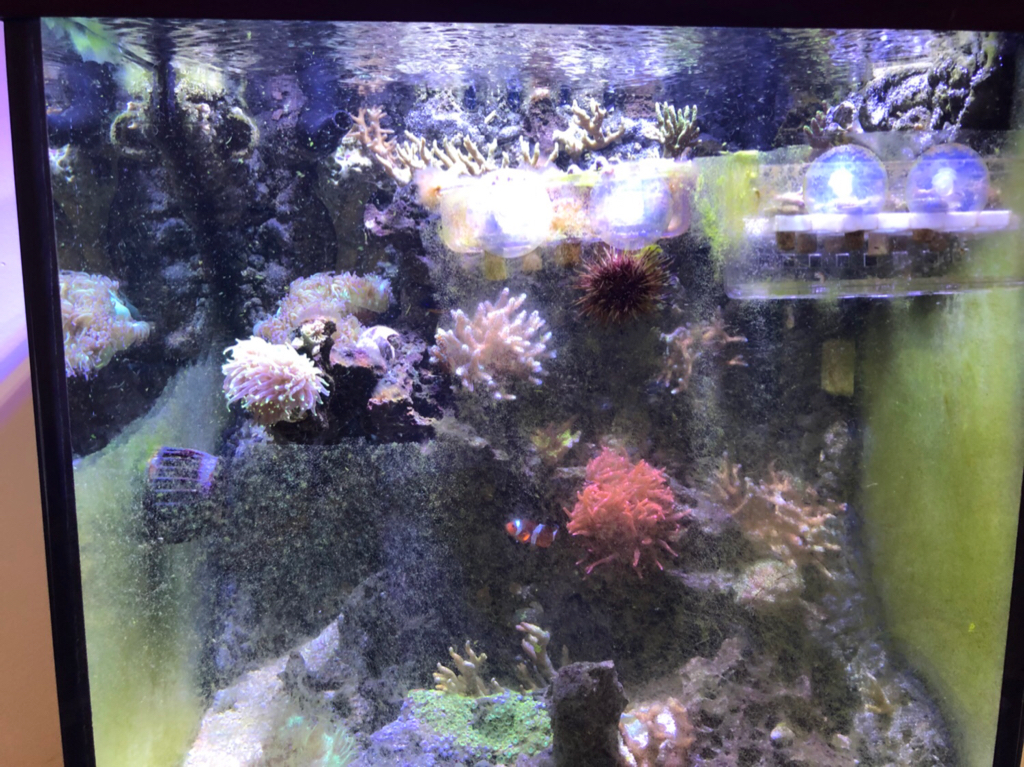
The key to making the wall realistic is to have flowing lines. In this tank, the rock starts halfway up the back left side and comes up a little towards the front which then slopes down across the front and curves back into the sand bed ending with the taller pointed rock in the center. I also chose the rock at the top right because the shape would allow the return nozzle to fit nicely and tight to the rock. I don't want to see equipment, so this helps the nozzles to blend a little better.
Also, choose rock that matches the wall.. lace rock is cheap and a similar color as the wall, especially with gray sand thrown on. You could use other, lighter colored rock, and throw crushed coral or white sand on to help it blend.
The walls that don't come out that great have rock randomly spaced across the wall and often stick out like a sore thumb. Everything has to tie into each other and flow.
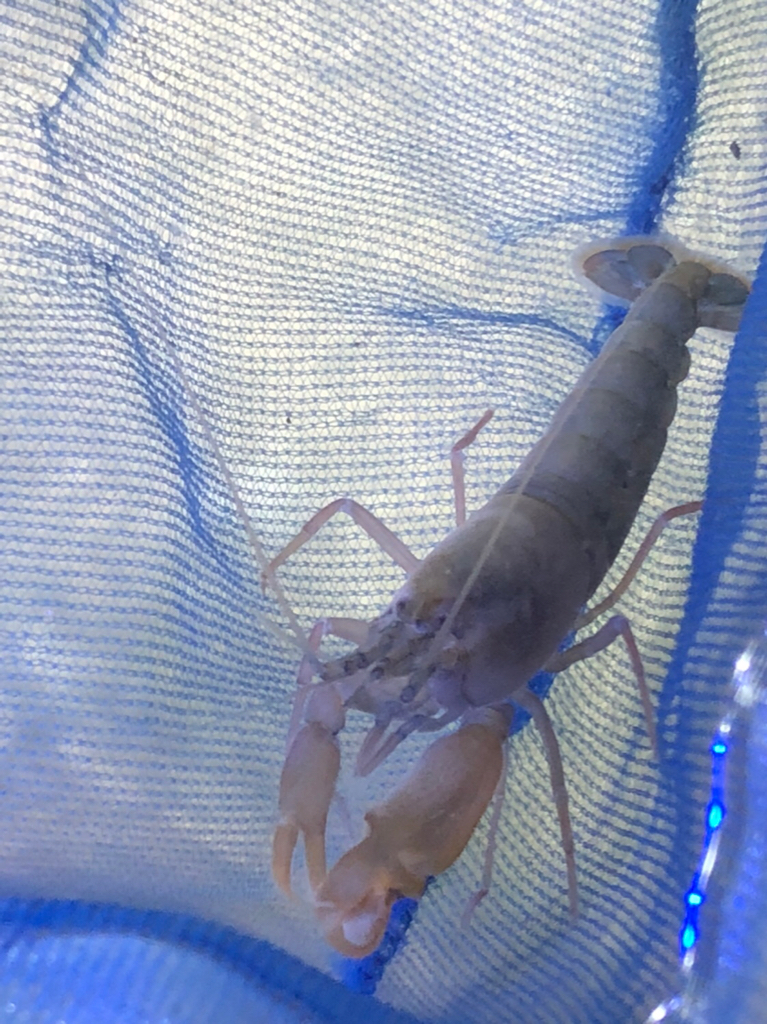
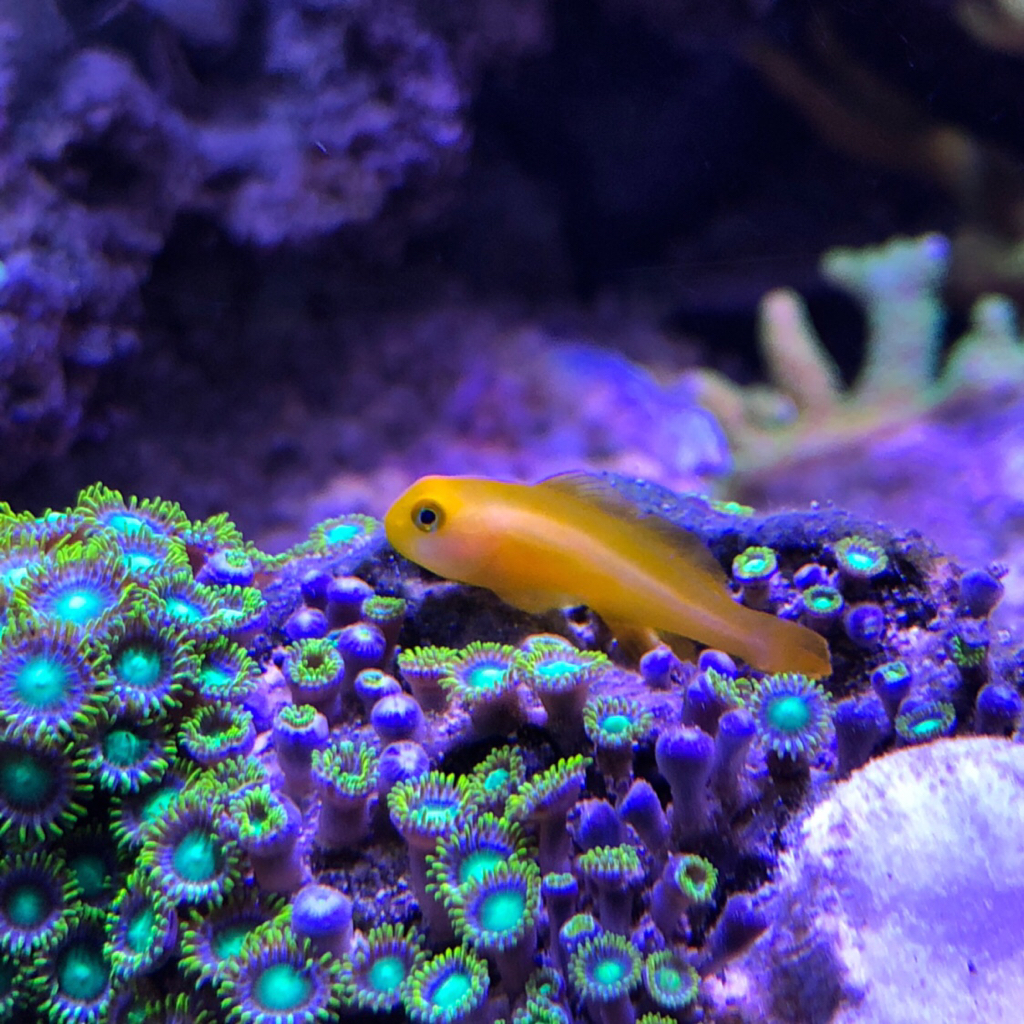
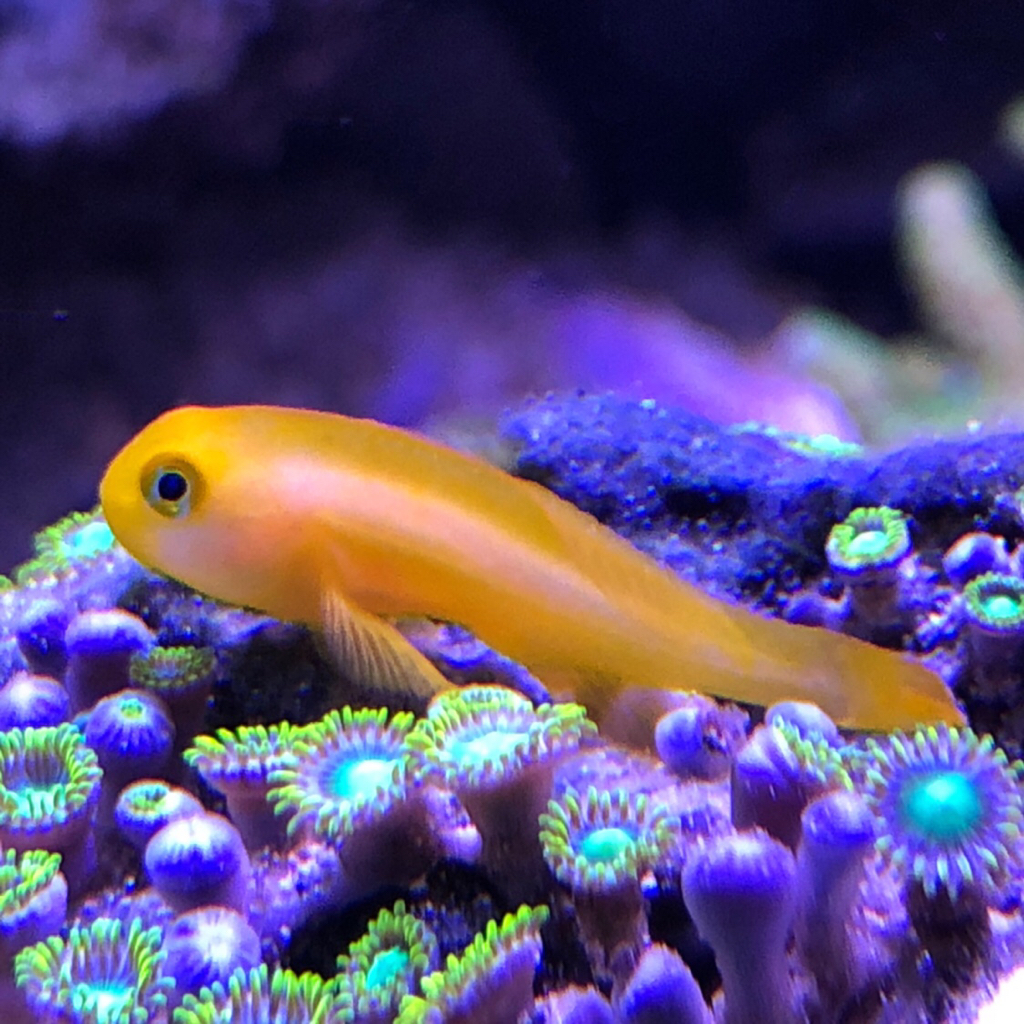
That's my bi-color blenny. It's purply-gray with a yellow/gold tail. The while splotches only show up in certain lighting. It has been exploring all the different nooks and crannies to hang out in.

