Avast CS1 Peg Leg Skimmer Build Thread

dedvalson

New member
Hi all,

I recently completed ordering, building and installing the Avast CS1 Peg Leg skimmer with the Swabbie add on.

I wanted to show some pictures as well as give my general impressions.

I choose this skimmer because of it's compact footprint (I have a small sump) and it's low price relative to similar skimmers. It is also fun to build stuff.

I ordered it on a Wednesday and I had it in my hands on Friday, so the shipping was certainly quick. I had a couple of build questions and the support provided by Avast was incredible, they even called me back late Friday evening to answer a question. I don't know how I could be more pleased with Avast and their customer service.

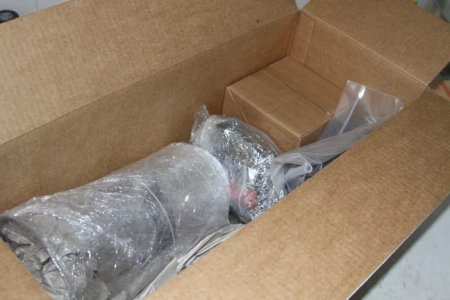
The box was bigger than expected when it arrived as shown here:
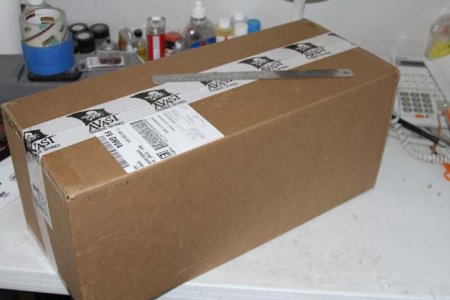
IMG_1395.jpg

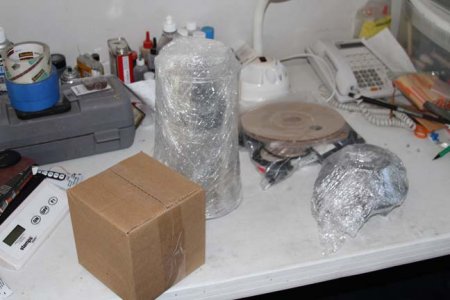
It was securely packed and included a free bag to store stuff in :)
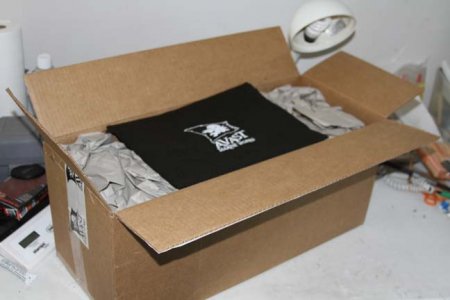
IMG_1396.jpg
IMG_1397.jpg
IMG_1399.jpg

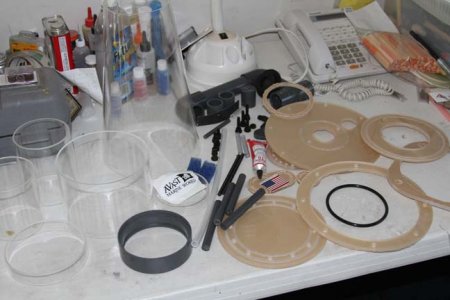
Once I got everything unpacked there turned out to be a lot of parts
IMG_1402.jpg

The kit included everything I needed except for Teflon tape.

Assembly of the kit begins in the next post.

Don
 
The assembly begins

The assembly begins

The first step of the assembly is to put together a few small sub assemblies.

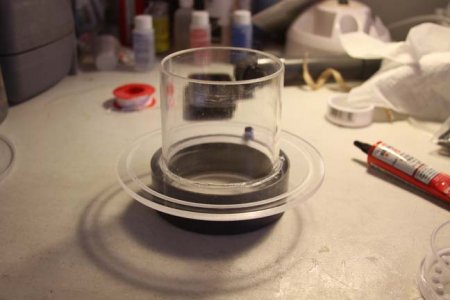
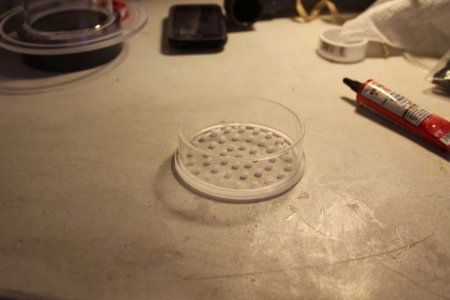
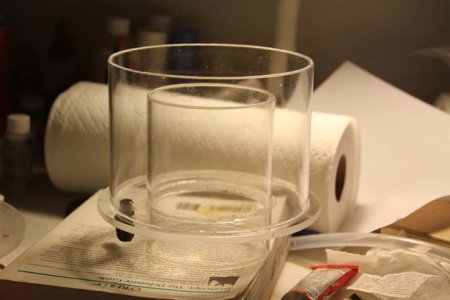
First the collection cup and the throat:

IMG_1405.jpg

IMG_1408.jpg

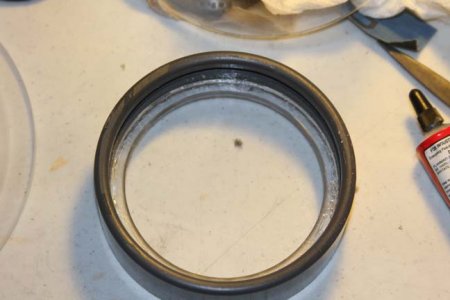
Followed by the bubble chamber:

IMG_1406.jpg

Once these small pieces are glued together, it becomes time for the most critical step of the assembly. gluing the cone closed. The cone consists of a flat piece of acrylic that has been bent around to form a cone shape. As a result there is a seam going all the way up one side that must be glued shut.

This seemed really intimidating when I first started it, but once I got into it it wasn't really that hard.

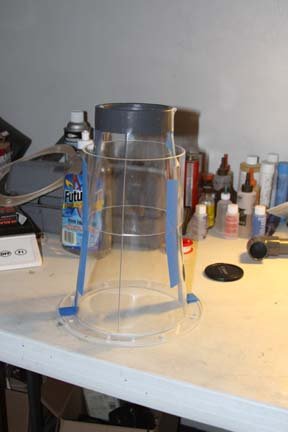
In this picture you can see that I have used the bottom ring, the throat ring and the collection cup ring as clamps to hold the cone shut properly and align the seam. I had to add some masking tape to hold everything in place.

IMG_1410.jpg

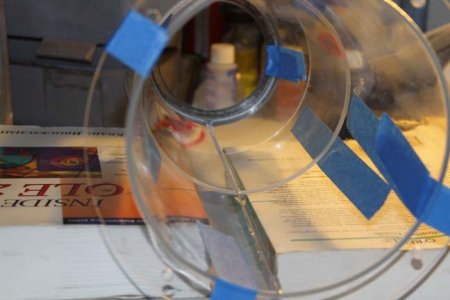
I then layed the assembly on it's side between a couple of books and applied a bead of glue along the inside of the seam as shown below:

IMG_1413.jpg

While this dried, I build some more sub-assemblies. These will be covered in the next post.

Don
 
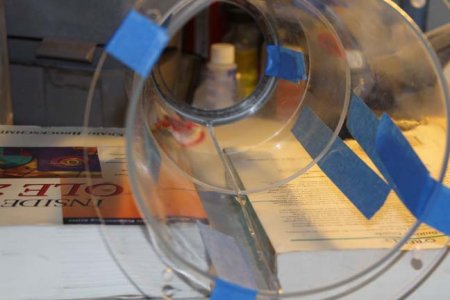
For some reason the image of the main seam drying got messed up in the previous post, here it is again:

IMG_1413.jpg

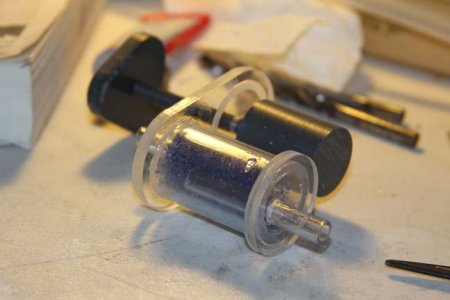
While that dried, I built the air silencer / control valve assembly shown here:

IMG_1414.jpg

The collection cup was then finished. It couldn't be completed previously because the main ring was used as a clamp to hold the cone together.

IMG_1416.jpg

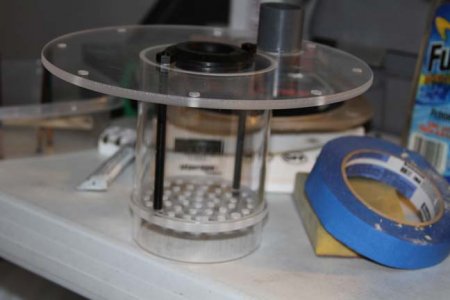
After that, I assembled the bottom plate and the bubble chamber. Not that the bubble chamber is not glued to the bottom plate, it is screwed so that it can be taken apart for modification / cleaning.

IMG_1417.jpg

I don't have a picture of it, but once the inner seam of the cone dried I ran another bed of glue down the outside of the cone and then glued the top and bottom rings to the cone.

In the next post the final assembly takes place.

Don
 
Once all of the glueing is done, everything assembles with screws. I like that because it makes it easy to get inside the skimmer to clean things on occasion.

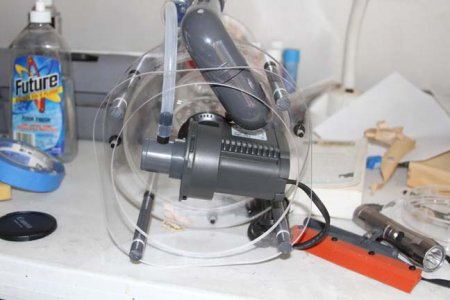
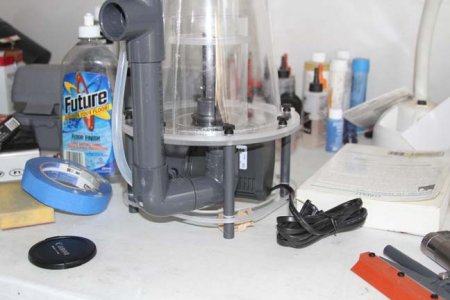
Here you see the bottom plate screwed to the cone, the peg legs attached, and the pump placed under the skimmer. This is looking up at the bottom of the skimmer:

IMG_1418.jpg

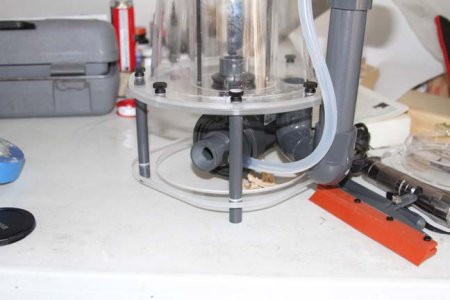
Here are two side views of the same thing. Note that in these pictures you can see the red "windshield wiper" assembly that is part of the "swabbie" add on that keeps the throat clean.

IMG_1419.jpg IMG_1420.jpg

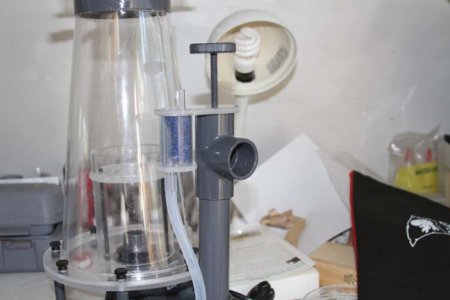
And here is the silencer / valve assembly in place.

IMG_1421.jpg

In the next post I have picture of the finished assembly.

Don
 
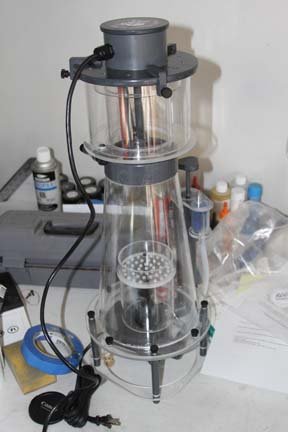
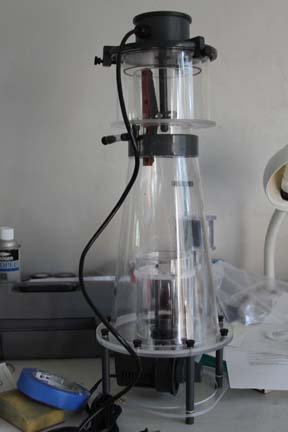
Here are pictures of the fully assembled skimmer:

IMG_1422.jpg

IMG_1423.jpg


In the lower one, you can clearly see the wiper for the swabbie option.

Once I got to this point, I let everything dry really good overnight. Then I put the skimmer in a 5 gallon bucket with a 50 / 50 mixture of vinegar and saltwater. I ran it this way for several hours to clean it out really good, then I installed it in my sump.

I found that I had to make one minor modification after it was installed. I had to shorten the pipe coming up the side of the skimmer going to the output valve. I had to cut about 1 inch off of this pipe. Until I did this the water level was too high in the skimmer.

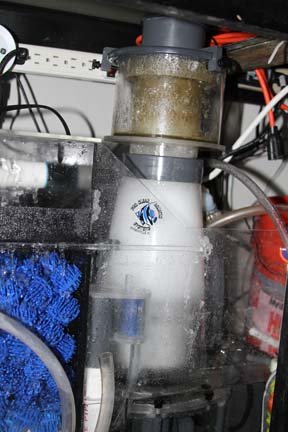
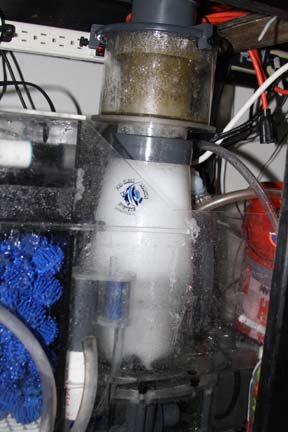
It took a couple of hours to get the skimmer installed in the sump and to get everything adjusted right. Since then, I have not had to mess up with any adjustments at all. Here are a couple of pictures taken about 24 hours after I got the skimmer installed and running.

IMG_1424.jpg

IMG_1425.jpg

Sadly I put the Avast logo on the wrong side of the skimmer and it wound up in the back of the cabinet where you can't see it.

In my next post I will give my overall impressions and conclusions.
 
This skimmer has now been running for 5 days and I am very happy with it.

Assembly took around 3-4 hours and installation took about 2 hours.

The support from Avast has been awesome and they have quickly answered every question I had.

The skimmer seems to run very well and is far more effective than my old skimmer and is removing lots of nice dry foam.

The quality of all of the parts was very high. All of the acrylic parts had nice edges and smooth cuts. Everything fit great.

The only modification I had to make was shortening the output pipe about 1 inch.

I put a sponge under the output of the skimmer to minimize the "splashing" sound and now the only thing you can really hear is a sort of rumbling sound from the air entering the silencer. I am thinking about routing the air-intake to outside of my house to reduce the CO2 level in my tank anyway.

The Swabbie is pretty cool. It is a small motor that moves a windshield wiper type blade around the inside of the throat to keep it clean. I put it on a timer that runs it for 1 minute every 6 hours. It seems to work really well.

My only real criticism of this product is that it is a little bit difficult to figure out how to assemble it. The instructions are split between two videos and a .pdf file. They sometimes contradict each other and it takes a little thinking about how to merge the information from all of them. It would also help if they supplied a parts list showing which part was which. But this is minor and I got through it without too much trouble.

Overall, I would highly recommend this product.

Don
 
Back
Top