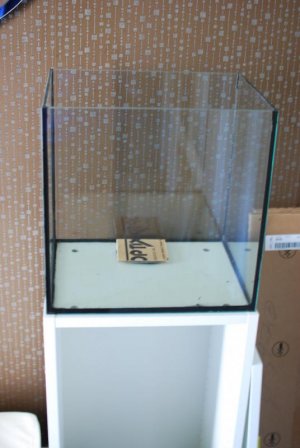
Well its been a few weeks and wanted to provide an update. Tank has been sitting around waiting to be filled with my fish and lr I have in my sump. All in all I'm happy with the glass tank and am impressed with the silicone seams.
I did some tests with scrap glass and let the silicone setup. I had a really tough time pulling them apart. And the silicone doesn't just tear, it flexes quite a bit. I also measured the tank dims with water and without water and there was no difference, so no flex whatsoever.
I really wanted to come up with a way to do the seams without tape. Problem I had with tap was two fold; first, with the overlapping seams it was hard to tell where to run the tape exactly. We're talking like a mm either way. If it wasn't right on then the tape would pull too much silicone off or OTOH not pull enough off. Hard to describe.
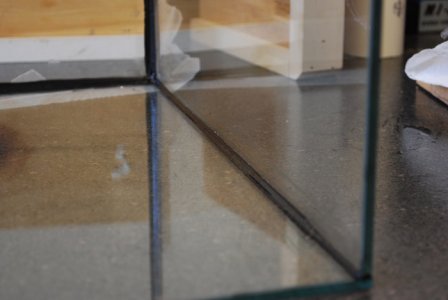
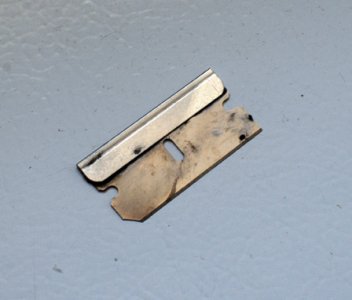
I made a little razor blade tool by nipping a corner off the blade, in order to tool the silicone after oozing out. It worked really well (see below) with two exceptions; after a couple minutes the silicon starts to skin over and you don't get a smooth skin, and, there's still a thin layer of silicone thats left for cleanup later. Both issues could probably be addressed by buying a similar silicone with longer open time.
I also found the it was too tough to try to glue everything up at the same time. So I glued the bottom to the back, then the sides, then the front. To keep the gaps consistant I used those sewing needles for temporarily holding seems.