drummereef
Team RC
I'm real happy with my suspension system, I used eye bolts in the track dollies, "S" hooks for height adjustment, and turnbuckles to get everything dead nuts level
Brian
")
Veeerrrry nice Brett!
I've got power tool envy going... we're still in the dark ages here with my hand held stuff - you're bringing the real tools! :thumbsup:
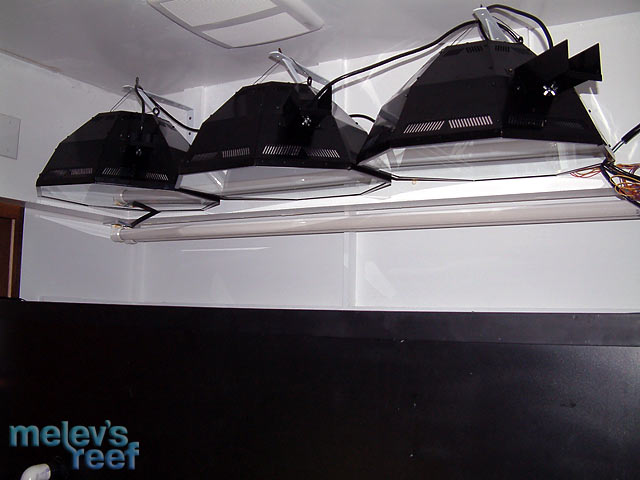
Hey, can you show us how you mounted the florescent endcaps to the rack?
I don't have any fluorescent bulbs mounted to my fixture, at least at this point. The picture above is 03LightningSVT's lighting rig. ")
Veeerrrry nice Brett!
I've got power tool envy going... we're still in the dark ages here with my hand held stuff - you're bringing the real tools! :thumbsup:
Hey, can you show us how you mounted the florescent endcaps to the rack?
I used "L" corner brackets to mount my T5 endcaps :thumbsup:


Dude this is an amazing build!
Oh & how is the Baby?
 He just started laughing withing the last couple days which has been awesome. Thanks for asking. It's in the unfinished part of the basement from which I have access to the sump room. Going to make it easy to clean the skimmer nog, except for the smell.


Absolutely love the attention to detail, Brett.
I didn't know about galvanic corrosion...now I wonder if I should tear mine apart and put nylon washers in! :mtool:
If I'm reading this correctly, the problem is the lights will be 1" closer to the water than originally planned because of the front wall over the tank, correct? My tank has pretty much the exact same problem, and I just opted to go higher and not sweat it. That provides spread, less heat issues, and I have room to work.
You can definitely try them out at the original plan and see how you like them, and if you have to change it later you can. A PAR meter would be really good to help determine intensity levels, and your eyes will discern if the spread looks good or if it looks spotlighted.
Oh yes, significantly so. I'll try to find you a few current images. You can tilt them to shoot forward somewhat, it only takes a little bit of a nudge to get the light where you want it.