You are using an out of date browser. It may not display this or other websites correctly.
You should upgrade or use an alternative browser.
You should upgrade or use an alternative browser.
DYI 600g + -
- Thread starter lapin
- Start date
lapin
Member
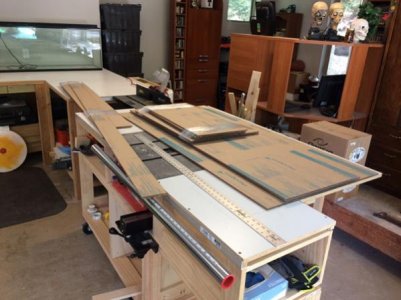
Sump time. Kinda like hammer time. Here is my little garage set up. Nothing fancy here.
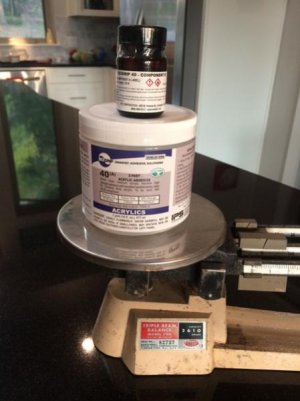
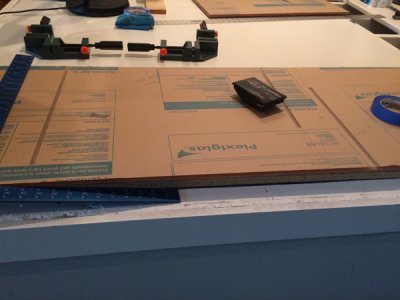
Got the acrylic from the supplier. All cuts look good. Will route the edges. Since I'm going to be building the aquarium out of 1", I decided to use weld-40. The sump will be good practice. I think I will have less bubble issues in the tank seams and 1" stuff is heavy. Kinda hard for 1 person to pin and weld. Might not be as strong as M/C but the tank is kinda being over built.
So "what me worry?" to quote Alfred E Neuman.
Attachments
lapin
Member
They are good but require a lot of coatings ect...and glass is very heavy. One reason I will not make this size tank out of glass. I would rather not make a big mess with a lot of sticky stuff and just worry about a little bit of glue. I hate painting stuff. My brother is a painter and if it needs to be painted I hire him if he is avail. Now if it was a big tank, I would prob do wood or pool concrete.
lapin
Member
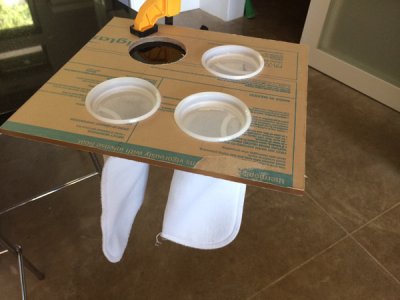
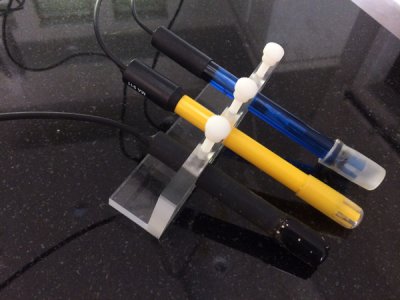
Messing around with the acrylic just to get re-acquainted. Routed some edges. Needed to see what #40 smells like. Made the sock holder. A small probe holder. The old tools work ok.
Attachments
lapin
Member
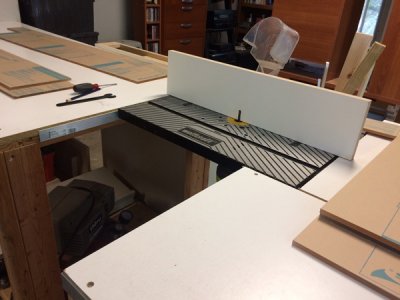
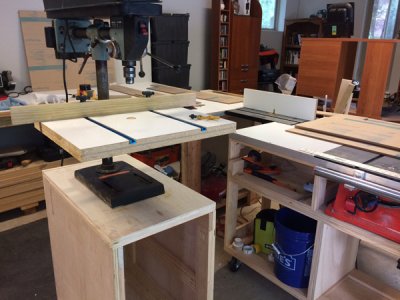
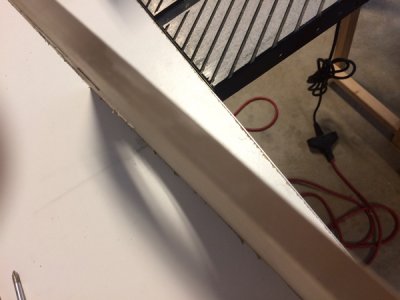
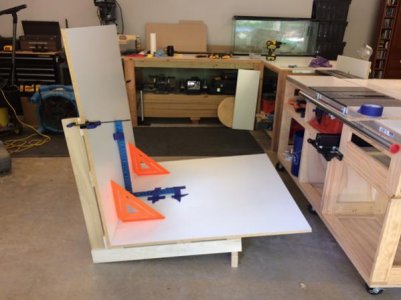
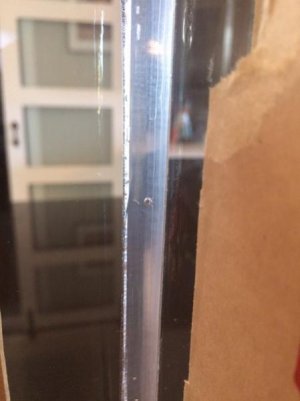
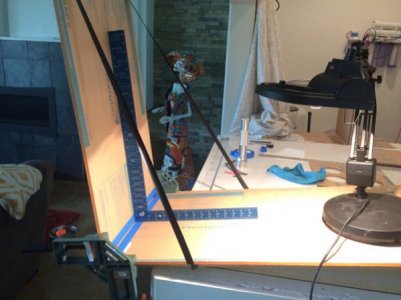
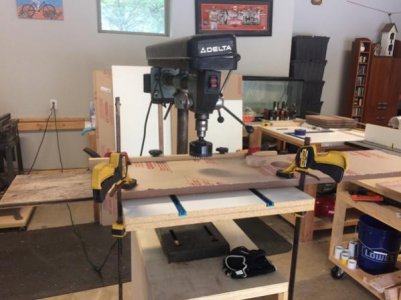
Built a jig to hold the bigger panels for assembly. These 90 degree clamps are a great pair of extra hands. Takes a lot of worry out of getting panels at the perfect angle. Also holds up the panels to form that 1mm gap needed for #40. This is a bubble I got in my first seam for the sump . I lifted the syringe mid seam then touched it back down in the wet #40. Did not try to remove it since its an internal baffle and wont show. Live and learn. Practice, practice and practice some more. Here is the first side being welded to the back of the sump. By lifting one end of the panels the #40 runs into the seam a lot better.
Attachments
lapin
Member
Very inspiring! Great job posting pics showing your progress. Jealous!
It looks like there is no walk-through between the tank and your reactors. How will you access them?
It looks like there is no walk-through between the tank and your reactors. How will you access them?
lapin
Member
It looks like there is no walk-through between the tank and your reactors. How will you access them?
Thanks. There is about 3ft from the wall that the reactors are on to the edge of the tank. I will build some stairs to climb up onto the platform. This way I should be able to reach into the tank and service the reactors. I will have a board to cover that gap you see, so I don't break a leg.
lapin
Member
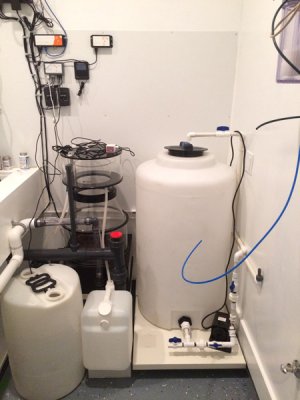
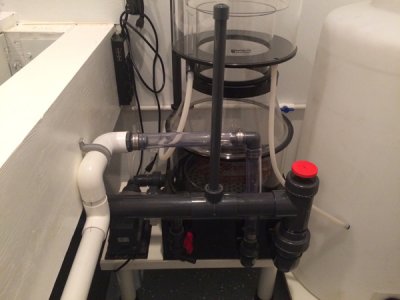
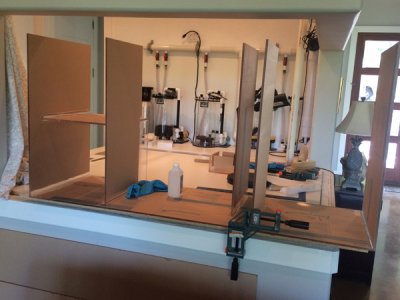
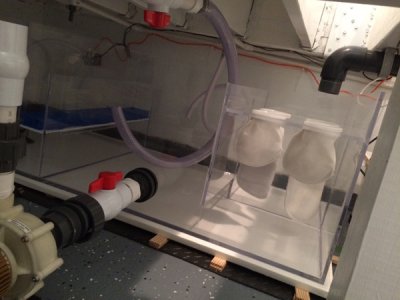
Sump is almost done. Will add the top after the tank is done. I wanna be sure all the holes in the top are in the right place for the over flows and stuff. Water will flow into the chamber on the back right side, then over into the socks. Then out the bottom into the middle chamber. I left a 2" gap at the top in case the socks get plugged, for the water to flow over into the next chamber. The middle will be full of rock and some of those marine pure blocks. The water will be pumped out to the skimmer and returned to the middle chamber. Then over and thru the spaghetti mat. Then back to the tank. Simple design, no frills.
Attachments
lapin
Member
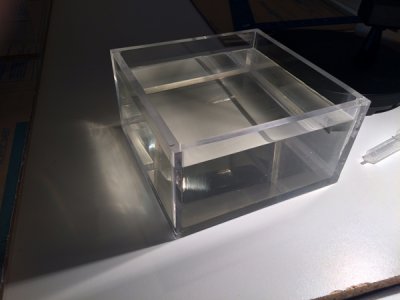
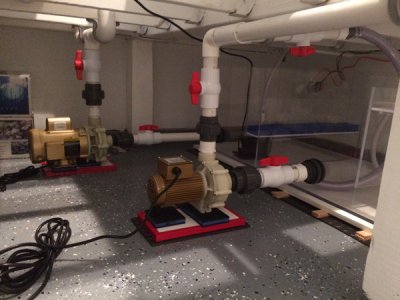
Got the sump fitted. Had to shim a bit. The floor is sloped towards the drain. Plumbed the pumps and attached the ATO. Put an extra pump in the last chamber for water changes. Will used a peristaltic pump later for this but for now I will do it myself. The picture shows 2 flex tubes going into the middle chamber. The small one is from the salt mixing barrel for water changes. The large one is extra flow from the pump supplying water to the skimmer. I can open that more or less depending how much flow I want in that middle chamber and to the skimmer.
Attachments
lapin
Member
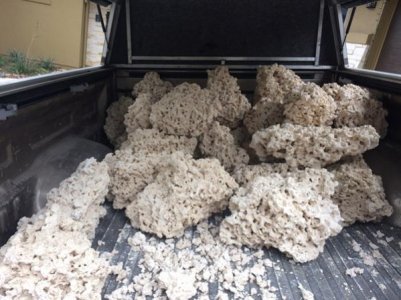
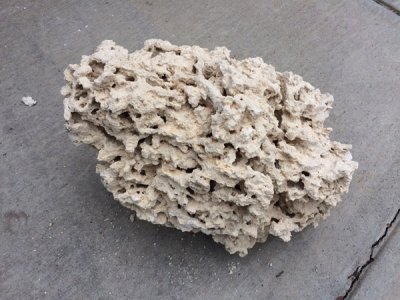
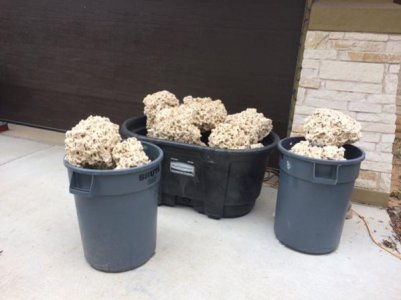
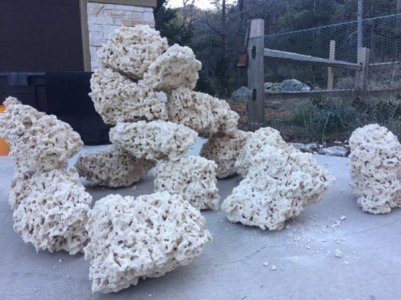
Picked up the Marco Rock today. The stuff looks great. Not as lite as Pukani, but close. Great price too. Big pieces will make for fun aquascaping. Now to get with the cookin.
Attachments
lapin
Member
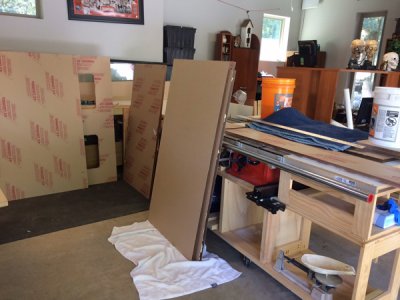
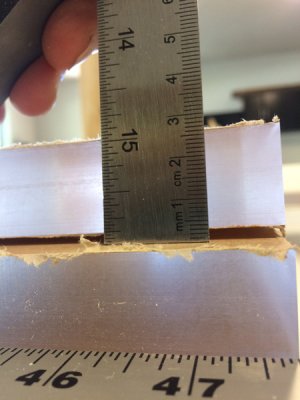
Here is the tank acrylic. This will be fun. Big and heavy. My back is glad its not glass. I had to drill some holes in the coast to coast overflow for the bean animal. There is about a 5mm warp in one of the panels over a 5ft span. Hope this does not create a problem down the road.
Attachments
VoltzNSalt
Member
Exceptional build - particularly all of the DIY acrylic work...very impressive...
If I may ask, where did you source your spaghetti mat? I have been looking to replace mine in my sump and can't seem to locate any that is long enough to span the total distance with a single piece...
If I may ask, where did you source your spaghetti mat? I have been looking to replace mine in my sump and can't seem to locate any that is long enough to span the total distance with a single piece...
lapin
Member
Exceptional build - particularly all of the DIY acrylic work...very impressive...
If I may ask, where did you source your spaghetti mat? I have been looking to replace mine in my sump and can't seem to locate any that is long enough to span the total distance with a single piece...
Thanks
The mat does not span the full 30". It is only 24" long. I had to cut a small 6" piece to make it span the full length. It is supported underneath by egg crate. I will look for a longer piece if this works.
https://www.bulkreefsupply.com/aquamesh-blue-3.html
lapin
Member
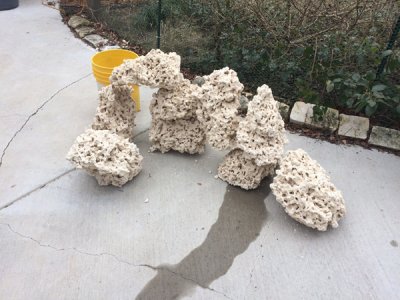
Been freezing here. Cold when wet. I need some feedback ideas for rock work. I took it out of the barrels to pressure wash and decided to stack a few pieces up. Sort of how I want it to look. Here are 3 views. The tall section is going near the back corner. 3 power heads will move water thru openings in the rock work. Any suggestions before I start over ?
Attachments
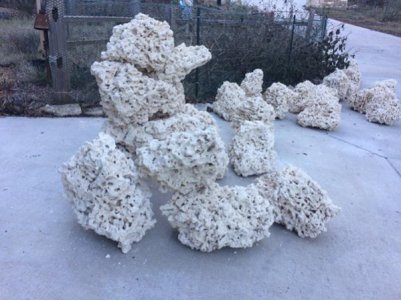
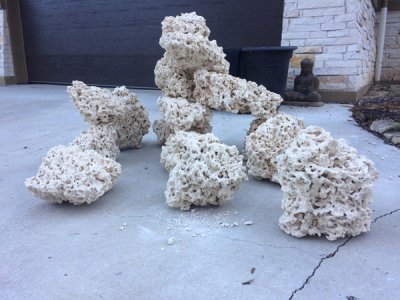
Check out "McPuff's new 300" on this forum. It's the best rock work I've seen. Post #82 has a vid of it.
lapin
Member
i hope you plan on bracing the sump.
Yes I will put the top on the sump when I have the tank dry fit in place. I want to be sure all holes are in the correct place before routing the top. FYI I will have a dogfish to guard my clowns.
Similar threads
- Replies
- 4
- Views
- 207
- Replies
- 1
- Views
- 64