DYI 600g + -

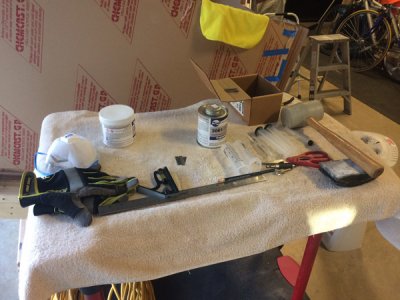
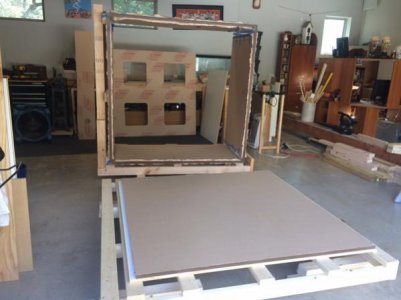
3 Pictures of work in progress. The coast to coast to over flow box being welded together. Don't do this in the kitchen, as it will smell like glue and make people not happy.
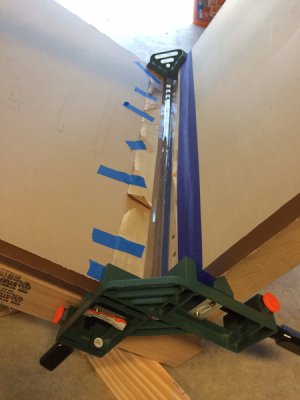
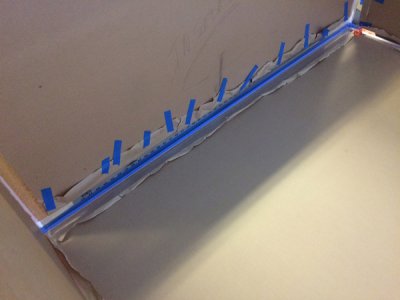
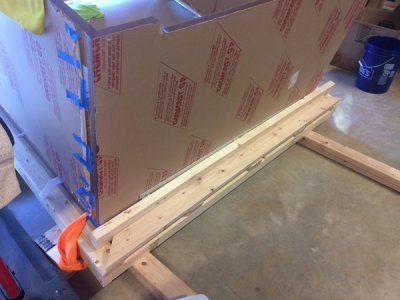
The first tank seam (2sides) are being welded. Here is the make shift jig I made to hold in in place at 90 degrees. Along with those 90 degree clamps made it easy to keep in place.
 

Attachments

  • 34_Tank_seam.jpg
    34_Tank_seam.jpg
    95.2 KB · Views: 5
  • 35_Tank_seam2.jpg
    35_Tank_seam2.jpg
    102 KB · Views: 6
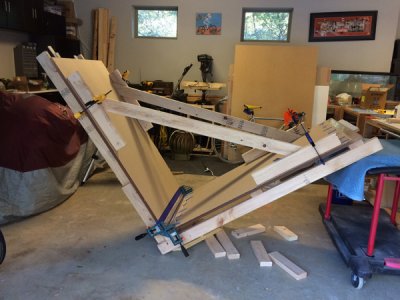
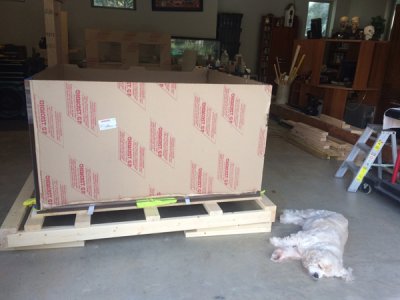
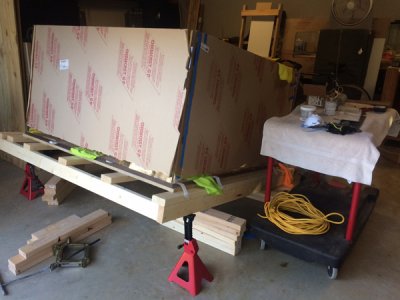
I have 4 panels welded. It is now way to heavy for me to do anything myself. Time for BBQ and beer for my neighbors. Next step is to weld the bottom to the sides.
 

Attachments

  • 36_Tank_seam_back.jpg
    36_Tank_seam_back.jpg
    100.4 KB · Views: 5
  • 29_Glue_up_table.jpg
    29_Glue_up_table.jpg
    101.1 KB · Views: 6
  • 37_Tank_roll.jpg
    37_Tank_roll.jpg
    33.5 KB · Views: 5
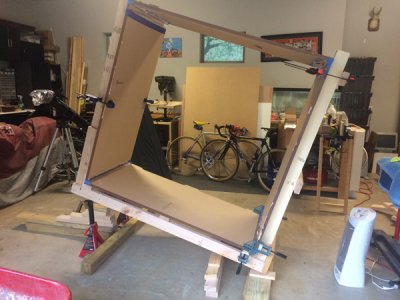
Finally the 4 sides are flipped over and onto the bottom for welding. Both me and my buddy are beat. It is very heavy and to maintain a gap for solvent I used strips of teflon cut from a sheet. They are 2mm thick and compressed down to about 1mm with all that weight.
 

Attachments

  • 37_Tank_on_bottom.jpg
    37_Tank_on_bottom.jpg
    100.7 KB · Views: 5
How are the seams looking so far? Were you able to get them nice and clean? I find that very difficult personally.
 
How are the seams looking so far? Were you able to get them nice and clean? I find that very difficult personally.

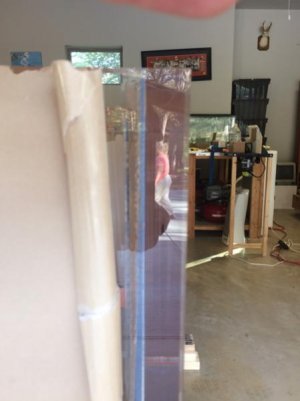
I tried to do a few practice seams with sci-grip #4 and pins. 1" stuff is so thick its hard to work with. They all had bubbles. So I am using sci-grip#40. Its like gear oil. I saw the builders on that show "Tanks" pouring some thick stuff when making a very thick tank seam. Maybe this is what they used or something similar. You need to have a 1mm gap for the stuff to flow into. it takes 15 min to set. Not like #4 which takes a a few seconds. And you dont use pins. I used some small chips of the stuff to keep the gap across the 5 ft span. They are almost invisible when done. I took a look at the one seam that's going to show (outside corner). No bubbles. Yaaaaaaa. Very Happy. Was almost afraid to look.
 

Attachments

  • 41_Seam_outside_corner.jpg
    41_Seam_outside_corner.jpg
    25 KB · Views: 4
One more thing. I way overfilled the seams to allow for shrinkage when drying. It causes the inside to have what looks like a silicone bead that was smoothed with your finger, like on a glass tank. The difference is that it is clear. With water in the tank i dont think it will be that big a deal. May even be invisible.
 
This looks awesome. Also, the Jackalope in your workspace is awesome.

I would love to try a build like this, making a custom tank looks like a fun (but stressful) project.

It appears that you have two calcium reactors, or is one just the second chamber?

Are you going all kessil on this tank or other lights as well? Do you have a vent or something in that room to prevent from having one very humid fish-room?

Keep up the great work, that tank seam you showed looks perfect!
 
This looks awesome. Also, the Jackalope in your workspace is awesome. Thanks

I would love to try a build like this, making a custom tank looks like a fun (but stressful) project. Good Fun ....Teaches me patience

It appears that you have two calcium reactors, or is one just the second chamber? It is for a possible sulfur denitrator down the road

Are you going all kessil on this tank or other lights as well? Do you have a vent or something in that room to prevent from having one very humid fish-room?

Keep up the great work, that tank seam you showed looks perfect! Thanks[/I]

Right now I have 4 Kessel 360W. I might make a couple of cannons myself to add more of a spot light on the bottom for clams.
The room has a fan/vent in the 10 foot tall ceiling, vented thru the roof. If this is not enough I can add a second one
 
That seam looks terrific. Well done! Eager to see how this turns out. I'm pretty impressed with the tools you have... but that's what you need to do something like this the right way!

Making your own LED canons? Wow! Please create a thread for that too.
 
Whooo Hoooo . Time to climb in the tank and finish the bottom seams. I placed wood on the outside to keep it from sliding off the platform. I jacked it up on 1 end at a time to get the solvent to flow into the joint. Its slippery inside on that paper protective covering. Had to do this barefoot. Car jack and some jack stands worked pretty good. Too bad i didn't have a floor jack. The last picture shows part of the cutouts for the coast to coast overflow.
 

Attachments

  • 38_Bottom_seam.jpg
    38_Bottom_seam.jpg
    100.3 KB · Views: 4
  • 39_Bottom_seam2.jpg
    39_Bottom_seam2.jpg
    95.3 KB · Views: 5
  • 40_Bottom_seam3.jpg
    40_Bottom_seam3.jpg
    100.6 KB · Views: 5
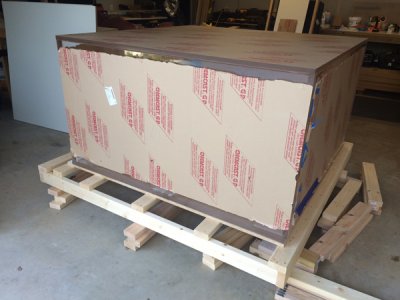
The bottom is on. Lot of work jacking up and down for each seam. The 1st picture shows the tank on its side ready to be flipped over onto the top for welding. Next shot shows the tank on the top. You cant see the pins but they are pretty thick. I didn't want them to break off when pulled out, I will get a friend to pull them as I weld the whole top seam.
 

Attachments

  • Tank_flip.jpg
    Tank_flip.jpg
    27.8 KB · Views: 4
  • Tank_top.jpg
    Tank_top.jpg
    102.4 KB · Views: 5
The top is now welded on. Got it flipped up on 1 side. Now time to weld the overflow box onto the back. It looks really big this way.
 

Attachments

  • Tank_top_on.jpg
    Tank_top_on.jpg
    102 KB · Views: 6
Last edited:
And here I am, proud of a small acrylic/screen top I'm making for a 12" cube tank. :0)
Nothing wrong with those small projects. I need to make 4 of them for my tank openings.
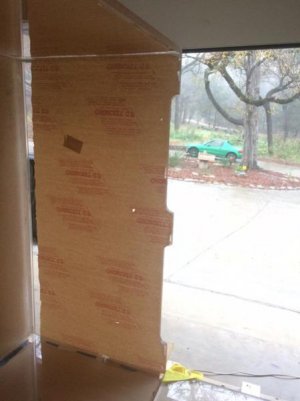
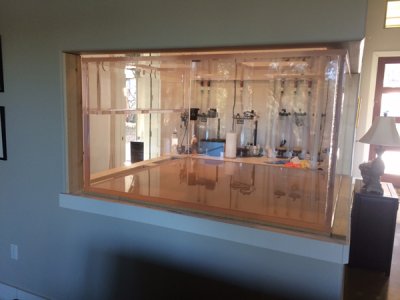
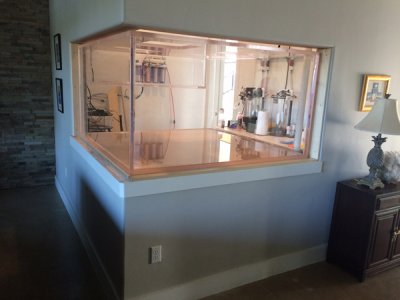
With the help of 6 strong old guys and some breakfast tacos we got the tank in the house.
 

Attachments

  • 43_Tank_in1.jpg
    43_Tank_in1.jpg
    99.6 KB · Views: 6
  • 43_Tank_in2.jpg
    43_Tank_in2.jpg
    101.2 KB · Views: 5
What are you going to do with the 2 sides of the tank that in the fish room paint it? so it would not see thru

It will be covered with a black cloth liner attached with velcro. I can cut holes for the MP60's and it can be removed if needed. I'm not sure if I will try to keep the back sides clean or let the Coraline and sponges take over.
 
Nothing wrong with those small projects. I need to make 4 of them for my tank openings.
With the help of 6 strong old guys and some breakfast tacos we got the tank in the house.

Agree. It's just fun to make these little projects, especially when it's just out of scrap material.

The tank looks terrific. Color me impressed.
 
Back
Top