You are using an out of date browser. It may not display this or other websites correctly.
You should upgrade or use an alternative browser.
You should upgrade or use an alternative browser.
DYI 600g + -
- Thread starter lapin
- Start date
muttley000
MTS Sufferer!
Very nice build! I like you shop, and your no fear attitude in taking on the project. Looking out for the finished product!
lapin
Member
Very nice build! I like you shop, and your no fear attitude in taking on the project. Looking out for the finished product!
Hahahahahaha ....Plenty of fear but ya got go forward.
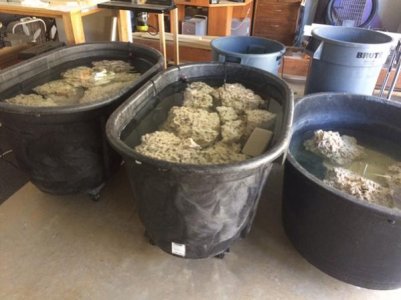
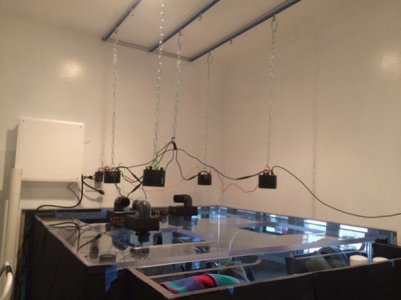
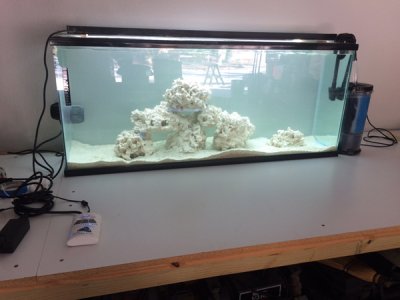
Not much new to report, just staring at 3 -100gal rubbermaid troughs full of rock curing. Working on the trim around the windows. Cleaned up a used 55gal I will use as a QT. Will take some pictures of the light hangar Im working on. My first idea did not work out. Did not like the fixed position or the cords.
Attachments
lapin
Member
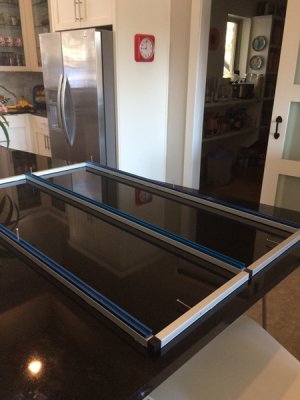
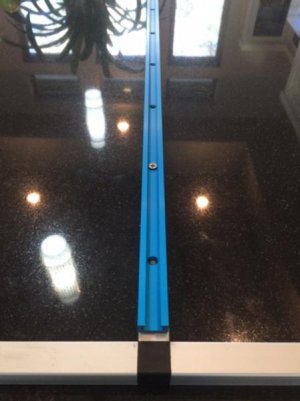
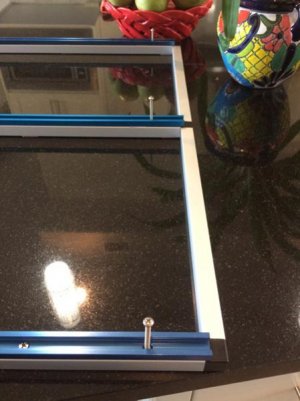
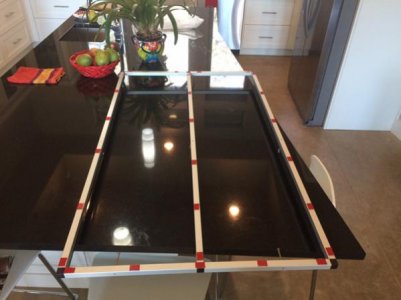
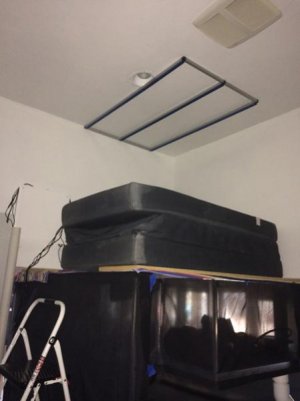
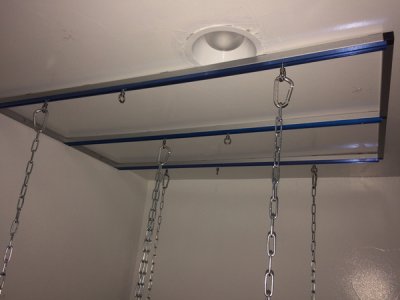
Here is the light rack I made. Will hold the Kessils or any other light I choose. It allows me to slide "T" bolts in the track. I can add more and position lights anywhere along the track. I used 2 faced tape to hold the rack to the ceiling while I screwed it in. Had a nice old futon to sleep oops I mean sit on while working over the tank. Im waiting for some 1/4 inch T bolts to come in the mail. Will use chain and eye nuts to get the lights at the right height.
Attachments
lapin
Member
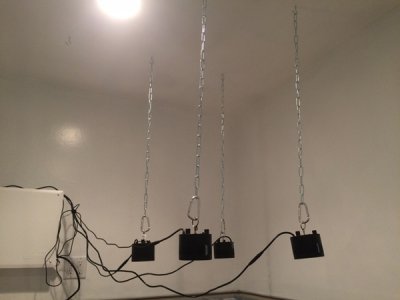
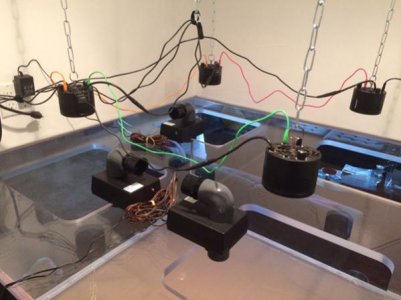
I received the "T" bolts in the mail. Hung the lights on chain from the new rack. Unpacked the sea swirls. Need to get the plumbing attached to them. I also need to get some idea of how to mange the wires above the tank.
Attachments
lapin
Member
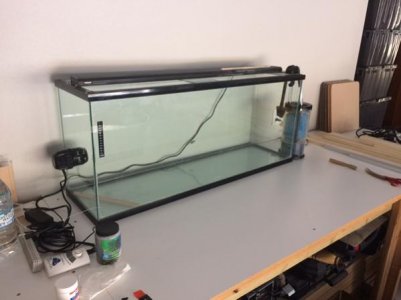
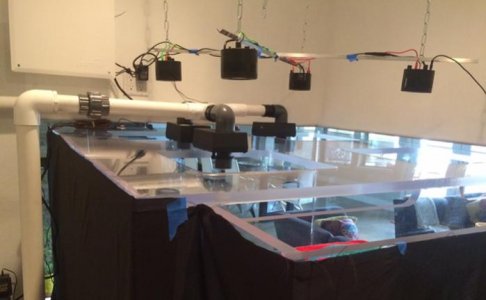
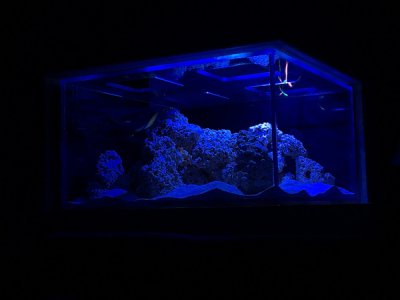
Decided that an "X" above the lights will work for cord management. The cords for the sea swirls can be attached to the pipes. The connector is right there. Its low voltage, not much to worry about. Set up the 55 gal as an observation tank. The fish and coral will go in after they have been in TTM QT / Treatment tanks. Will fill it with pods, rotifers and phyto, so the fish and corals can chow down.
Attachments
lapin
Member
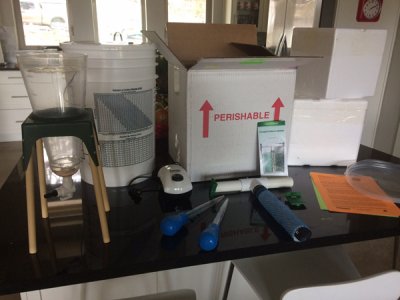
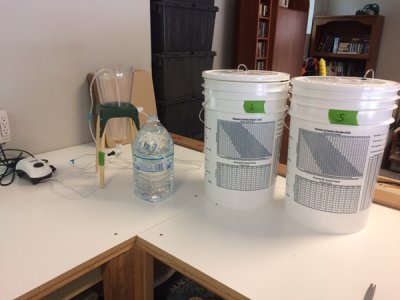
Went up and got the last bit of acrylic to finish the build. Got home and was putting the buckets together for the rotifers. Fed Ex rang the bell and 2 boxes of "This End Up" "Perishable" . Wooo Hooo Got the roti's and pods. I also got 1 of the fancy kits for growing roti. Gonna try it out. See if that works better than just an air stone and bucket. Here is the Roti set up. The pods will just go in the 55 observation tank. Also cleaned up the brine shrimp hatch cone. Need to get some eggs soon.
Attachments
BClute
New member
Went up and got the last bit of acrylic to finish the build. Got home and was putting the buckets together for the rotifers. Fed Ex rang the bell and 2 boxes of "This End Up" "Perishable" . Wooo Hooo Got the roti's and pods. I also got 1 of the fancy kits for growing roti. Gonna try it out. See if that works better than just an air stone and bucket. Here is the Roti set up. The pods will just go in the 55 observation tank. Also cleaned up the brine shrimp hatch cone. Need to get some eggs soon.
Awesome build and like everyone else I'm interested to see the finished product. I commend your DIY skills! I have a question about the acrylic welding. When you have the 1mm separation between each sheets, do you eventually push the 2 sheets together after applying the solvent/"glue" in the gap or does the gap stay there as it becomes one? I'm trying to picture the process of welding 2 huge sheets like the ones you used together. Tia!
Sent from my iPhone using Tapatalk
lapin
Member
Awesome build and like everyone else I'm interested to see the finished product. I commend your DIY skills! I have a question about the acrylic welding. When you have the 1mm separation between each sheets, do you eventually push the 2 sheets together after applying the solvent/"glue" in the gap or does the gap stay there as it becomes one? I'm trying to picture the process of welding 2 huge sheets like the ones you used together. Tia!
Sent from my iPhone using Tapatalk
I knew I could not make bubble free seams with methylene chloride with pieces that thick. So I used weld-on #40 for everything but the top. Its a 2 part solution you mix. It ends up sort of like honey. You need to get it to flow into the gap. Create a dam on the back side with tape so it does not leak out. It fills in the gap and drys. It will shrink a bit. More so, if you thin it like I did. It dries filling the gap and welding the 2 pieces together. You want to over fill the joints to allow for this. Prevents bubbles on the edge of the seam as it shrinks. It melts the acrylic a bit like #4 or methylene chloride, but not near as much. You want it to stay in the gap and not squish out. To maintain the gap across the long heavy pieces I made little chips the size of pin heads out of a bead of #40 I poured on a teflon sheet. Placed them in between panels every foot or so as needed. The #40 melted them enough so they dont show. They lasted long enough to maintain the gap. #40 sets in about 15 min. You can read the PDF info sheet on the Sci Grip site for more info.
lapin
Member
Looks great. What's the stocklist plan?
Thats a really hard question to answer. Things on my list.
Fishies ; 4ea gobys - 2 mini yellow and 2 mini green ones and 5 pajama cardinals will be first. The gobys will be lost but thats ok. Something to look for. I want a jawfish or 2 and a mandrin. A mated pair of clowns. Those are for sures. The rest will come later.
Corals; an assortment of plastic ones like on the show tanked hahaahahaa
I like movement so things with long tentacles and stuff that waves. After the tank is about 6 months old it will be time for the anemones to go in. No bubble tips just 2 larger ones and maybe a rock one or 2. Then I will work on the SPS.
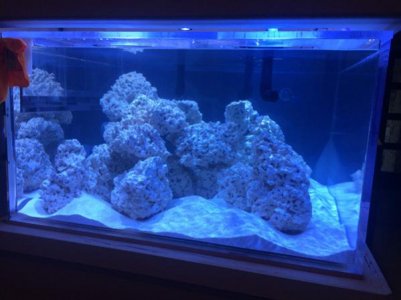
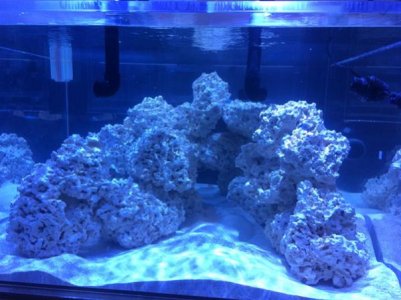
oh some new fingers since I took off all the skin trying to get 30LB coral rocks into the tank thru 16" openings. Next time make openings bigger so I can get inside.
McPuff
New member
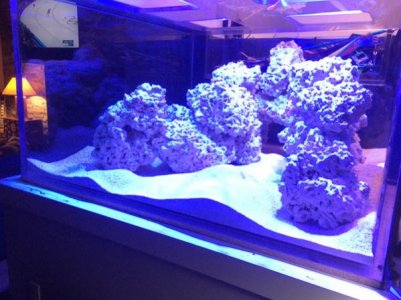
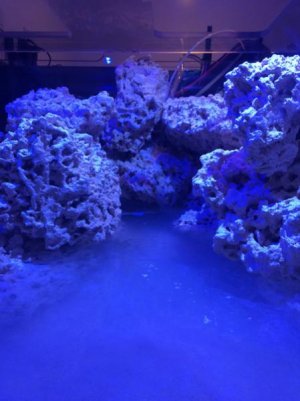
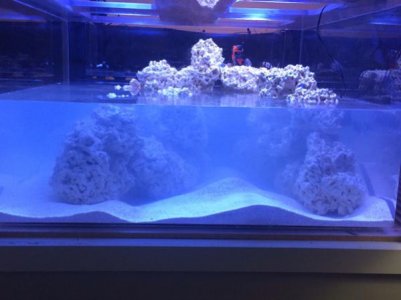
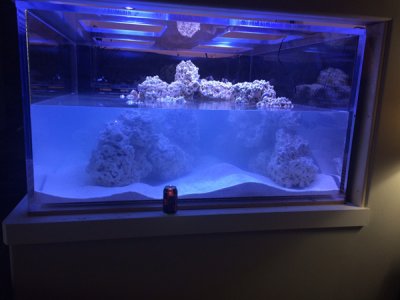
For a little depth. Coke can in tank and coke can out of tank. Still gets cloudy when adding water in 60 gallon batches. I think I'm about 1/2 full before it goes into the over flow.
Wow, it looks great so far. Nice thinking to put the can in for reference. Are you adding carpet anemones? Those would be an incredible addition on a tank this big.
lapin
Member
Are you adding carpet anemones? Those would be an incredible addition on a tank this big.
Stichodactyla Haddoni, Stichodactyla Gigantea, Heteractis Magnifica are all on the list. Fish beware.
I have water flowing into the sump now. With a few leaks. I knew I should have siliconed all the bulkhead gaskets. Maybe tomorrow I will have enough to turn on the pumps. I don't like the sea swirl tubes sticking down into the water. I will need to shorten them and make some clear 45's .

