- Forum
- More Forums
- Reef Club Forums
- SouthEast Region-Reef Club Forums
- Florida Marine Aquarium Society (FMAS) - Miami/Ft.
You are using an out of date browser. It may not display this or other websites correctly.
You should upgrade or use an alternative browser.
You should upgrade or use an alternative browser.
Getting back into the hobby after 4 years with a 310 Gallon reef
- Thread starter PBessell
- Start date
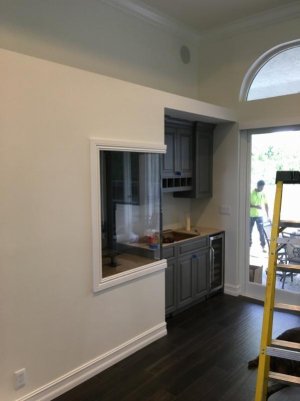
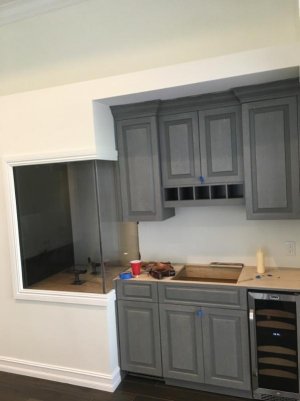
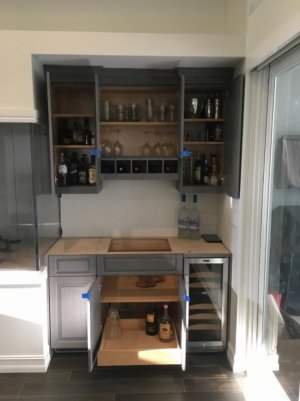
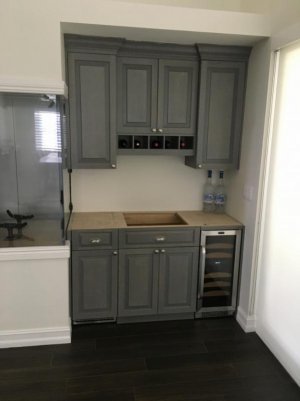
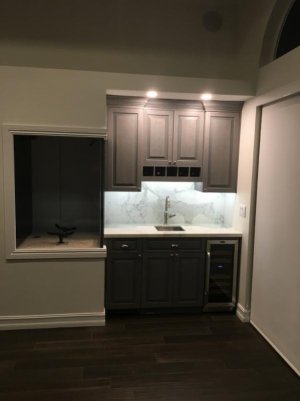
Now that the tank is installed I was able to start making some real progress. Simultaneously I was able to install the closed loop, release the custom built refugium and have the bar installed. I will write about each one separately. Starting with the Bar. Once installed you can see how the final viewing side will look.
Attachments
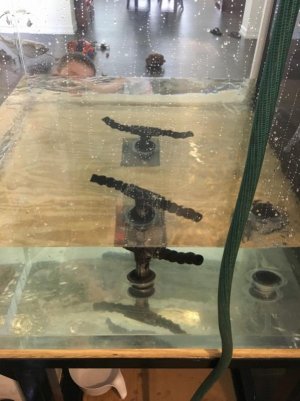
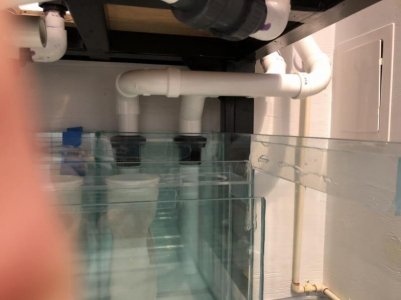
Closed loop install "“ The closed loop is powered by an Eco Tech Marine Vectra L1. I changed the setting to the random wake maker mode. There is 1 suction and 2 returns. Both returns will be split in to duel Loc-Line flexible tubes with a fan tip on the end.
Once installed Water test #2 took places.
Note the loc-line shown in the picture is the old ones that are being replaced.
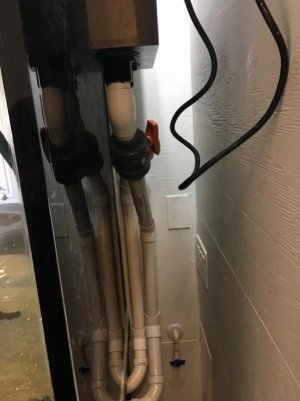
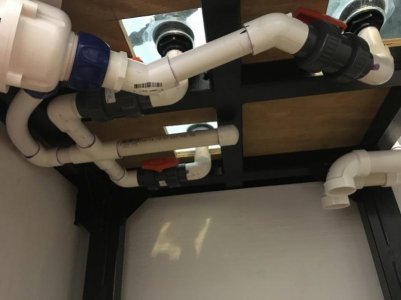
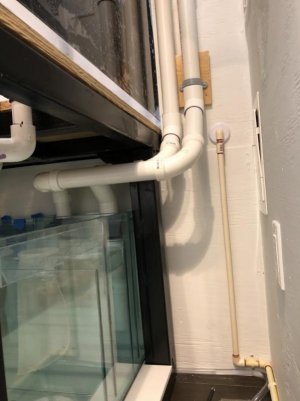
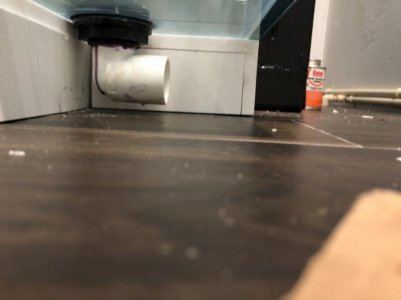
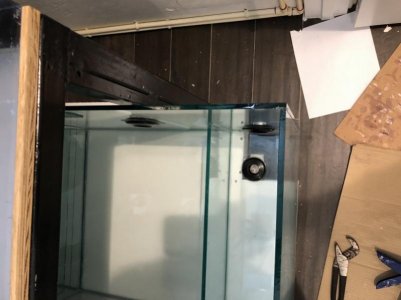
At the same time of installing the closed loop, I started the piping on the drains. The tank has a built in exterior overflow with 2 "“ 1-1/2" drain lines. I put valves on both lines to add the ability for control and service.
Attachments
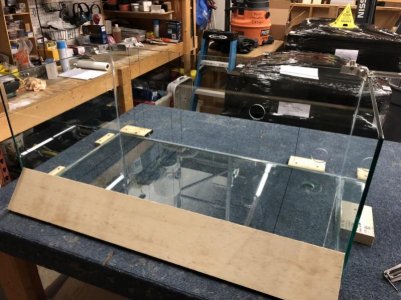
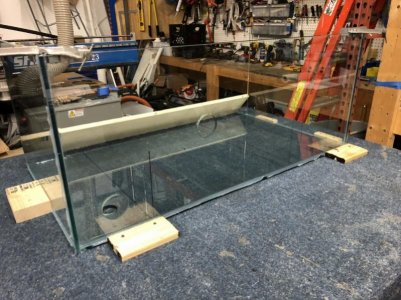
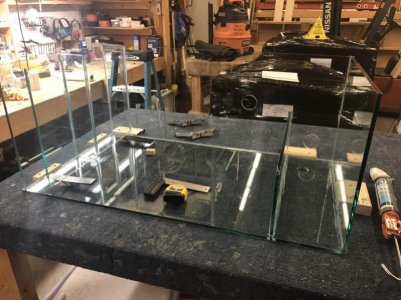
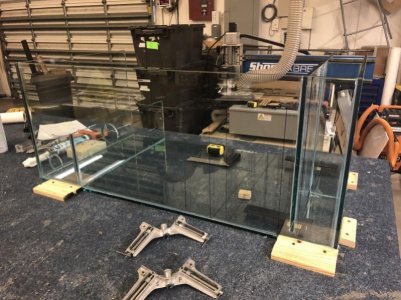
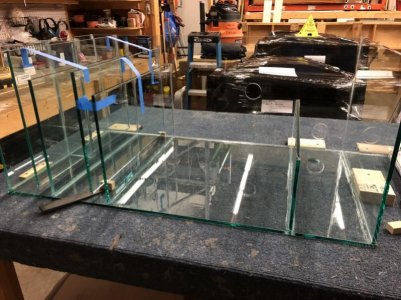
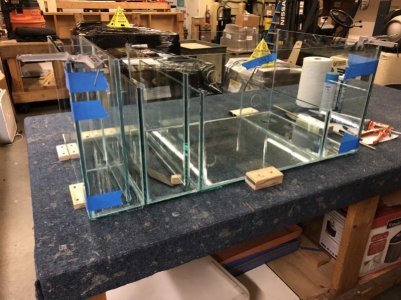
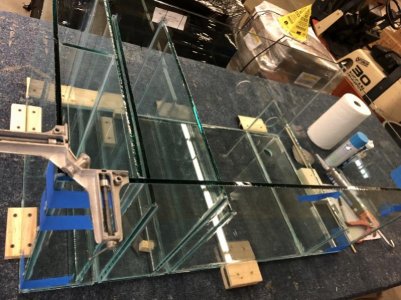
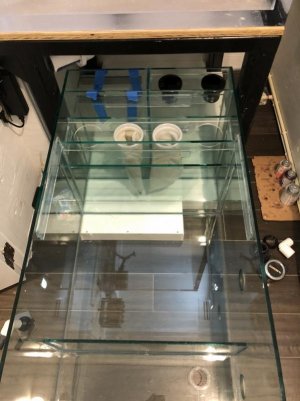
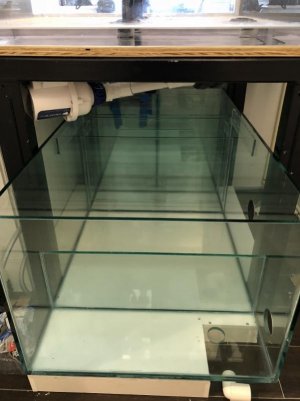
The overall size is 43" L x 23-1/2" W x 18" tall. The drains lines flow into a 4" x 12" chamber to capture the bubbles. Next to the drains is another 4" x 12" bio chamber where I plan on putting in bio bricks. This will be fed from the return pump. Water then flows up and over into 4 "“ 4" filter socks. Then another up and over into the refugium chamber. Then an 8" high baffle separated the pump intake chamber. This will allow for mud, rock and algae to have plenty of space. The external skimmer will discharge into this chamber too. I will put some blue mesh to hold back any bubbles, algae, etc. from entering the pump.
Attachments
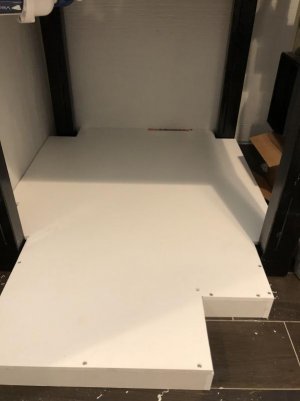
Time to get ready for the refugium delivery. To minimize maintenance I decided that all of the brackets, supports, shelfs, stands, etc. are going to be made out of PVC board. This will minimize the worry when water spills and eliminate the potential rotting wood issues. I was surprised the material is easily obtainable. I was able to find a 4' x 8' sheet at Homedepot.
Here is the deck ready to receive the refugium.
Here is the deck ready to receive the refugium.
Attachments
The PVC Board is great to work with. Cuts like butter on a table saw and/or chop saw. I countersunk and used stainless steel screws to put things together. Use it for the refugium deck, supports for the pump and skimmer. Brackets for the plumbing.
I will also use it for shelf and sink top for my work station.
I will also use it for shelf and sink top for my work station.
Time install the refugium "“ hooked up the 2 drain lines from the tank. Bulkheads for the pump and skimmer return and the drain for water changes.
Starting to look like something.
Starting to look like something.
Attachments
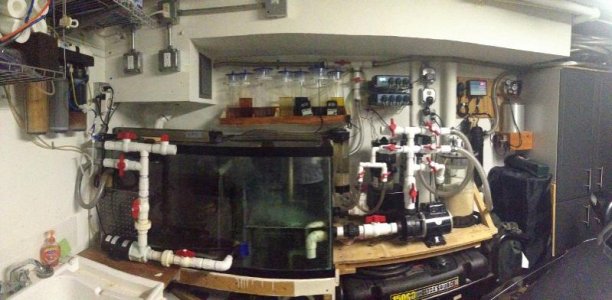
Time to discuss equipment. This is in no particular order. Most of the equipment being used is from my previous set up (pictured below).
Chiller "“ ¾ HP Tradewind in line chiller. This will be installed in the attic to prevent heat buildup in the house. Of course I will end up insulating the piping to minimize heat gain from the attic. Surprisingly after the 4 years on the shelf the chiller started right up with no issues. For $75 I had it serviced and confirmed to refrigerant leaks and is operating in tip top condition. Only signs of age, is some surface rust
Chiller "“ ¾ HP Tradewind in line chiller. This will be installed in the attic to prevent heat buildup in the house. Of course I will end up insulating the piping to minimize heat gain from the attic. Surprisingly after the 4 years on the shelf the chiller started right up with no issues. For $75 I had it serviced and confirmed to refrigerant leaks and is operating in tip top condition. Only signs of age, is some surface rust
Attachments
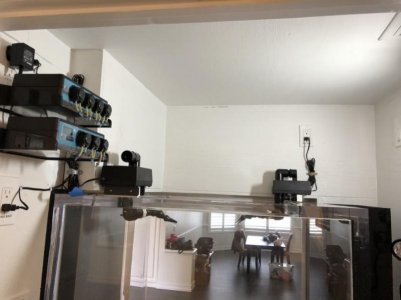
For current and a wave maker, I decided to go with a 2 prong approach. A closed loop as previously mentioned powered by a Eco Tech Marine Vectra L1 at the bottom of the tank. The 2 returns from the refugium. These will run through 2 - 1” sea swirls (If you never head of them look it up. Cool alternative to multiple powerheads). Both returns will be split in to duel Loc-Line flexible tubes with a fan tip on the end.
So in summary there are 4 outputs from pumps, all 4 are split in 2 to provide 8 total discharge points. I am anticipating great water movement in the tank. This approach will eliminate the need for multiple power heads and wire management to hide.
So in summary there are 4 outputs from pumps, all 4 are split in 2 to provide 8 total discharge points. I am anticipating great water movement in the tank. This approach will eliminate the need for multiple power heads and wire management to hide.
Skimmer "“ Using an ETSS 1800 downdraft skimmer
Dosing "“ Bubble Magus BM-T01 and T-02 extension unit which will dose 7 different supplements and elements. I will list what I am dosing when I decide.
Lights "“ I have 7 AI sols leftover from my previous setup. After speaking with AI customer service (which was very helpful). They have a program which you can trade in old dated equipment for a credit towards buying the latest and greatest lights they have. Of course there are qualification and requirements that you must meet to be part of this program. So I will be installing 3 of the AI sols as temporary lights and trade in/purchase 4 new AI Hydra HD 52s. Once the 52s come in I will sell off the Sols (anyone interested let me know I can make you a good deal on them).
Refugium Light "“ using a corallife 24" power compact on a timer "“ basic but works, maybe I will change this out.
Main Pump "“ I have 1 main pump running the skimmer, UV, chiller, reactors, returns to the tank, etc. I am using a Dolphin Amp Master Diamond 6259 Type 3 seal. This is a pump that sat on the shelf for 4 years. Plugged it in and worked great. I did have concerns about the seal drying out. This pump comes with a lifetime service agreement. So Called customer service (again great extremely helpful) and spoke to the owner of the company. Sent the pump in (cost $24 shipping). The seal passed but the owner decided he wanted to change the seal anyways and was only charging me a prorated amount under the 10 year warranty. So for $100 I have a serviced equivalent to a brand new pump.
Calcium reaction "“ Is a GEO 800 dosing calcium and magnesium
Reactors "“ I will be using 2 each two little fishes 550 reactors. One will have carbon and phosban, the second will have NPX pellots
If there are questions, comments, or thoughts on the equipment send them my way.
RickJamesYeah
Member
Wow this looks amazing! I wish I had the space to do something like this in my home.
Mind me asking who did the cabinets? Looking to redo my kitchen.
Mind me asking who did the cabinets? Looking to redo my kitchen.
Rick - thanks for the comments. Yes this has been a long process to get here. Just wait till you see the future posts. I almost caught up. I started water testing all the plumbing last night.
As for the cabinets, I used Hollywood Millwork. Great company, high quality, but when you ask for quality, you have to pay for it.
As for the cabinets, I used Hollywood Millwork. Great company, high quality, but when you ask for quality, you have to pay for it.
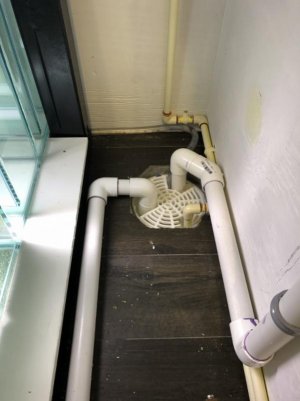
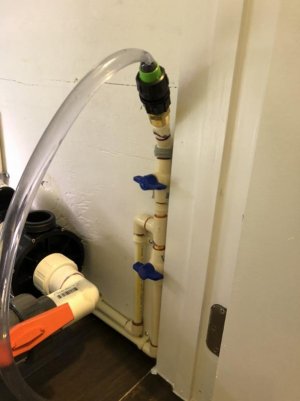
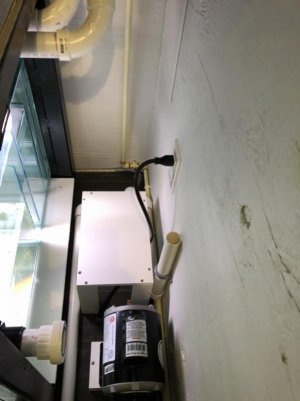
The piping has begun.
The first pic is of the floor drain. What you see is the overflow emergency drain from the sump, a drain line for the skimmer overflow and the washout water line.
The second picture is the water line. The bottom valve is the washout to the floor drain and the top valve is a hose bib for a water when needed. This has been very helpful with the water tests. The plan here is to have a hose to use for washing out the skimmer cup, or other needs. A RO/DI will be set up from a different water supply source.
The third picture is the shows the Dolphin Pump set and the platform for the skimmer in place. No word being used its all PVC Board.
Attachments
Similar threads
- Replies
- 40
- Views
- 900
- Replies
- 9
- Views
- 2K

