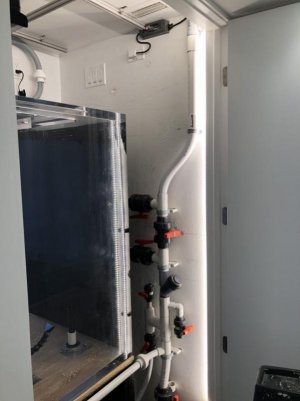
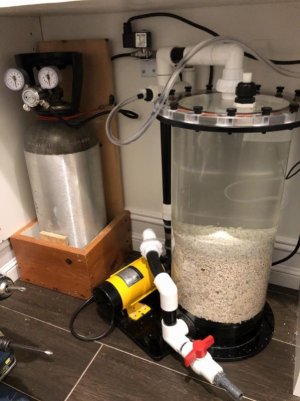
When listing the equipment, I forgot to mention the UV sterilizer. I choose the Aqua 57 watt with 2” connections. I reduced to the 1-1/2” piping being used. From the pump. I also chose the black vs the white to match the rest of the equipment. Have to think of how it will look at the end. hahaha
- Forum
- More Forums
- Reef Club Forums
- SouthEast Region-Reef Club Forums
- Florida Marine Aquarium Society (FMAS) - Miami/Ft.
You are using an out of date browser. It may not display this or other websites correctly.
You should upgrade or use an alternative browser.
You should upgrade or use an alternative browser.
Getting back into the hobby after 4 years with a 310 Gallon reef
- Thread starter PBessell
- Start date
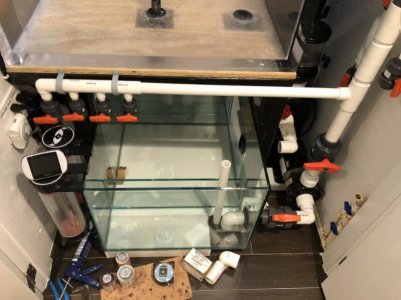
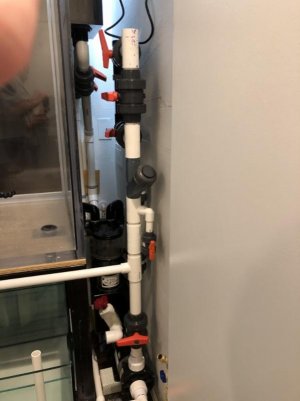
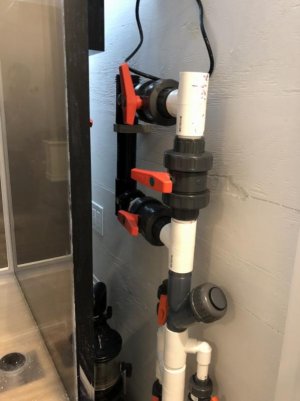
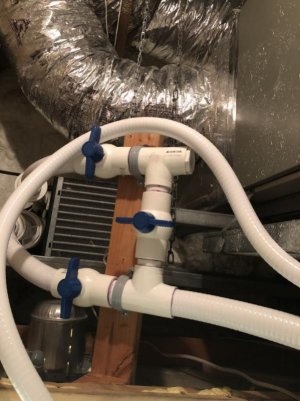
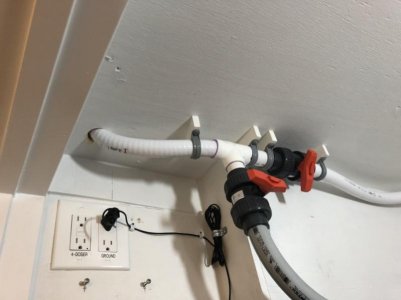
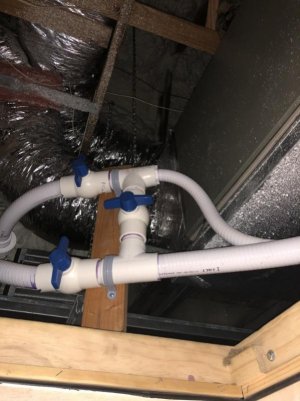
Here are a few pictures of the piping mock up. I will go into some details on what controls what
On the left of the tank are 4 valves. They control the following - starting on the far left, Bio chamber in the sump, Reactor #1, Reactor #2, and calcium reactor.
Above the pump are 3 valves, 1 goes to the skimmer and then I have 2 spare if needed for future add additions
This is followed by a check valve "“ love this model, lets you unscrew the cap for easy maintenance and cleaning.
The UV is next with a bypass
After the UV the piping will go through the ceiling to the attic where I have the chiller.
All the valves have union ends to minimize the number of fittings and aid in flexibility of maintenance.
You will see in future pictures I modified a few things by adding some flexible piping.
Attachments
Here is a video of the status of the tank. All plumbing done except for the chiller in the attic. Those pics are coming soon.
Hope you enjoy
https://youtu.be/Bw8kAATP18w
Hope you enjoy
https://youtu.be/Bw8kAATP18w
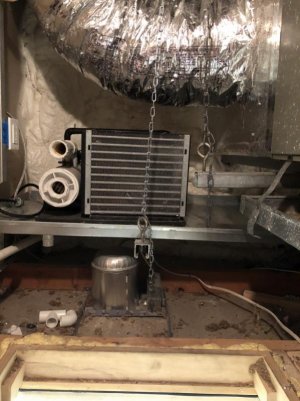
Finally got the chiller installed. I am using a ¾ HP Tradewind chiller. Yes over kill for the tank size, but this will reduce the cycle time and save money in the end. This is the last major plumbing operation needed to start water testing the system.
The chiller is placed in the attic directly above the tank. I had an AC pan building in case there is a leak to catch any water and protect the drywall ceiling. The pan is piped to the AC condensate overflow that leads outside. This way if there is a leak I can see it and take action before too much damage happens. A few simple vales for the by-pass, reduced the pipe size and back down to the tank feeding the returns.
After the install I did a water test. Had a few minor leaks at the unions which a pair of channel locks and a quick turn fixed with no problem. What I did not expect where leaks at the flexible PVC connection. Turns out the Flex PVC is just a fraction smaller than regular PVC hard pipe. This resulted in regluing a hand full of connections. Never had this problem before. So a learning experience for me.
Good news is retested, no leaks, chiller cooled the tank with no problem down to 60 at one point. I did this to over stress test the system. I then ran the tank for a week set at 74, all systems go.
This allowed me to monitor the water levels in the sump, the tank lost around 2 to 3 gallons of water a day. RO/DI is on the list for install.
Hope you all enjoy, feedback and comments are welcomed and reqested.
Attachments
A quick update on some progress made this weekend
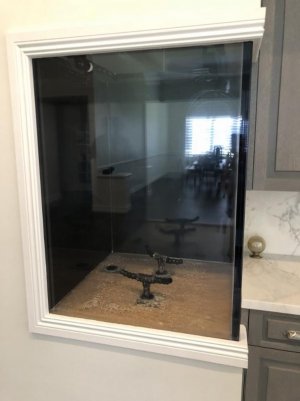
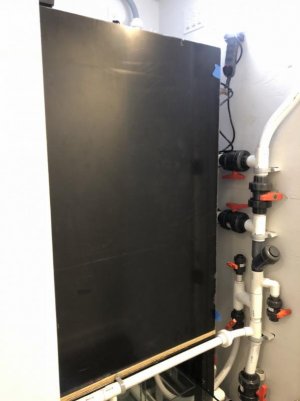
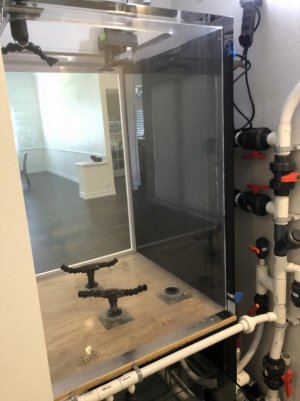
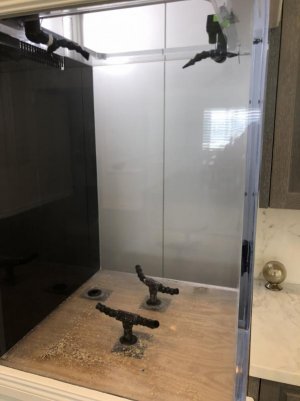
Since only the back panel is blacked out, I got a piece of black 1/4" plexi to put on the side panel. Now when you look at the tank its blacked out on the 2 sides in the tank room. The added panel is removable from the back side.
here are before and after pictures
Since only the back panel is blacked out, I got a piece of black 1/4" plexi to put on the side panel. Now when you look at the tank its blacked out on the 2 sides in the tank room. The added panel is removable from the back side.
here are before and after pictures
Attachments
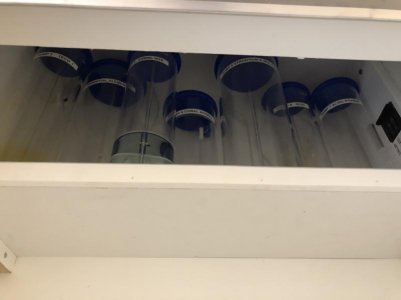
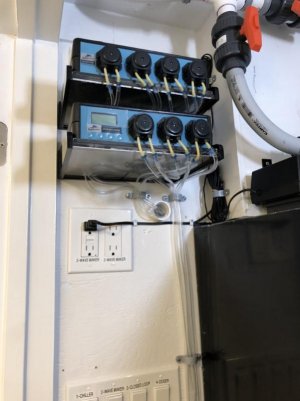
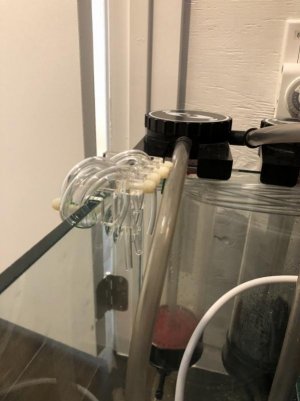
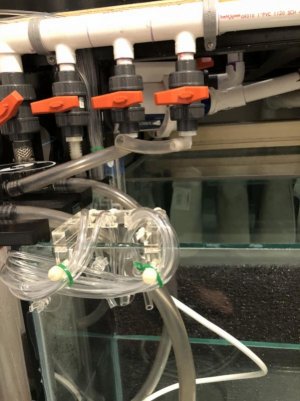
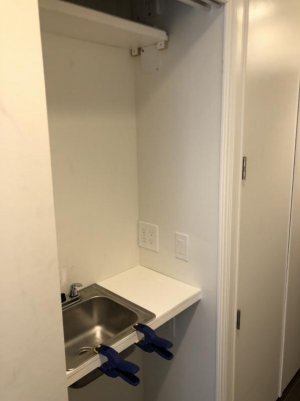
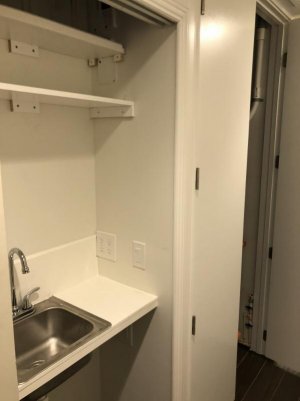
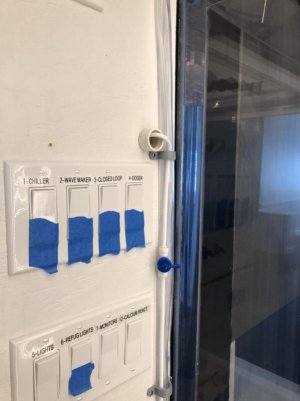
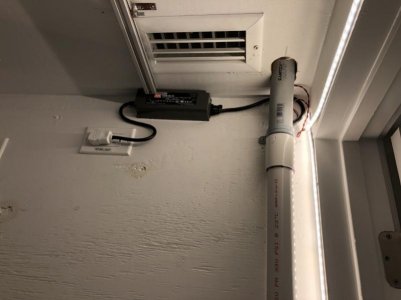
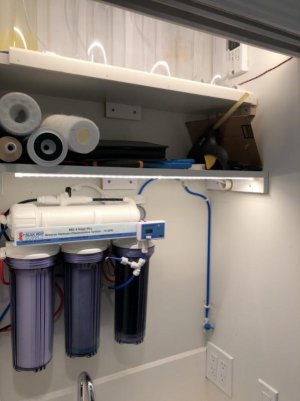
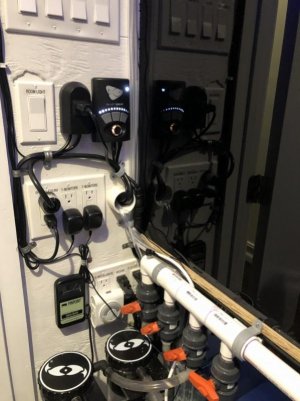
Dosing systems is now completely installed. Added a shelf in the closet next to the tank room, PVC sleeve to run the feed tubes, and ran the drip lines into the tank.
Also added 2 ground probes, 1 in the tank and 1 in the sump.
Also added 2 ground probes, 1 in the tank and 1 in the sump.
Attachments
mtgmichaelg
New member
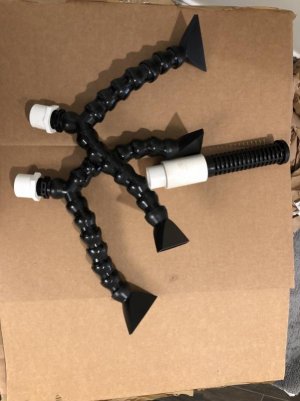
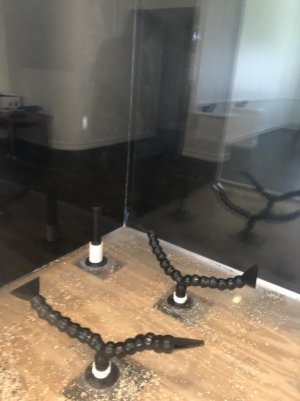
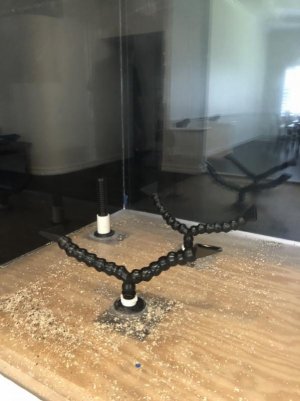
Cool tank. I like the idea of having the sea swirls and the return on the bottom instead of power heads. It's gonna look look really nice once the rock is in there.
Been a little busy the last 2 months and have not posted updates. Here is what has been going on. There will be several posts about what I have been working on.
First up is I was able to get a piece of black acrylic for the back of the tank so not you cant see through to the filter room. This was always the plan as the stand was built 1/2" longer for the acrylic to rest on. It is then held in place with some Velcro straps.
I am attaching before and after pictures.
Attachments
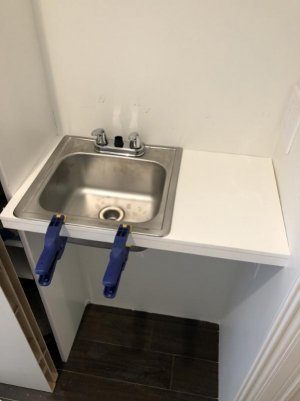
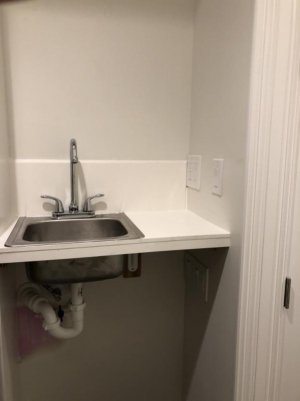
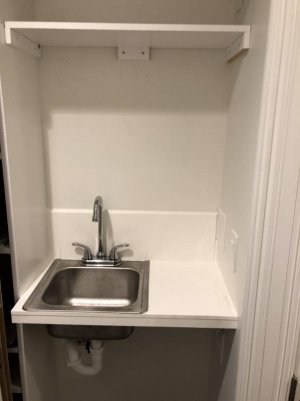
In the closet next to the tank room, I added a work station. This consists of the dosing containers, storage shelves, washout sink with counter, etc.
Future posts will talk about the RO/DI unit and Auto water change system I plan.
Future posts will talk about the RO/DI unit and Auto water change system I plan.
Attachments
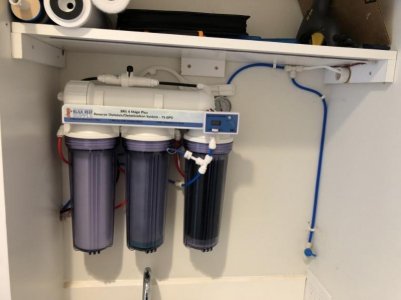
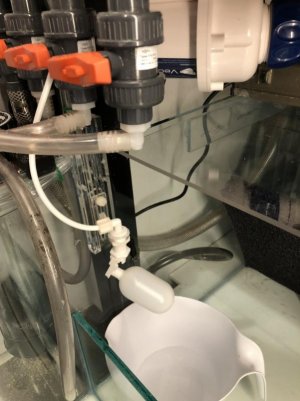
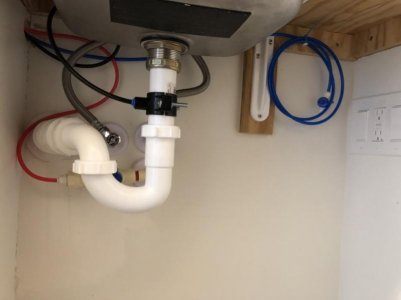
4-stage RO/DI system from Bulk Reef that includes auto shut off valve, pressure gauge, TDS meter, membrane flush valve, etc. This is fed from a dedicated valve for easy shut of and maintenance. The drain tied to the P-Trap of the sink. The discharge is then split into several different out points. The sump has a shut off valve for maintenance and float valve for ATO. There is a second discharge point with shut off valve at the work station and a third under the counter top which will be tied to the auto water change system which will be added at a later point in time.
Attachments
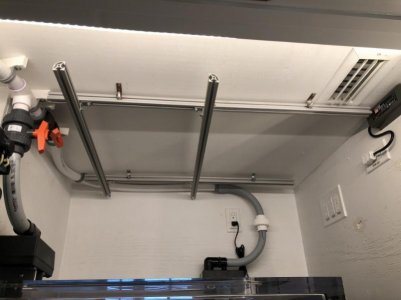
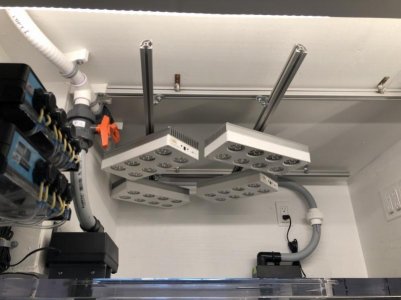
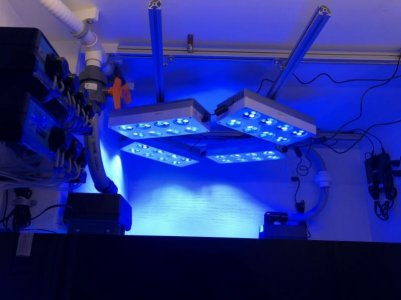
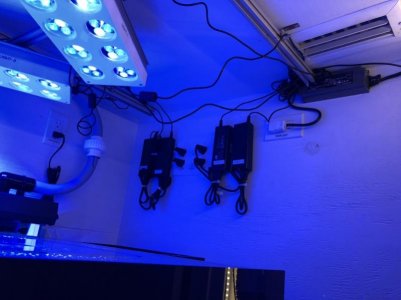
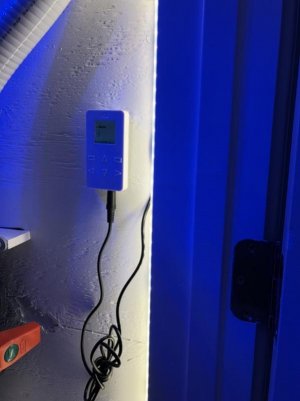
Time for the lights. So I am starting out with four (4) AI Sols saved from my previous set up 4 years ago. I modified the rails to allow maximum flexibility both with positioning the lights and access to the tank. This will allow the lights to be moved away from the top of the tank when doing aqua-scaping, coral placement, maintenance etc. Each light can also rotate 360 degrees if I want. All controlled by an old school AI controller. Not wireless yet.
Once the wallet rebounds for the cost of adding live stock, I plan on switching out the lights to AI primes and have the ability to control them from an app on any phone, I-Pad or tablet.
Once the wallet rebounds for the cost of adding live stock, I plan on switching out the lights to AI primes and have the ability to control them from an app on any phone, I-Pad or tablet.
Attachments
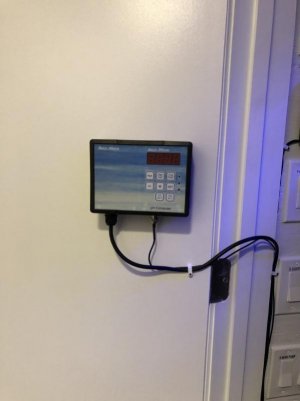
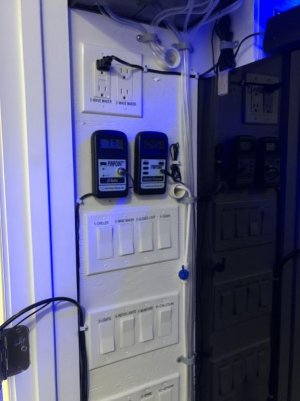
PinPoint monitors
- PH
- Temperature - just got this one but not impressed as I have to keep adjusting the calibrations. Might have to get different one
- Salinity
I am thinking of getting the Calcium and Nitrate monitors as well
Still looking into whats on the market
- PH
- Temperature - just got this one but not impressed as I have to keep adjusting the calibrations. Might have to get different one
- Salinity
I am thinking of getting the Calcium and Nitrate monitors as well
Still looking into whats on the market
Attachments
things are getting serious, after 1 week of final water test running all the equipment. The system has been drained and now ready to go salt and live stock.
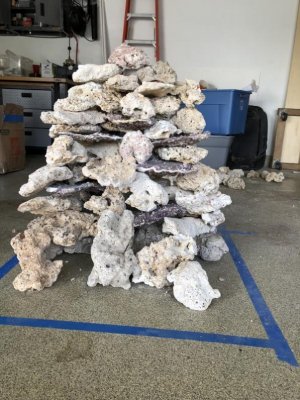
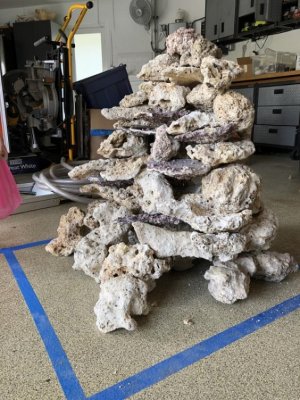
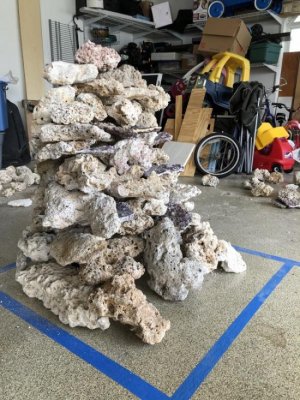
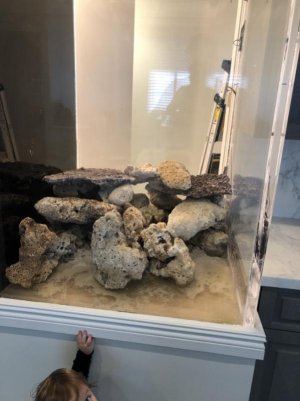
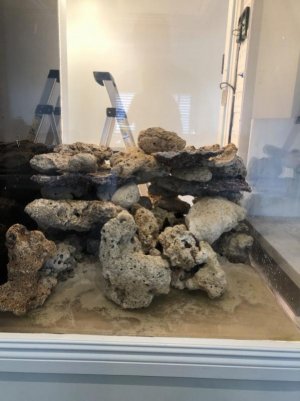
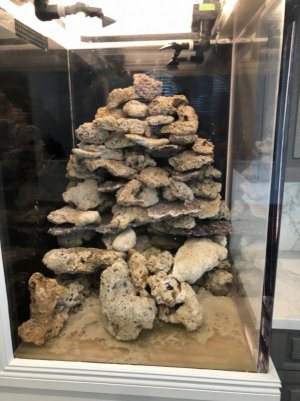
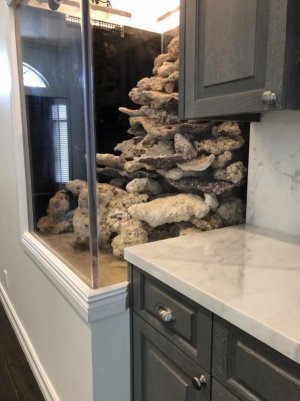
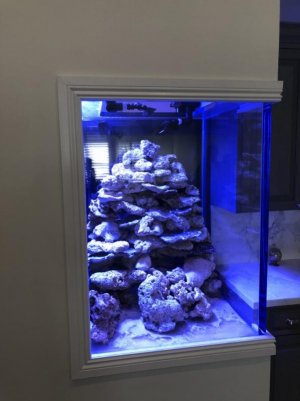
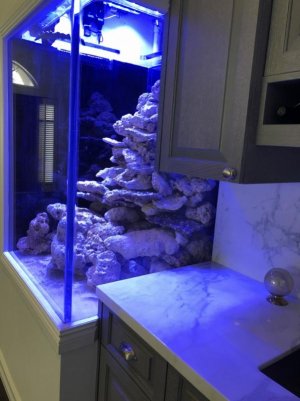
Here is the first attempt of rock work in the garage before I start putting it in the tank - what do you guys think . I welcome the feed back.
VIP saltwater will be delivering water either Friday or Saturday.
Happy Thanksgiving to me.
Here is the first attempt of rock work in the garage before I start putting it in the tank - what do you guys think . I welcome the feed back.
VIP saltwater will be delivering water either Friday or Saturday.
Happy Thanksgiving to me.
Attachments
Similar threads
- Replies
- 40
- Views
- 900
- Replies
- 9
- Views
- 2K

