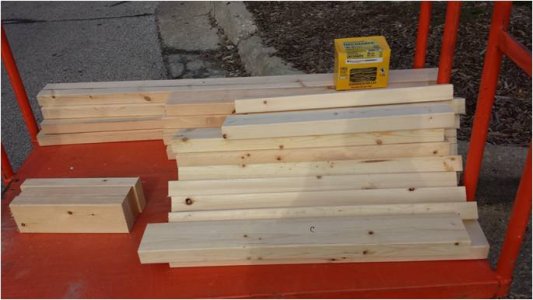
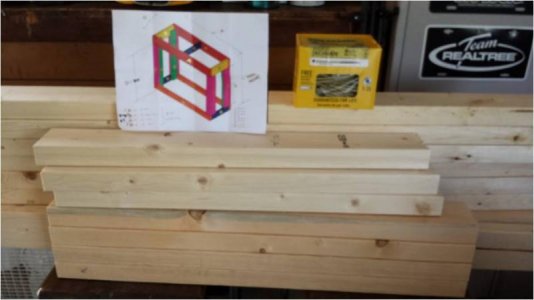
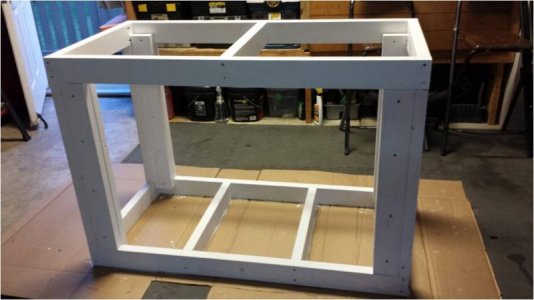
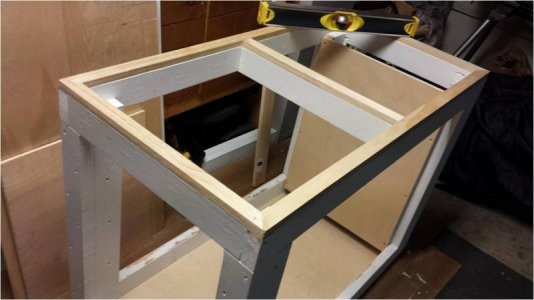
Lito's 120 build

fishuntbike

Member
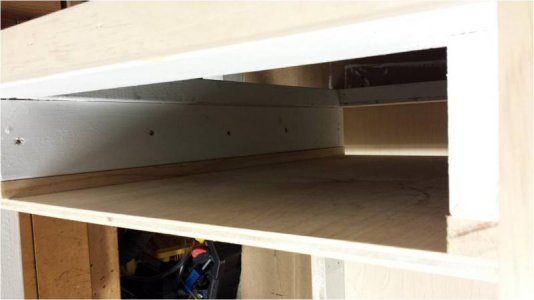
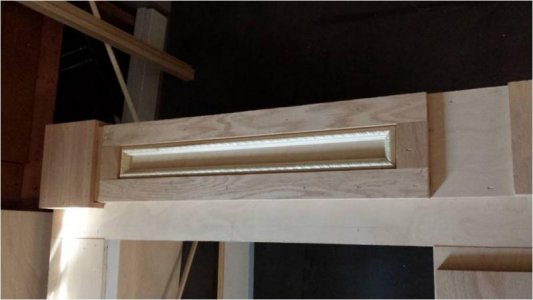
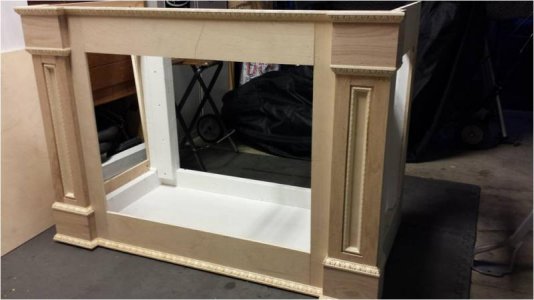
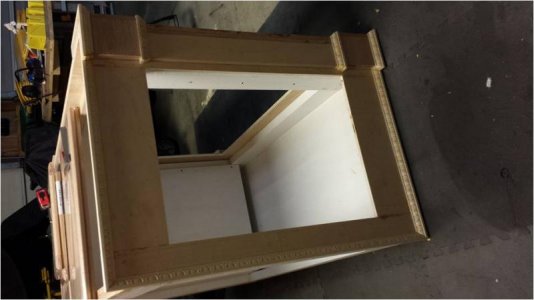
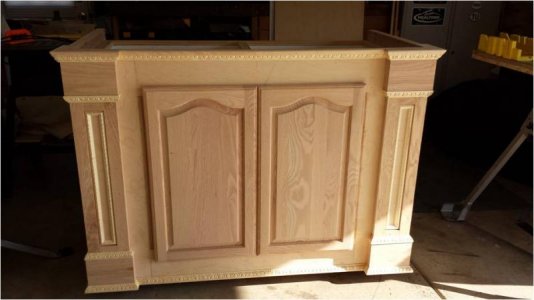
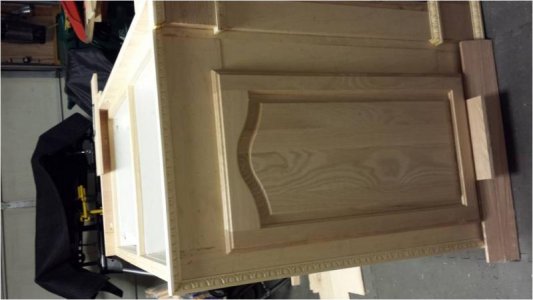
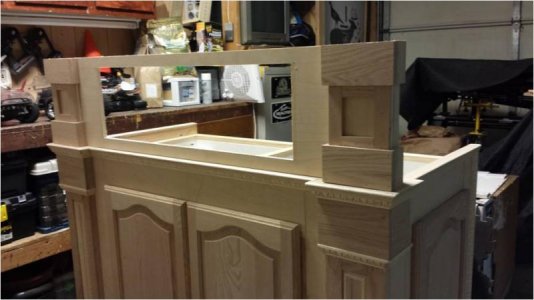
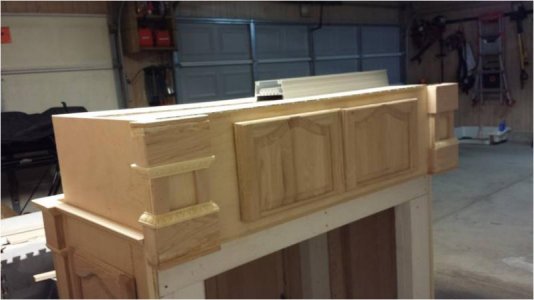
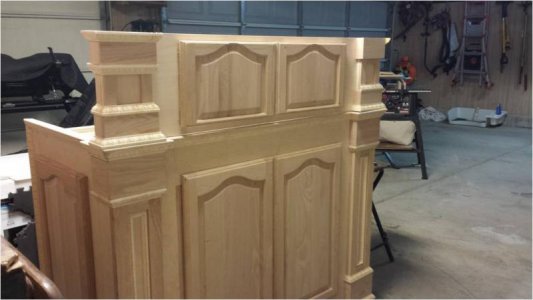
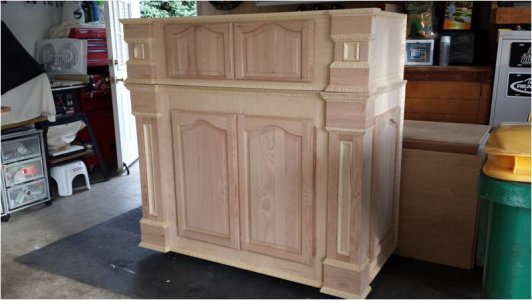
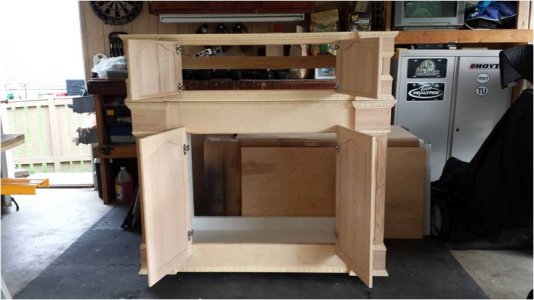
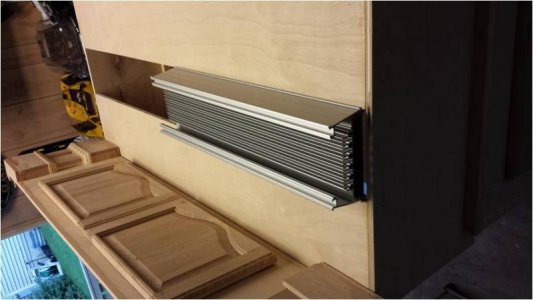
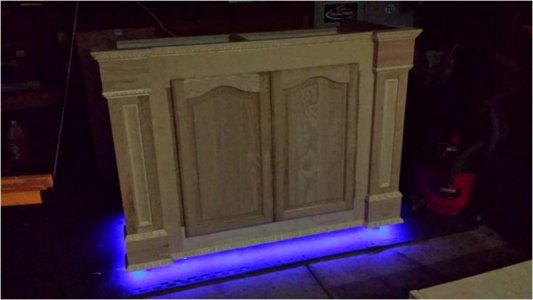
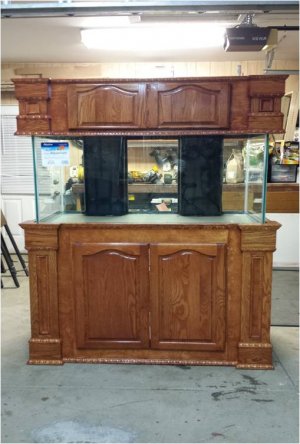
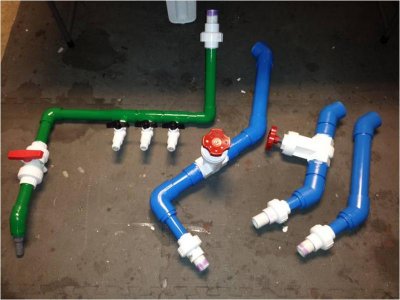
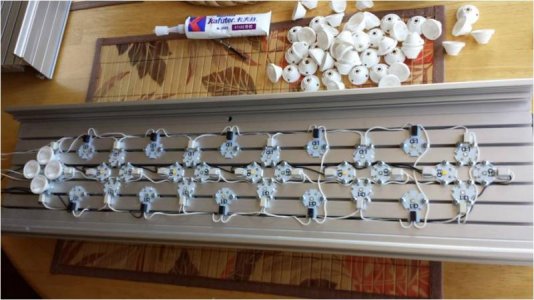
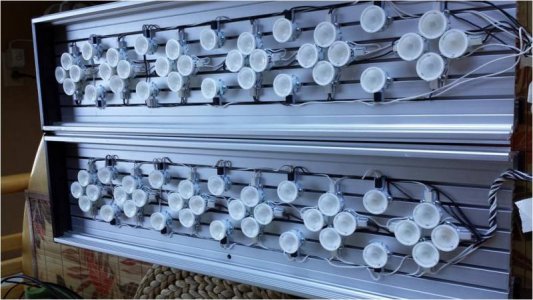
I enjoyed my 40 breeder for 8 years at my condo, time to move to a bigger tank since I bought the house last year. My plan is to have a 120 DT with 40breeder sump. Like to have mixed LPS and softies and later to introduce SPS. Time to start building. Home depot is kind enough to cut all the pieces to the exact measurement..less work for me and a quick start
 

Attachments

  • Picture1.jpg
    Picture1.jpg
    35.4 KB · Views: 6
  • Picture2.jpg
    Picture2.jpg
    35.6 KB · Views: 5
i completed the framing for my stand and hopefully to skin it in the next few days. I made the electronic compartment on one side of the stand and all wires will be hidden by another piece of wood.
 

Attachments

  • Picture3.jpg
    Picture3.jpg
    43.3 KB · Views: 6
  • Picture4.jpg
    Picture4.jpg
    43.3 KB · Views: 7
  • Picture5.jpg
    Picture5.jpg
    29.1 KB · Views: 6
What 120 did you get?
I thought about the one with corner overflows but also wanted electrical compartment!

Did you measure the overflow space from side glass?
 
Skinning the frame is done and started to put some decor. There will be 2 front doors and two side doors.
 

Attachments

  • Picture8.jpg
    Picture8.jpg
    32.4 KB · Views: 6
  • Picture6.jpg
    Picture6.jpg
    38.9 KB · Views: 10
  • Picture7.jpg
    Picture7.jpg
    37.8 KB · Views: 6
with the doors installed. Hardware for the door is the one with push to close.
 

Attachments

  • Picture12.jpg
    Picture12.jpg
    40 KB · Views: 6
  • Picture11.jpg
    Picture11.jpg
    36.8 KB · Views: 5
What did you skin it with?
I saw you added a rim above the 2x4 for the tank to sit upon. What was that?

Did u make or buy doors?
 
I skinned it with birch, although some of the decor is oak as well as the edges on top of the stand. I added that since the 4 x 2 is rough plus it elevate a little otherwise the tank sits too low, all i need is to cover the trim of the tank which is 2 inches. The doors are from menards, it was on sale , oak with cathedral raised panel. I paid $27 for the 22x16.
 
Canopy is made just like the stand design, the door was bought from menards but I made it shorter to 10 inches, I don't want the canopy to be tall since the LED light will sit on top of the canopy.
 

Attachments

  • Picture15jpg.jpg
    Picture15jpg.jpg
    46.9 KB · Views: 7
  • Picture18.jpg
    Picture18.jpg
    34.8 KB · Views: 5
  • Picture17.jpg
    Picture17.jpg
    40.9 KB · Views: 6
The canopy lifts up aside from having 2 access doors. The LED lights will sit on a slot (2 lights)
 

Attachments

  • Picture22.jpg
    Picture22.jpg
    44.2 KB · Views: 7
  • Picture23.jpg
    Picture23.jpg
    44.5 KB · Views: 6
  • Picture24.jpg
    Picture24.jpg
    43.8 KB · Views: 8
Last edited:
I added the LED light at the bottom of the stand, it will sit lower when I remove the temmporary wheels. It should be about 1/2 inch from the floor and it changes color, intensity , fade, etc. The sensor of the light is at the front the stand (inside little hole) where you can control with a remote.
 

Attachments

  • Picture20.jpg
    Picture20.jpg
    32.2 KB · Views: 7
This is by far my favorite build that I've seen on here so far. I'm hoping to do one just like it. All in all, how much did you spend on materials?
 
Here is the finished product, the Apex system are in place inside the cabinet dry side and all wires are inside the two panels to make things neat.Plumbing is dry fitted, glued and painted. 2 gate valve full siphon and 1 emergency and 1 return. Still considering two herbie and 3/4 sea swirl return but we will see.LED lights are assembled and ready. There are 68 LED (Royal bLue, Blue, Neutral white, Hyper Violet, green and red ) running on inventronics power supply. I also put some marble tile floor.
 

Attachments

  • Picture27.jpg
    Picture27.jpg
    52.8 KB · Views: 6
  • Picture30.jpg
    Picture30.jpg
    55.4 KB · Views: 3
  • Picture29.jpg
    Picture29.jpg
    46.7 KB · Views: 7
  • Picture28.jpg
    Picture28.jpg
    54 KB · Views: 5
  • Picture32.jpg
    Picture32.jpg
    59.9 KB · Views: 6
Wow! Really nice job on the stand/canopy. It looks awesome. I spent a lot of time in Lowe's with that same stand template in the OP before building my stand. (Used to live in WI - man I miss Menard's)
Can you give a little more info about the LED set-up? I'm going to start that project next month to hopefully take advantage of some black Friday deals.
 
thanks everyone, I use Krylon paint on the pipes. Regarding the LED build. I use solderless LED with makersled heat sink. There are 24 Royal Blue (Cree XT-E) 12 Blue (Cree XP-E) 12 Neutral White (Cree XT-E) 12 Hyper Violet (430NM) 4 Red (660NM) and 4 Torquiose (495NM) all solderless and connected in series. I use 5 inventronics driver (40 x 700 ma) and two 24" makersled heatsink.

Attached is how I connected the wiring to my Apex VDM to control the light.
 

Attachments

  • Picture35.jpg
    Picture35.jpg
    38.2 KB · Views: 4
Attached is how I connected the wiring to my Apex VDM to control the light.

Let me state at the beginning I'm an electronics idiot. So...

It looks from the diagram that the variable speed port from the VDM is connected to a potentiometer. I thought the ports on the VDM would not need the potentiometer because they can change voltage.

What does the potentiometer do for that setup?
 
Back
Top