sfsuphysics
Active member
When reading through many of these build threads I realize the one thing I hate the most about it is how long they take, very few people start a build thread showing all the steps with everything done, meaning many months (or years) pass as the thing is being built... well I'm not a book reading type of person because I want my stories told in 2 hours or so... Well turn about is fair play, and here's my thread 
Here's what I got to work with...

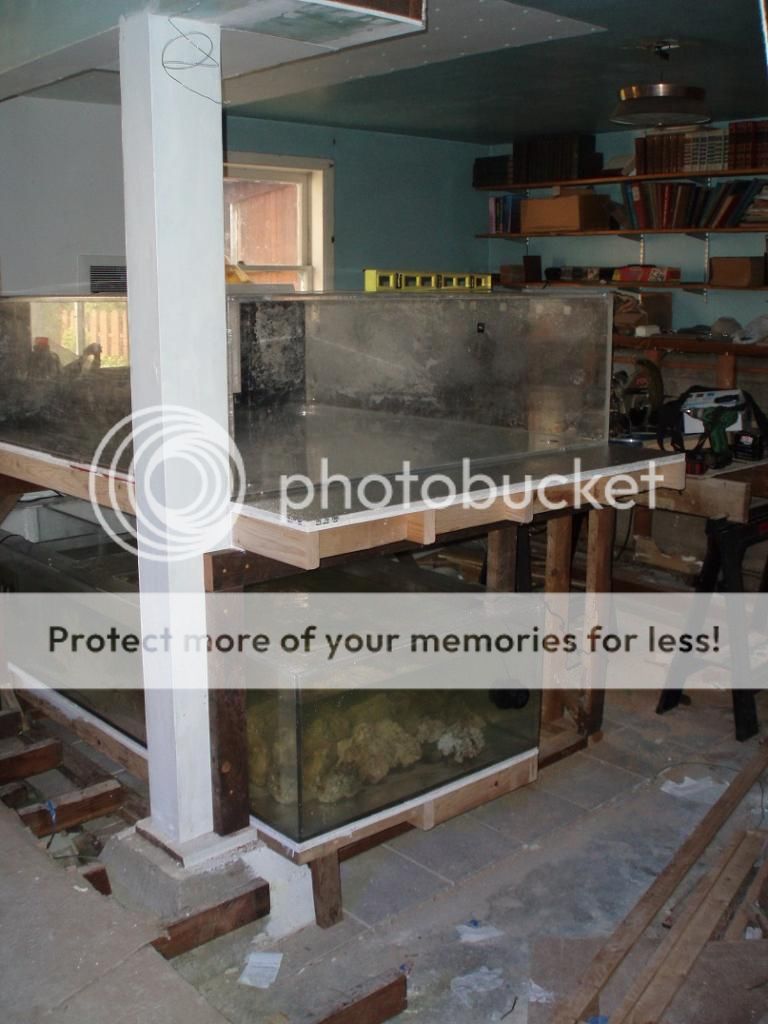
Soak in this picture, this is the only one in this really long wordy post
5 feet wide, by 6 feet long, by 20 inches tall (the shorty part), thought about naming it the Baby Oregon Reef, but really didn't want to put myself anywhere close to that pedestal. Of yeah the most important part... it was "free" ($32 for a U-haul truck as it wouldn't quite fit in my Prius, a suggestion did come to flip it upside down and drive with it like a hat on the car... but I declined that suggestion) Passed down to me after being in someones storage shed for a while, who doesn't have the room for it.. lets be honest a 5 foot by 6 foot footprint for a tank is something people don't usually have room for.
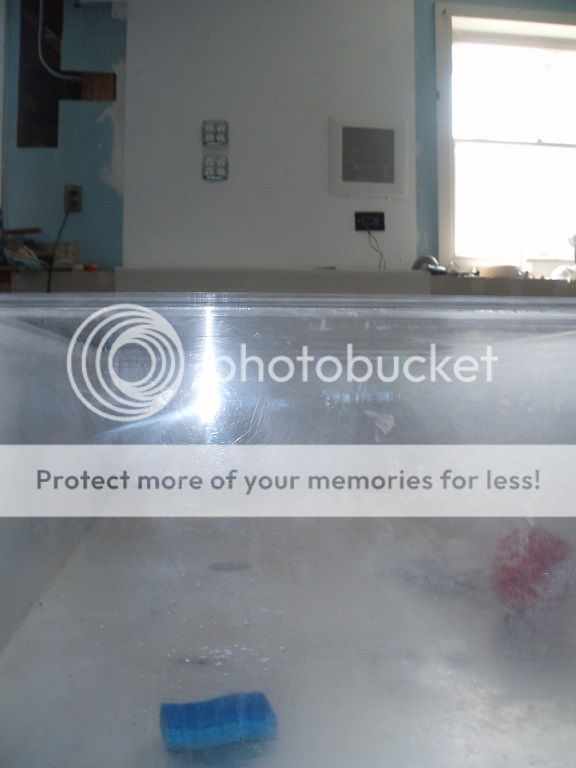
The tank is acrylic, and there is some work that has to go into it. The sides are completely covered with old coraline algae or a cyano bacteria that need to be cleaned off so I can see how much sanding needs to be done.
I see circular voids in the side crust and the little black ziptie grips that showed me the previous owner had no fewer than 8 vortech pumps on it. There are 4 massive overflow holes, 3.5" diameter, three 1.5" holes and two 2.5" holes for what I'm guessing was some sort of closed loop. Luckily I got bulkheads for all of them, as well as some other plumbing parts that might cost quite a bit of more. I'm not particularly pleased at how close 4 of the closed loop holes are to the acrylic, with pipes sticking up there's no way that's going to look natural, the two bigger 2.5" holes are near the "front" pane too, I might plug them and redrill some so that I can cover them up with some sort of rock work (and make it still possible to clean the acrylic). Also I do not see any return holes on the tank, which makes me think it went over the rim which is quite large (probably 8+ inches around the tank) as I can't honestly think someone used a closed loop at the bottom for a return... power goes out and there's all sorts of problems going on
Now here's the bad news, there's really going to be no more updates on this thread for a long time (the payback portion *cackle*), maybe not as long as some of those building a house around their massive tank... but I'm not going to jump right into things as there's a long list of things that need to get done first before I even bother with cleaning up the tank and seals on the bulkheads (they're very nice bulkheads too, not those cheapy ones)
To-do list (incomplete)
-First and foremost, figure out how to align the tank. I'm really leaning towards a peninsula style tank with 3 sides viewable, but I might have to clean the tank up to see if any of the sides are beyond repair and change my plans to possibly a "corner" tank.
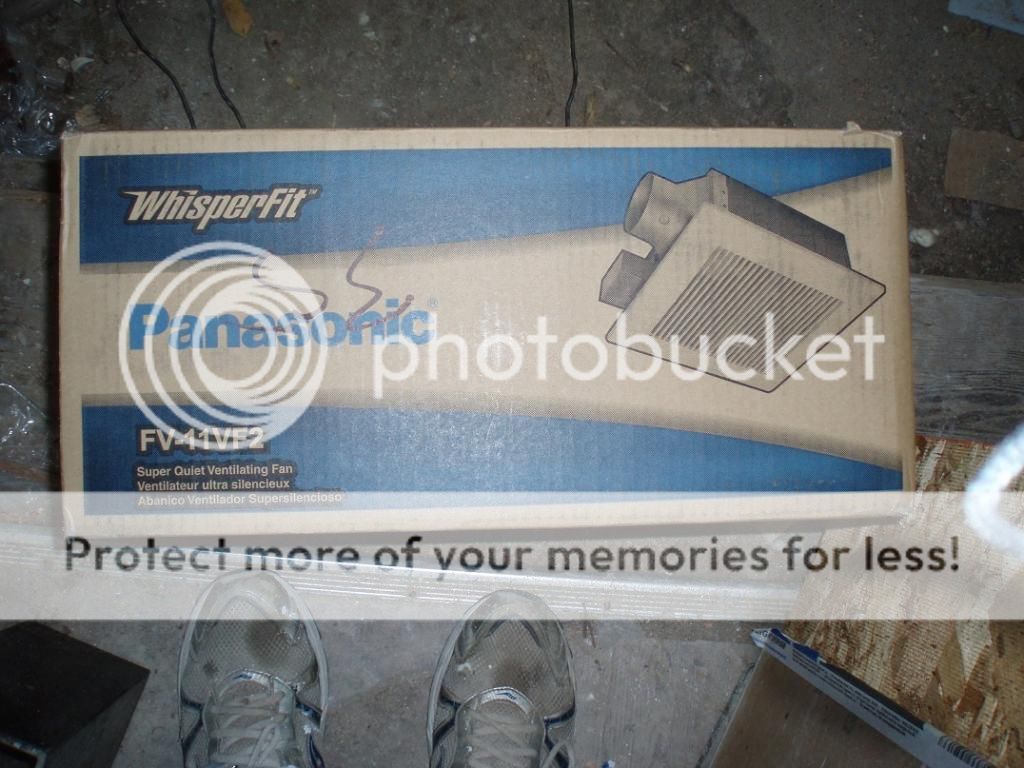
-The tank will be completely enclosed, as much as I'd love to have a top viewable tank, I'd rather have the energy savings by completely enclosing it to retain heat (the largest energy waste), this involves venting to the outside but that still will be a cheaper alternative over the long run of letting the air get to the outside.
-Of course this begs the question of how am I got to access the tank, I thought about a "behind" space the tank akin to a "fishroom", but that will push the tank out at least another foot and a half to two feet in the 6 foot direction, the room the tank is going to 15' x 25' unfortunately with a beam right in the center of the room which isn't too horrible but every foot I take away from that center beam just makes the huge room more "maze like" besides, even with access to the back it's not like I can do much from there, this isn't a tank that's 24" from front to back, it's 72". Some sort of removable side panels (I'm thinking magnetically attached) to allow me to get over the tank... possible a scaffolding system to let me hang over the tank too (akin to the Oregon Reef)
-I also have a 8 foot by 3 foot shorty acrylic tank too that I never got setup... part of me is really tempted to try and attach both tanks... but part of me is screaming "don't do it dumb***" (for a multitude of reasons... I'm hoping the saner side of me prevails), who knows maybe I'll chop it up and turn it into a sump.
Now that's just the thought process ideas behind the tank, no physical work yet which I'll admit thinking and dreaming up ideas I'm really good at.
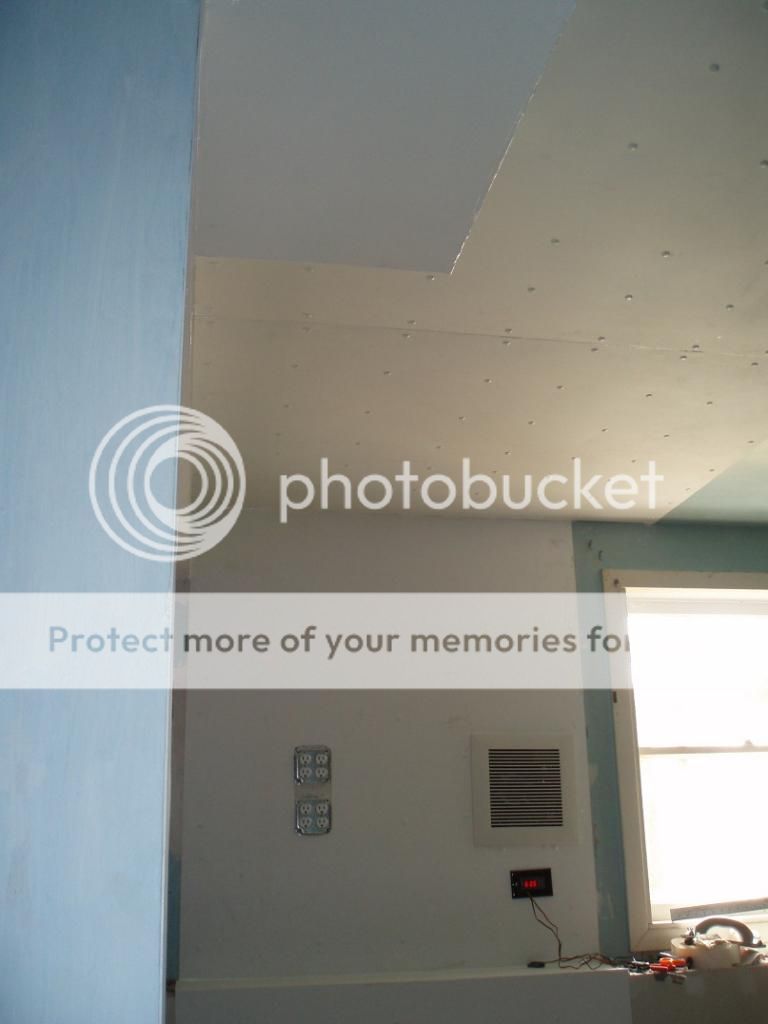
-Cleaning the entire room. The room, as large as it is... originally was a kitchen/living space "In-law" unit on the first floor/basement level now is a laundry room, and tank room (with an 80 gallon glass tank, and 4'x3' 180g tank (current tank)). Unfortunately there's a pool table(no legs sitting upright) and enough random fish equipment that might get me qualified for "The Horders- Fish Tank Edition" on TLC that desperately needs to be cleaned out, given away, or thrown away. Seriously need to inventory what I have and make decisions about what to keep and what not to. Also on top of that there's a few bookshelves attached to the walls with like a ton of how-to electronics books, and multiple full encyclopedia sets (they were here before I was) and I know for a fact absolutely no one will accept encyclopedias as donations anymore but part of me has a really hard time throwing them in the recycling can.
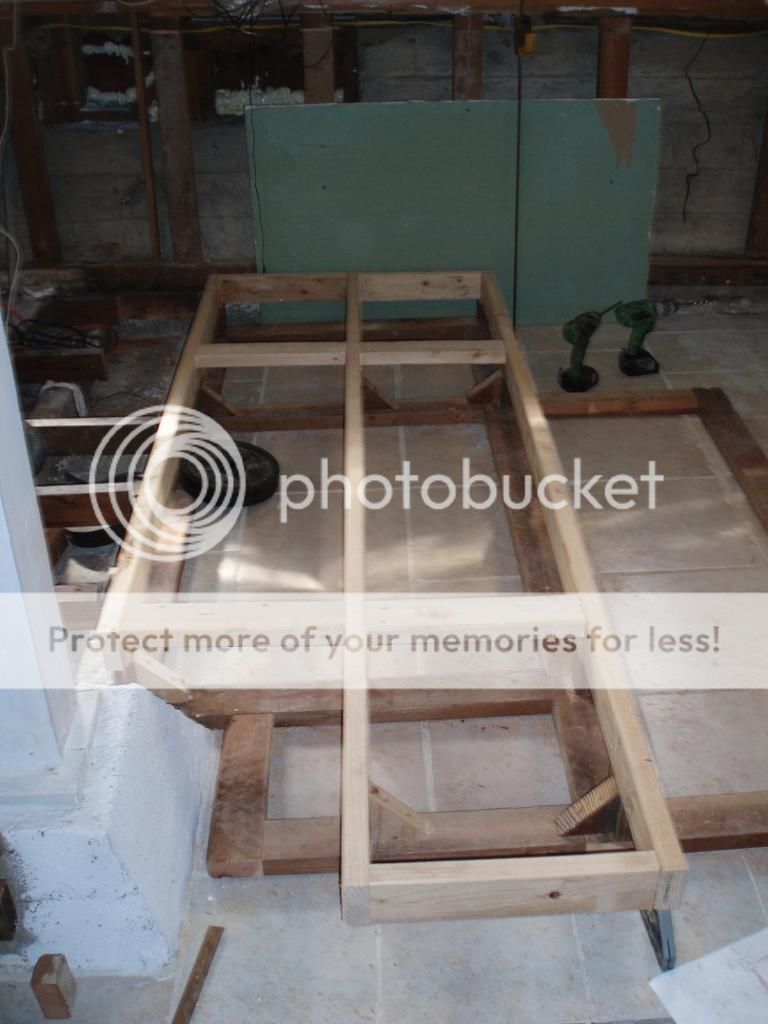
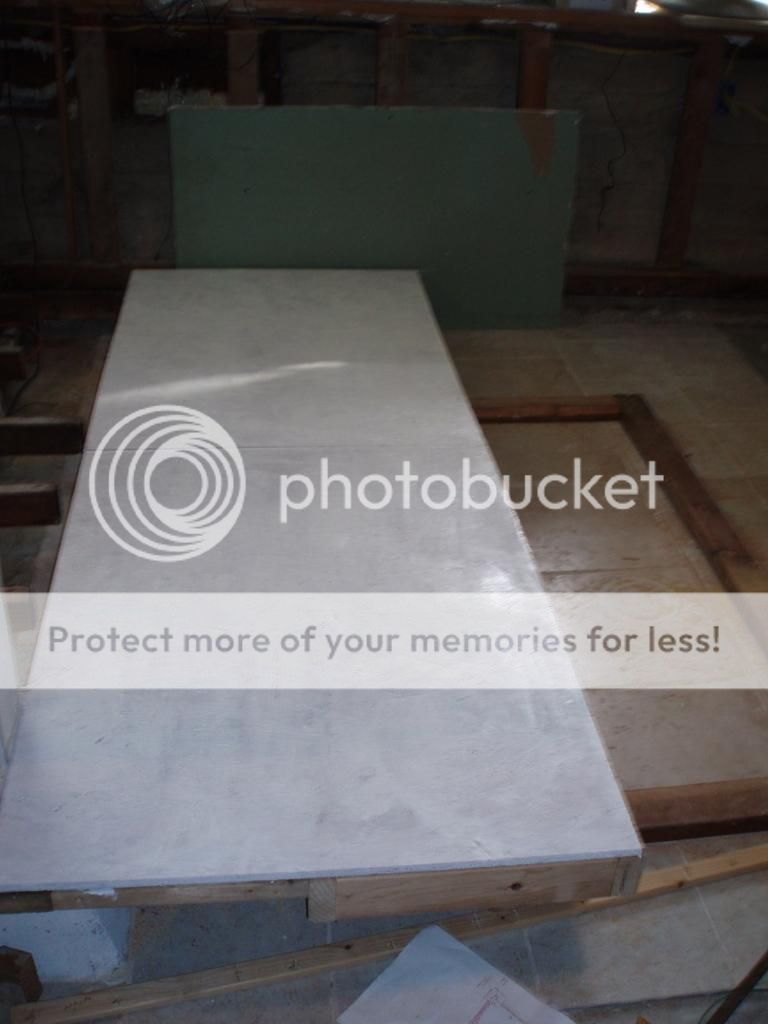
-New construction. After everything is cleaned then the mess can begin. The room was built elevated over a concrete slab (which continues all the way through the garage area), I assume when this was turned into a liveable space way back when before building codes and so forth they wanted something a little warmer than concrete to walk on (it is San Francisco), so built a raised room and covered everything in drywall. Unfortunately I have a feeling they did a ****poor job on framing the floor (there's a noticeable bounce if I hop up and down in some areas... plus the washing machine shakes the whole house when it goes into a spin cycle)... so I'll have to rip up the old flooring (unfortunately old 1" T&G pine boards that were hammered in with framing nails not fishing nails) extend parts of the floor all the way to the concrete floor, I want to add fiberglass insulation and a vapor barrier to the floor joists too (the area under is a "cold zone" while not as cold as the Northern climates it can get cold enough to allow moisture to condense on the surface and create mold issues), then re-sheet the floor with OSB T&G flooring (can't reuse the pine... trust me I've tried to carefully pry up parts of it... it ain't happening), then resurface the floor hopefully with something durable, and water tight.
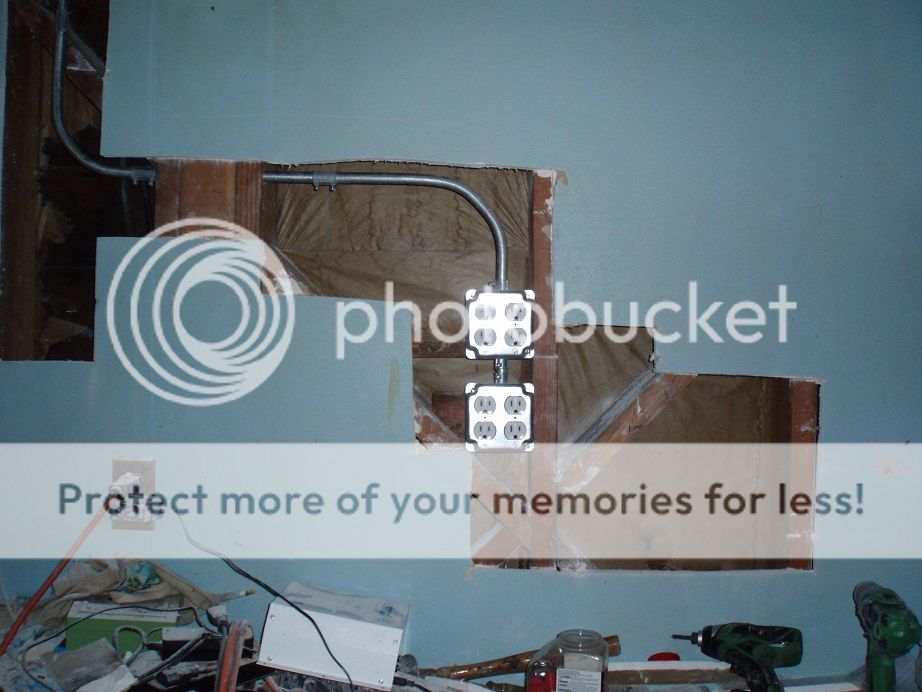
-Pull some extra power to the area, not much a couple 20A circuits should be more than plenty with the existing circuitry. But I'll have to move some ceiling lights around too... drywall will be all over the place.
-Then I also need to do the same with the walls, rip drywall down, put in insulation, use a more moisture resistance drywall (greenboard probably.. not sure where the state-of-the-art is with drywall.. and what's available in my area), and probably cover with a either a moisture resistant pant or FRP for easy cleanup/moisture. The upside is if I put this in a peninsula direction, at most I need to rip out a 5 foot wide section of the drywall (ignoring how many holes I need to make to pull wire) and the ceiling over the area, I don't have to do the entire room. However the flooring will have to be the entire room, although that can be done in sections as time permits.
- Of course I need to build a stand too... I'm good at building beefy... and being as this is San Francisco, maybe beefy is a better alternative than plywood only (doubly so given the footprint of the whole tank).
So that's pretty much the extent of major construction associated with the tank. Then of course there's the tank itself, which is way down the line but some ideas running around.
-Lighting : Think I'm going to finally do away with halides. I'm currently building an LED fixture, that I need to test on the existing tank to see how well it holds up/color/etc. But I'm probably looking at $300 or so per fixture which is fairly cheap for LEDs... I was going to go with the Maxspect Razor, but saving $200 per fixture sounds worth while considering I'll have time to complete these (plus there's a couple more channels of control and the colors of each channel are more to my liking). The upside of a shorty tank is I can have the lighting higher and have it cover a larger area, so I probably won't need as many fixtures as a taller tank. Plus I'm a real strong proponent to the idea that every square inch of the tank does not needs to have bright lighting, that 60% of tank that has no rocks (and corals) over it? Yeah enough lighting so it's not dark is good enough for me. The downside to LEDs though... heat, halides help heat my existing 180g tank which is open to the room, which is why an enclosed tank area to hold onto heat is of utmost need, last I want to do is trade off 250W of halides for 150W of LEDs, but then need twice as many watts worth of heaters because most of a LEDs waste heat goes above the light.
-Water movement. Well the upside is have enough MP40W parts for I believe 5 full pumps, plus I have an MP60. I also have a couple of Tunze 6100 that I use for mixing water *blush*... but I might upgrade to some beefier versions of the Tunze pumps for the back wall to push water the entire 6 foot length. If I go peninsula there's not going to be any pumps on the side. I'm not convinced Vortech pumps will be sufficient to push water the entire length of the tank either... I think this might be one of those "after everything is set up" decisions though. I don't want to use a closed loop... but I might just to add a little extra movement, and those affordable DC pumps that are coming out look damn sexy (especially if I can control them!), unfortunately this is a decision that needs to be made before everything is setup.
-Aquascaping, livestock, etc: I'll make these decisions later. I'm a fan of open spaces with few fish (I have 5 in my 180g tank), but I'm going to want more fish, and more spaces for those fish to hang-out. While the idea of what Steve Weast did is tempting, not sure I could pull it off... plus I like a little bit of originality
P.S. If you actually read through all of that to get to this line, I do apologize for the length between updates from this point on. Everyone likes to see a big/epic tank build... but the impatient nature of many of us (including me) wants instant gratification
Here's what I got to work with...
Soak in this picture, this is the only one in this really long wordy post
5 feet wide, by 6 feet long, by 20 inches tall (the shorty part), thought about naming it the Baby Oregon Reef, but really didn't want to put myself anywhere close to that pedestal. Of yeah the most important part... it was "free" ($32 for a U-haul truck as it wouldn't quite fit in my Prius, a suggestion did come to flip it upside down and drive with it like a hat on the car... but I declined that suggestion)
Passed down to me after being in someones storage shed for a while, who doesn't have the room for it.. lets be honest a 5 foot by 6 foot footprint for a tank is something people don't usually have room for.The tank is acrylic, and there is some work that has to go into it. The sides are completely covered with old coraline algae or a cyano bacteria that need to be cleaned off so I can see how much sanding needs to be done.
I see circular voids in the side crust and the little black ziptie grips that showed me the previous owner had no fewer than 8 vortech pumps on it. There are 4 massive overflow holes, 3.5" diameter, three 1.5" holes and two 2.5" holes for what I'm guessing was some sort of closed loop. Luckily I got bulkheads for all of them, as well as some other plumbing parts that might cost quite a bit of more. I'm not particularly pleased at how close 4 of the closed loop holes are to the acrylic, with pipes sticking up there's no way that's going to look natural, the two bigger 2.5" holes are near the "front" pane too, I might plug them and redrill some so that I can cover them up with some sort of rock work (and make it still possible to clean the acrylic). Also I do not see any return holes on the tank, which makes me think it went over the rim which is quite large (probably 8+ inches around the tank) as I can't honestly think someone used a closed loop at the bottom for a return... power goes out and there's all sorts of problems going on
Now here's the bad news, there's really going to be no more updates on this thread for a long time (the payback portion *cackle*), maybe not as long as some of those building a house around their massive tank... but I'm not going to jump right into things as there's a long list of things that need to get done first before I even bother with cleaning up the tank and seals on the bulkheads (they're very nice bulkheads too, not those cheapy ones)
To-do list (incomplete)
-First and foremost, figure out how to align the tank. I'm really leaning towards a peninsula style tank with 3 sides viewable, but I might have to clean the tank up to see if any of the sides are beyond repair and change my plans to possibly a "corner" tank.
-The tank will be completely enclosed, as much as I'd love to have a top viewable tank, I'd rather have the energy savings by completely enclosing it to retain heat (the largest energy waste), this involves venting to the outside but that still will be a cheaper alternative over the long run of letting the air get to the outside.
-Of course this begs the question of how am I got to access the tank, I thought about a "behind" space the tank akin to a "fishroom", but that will push the tank out at least another foot and a half to two feet in the 6 foot direction, the room the tank is going to 15' x 25' unfortunately with a beam right in the center of the room which isn't too horrible but every foot I take away from that center beam just makes the huge room more "maze like" besides, even with access to the back it's not like I can do much from there, this isn't a tank that's 24" from front to back, it's 72". Some sort of removable side panels (I'm thinking magnetically attached) to allow me to get over the tank... possible a scaffolding system to let me hang over the tank too (akin to the Oregon Reef)
-I also have a 8 foot by 3 foot shorty acrylic tank too that I never got setup... part of me is really tempted to try and attach both tanks... but part of me is screaming "don't do it dumb***" (for a multitude of reasons... I'm hoping the saner side of me prevails), who knows maybe I'll chop it up and turn it into a sump.
Now that's just the thought process ideas behind the tank, no physical work yet
which I'll admit thinking and dreaming up ideas I'm really good at.-Cleaning the entire room. The room, as large as it is... originally was a kitchen/living space "In-law" unit on the first floor/basement level now is a laundry room, and tank room (with an 80 gallon glass tank, and 4'x3' 180g tank (current tank)). Unfortunately there's a pool table(no legs sitting upright) and enough random fish equipment that might get me qualified for "The Horders- Fish Tank Edition" on TLC that desperately needs to be cleaned out, given away, or thrown away. Seriously need to inventory what I have and make decisions about what to keep and what not to. Also on top of that there's a few bookshelves attached to the walls with like a ton of how-to electronics books, and multiple full encyclopedia sets (they were here before I was) and I know for a fact absolutely no one will accept encyclopedias as donations anymore but part of me has a really hard time throwing them in the recycling can.
-New construction. After everything is cleaned then the mess can begin. The room was built elevated over a concrete slab (which continues all the way through the garage area), I assume when this was turned into a liveable space way back when before building codes and so forth they wanted something a little warmer than concrete to walk on (it is San Francisco), so built a raised room and covered everything in drywall. Unfortunately I have a feeling they did a ****poor job on framing the floor (there's a noticeable bounce if I hop up and down in some areas... plus the washing machine shakes the whole house when it goes into a spin cycle
)... so I'll have to rip up the old flooring (unfortunately old 1" T&G pine boards that were hammered in with framing nails not fishing nails) extend parts of the floor all the way to the concrete floor, I want to add fiberglass insulation and a vapor barrier to the floor joists too (the area under is a "cold zone" while not as cold as the Northern climates it can get cold enough to allow moisture to condense on the surface and create mold issues), then re-sheet the floor with OSB T&G flooring (can't reuse the pine... trust me I've tried to carefully pry up parts of it... it ain't happening), then resurface the floor hopefully with something durable, and water tight. -Pull some extra power to the area, not much a couple 20A circuits should be more than plenty with the existing circuitry. But I'll have to move some ceiling lights around too... drywall will be all over the place.
-Then I also need to do the same with the walls, rip drywall down, put in insulation, use a more moisture resistance drywall (greenboard probably.. not sure where the state-of-the-art is with drywall.. and what's available in my area), and probably cover with a either a moisture resistant pant or FRP for easy cleanup/moisture. The upside is if I put this in a peninsula direction, at most I need to rip out a 5 foot wide section of the drywall (ignoring how many holes I need to make to pull wire) and the ceiling over the area, I don't have to do the entire room. However the flooring will have to be the entire room, although that can be done in sections as time permits.
- Of course I need to build a stand too... I'm good at building beefy... and being as this is San Francisco, maybe beefy is a better alternative than plywood only (doubly so given the footprint of the whole tank).
So that's pretty much the extent of major construction associated with the tank. Then of course there's the tank itself, which is way down the line but some ideas running around.
-Lighting : Think I'm going to finally do away with halides. I'm currently building an LED fixture, that I need to test on the existing tank to see how well it holds up/color/etc. But I'm probably looking at $300 or so per fixture which is fairly cheap for LEDs... I was going to go with the Maxspect Razor, but saving $200 per fixture sounds worth while considering I'll have time to complete these (plus there's a couple more channels of control and the colors of each channel are more to my liking). The upside of a shorty tank is I can have the lighting higher and have it cover a larger area, so I probably won't need as many fixtures as a taller tank. Plus I'm a real strong proponent to the idea that every square inch of the tank does not needs to have bright lighting, that 60% of tank that has no rocks (and corals) over it? Yeah enough lighting so it's not dark is good enough for me. The downside to LEDs though... heat, halides help heat my existing 180g tank which is open to the room, which is why an enclosed tank area to hold onto heat is of utmost need, last I want to do is trade off 250W of halides for 150W of LEDs, but then need twice as many watts worth of heaters because most of a LEDs waste heat goes above the light.
-Water movement. Well the upside is have enough MP40W parts for I believe 5 full pumps, plus I have an MP60. I also have a couple of Tunze 6100 that I use for mixing water *blush*... but I might upgrade to some beefier versions of the Tunze pumps for the back wall to push water the entire 6 foot length. If I go peninsula there's not going to be any pumps on the side. I'm not convinced Vortech pumps will be sufficient to push water the entire length of the tank either... I think this might be one of those "after everything is set up" decisions though. I don't want to use a closed loop... but I might just to add a little extra movement, and those affordable DC pumps that are coming out look damn sexy (especially if I can control them!), unfortunately this is a decision that needs to be made before everything is setup
.-Aquascaping, livestock, etc: I'll make these decisions later. I'm a fan of open spaces with few fish (I have 5 in my 180g tank), but I'm going to want more fish, and more spaces for those fish to hang-out. While the idea of what Steve Weast did is tempting, not sure I could pull it off... plus I like a little bit of originality
P.S. If you actually read through all of that to get to this line, I do apologize for the length between updates from this point on. Everyone likes to see a big/epic tank build... but the impatient nature of many of us (including me) wants instant gratification