milkman55
New member
I looked around the web thinking it would be a breeze to find out information on rebuilding PanWorld pumps and the parts I would need for the job. Wrong.......very little out there in the way of information and parts. Apparently, the tariff is high on the parts (or at least that's the story) and the replacement parts are pretty much non-existent.
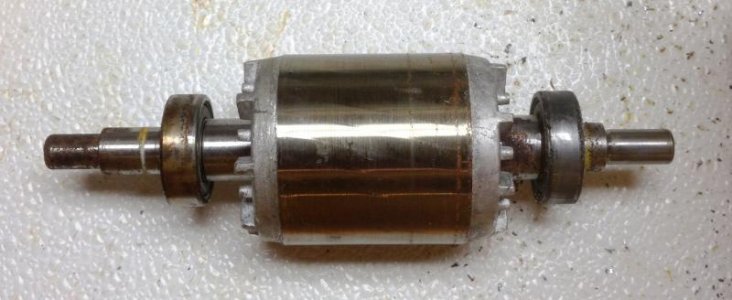
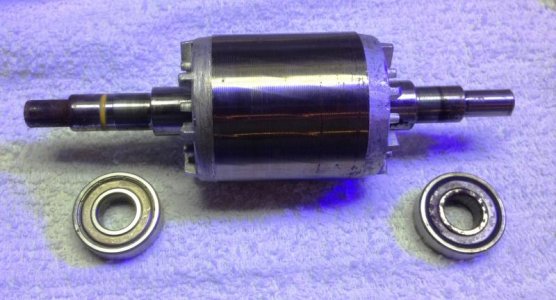
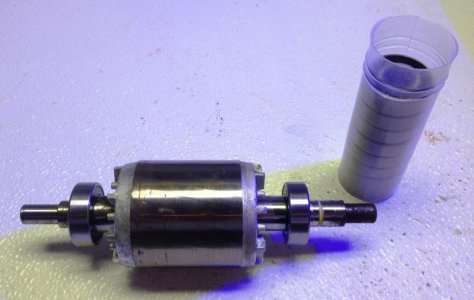
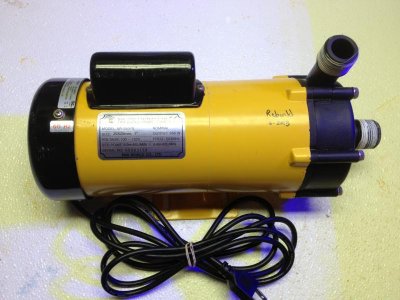
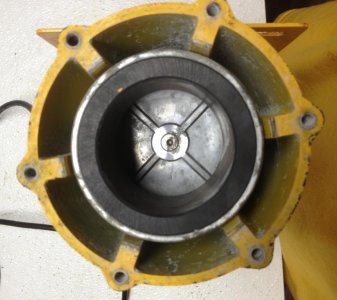
I have three of these pumps now, one brand new I just installed last week and one good backup. I decided to tear into the one that was making all the noise (that prompted me to buy a third pump) and just see how these things are made. I pulled off the impeller face plate and started figuring out how to pull the motor to replace the bearings, which were the suspected cause of the grinding noise. If you have ever cleaned your PanWorld pump, this picture should be familiar to you. If you have never cleaned your pump, then you remove the 6 bolts holding the impeller housing on the pump and you will see how everything just comes off.
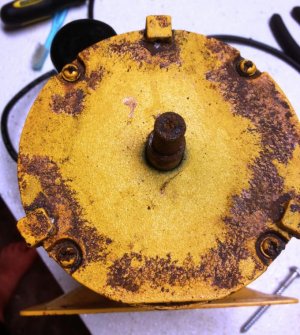
Once your get the impeller end removed, take off the three screws on the back end cover and then remove the ventilation fan wheel by loosening the two clamps.
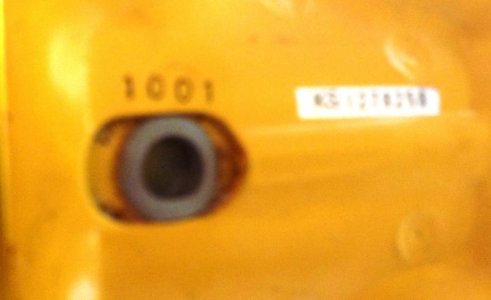
Now you will find a rubber plug in the bottom of the pump and when you remove it, there is an access port for TWO set screws (one on each side of the spindle) which are holding the magnetic drive wheel on the spindle. The 7/64 allen screws are on there tight. Don't try and get them loose with anything but a 7/64 allen wrench and it will take a little muscle.
You can remove the magnetic drive from the spindle by prying gently on the edges with a flat screwdriver through the access port.
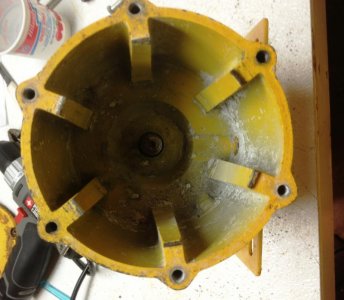
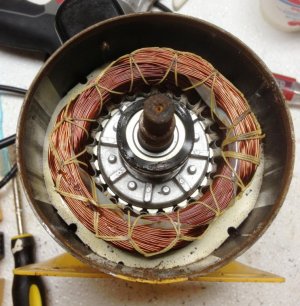
Once you get the magnetic drive off the spindle, then remove the 4 long screws holding the back plate on the pump (under the fan cover you removed). Make sure you get the Phillips grooves nice and clean or you can chance stripping out the head as these are pretty tight. You can get the back plate off my tapping lightly with a hammer on the three screw lugs that hold on the back fan cover and the back will separate from the pump.
[Continued in next post - 5 picture limit]
I have three of these pumps now, one brand new I just installed last week and one good backup. I decided to tear into the one that was making all the noise (that prompted me to buy a third pump) and just see how these things are made. I pulled off the impeller face plate and started figuring out how to pull the motor to replace the bearings, which were the suspected cause of the grinding noise. If you have ever cleaned your PanWorld pump, this picture should be familiar to you. If you have never cleaned your pump, then you remove the 6 bolts holding the impeller housing on the pump and you will see how everything just comes off.

Once your get the impeller end removed, take off the three screws on the back end cover and then remove the ventilation fan wheel by loosening the two clamps.

Now you will find a rubber plug in the bottom of the pump and when you remove it, there is an access port for TWO set screws (one on each side of the spindle) which are holding the magnetic drive wheel on the spindle. The 7/64 allen screws are on there tight. Don't try and get them loose with anything but a 7/64 allen wrench and it will take a little muscle.

You can remove the magnetic drive from the spindle by prying gently on the edges with a flat screwdriver through the access port.

Once you get the magnetic drive off the spindle, then remove the 4 long screws holding the back plate on the pump (under the fan cover you removed). Make sure you get the Phillips grooves nice and clean or you can chance stripping out the head as these are pretty tight. You can get the back plate off my tapping lightly with a hammer on the three screw lugs that hold on the back fan cover and the back will separate from the pump.

[Continued in next post - 5 picture limit]

