I am moving into a new, much bigger house. So, bigger house means bigger tank right? (It was my future wife's idea)...
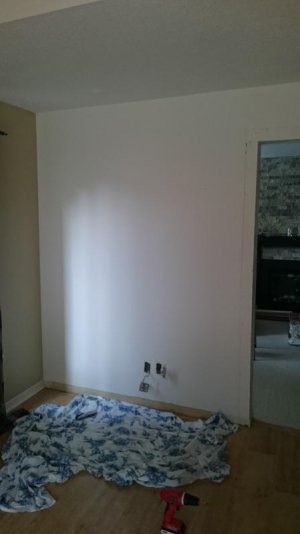
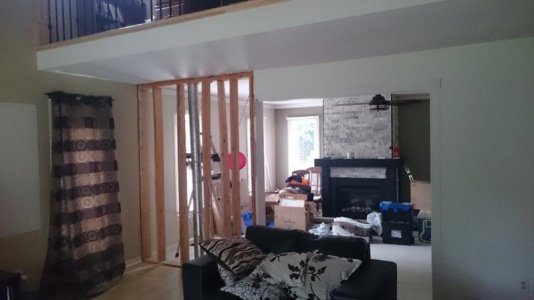
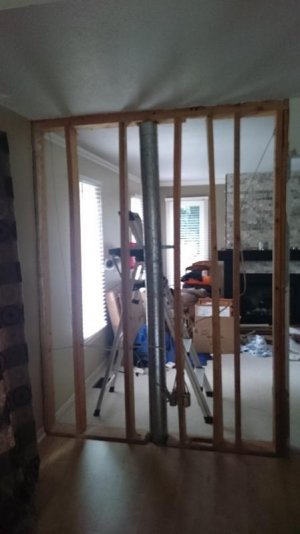
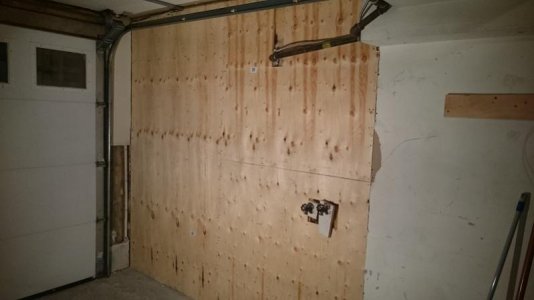
My first plan was to just get an off the shelf MarineLand Corner-flo. I was going to put it in the as a primary display piece in the main room of our new house. The goal was to put it on an outside wall and brace the floor underneath (conveniently building myself a fish room right below). However, in the house we actually purchased, the only suitable wall is right above the garage (lol). Anyway, long story short, I have decided to put the tank in a wall as a room divider. This of course means I get to pull a wall down and run a fantastic build project, so I have an engineer coming to reassure me I can do so without the house caving in on itself!
So, I would love some input and feed back on this process. I will also have questions I am sure as I build things out, well, I admit, I have one right now")
Here are some decisions I have made:
2 return pumps, I have purchase two Mag12 pumps, I chose two for redundancy.
4 Hydor 1500 powerheads, I picked up four of these on sale, I already have a 600 and two 850s which seem to work well in my 65 Gallon
Switching to Eheim heaters, I purchased a 250W to augment my 100W, and I have two 200W Hydors (which are horrible heaters) to use as backup. I have enough wattage to get started, once I get a feel for heating the system, I will likely switch entirely to Eheim.
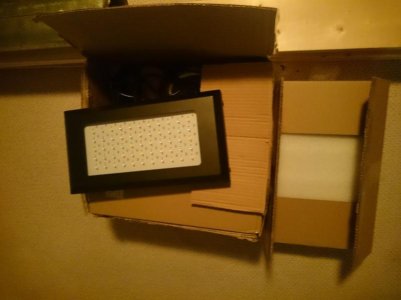
5 Arctic-S026 LED lights, I have one already on my 65G (not exactly, but same specs w/same LEDs), and my corals love it. I have not purchased these yet.
Use my existing 55G sump/refugium system, I am going to rework the baffles a bit on my next water change, I will post something on this modification later...
Keep my RS-80 skimmer for a while, it is 'rated' for a large tank, and I only have five fish. Once I start ramping up the fish, I will likely need to upgrade. I am comfortable with the device at this point, so I should know when that is needed (i.e. having to clean it every couple days, lol).
The sump will be in the basement, and hopefully I can figure out how to mount the Mag12 pumps on the outside. I will likely re-use as much of the existing plumbing as possible.
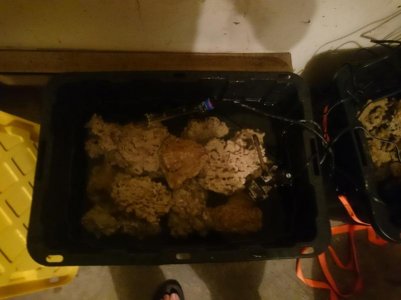
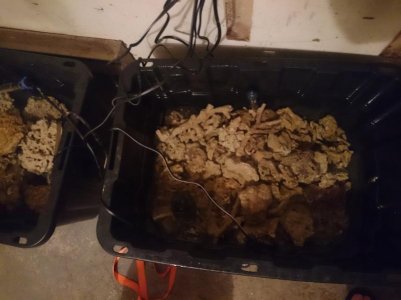
For rocks, I probably have 100lbs in my 65G, and I am curing close to 100lbs of rubble for the refugium and another 100lbs of rock curing in my basement now. I also have about 50lbs of rubble in cold (room temp) water and 40lbs of dry rock (ready to be cured). Hopefully, this will give me enough 'base' rock for the system to minimize the initial cycle. That said, I am not trying to rush things, as I will have time to ensure a proper cycle when I fire this thing up. BUT! and a big but, I do want to minimize the time the 65G runs without a sump/fuge/skimmer. So, I figure for the load I have in my 65G, a bubble/aerator should do enough skimming for a couple weeks while I verify the new system. I would love some thoughts on this!!!
So, getting down to my first real question... I am getting close to when I need to place the order for the actual 220G display tank. Since I am in Ontario, Canada, my options are a bit limited. I would like to see what you folks feel are some advantages and disadvantages to the options I have narrowed it down to:
Durso overflow:
Marineland Corner-Flo, $1200 (local pickup)
I have 65G corner-flo now, it works well, although the durso overflow a bit loud. As a room divider, the one wall would need to cover up the overflow, which lowers the viewing abilities from that room. Good warranty.
BeanAnimal overflow:
Perfecto tank, $850 (local pickup)
Basic tank, I could drill it myself or hire someone locally to do it. The warranty would be void as soon as I start drilling. I would also have to build my own overflow box.
Miracles Aquarium, $1600 (shipped to my house)
Custom tank, drilled to my spec (three holes), tempering on the bottom and drilled end. Takes three days to reply to my email. 1 year warranty. This price does not include the overflow.
North American Fish Breeders, $950 + shipping (hopefully around $300, shipped to my house)
Custom tank, drilled to my spec (three holes). This includes the overflow box on the inside. Nothing is tempered, although he says he uses thicker glass (half inch). I will ask about the warranty when I follow up about the shipping cost next week. He only does Euro-style bracing.
I am excited about this build and will be posting as much as I can on the process here. Including my sump modifications, my ATO, my DIY auto-feeder, and of course, the demolition of a wall (hopefully)...
TL;DR:
Moving to a new house, installing a new tank, please advise on the four options above.
My first plan was to just get an off the shelf MarineLand Corner-flo. I was going to put it in the as a primary display piece in the main room of our new house. The goal was to put it on an outside wall and brace the floor underneath (conveniently building myself a fish room right below). However, in the house we actually purchased, the only suitable wall is right above the garage (lol). Anyway, long story short, I have decided to put the tank in a wall as a room divider. This of course means I get to pull a wall down and run a fantastic build project, so I have an engineer coming to reassure me I can do so without the house caving in on itself!
So, I would love some input and feed back on this process. I will also have questions I am sure as I build things out, well, I admit, I have one right now
Here are some decisions I have made:
2 return pumps, I have purchase two Mag12 pumps, I chose two for redundancy.
4 Hydor 1500 powerheads, I picked up four of these on sale, I already have a 600 and two 850s which seem to work well in my 65 Gallon
Switching to Eheim heaters, I purchased a 250W to augment my 100W, and I have two 200W Hydors (which are horrible heaters) to use as backup. I have enough wattage to get started, once I get a feel for heating the system, I will likely switch entirely to Eheim.
5 Arctic-S026 LED lights, I have one already on my 65G (not exactly, but same specs w/same LEDs), and my corals love it. I have not purchased these yet.
Use my existing 55G sump/refugium system, I am going to rework the baffles a bit on my next water change, I will post something on this modification later...
Keep my RS-80 skimmer for a while, it is 'rated' for a large tank, and I only have five fish. Once I start ramping up the fish, I will likely need to upgrade. I am comfortable with the device at this point, so I should know when that is needed (i.e. having to clean it every couple days, lol).
The sump will be in the basement, and hopefully I can figure out how to mount the Mag12 pumps on the outside. I will likely re-use as much of the existing plumbing as possible.
For rocks, I probably have 100lbs in my 65G, and I am curing close to 100lbs of rubble for the refugium and another 100lbs of rock curing in my basement now. I also have about 50lbs of rubble in cold (room temp) water and 40lbs of dry rock (ready to be cured). Hopefully, this will give me enough 'base' rock for the system to minimize the initial cycle. That said, I am not trying to rush things, as I will have time to ensure a proper cycle when I fire this thing up. BUT! and a big but, I do want to minimize the time the 65G runs without a sump/fuge/skimmer. So, I figure for the load I have in my 65G, a bubble/aerator should do enough skimming for a couple weeks while I verify the new system. I would love some thoughts on this!!!
So, getting down to my first real question... I am getting close to when I need to place the order for the actual 220G display tank. Since I am in Ontario, Canada, my options are a bit limited. I would like to see what you folks feel are some advantages and disadvantages to the options I have narrowed it down to:
Durso overflow:
Marineland Corner-Flo, $1200 (local pickup)
I have 65G corner-flo now, it works well, although the durso overflow a bit loud. As a room divider, the one wall would need to cover up the overflow, which lowers the viewing abilities from that room. Good warranty.
BeanAnimal overflow:
Perfecto tank, $850 (local pickup)
Basic tank, I could drill it myself or hire someone locally to do it. The warranty would be void as soon as I start drilling. I would also have to build my own overflow box.
Miracles Aquarium, $1600 (shipped to my house)
Custom tank, drilled to my spec (three holes), tempering on the bottom and drilled end. Takes three days to reply to my email. 1 year warranty. This price does not include the overflow.
North American Fish Breeders, $950 + shipping (hopefully around $300, shipped to my house)
Custom tank, drilled to my spec (three holes). This includes the overflow box on the inside. Nothing is tempered, although he says he uses thicker glass (half inch). I will ask about the warranty when I follow up about the shipping cost next week. He only does Euro-style bracing.
I am excited about this build and will be posting as much as I can on the process here. Including my sump modifications, my ATO, my DIY auto-feeder, and of course, the demolition of a wall (hopefully)...
TL;DR:
Moving to a new house, installing a new tank, please advise on the four options above.
")