seapug
Premium Member
After 5 years of service that provided me moments of joy and tears, frustrations and successes along with moments of incredible beauty as well as complete disgust, it had become time for my old 90 gallon to retire.
Hasty setup decisions made early on had started to come back to bite me (plumbing, bad stand) and my tank was starting to show signs of what is commonly referred to as "Old Tank syndrome." Though the tank was algae free and generally stable and healthy, the sand bed had become detritus loaded and I started to have issues with RTN on my SPS corals and mysterious losses of some of my most prized Zoanthid and LPS corals.
To complicate matters, the reef had grown so much it was becoming increasingly difficult to keep clean without causing a complete avalanche. As a married guy with two young children, a job and a home to maintain, the time required to "fix" this tank was hard to come by, and some issues were simply "unfixable" without completely draining and rebuilding the setup. If I was going to do have to do that, I wanted a new tank (and larger, of course") ).
).
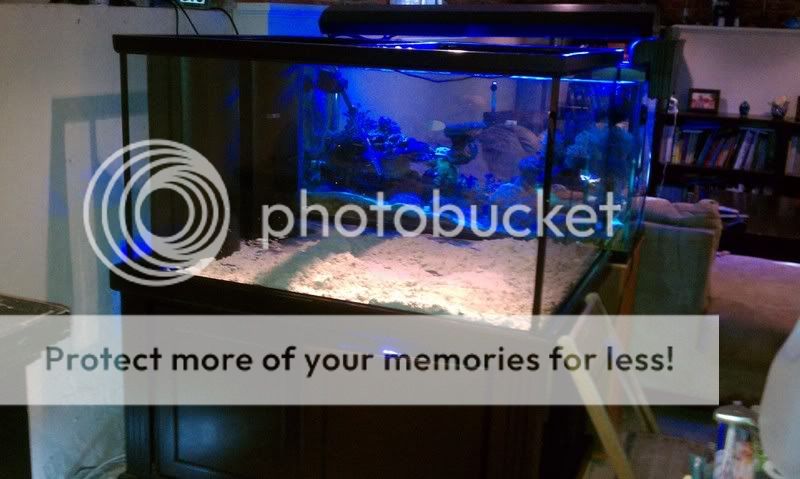
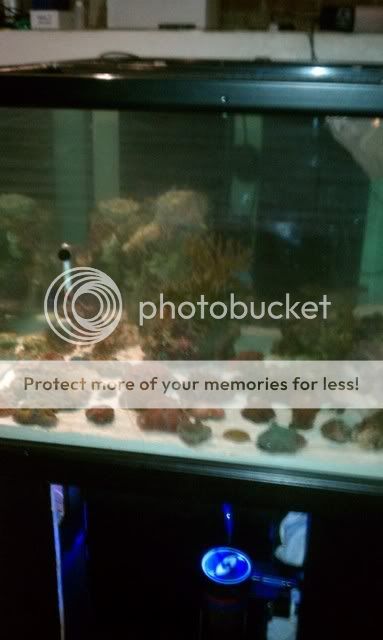
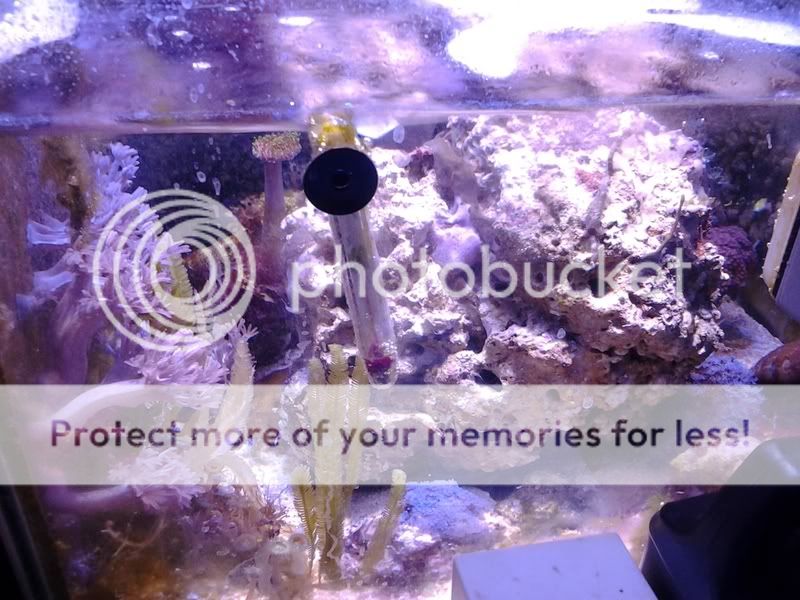
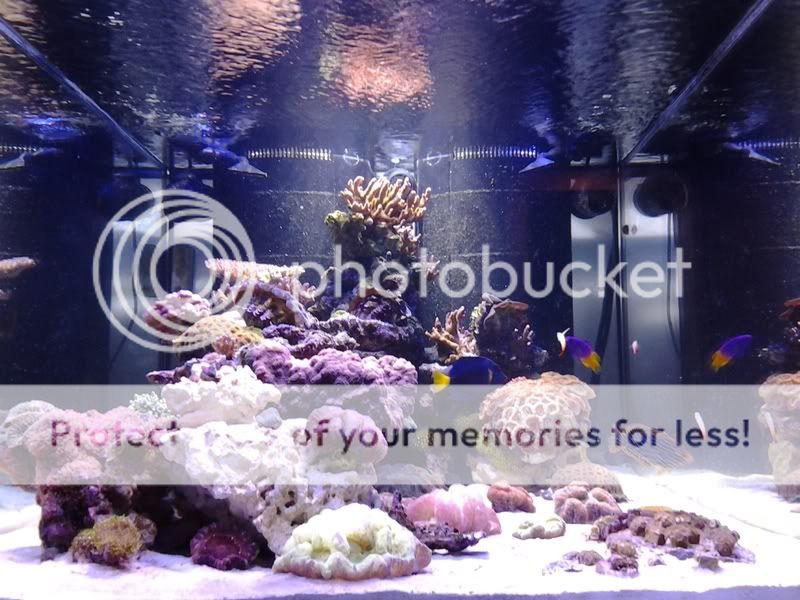
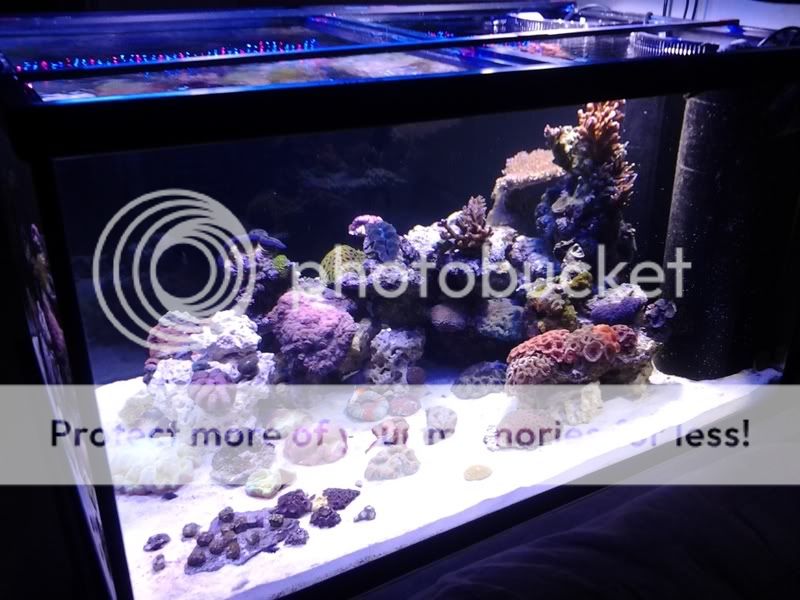
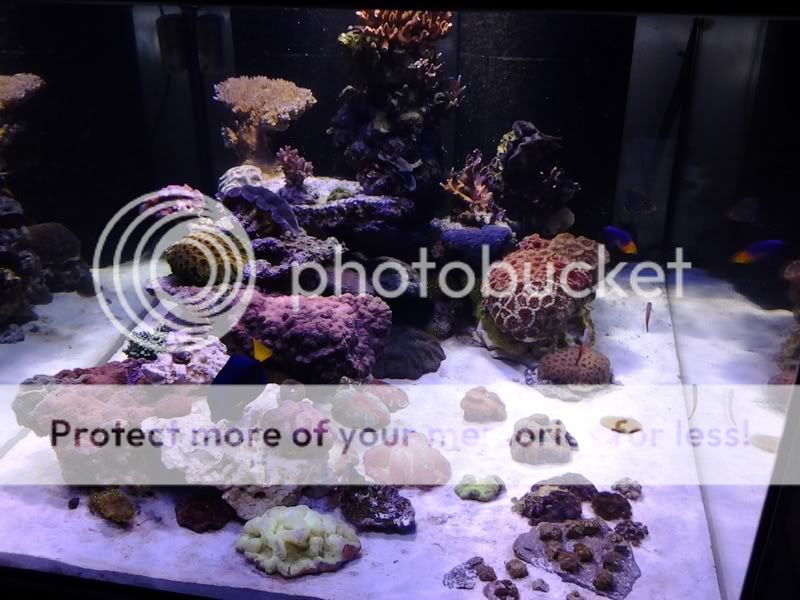
Here are some of the last photos taken of the 90 gallon before things started going downhill:
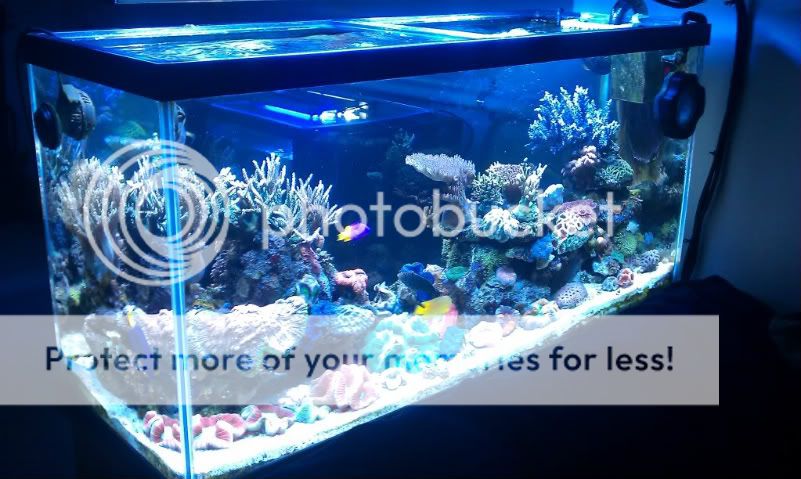
One of my greatest complaints about the 90 gallon was the 18" width of the tank. the 4 ft. length made a nice peninsular room divider, but the 18" simply didn't give me the room I needed to create the aquascape I envisioned, so I decided on a custom Marineland 200 gallon DD (48" X 36" X 27") with dual megaflow overflows on one end. This gave me the same length as the 90 gallon but was twice as wide and 3 inches taller. The Marineland DD tanks also come with a single pane of Sarfire glass, black silicone and a much nicer finished trim around the top brace of the tank. They are much nicer looking and better constructed tanks than the AGA I had before. It was going to take about a month to have the custom tank built and delivered, so in the meantime I needed to figure out how I was going to pull this whole thing off.
The Build:
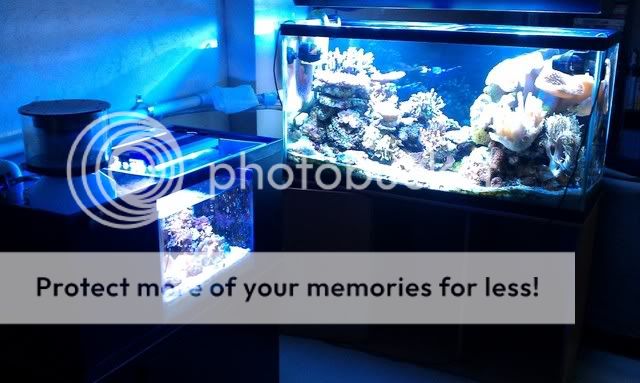
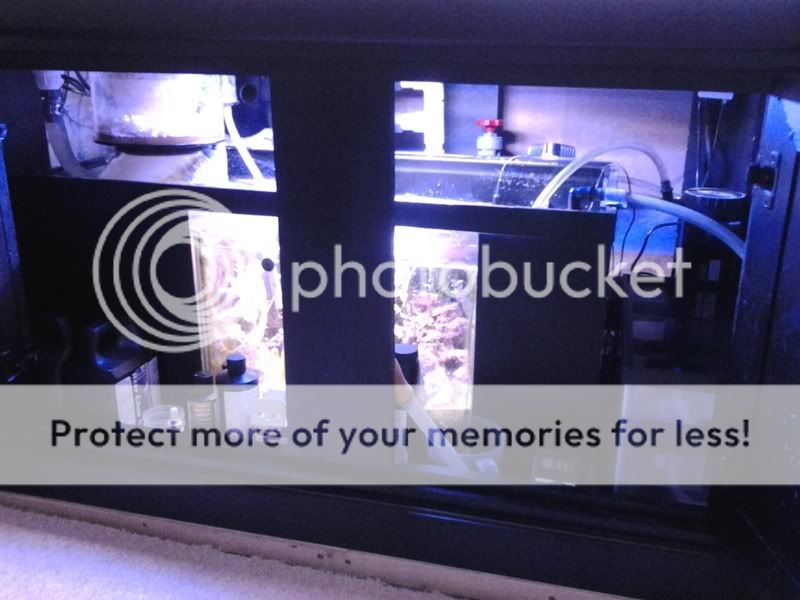
The 90 gallon tank was set up as a peninsula with a 40 gallon breeder inline refugium against the wall perpendicular to the display. A PVC pipe ran from the HOB overflow on the display to the refugium, and a drain from the fuge ran to a small sump in a cabinet below it that contained the return, heaters, ATO, reactors, etc. The new tank was going to be set up right next to the 90 gallon, so this plumbing needed to be removed and the refugium moved out of the way to make space for the new tank. I shut off the return pump, disconnected the plumbing and overflow and attached HOB power filters to both the display and refugium. I drained all the water from the refugium except for the middle "fuge" compartment and carefully (painfully) lifted it onto a workbench set up next to it.
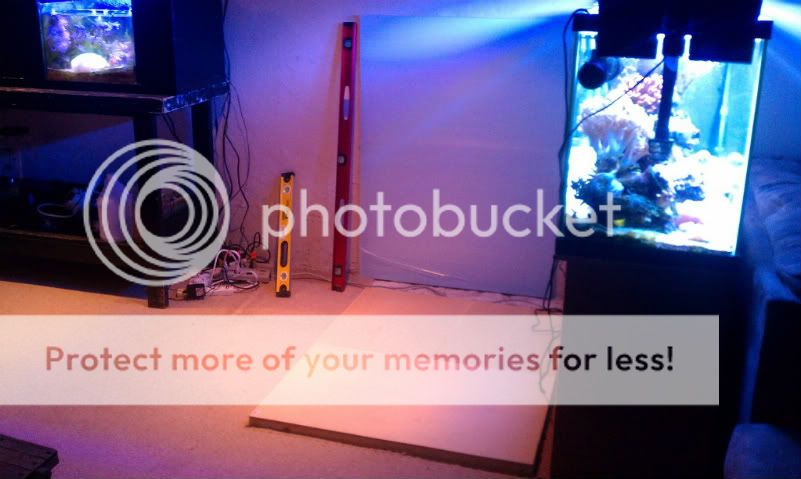
A major concern for me in setting up this tank as the 3/4 inch slope from the wall that I had shoddily addressed using multiple shims under the 90 gallon. After 5 years, these were causing visible stress on the stand and simply looked crappy to me.
For this new tank, I needed a much better solution. After much deliberation over possible ways to do this without hiring a pro to pour a concrete slab that I would probably have to jackhammer out if we ever had to sell the house and move, I decided to remove a section of carpeting that matched the footprint of the new stand and build a wood "platform" using cut 2 X 4s and plywood. The long-run 2 X 4s were cut lengthwise from 1" to 1 3/4" height to create a reverse slope to compensate for the floor. Cross members were added for support across the middle and I added a plywood cap for even support. Here's what it looked like after putting the tanks on life support and building the leveling platform:
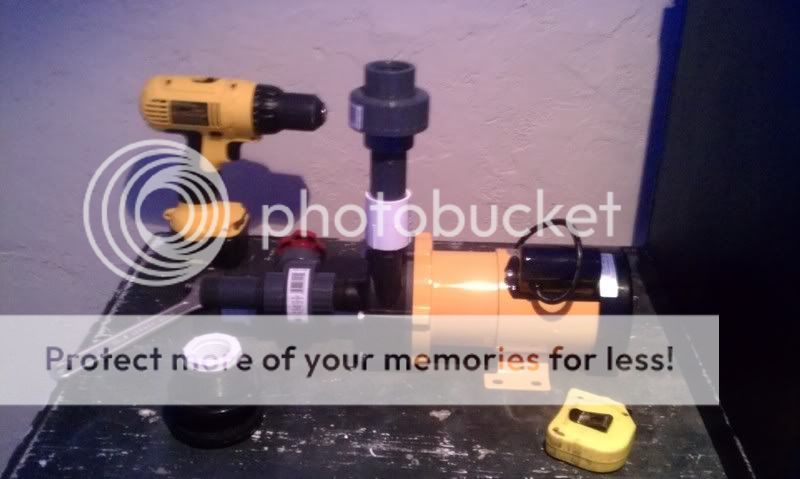
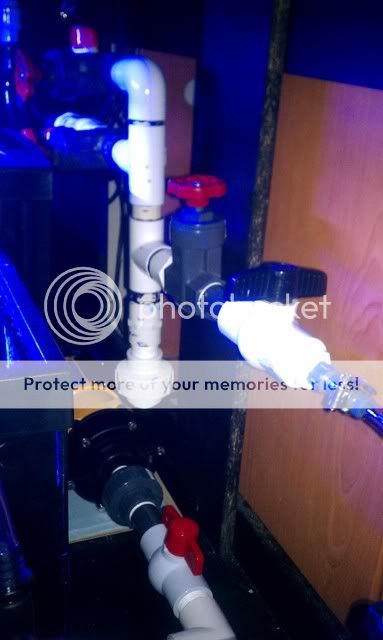
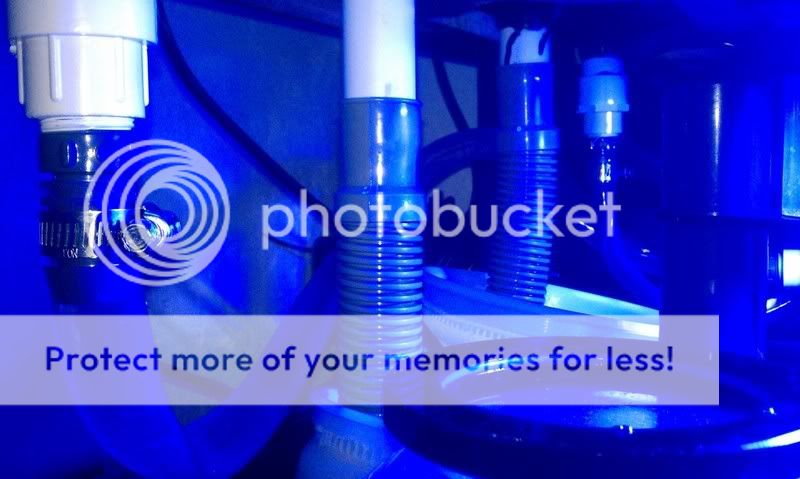
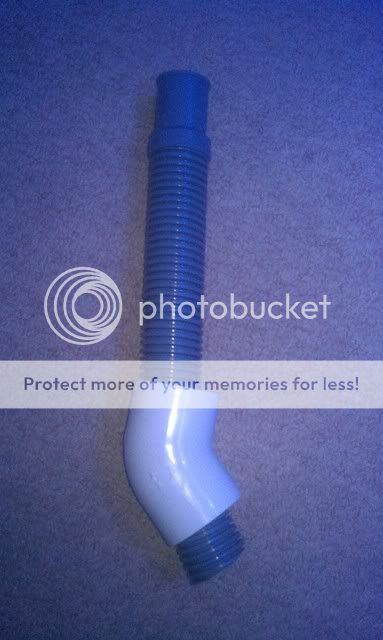
With that complete, the next step was the plumbing. For this new tank, I wanted to simplify things using an external pump I could also use to plumb to my carbon reactor or possibly a calcium reactor or external protein skimmer down the line. At the advice of my LFS, I they ordered me a Blueline 55 HD pressure pump. Here's the pump and initial plumbing build:
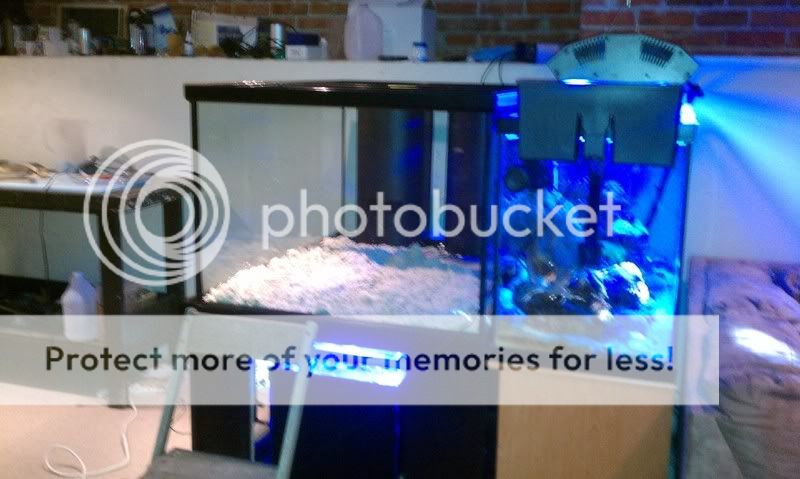
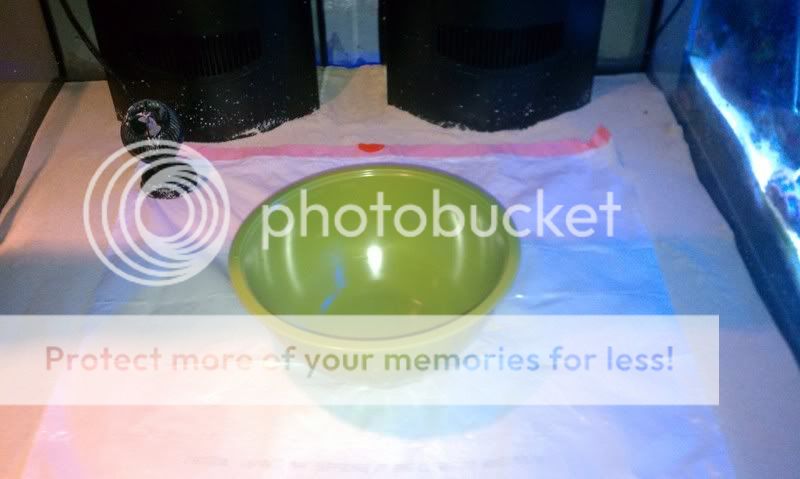
After about 6 weeks, the tank and dry sand was delivered by the LFS and put in place. While they were here, I also had them help me put the fuge in the stand (my wife refused to help me after hurting her back while helping me move the fuge the first time). The sand was given a quick rinse outside with a bucket and hose then added to the tank:
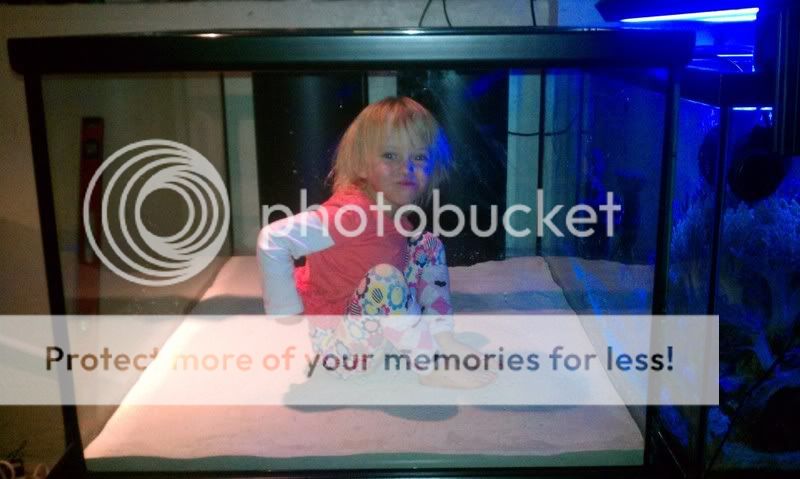
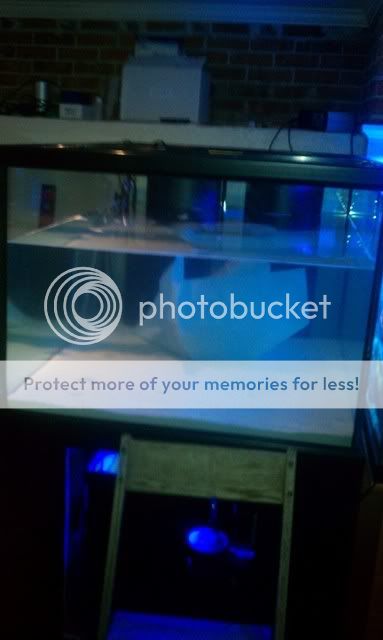
Of course, my 4 year old just HAD to get in the tank and pretend to be a fish:
Hasty setup decisions made early on had started to come back to bite me (plumbing, bad stand) and my tank was starting to show signs of what is commonly referred to as "Old Tank syndrome." Though the tank was algae free and generally stable and healthy, the sand bed had become detritus loaded and I started to have issues with RTN on my SPS corals and mysterious losses of some of my most prized Zoanthid and LPS corals.
To complicate matters, the reef had grown so much it was becoming increasingly difficult to keep clean without causing a complete avalanche. As a married guy with two young children, a job and a home to maintain, the time required to "fix" this tank was hard to come by, and some issues were simply "unfixable" without completely draining and rebuilding the setup. If I was going to do have to do that, I wanted a new tank (and larger, of course
).Here are some of the last photos taken of the 90 gallon before things started going downhill:
One of my greatest complaints about the 90 gallon was the 18" width of the tank. the 4 ft. length made a nice peninsular room divider, but the 18" simply didn't give me the room I needed to create the aquascape I envisioned, so I decided on a custom Marineland 200 gallon DD (48" X 36" X 27") with dual megaflow overflows on one end. This gave me the same length as the 90 gallon but was twice as wide and 3 inches taller. The Marineland DD tanks also come with a single pane of Sarfire glass, black silicone and a much nicer finished trim around the top brace of the tank. They are much nicer looking and better constructed tanks than the AGA I had before. It was going to take about a month to have the custom tank built and delivered, so in the meantime I needed to figure out how I was going to pull this whole thing off.
The Build:
The 90 gallon tank was set up as a peninsula with a 40 gallon breeder inline refugium against the wall perpendicular to the display. A PVC pipe ran from the HOB overflow on the display to the refugium, and a drain from the fuge ran to a small sump in a cabinet below it that contained the return, heaters, ATO, reactors, etc. The new tank was going to be set up right next to the 90 gallon, so this plumbing needed to be removed and the refugium moved out of the way to make space for the new tank. I shut off the return pump, disconnected the plumbing and overflow and attached HOB power filters to both the display and refugium. I drained all the water from the refugium except for the middle "fuge" compartment and carefully (painfully) lifted it onto a workbench set up next to it.
A major concern for me in setting up this tank as the 3/4 inch slope from the wall that I had shoddily addressed using multiple shims under the 90 gallon. After 5 years, these were causing visible stress on the stand and simply looked crappy to me.
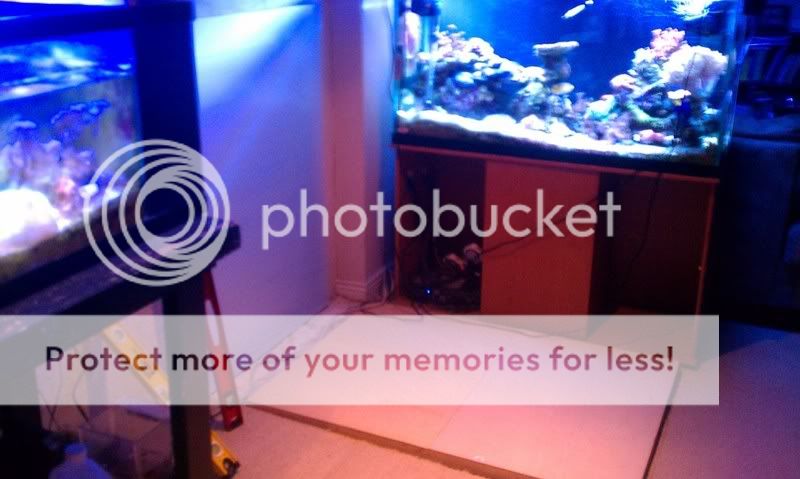
For this new tank, I needed a much better solution. After much deliberation over possible ways to do this without hiring a pro to pour a concrete slab that I would probably have to jackhammer out if we ever had to sell the house and move, I decided to remove a section of carpeting that matched the footprint of the new stand and build a wood "platform" using cut 2 X 4s and plywood. The long-run 2 X 4s were cut lengthwise from 1" to 1 3/4" height to create a reverse slope to compensate for the floor. Cross members were added for support across the middle and I added a plywood cap for even support. Here's what it looked like after putting the tanks on life support and building the leveling platform:
With that complete, the next step was the plumbing. For this new tank, I wanted to simplify things using an external pump I could also use to plumb to my carbon reactor or possibly a calcium reactor or external protein skimmer down the line. At the advice of my LFS, I they ordered me a Blueline 55 HD pressure pump. Here's the pump and initial plumbing build:
After about 6 weeks, the tank and dry sand was delivered by the LFS and put in place. While they were here, I also had them help me put the fuge in the stand (my wife refused to help me after hurting her back while helping me move the fuge the first time). The sand was given a quick rinse outside with a bucket and hose then added to the tank:
Of course, my 4 year old just HAD to get in the tank and pretend to be a fish:


")


