ravi197699
Member
Hello RC,
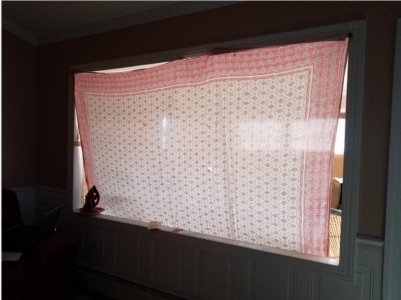
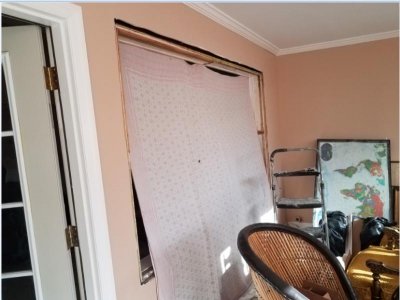
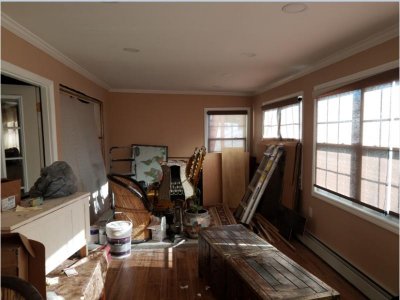
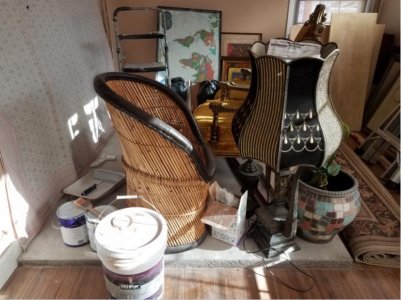
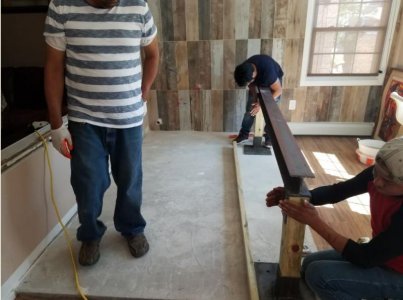
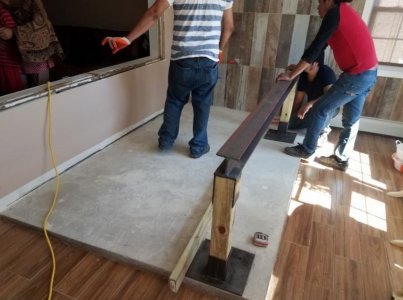
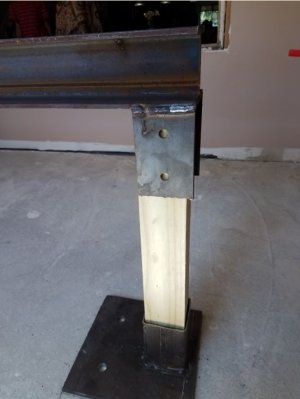
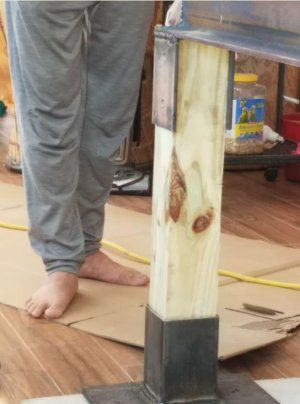
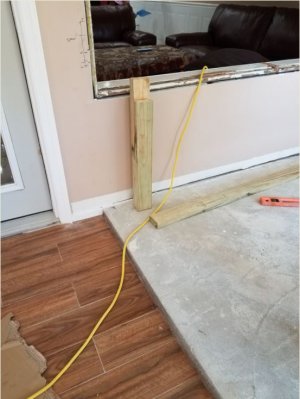
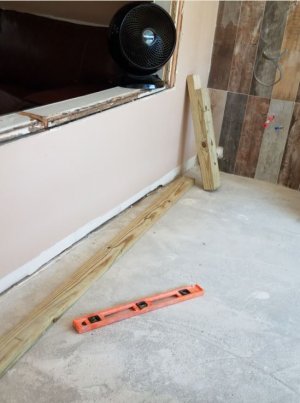
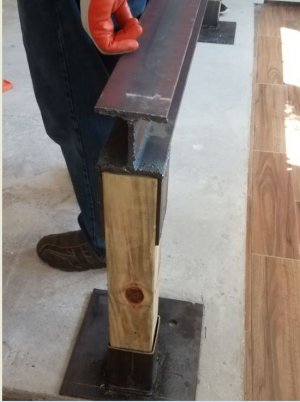
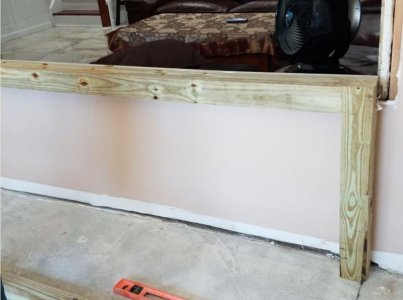
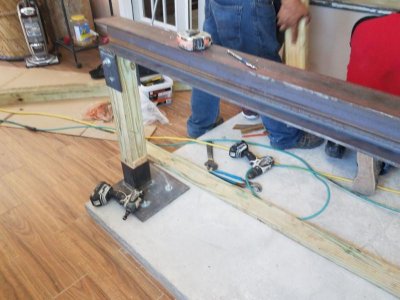
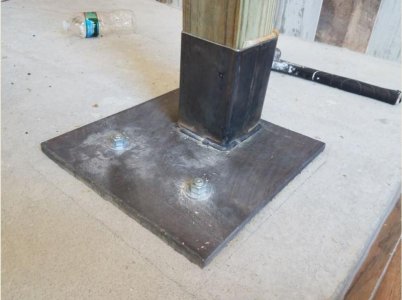
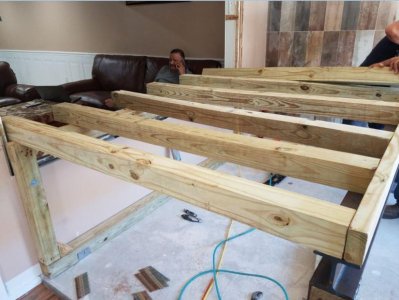
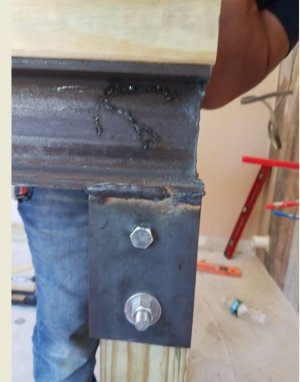
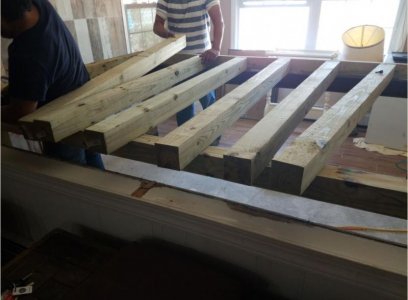
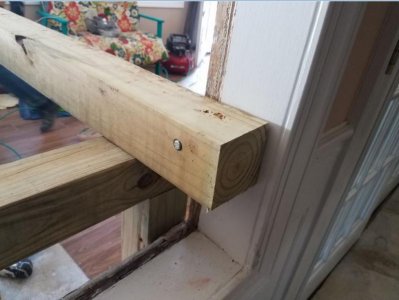
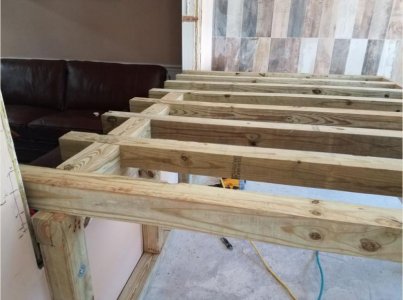
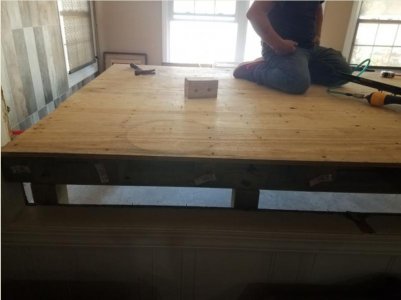
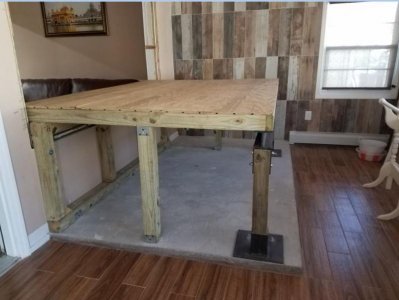
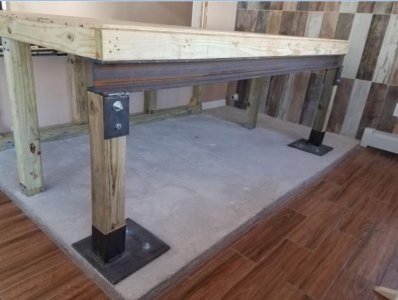
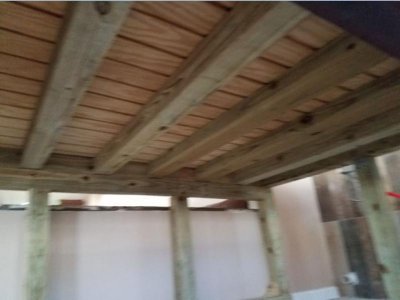
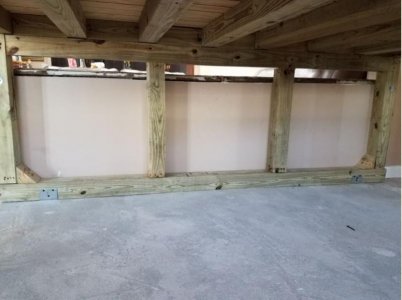
A little introduction about myself, I live in Hicksville Long Island NY, I am a member of major reef forums like Reef Central, clay-boa, Manhattan Reefs etc. and I have learned a lot from these forums and still learning, I am in this hobby since 2006. I shut down my 350 gallon custom tank due to construction and decided to build sunroom for my new tank which is going to be bigger than my last tank, So I decided to put the tank in the living room window and display tank will be sitting in my sunroom and below are the pictures of the sunroom (please don't mind the clutter) During construction of the sunroom, there were few items that I asked my contract to install (Radiant heat, Colder Water Connection, Dedicated outlets (GFI) Hot water Closed loop and an 220v outlet, 10" thick slab with re-bars was poured in where display tank is going to sit and my sumps are going to sit under display tank, I might go with 2 tanks that I will use as sump or I can have my contractor build sump with cinder blocks and rebars with concrete poured in the cinder blows, Size of this concrete sump will be 90” Wide x 72” Deep x 30” high, It will have 2 pcs of glass as viewing window, Tank will be sealed with multiple layers of sealer from Pentair Aquatics. Behind the sump (if looking into the sump from behind the tank) will be filled with rock and front of the sump (close to viewing window will have refugium area to grow cheato etc. There is Split Air-Conditioning Unit that will be installed to keep room at consistent temperature which will help the tank and hopefully I won’t need chiller for the tank. In case if I need chiller for very hot days, I have 1hp JBJ chiller that I bought in the past. This chilled was 1 month old when I bought it so it is practically new.
This hobby is all about sharing experiences and do’s and don’ts - Please feel free to provide your input or suggestions on tank, sump filtration etc. Since this is design phase I still have time to make changes.
Power backup: -
My tank crashed during Sandy and we or I should say most of us were without power. All my fishes and corals died due to power outage. So I made decision that I will have back up power source and I bought Genrac 22kw standby generator which is connected to natural gas and it is installed and ready to go with automatic switch which feeds my main electric panel. This generator is big enough to run whole house + fish tank without any issue. When evaluation by genrac was done they suggested that I will need 14kw generator to run everything in my house and I told them about fish tank and wattage that will be used if everything stays on. I got bigger generator just for my peace of mind.
Tank Design and Specifications:-
I am starting this thread for my ~800 gallon custom reef tank (tank size is 90” Wide X 60” Deep X 36” High). Tanks is going to be built with ¾” thick three side star fire glass, bottom glass of the tank will be tempered ¾” thick and it will be sitting on ¾” marine grade plywood which will be epoxy coated for water proofing purposes. Tank is going to have anodized aluminum frame on the bottom that will provide support to the bottom and side panes. Top of the tank will have similar frame with supports arms “three or four), I will not have euro brace, I feel much comfortable that aluminum frame will provide better support and it is much stronger and longevity is there with aluminum, I will not be using flimsy aluminum angles, it will be sturdy stronger thicker material which will add strength. Tank is going to be built by local builder who built my last tank and I feel very comfortable with this builder and his experience in aquarium industry. 1 side of the tank will have wide over flow, I will be using custom low profile overflow box for larger area for surface skimming. Same side of the tank will have 2 1” holes for return lines. Bottom of the tank will have ABS sheet black or white (have not decided the color) and all 4 side corners of the tank will be covered with match ABS as well, Idea is to cover the silicone from the inside of the tank with ABS (similar approach was applied on my last tank and it worked great). Overflow box side of the tank will be covered with ABS as well so no light from the tank will transfer in the overflow box. I found few nice simple designs on ebay and I have reached out to sellers and they are ok to build overflow box complete set based on my tank design (to be decided when it comes to design and installation due to top aluminum frame)
Return Pump:-
I was going to go with Red Dragon 3 Speedy 230w pump which was going to be used as main return pump and pump to feed my manifold which will feed my accessories such as GFO reactor, Cheato reactor, Carbon reactor, Chiller, UV etc. But due to cost I have decided to use my Dolphin Aqua Sea pump with Type 3 seal which is 7500 gal/hr. pump and it is 220v which is easy with electricity. This pump will have to do until I decide to upgrade to Red Dragon pump.
Tank Water movement:-
When it comes to water movement within the tank, I am leaning towards 4 EcoTech MP60 QD that will go on the longer side of the tank and there will be 2 pcs on each end and mounting height will be off so that 2 pumps pushing water 1 way and 2 pumps of the opposite side will be pushing water from the bottom on the opposite side. I also thinking about adding 4 Maxpect Gyres (larger version) on each corner of the tank vertically that will rotate water in 1 direction and change direction multiple times during the day, which will provide random flow. I was thinking about closed loop but I am not big fan of having multiple holes in the tank which can cause leaks down the road. I am not sure
Light Fixtures for Display Tank:-
I am still debating on what type or brand of lights I should use for display tank, my goal is to grow SPS, LPS (more of SPS) in the tank. I have 2 brands in mind, EcoTech Radions Gen4 Pro’s and ReefBreeders Photons V2+ 50” version. Only downfall with EcoTech is that they create shadow on the sides, meaning there is plenty of light under the light fixture of puck but it dims down on the edges and I am not big fan of looking at the tank I see shadow or 1st light to 2nd light transitioning. I have been watching videos on youtube and ReefBreeders photons are great when it comes to spread and 6 channels with different colors and punch of the light and color combination is great as well. Light is very slim and light in weight, If I go with ReefBreeders photons I will need 6 50” fixtures that will be mounted front to back. Since my tank is 60” deep and light is 50” long, this will give me coverage from front to back and I will mount 48” ATI T5 Retro kit to add additional spectrum (Fiji Purple, Deep Blue etc. Lights will be sitting on custom aluminum frame which will be hanging from the ceiling with rollers and attach to actuator which can be moved up and down when needed. I have not decided about the light that I will use for refugium yet.
Protein Skimmer:
I am going to use my DIY protein skimmer that I put together last year, this protein skimmer is built with 12” diameter PVC and it is 5 feet tall, I will be powered by Reeflo Hammerhead pump and with little change in design it will be driven with 1.5” venturi. Air intake for venture will come through Ozone generator. I never has issue with this protein skimmer and it is solid and works great, Body of the skimmer holds close to 20 – 30 gallons.
Other Filtration: - I have been planning this build since construction started and I took full advantage of time in-between to buy everything I need for this build at reasonable costs. I picked up ton of rock in additional to what I already had from my last build. I picked up 200w Aqua UV unit from auction which holds 6 40w uv lights with ballast. I will be using this uv on my system. I will not turn on all the lights but I will have them ready in case if 1 of the bulbs goes out or I have used the bulb for ~ 1 year. This unit will give me good option as back up since this unit will have 4 pcs of 40w uv light bulbs. I have 4 feet tall tower of reactor that I will fill with porous ceramic tubes which will provide reduction in Nitrates and Nutrients due to bacteria growth in the media, I will build Cheato media reactor will be built based on nutrients in the water.
Refugium:-
I will have large refugium and it will be main source for nutrients reduction and I will have dedicated large refugium for this tank, no matter I have concrete blocks sump or 2 separate tanks under the display tank.
Dosing and Trace Elements: - I have multiple dosing pumps that I have bought in the past which can be used to dose trace elements based on requirements, I have MTC Pro – Cal dual chamber calcium reactor which will be upgraded to DaStaCo calcium reactor by the end of this year. I am not sure what other elements I will need but that will be decided down the road when tank is up and running.
Quarantine System:-
I will have dedicated quarantine system which will not be too big but it will be able to house 4 – 5 fishes at a time, It will have its own filtration and it will be standalone system. This system will be put together after the build is complete. Based on how much space I left I will decide how many tanks I will use for quarantine system.
Frag Tank:-
I will have frag tank plumbed with main system, It will be sitting next to windows on the outer wall of the sunroom , size of the frag tank is going to be 24” deep x 12” high x 36” long, It will sit on extruded aluminum t-slot stand. I will have 1 or 2 gyre pumps as wave makers. This will be simple design and I have 36” ATI dimmable fixture that I bought in the past that will be used to light up the frag tank. I just want to see the difference in color of the frags with T5 vs led, it will be good test since water parameters will be same for both tanks.
Attachments
Last edited:

