Stepping up to a 280 gallon tank build

ScubaSteve826

New member
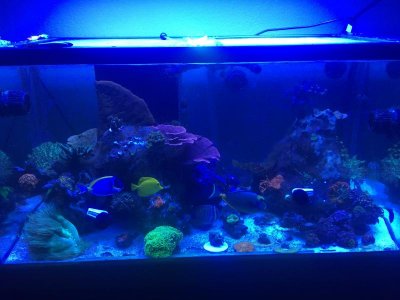
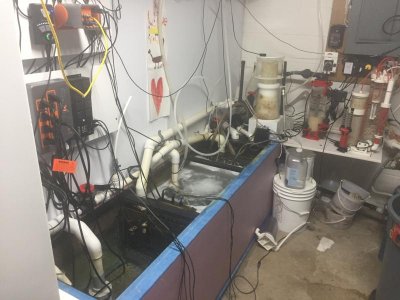
I have been in this hobby now for 7 years. There has been so many ups and downs killing so many sps coral and fish it is amazing that I am still in this hobby. Started out with what I thought was a tank size that would keep me happy 120 gallon 4X2X2 with a 120 gallon sump in a separate room in my basement also have two 40 gallon 36"X24"X12" frag tanks. I have alway been an equipment junky and love trying different methods of doing things in this hobby and love DIY everything I can.

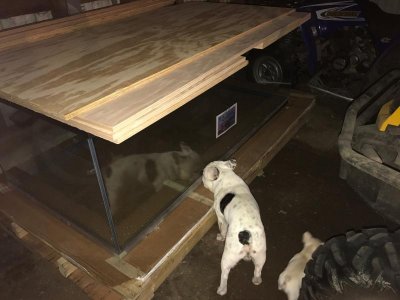
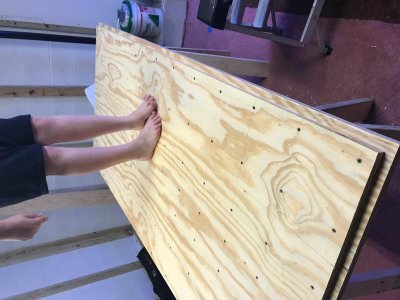
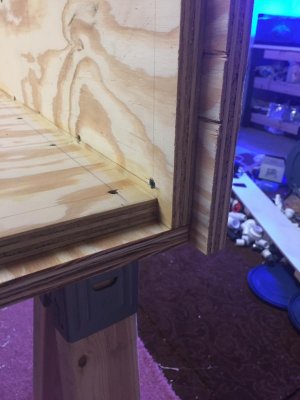
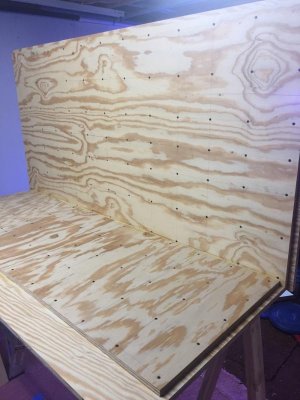
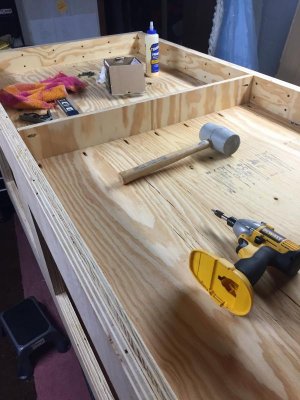
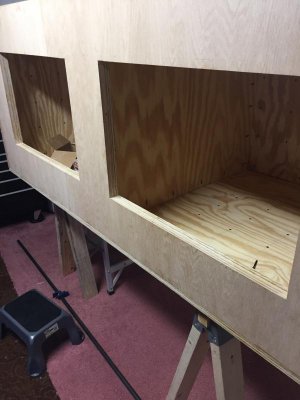
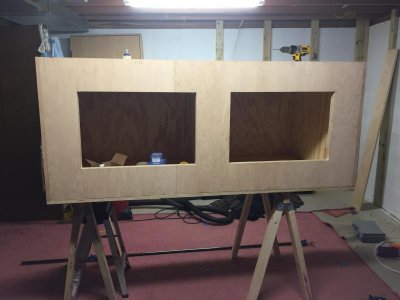
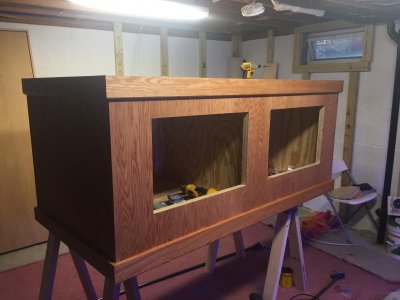
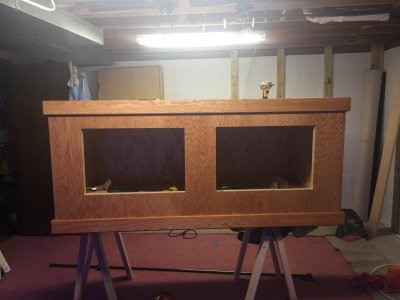
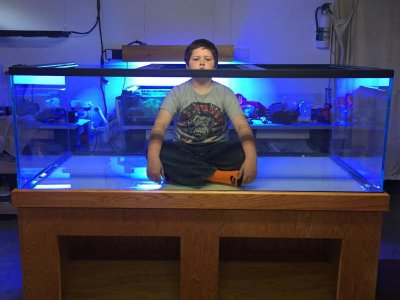
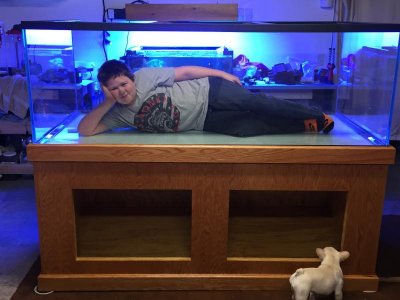
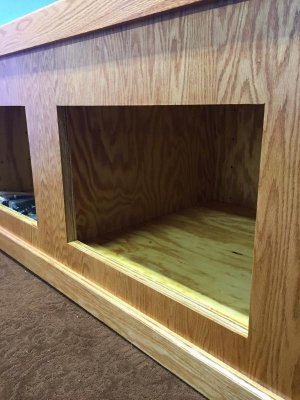
So a couple months ago I ordered a 280 gallon 6'X36"X24" tank from GlassCages not a real high end tank but is hard to justify a tank from Reef Savey in that size. I am building the stand from 3/4" plywood all sides and top that the tank sits on will be laminated with another layer of 3/4" plywood equaling panels that 1 1/2" thick pictures to come. I have not seen this done this way but should be more then strong enough. This tank will be primarily a SPS tank.

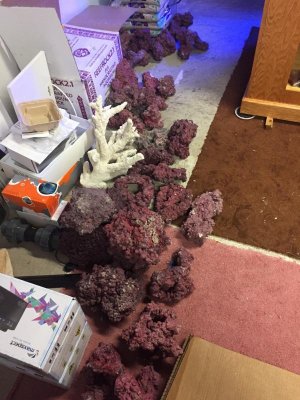
Here are a few pics of the start.
 

Attachments

  • IMG_0430.jpg
    IMG_0430.jpg
    51.8 KB · Views: 4
  • IMG_0429.jpg
    IMG_0429.jpg
    58.8 KB · Views: 4
There may be a good reason no-one else has built a stand this way. I hope you test it out with an equivalent weight before putting an aquarium on it. Be sure to test for lateral forces.

Dave.M
 
Then if no one else has built a stand like this maybe they just have not thought it through fully on the strength of plywood which is a lot stronger then conventional lumbar. A couple of pics showing how the top and the back of the stand are put together with overlapping joints which will help distribute the load down to the floor equally between the two laminated pcs of plywood. Also I ordered the tank without overflows. Which I just received two synergy shadow overflows that are rated up to 1600 gallons per hour. Does anyone have this style of overflow? How well do they work over time?
 
Gave our UPS driver a work out today received 120 of figi pink sand and 350 pounds of reel reef rock 2.0 along with a ecotech L1 pump. Can't wait to start aqua scaping just need to get the stand done. Then plan a grill out to get enough friends to help get the tank into the house and down into the basement.
 

Attachments

  • IMG_0487.jpg
    IMG_0487.jpg
    42.4 KB · Views: 3
  • IMG_0489.jpg
    IMG_0489.jpg
    66.3 KB · Views: 3
  • IMG_0488.jpg
    IMG_0488.jpg
    47.9 KB · Views: 3
This is my current setup 120 gallon tank and a 120 gallon sump in a separate fish room which at this point is very embarrassing to show. There needs to be so much cleaning and organizing done as this build continues.
 

Attachments

  • IMG_0491.jpg
    IMG_0491.jpg
    56.2 KB · Views: 3
  • IMG_0490.jpg
    IMG_0490.jpg
    63.9 KB · Views: 3
Ever so slowly getting closer to having the stand done. Here are a few pics of the progress.
 

Attachments

  • IMG_0498.jpg
    IMG_0498.jpg
    68.6 KB · Views: 3
  • IMG_0500.jpg
    IMG_0500.jpg
    48.6 KB · Views: 3
  • IMG_0496.jpg
    IMG_0496.jpg
    42.3 KB · Views: 3
Some new items from Bulk Reef Supply came today. A lot of apex items along with 2 maxspect gyre XF280 pumps. So very excited to start the actual build of this new tank.
 

Attachments

  • IMG_0499.jpg
    IMG_0499.jpg
    65.6 KB · Views: 2
My 150 gallon stand is just ply wood like your doing. Half the weight, but still the same concept. Just use lots of glue and screws.

Sent from my LG-H831 using Tapatalk
 
I am hoping to finish up the majority of the stand this weekend, it ended up being a little heavier then I though but it is way stronger then a conventional 2X4 stand. Just need to finish sanding and put the trim work on then stain and varnish. Doors will be a little bit later in the build.
 
I built the stand for my current 265 out of laminated plywood 'beams'. I'd point you to the build thread except it's been excoriated by everyone's favorite photo hosting site. You are correct that laminated ply is stronger, and easier to get flat and square, than dimensional lumber, though even the 1 1/2" top will require proper support for a flat bottom tank (cannot recall if GC are rimmed or not) else it will sag. I used a single sheet of ply as my top, but it's supported by a torsion box of laminated 8" beams.

If you bought a new apex, hope it was the 2016 version not the classic.
 
The tank bottom is braced and been designed to just be supported around the edge of the tank. I however did put a center piece of plywood to support the center of the tank that also goes all the way to the floor. This would not have been possible if i was going to run a sump that was under the stand. As for what will be under the stand is just some electronics along with some dry good storage. Just have a little more trim to put on then the stain and varnish. Hoping to have this done this weekend at least up to the stain anyways.
 
This tank will be running on the Triton Method hoping that it is true that you can run without water changes. This tank being 280 gallons and 100 plus gallons in the sump and two 40 gallon frag tanks would be expensive doing 20% water changes a week like i am currently doing. The Triton method relies on alge to do a lot of the filtration to work properly. I really did not want to have a refugium in my sump having light filtering into areas that i did not want and having algae growth where i do not want with added maintenance in the sump keeping everything clean. So to remedy this issue i have order the new Pax Bellum ARID C30 algae reactor through Unique Corals. This reactor is suppose to work very well with the Triton method.
 

Attachments

  • IMG_0694.jpg
    IMG_0694.jpg
    53.9 KB · Views: 3
Finally got the tank in the house last Sunday. What a battle first having to remove the window out of the basement to make it so we would not have to carry it down two flights of stairs. Many thanks to the people that helped which all of us have some fairly severe back issues. We had 4 guys tow women and a nine year old boy to get this in the house without breaking it, we maid it in with no major issues. Still have to put the window back in so there is just cardboard covering the window with 3 to 4 inches of snow prededicted for tonight and tomorrow. Now some of the more fun items get to start Yah!!! So here is a couple of pics of the tank on the stand.
 

Attachments

  • IMG_0504.jpg
    IMG_0504.jpg
    51.9 KB · Views: 4
  • IMG_0503.jpg
    IMG_0503.jpg
    56 KB · Views: 4
Your stand is beautiful. Want to build one for my big tank? Lol. Im good with glass, dirt and fixing cars. But when it comes to wood, lets just say, its not good.

Sent from my LG-H831 using Tapatalk
 
Thanks Albertan_reef I am good with wood but this stand did take a while with how the joints are done and with everything being double laminated with two sheets of plywood to get the strength that was required. My wife is starting to layout all the real reef rock 2.0 and soon start aqua scraping. This weekend planning on drilling all the holes for the 2 ghost overflows and the returns. Also got marine grade starboard for the bottom of the tank to help protect if a rock would fall onto it.
 
Unboxed all the real reef rock 2.0 today roughly 300 pounds of it and laid it all out. We have separated it into 2 categories one just general building blocks the other more unique pieces. Now it is up to the wife to start building the scape. The fun is starting to begin hoping by thanksgiving we will have water in it. Lots more to come.
 

Attachments

  • IMG_0506.jpg
    IMG_0506.jpg
    86.8 KB · Views: 4
  • IMG_0505.jpg
    IMG_0505.jpg
    86 KB · Views: 4
GC tank are supposed to be supported in the center like a acrylic tank.
With your 1 1/2 ply top it helps. But i would have 3 cross supports running front to back directly under the ply top to help with sag stressing the tank joints. :thumbsup:
 
There is a full center support that goes to the floor to help support the tank. If you look at the stands that GC advertises for this size tank my stand is over built for a 280 gallon tank.
 

Attachments

  • IMG_0508.jpg
    IMG_0508.jpg
    68.3 KB · Views: 4
Back
Top