You are using an out of date browser. It may not display this or other websites correctly.
You should upgrade or use an alternative browser.
You should upgrade or use an alternative browser.
The making of an External Overflow
- Thread starter the tiler
- Start date
scarletknight06
New member
cool. where are you putting this tank? Is it going in the wall where you had that other empty tank when I was there like a year ago?
Hef
Premium Member
Sounds like another good thread. I'm going to search for that link I was talking about at my house. The guy that created the overflow on the end and put the Tunze's behind the glass. It's very cool.
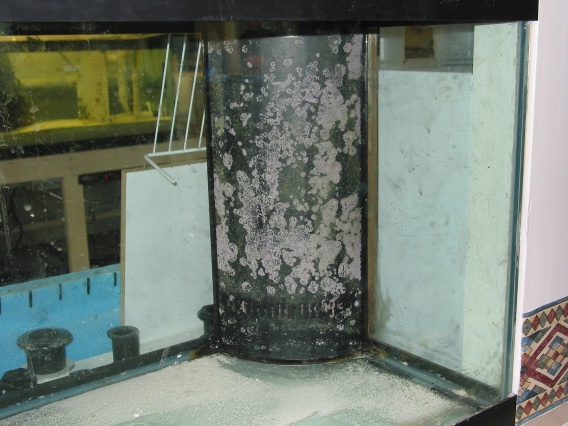
Here is the Thread, It's not the greatest thread for info, but this one picture really shows the unique design. Water flows through the eggcrate to feed the Tunze's, the overflow part is the center piece.
http://www.reefcentral.com/forums/showthread.php?s=&threadid=678827&perpage=25&pagenumber=1

Here is the Thread, It's not the greatest thread for info, but this one picture really shows the unique design. Water flows through the eggcrate to feed the Tunze's, the overflow part is the center piece.
http://www.reefcentral.com/forums/showthread.php?s=&threadid=678827&perpage=25&pagenumber=1
Last edited:
the tiler
Premium Member
It took longer to setup than it did to do the cutting
At the most 10 min
It is 16 1/2 long
It cost me Coffee ,Cinnamon Raisn Bagel and a Sausage and Cheese Omelette
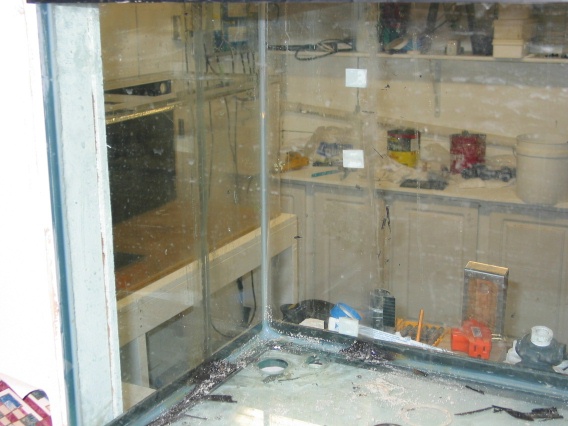
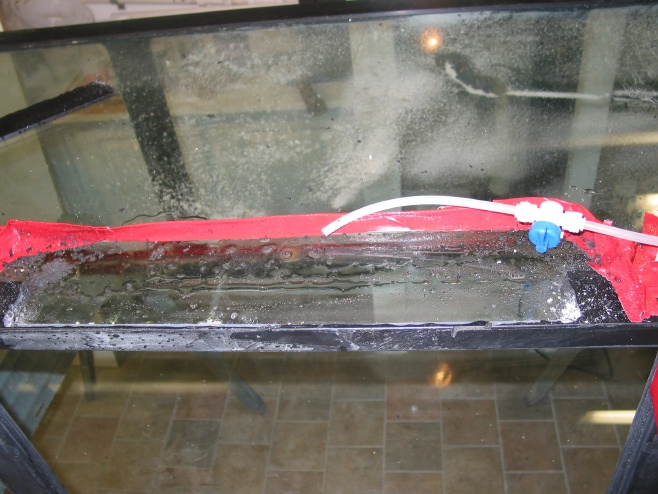
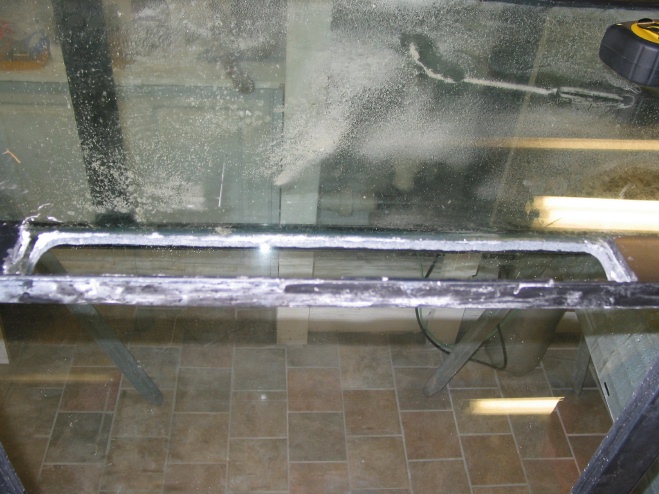
Here are the old holes after removing the overflow boxes
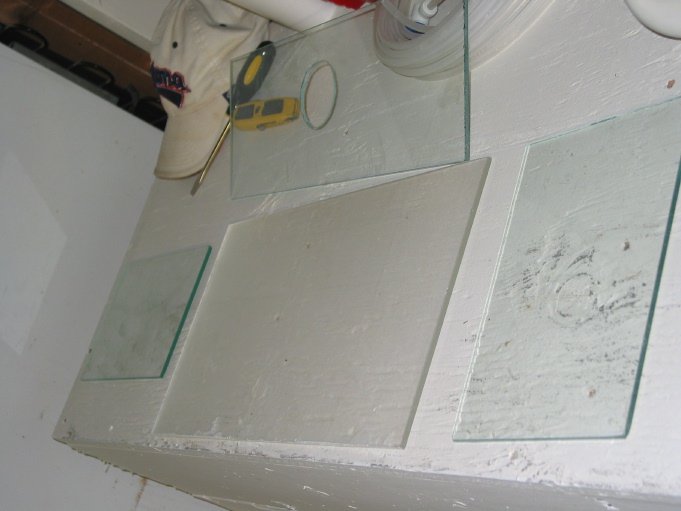
I just cut some glass and silicone them in place
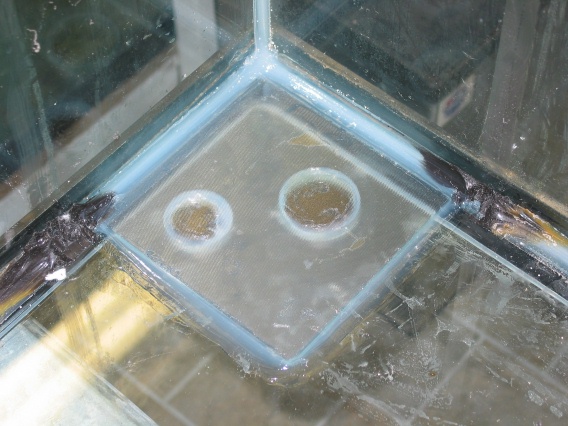
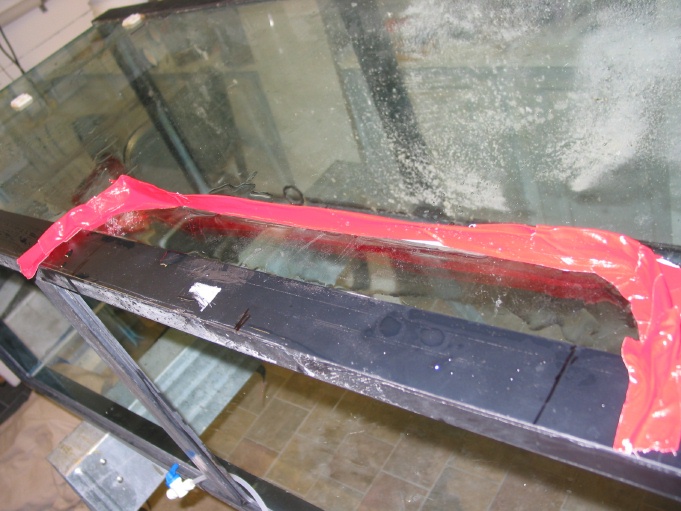
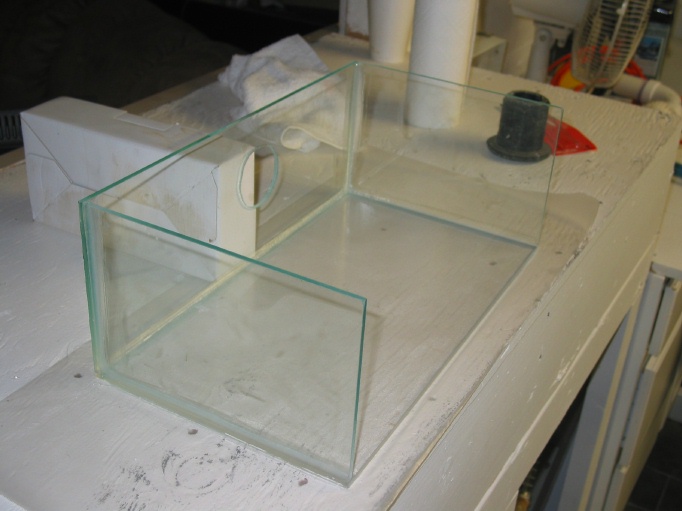
Here is the overflow box silicone waiting to dry
Almost time to have a beer
Jason
At the most 10 min
It is 16 1/2 long
It cost me Coffee ,Cinnamon Raisn Bagel and a Sausage and Cheese Omelette
Here are the old holes after removing the overflow boxes
I just cut some glass and silicone them in place
Here is the overflow box silicone waiting to dry
Almost time to have a beer
Jason
Last edited:
steve68
New member
here is the video, dial beware 23 meg.
external overflow
external overflow
Hef
Premium Member
Hey, good video of an Arm there. Really, it's a good video. You move pretty quick. I'm guessing you can see where you are cutting better than the video can. You really Flood the thing dont you?
Very nice.
So, how does the bit hold up? Is it spent after one cut like that, or was that an older bit already?
Very nice.
So, how does the bit hold up? Is it spent after one cut like that, or was that an older bit already?
scarletknight06
New member
very cool. If I ever have a glass tank I'll definitely be doing that!
so the overflow box is just siliconed together and then siliconed onto the back of the tank? does it need any other support or framing? pretty amazing what silicone can hold together.
so the overflow box is just siliconed together and then siliconed onto the back of the tank? does it need any other support or framing? pretty amazing what silicone can hold together.
Similar threads
- Replies
- 9
- Views
- 156
- Replies
- 1
- Views
- 96