Rock Work
Rock Work
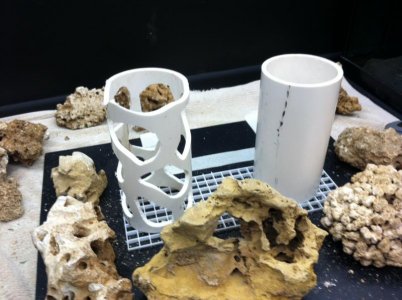
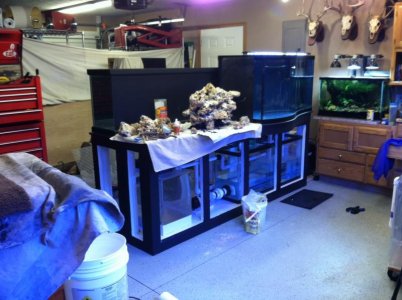
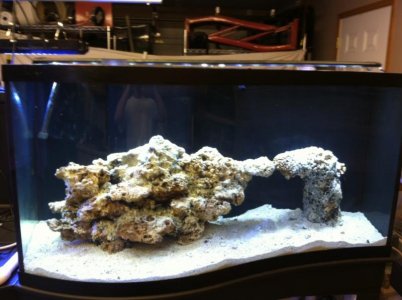
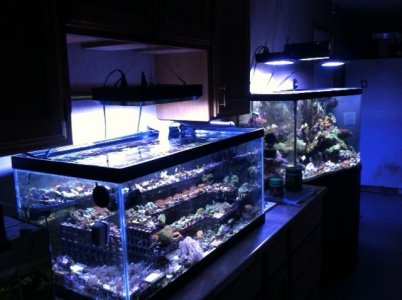
I knew that I was limited in my rockwork arrangement of the current rock in the old Wave to be moved... The rock was covered head to toe with zoanthids and mushrooms!! I knew that since I was in no hurry to move the tank, I could take my time making a structure for the SPS Wave. I wanted it to be one solid piece with a minimum footprint to allow for good flow underneath. I also wanted the structure to not be too large as the sticks would need space to grow. I see a lot a nice rockwork but no consideration is made for the corals growth down the road.
I thought at first I'd make the structure out of portland cement, aragonite and rock salt. The curing time scared me off and I knew I didn't have that much patience
")
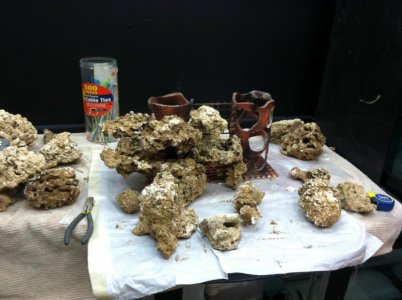
I'd been researching foam work and thought I'd give that a try as I know that this technique has been used for quite a few years in Europe. I also had about 50-60 lbs of dry baserock laying around to incorporate into the structure and give it some weight to prevent it from floating.
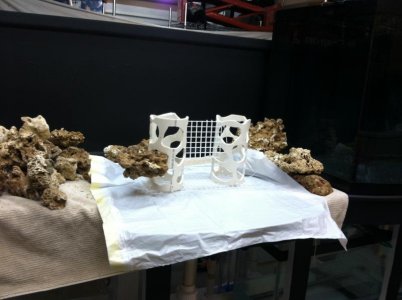
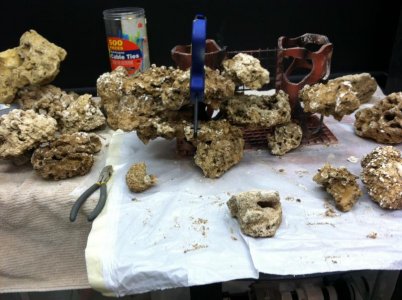
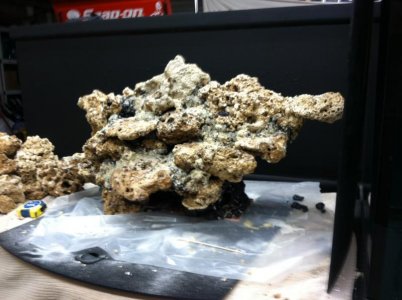
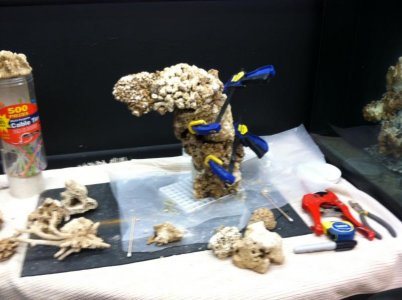
In the pictures I took, hopefully you can see how the process went... I started with a few pieces of 8" pvc that I jig sawed out some holes. I attached these to eggcrate bases to help with stability. then went to work arranging the base rock pieces in the gaps until I got the look I wanted. I used some clamps and 5 minute epoxy to hold the rocks in place...
Once satisfied, I took the pond spray foam to fill in the gaps and build up areas to my liking, then let it dry overnight as it continues to expand slowly over a few hours as it cures. One word of warning.. Make sure you wear some gloves as this stuff is messy and sticky... I almost used the regular yellow stuff but went ahead and shelled out a few bucks for the uv protection of the pond foam. It took about a can and and a half.
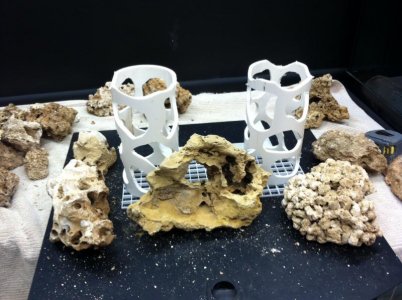
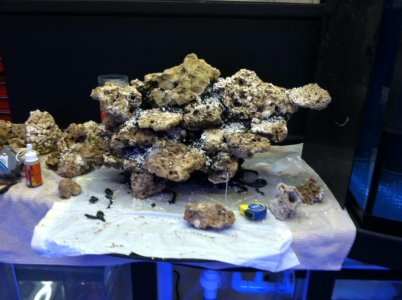
The next day I did a little carving to remove any excess foam and then I took a cheap paintbrush and covered the entire structure with Gorilla glue... As it started bubbling and puffing up, I dabbed it back down... I dabbed over a period of 15-20 minutes and as it slowed down and was still tacky, I dusted it with fine sugar aragonite to cover and make rock uniform.... I let the structure dry overnight and I was very pleased with how it turned out
the texture and color was just like rock.
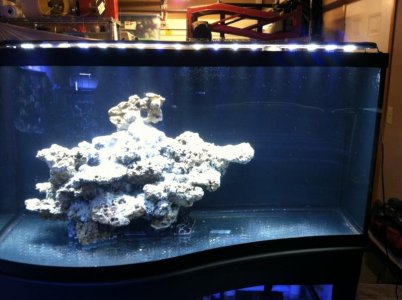
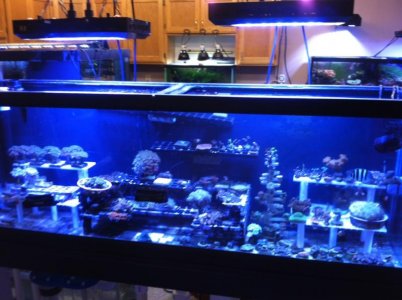
I had freshwater running in the new Wave for the water leak test so I figured I'd let it cure for a week or so in the water. The "rock" still wanted to float so I placed a few rocks on top to hold it down and after about 3 days it was waterlogged enough to stay down... It ended up being a few weeks, then I drained the system and replaced with saltwater. I also added about 3lbs of carbon just in case anything was leaching from the foam... It was a fun project that'd I repeat in the rock/foam wall build for the 60 cube... More pics of process in the next few posts.
Ty
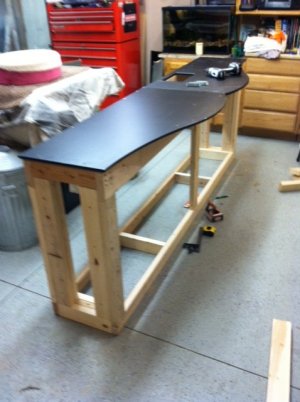
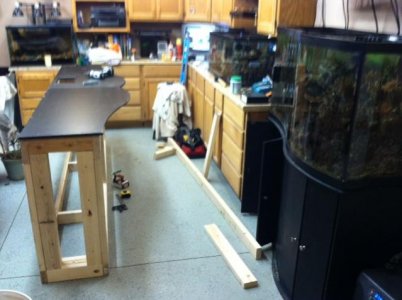
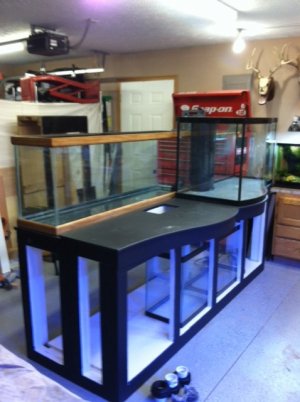
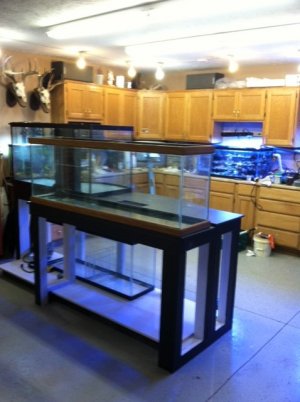
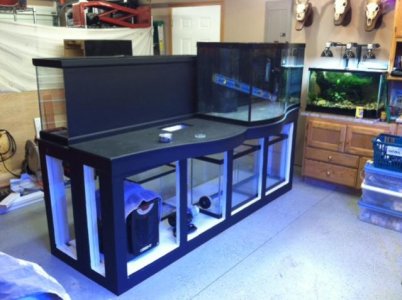
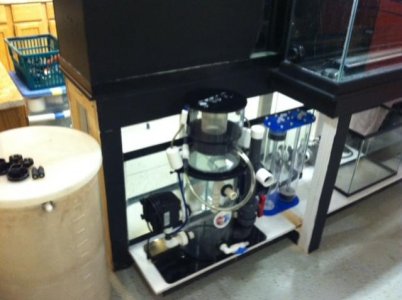
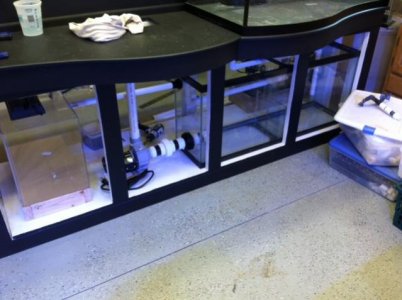
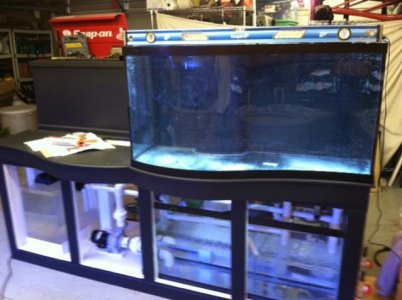
 His wife was happy to get it out of the kitchen and into my garage.