This is at the point where I can't wait for what comes next. PLEASE PLEASE don't leave us hanging!!!
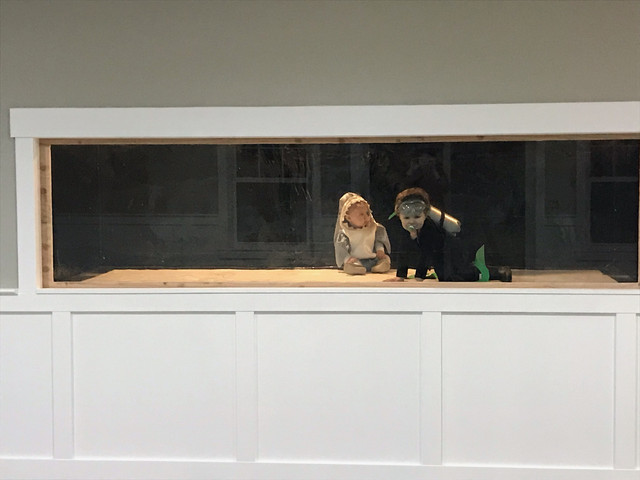
Looking great!! I also opted out of a front access for my tank but it's only 30" from front to back, It didn't take long for me to get used to it. The only thing is that the fish know when it's feeding time because I open the door to the equipment room.
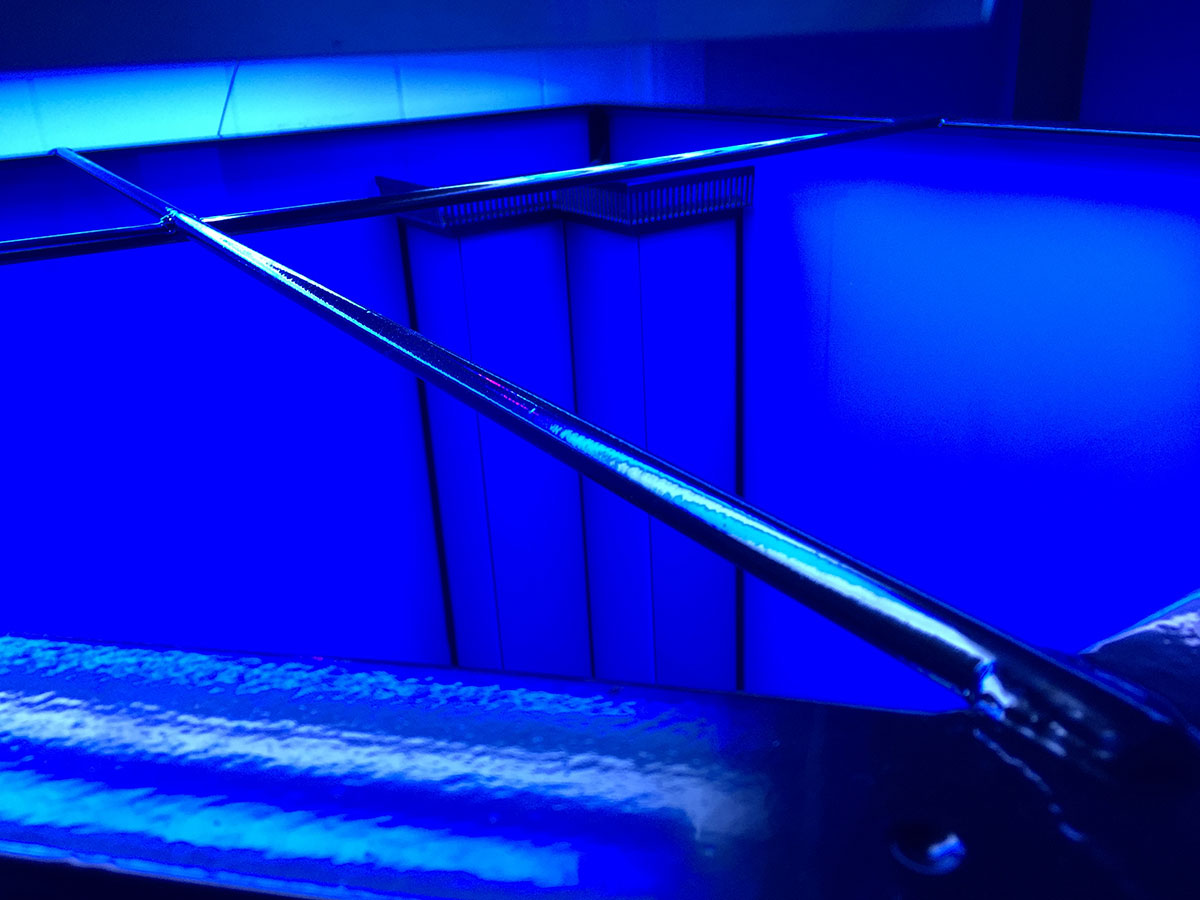
And if you followed my build, you would know that I created a rail system for the lights, but to this day, I haven't needed to move the lights out of the way for access. Hence, I'll probably opt out of automating it.