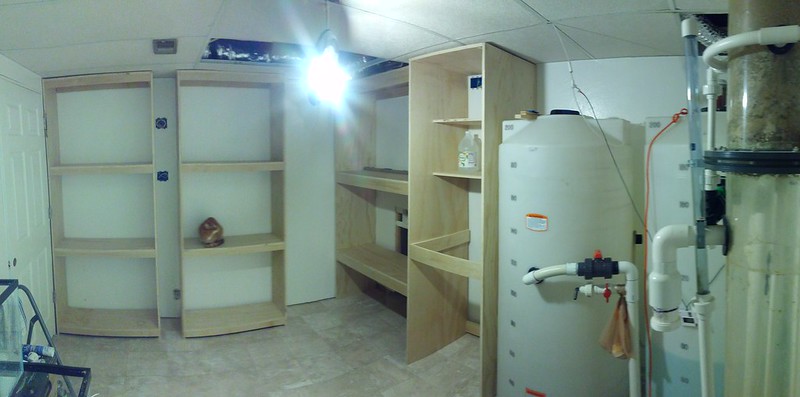
The Devil is in the details.
The Devil is in the details.
I thought about painting the BTA racks tonight but decided to take a few moments to polish them out. Stopped at the store on my way home for sanding belts and Bondo.
First things first, I needed to shave 1/4" off the bottom of the racks, they fit but left me no room to shim. I used a piece of wood as a fence and used a circular saw to make the cut. If you notice the bottom shelf doesn't sit on the ground, this will help dry the room out in case of a spill and keep water from soaking into the rack.
This is a close up of the joints as it stood. I'm sure after primer and two coats of paint it would have looked fine... the wood is high quality with minimal voids.
After smearing on some Bondo. If you haven't used it before this stuff is great but... it stinks like a nail salon (or body shop), cures fast as heck, and requires you to mix up small batches with a hardener. They say you can mix up enough for 15 minutes, but in reality you want only what you can use in 5. It starts to get thick that fast. Once it gets thick it won't spread very easy.
Used my belt sander with a 120 grit belt to take the front back down to wood. The only Bondo you should leave behind is to blend surfaces or in voids. You can sand and paint in 30 minutes after application.
The finished product ready for paint! Without any voids in the front face it is going to look sharp once painted.
After I paint the racks white I am going to adhere a sheet of FRP onto the back and seal the interior joints with white silicone. This will give me a nice water resistant rack that should last many many years. I could have gone 2x4 construction for these, it would have been much cheaper, but I think the finished product is going to look as good as it functions :bum:
May get to painting tomorrow, we'll see if father time cooperates.


