First I have to say that I am from Norway and my english is not so good. But I hope you will understand my bad english. After looking and looking at some of the reef tanks out here on RC I am amazed! Many many great looking tanks here, and I only hope that I someday will get the knowledge and the skills to create such a nice reef tank my self.
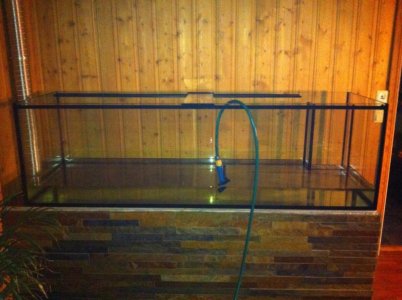
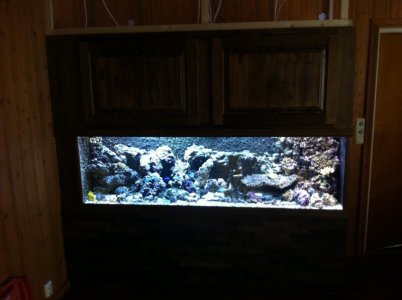
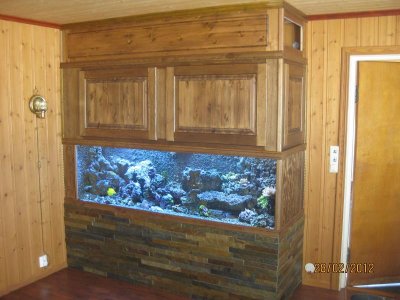
I am in the cycling of a new 190g mixed reef tank. After my 130g started leaking, I had to take action. I wanted to upgrade my system a little bit, a bit larger tank, a closed loop system, sump-room in the basement etc..
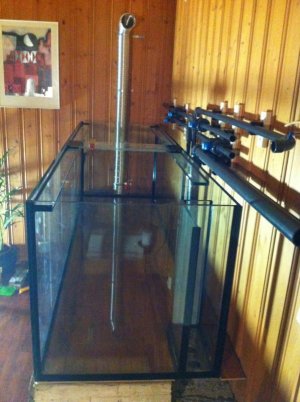
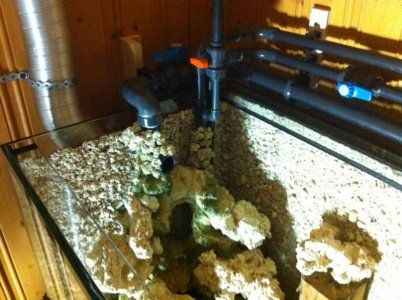
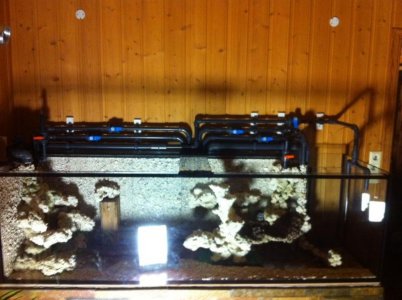
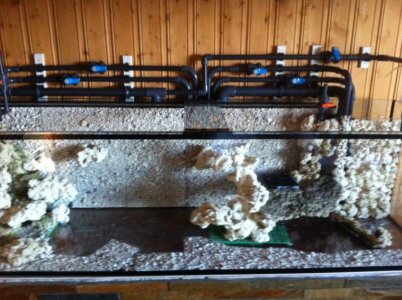
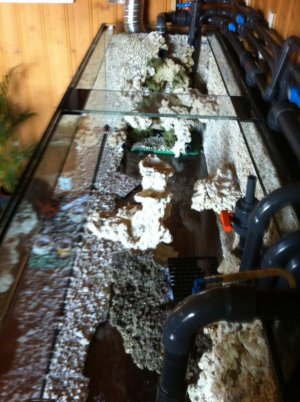
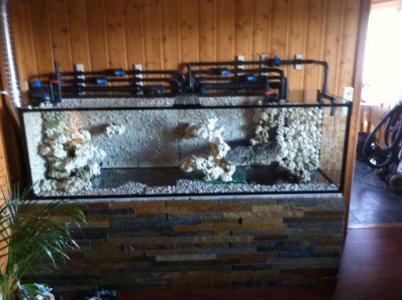
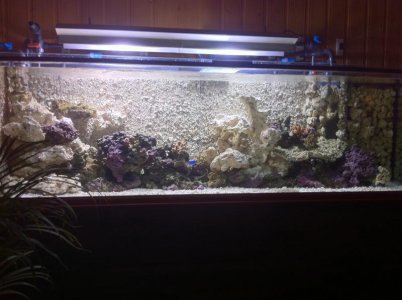
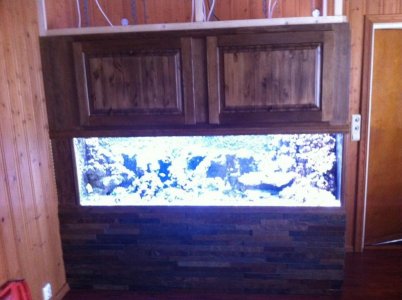
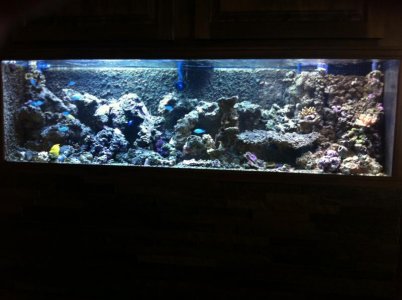
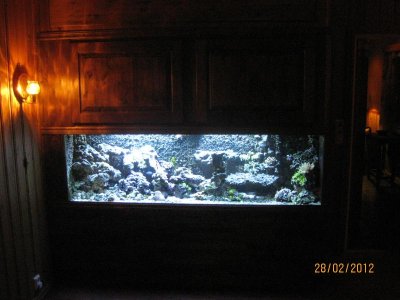
Display tank
190 gallon 80"x24"x24"
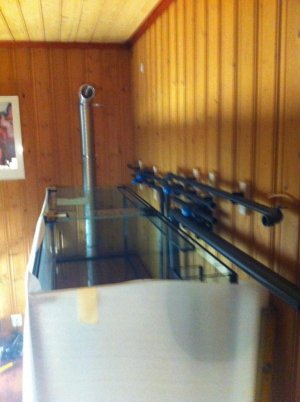
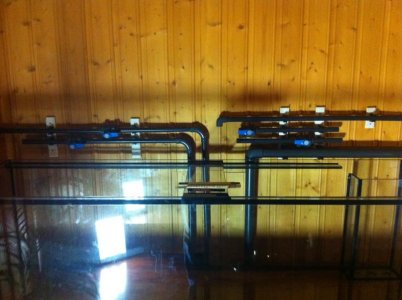
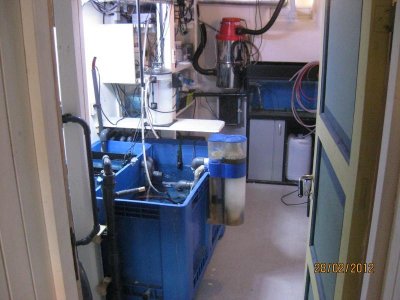
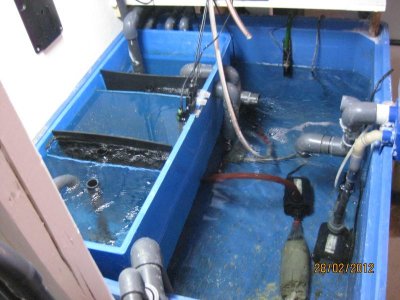
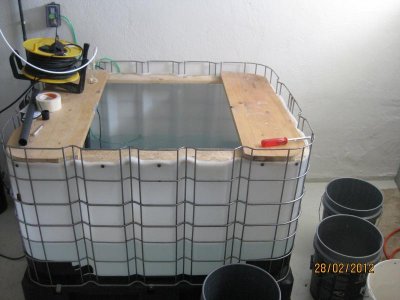
Sump
158 gallon + 40 gallon water change chamber
Ro-water reservoir: 53 gallon
refugium 26 gallon not yet connected (I am waiting on some PVC parts and macroalgea)
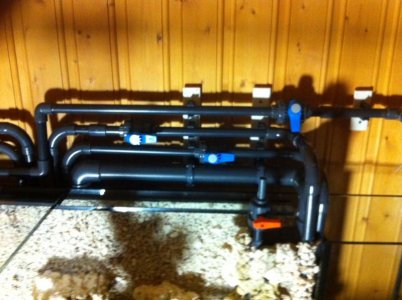
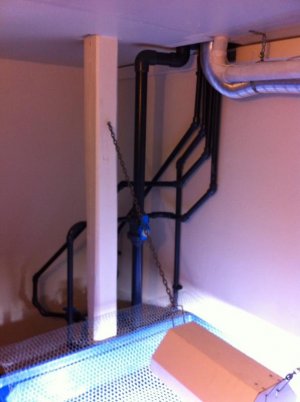
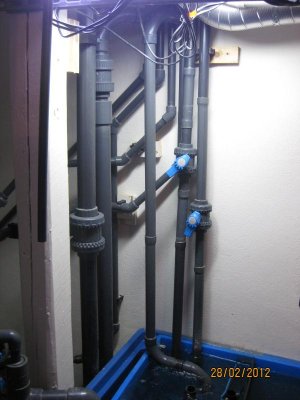
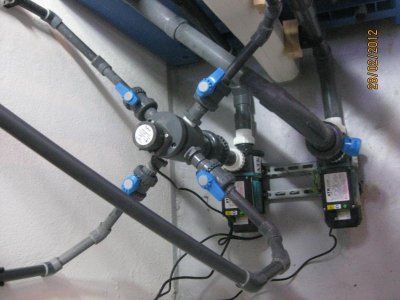
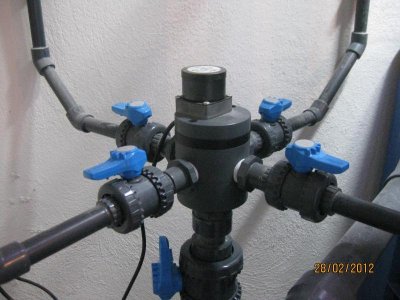
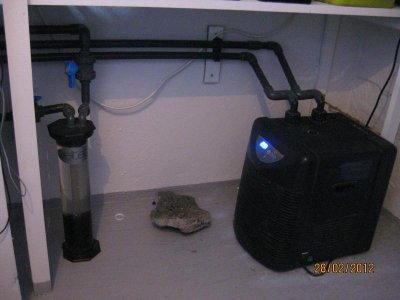
Circulation
closed loop with oceans motions 4-way connected to a ATK TDA50 pump 3200 gallon
Tunze 6095 with a singlecontroller and a DIY oscillating motor.
Return from sump ATK TDA50 lifting almost 4 metres and delivering roughly 1840 gallon to the display tank.
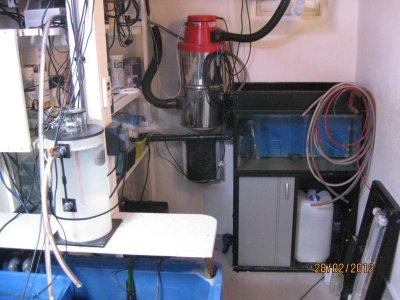
Filtration
AM blue T3000 skimmer - I am waiting on a Deltec TC 2060 that I have ordered!!
LR: 100 kg. Ceramic Aquaroche: 60 kg.
activated carbon, rowaphos
Water parameters
Ca: 420-440 mg/l
Alkalinity: 8-9 dKH
Salinity: 35 ppt
pH: 8,3-8,4
NO3: 10 mg/l
Mg: 1350-1400
Lightning
4x250w MH Reeflux 12k SE
2x150w MH Aqualight Extreme 20k fc-2
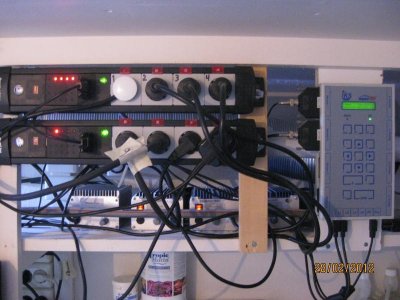
I also run a IKS Aquastar that controls the top-off, heating etc.
D-D cooler
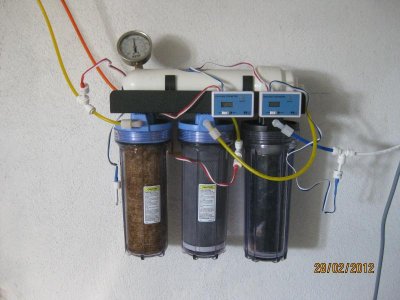
Deltec KM500S kalkwassermixer
Kent Marine Deluxe Hi-S Maxxima RO/DI system
Fish
1x yellow tang - zebrasoma flavescens
2x Ocellaris clownfish - Amphiprion Ocellaris
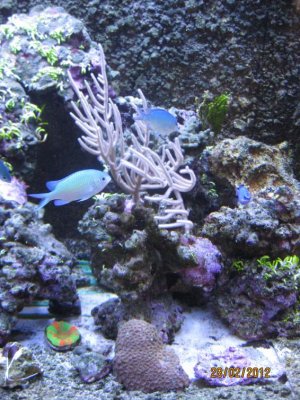
9x blue/green chromis - Chromis Viridis
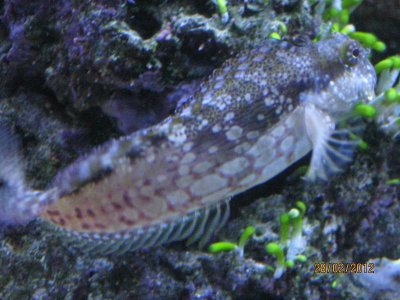
1x Algea blenny - Salarias fasciatus
1x fire fish - Nemateleotris magnifica
1x Six line wrasse - Psedocheilinus hexataenia
Corals
Scolymia - green/orange
Muricea laxa - Silver gorgonian
Discosoma marmoratus
Sinularia
Zoanthus
I also have some hermits and some turbos and 2 Lysmata amboinensis - cleaner shrimps
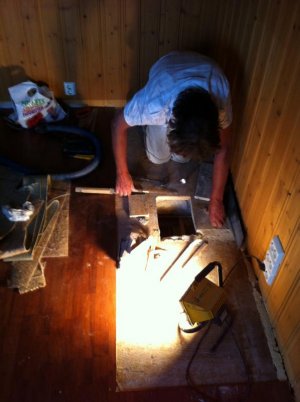
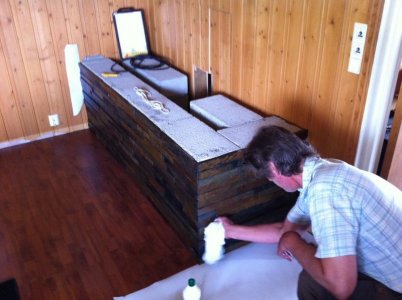
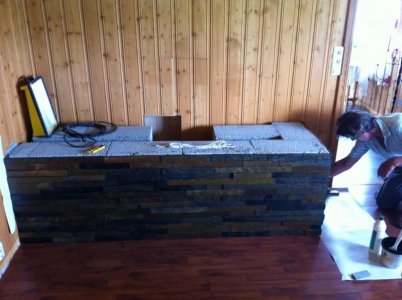
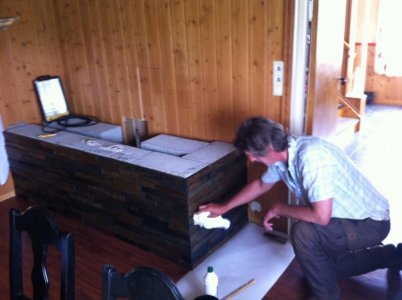
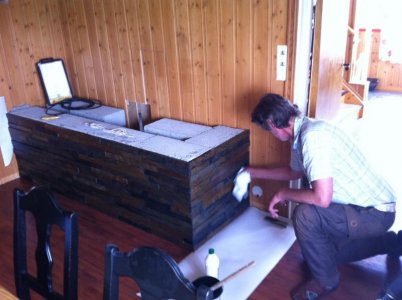
I will try to post some pictures I already have taken of this build and progress, and I will take pictures forward in the progress aswell. I do not have a fancy camera, it`s crap actually.... but I hope I will get a better camera soon.
I am in the cycling of a new 190g mixed reef tank. After my 130g started leaking, I had to take action. I wanted to upgrade my system a little bit, a bit larger tank, a closed loop system, sump-room in the basement etc..
Display tank
190 gallon 80"x24"x24"
Sump
158 gallon + 40 gallon water change chamber
Ro-water reservoir: 53 gallon
refugium 26 gallon not yet connected (I am waiting on some PVC parts and macroalgea)
Circulation
closed loop with oceans motions 4-way connected to a ATK TDA50 pump 3200 gallon
Tunze 6095 with a singlecontroller and a DIY oscillating motor.
Return from sump ATK TDA50 lifting almost 4 metres and delivering roughly 1840 gallon to the display tank.
Filtration
AM blue T3000 skimmer - I am waiting on a Deltec TC 2060 that I have ordered!!
LR: 100 kg. Ceramic Aquaroche: 60 kg.
activated carbon, rowaphos
Water parameters
Ca: 420-440 mg/l
Alkalinity: 8-9 dKH
Salinity: 35 ppt
pH: 8,3-8,4
NO3: 10 mg/l
Mg: 1350-1400
Lightning
4x250w MH Reeflux 12k SE
2x150w MH Aqualight Extreme 20k fc-2
I also run a IKS Aquastar that controls the top-off, heating etc.
D-D cooler
Deltec KM500S kalkwassermixer
Kent Marine Deluxe Hi-S Maxxima RO/DI system
Fish
1x yellow tang - zebrasoma flavescens
2x Ocellaris clownfish - Amphiprion Ocellaris
9x blue/green chromis - Chromis Viridis
1x Algea blenny - Salarias fasciatus
1x fire fish - Nemateleotris magnifica
1x Six line wrasse - Psedocheilinus hexataenia
Corals
Scolymia - green/orange
Muricea laxa - Silver gorgonian
Discosoma marmoratus
Sinularia
Zoanthus
I also have some hermits and some turbos and 2 Lysmata amboinensis - cleaner shrimps
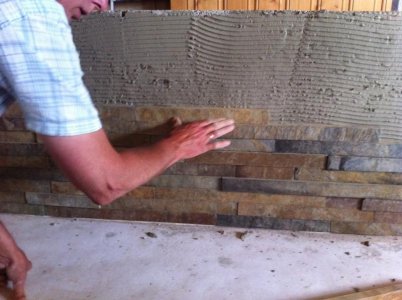
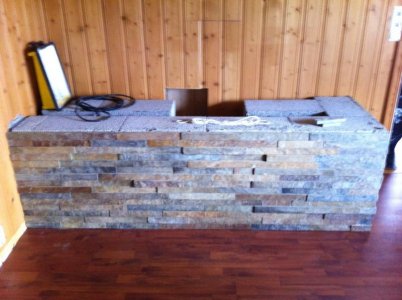
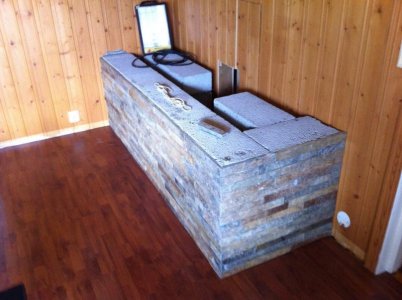
I will try to post some pictures I already have taken of this build and progress, and I will take pictures forward in the progress aswell. I do not have a fancy camera, it`s crap actually.... but I hope I will get a better camera soon.