CriticalEncore's 550ish plywood

criticalencore

New member
:ape:SO let me start off by saying Long time reader, few time poster. I ususally post on the local forums but when Im researching stuff this is one of my first goto for reads. Ive contributed not much but Im finally to the point in my build I have the confidence/time to post a thread about it....
With a lot of advice from a friend who has done several and a lot of reading, and a lot of personal experience in working with the materials (worked on boats about 3 yrs when I was younger and been painting cars for about 15yrs now, I felt like I was capable of a plywood build. Believe me when I say ive spent hours reading builds and taking the best I have seen from them to use for my own build. I see a bunch of plywood builds that kinda worry me for the little details that are missed that can become BIG details later. Anyways, let the pics begin and Ill do my commentary thing. Feel free to ask questions and HATE if that's your thing because I feel like I logically have approached this the best way possible.... So here it goes :ape:

Love that emoticon
 
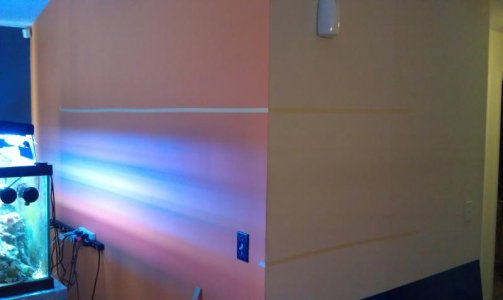
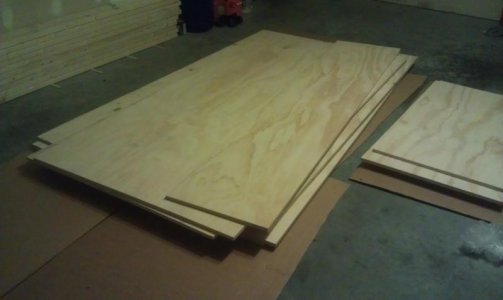
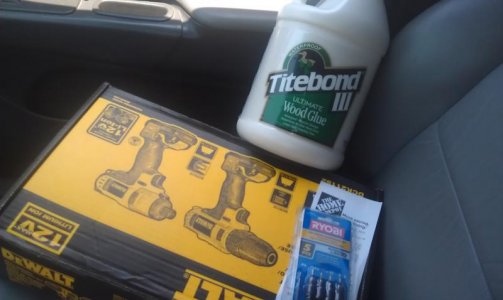
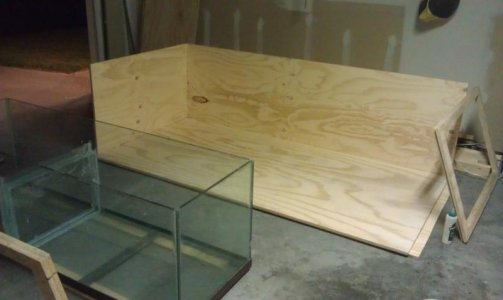
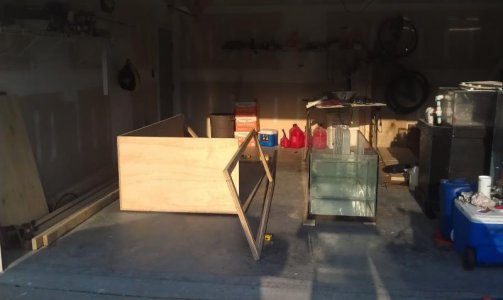
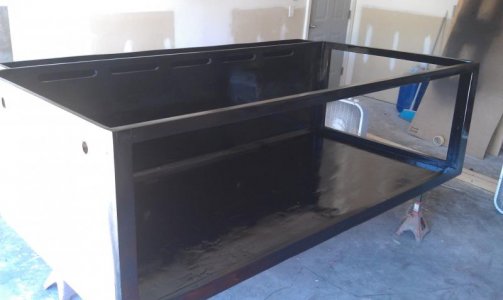
So it began with a dream and some plywood....And a longing to consolidate the 4 tanks I had running into one for ease of maintence and since appreciating 4 tanks instead of one requires roughly 350% more effort..

IMAG0001.jpg

IMAG0031.jpg


Ive stripped and put bottoms 40+ft when I was 18ish and seen what the ocean can do to the bottoms of boats after years so I know at some point this will fail. Im guessing 10+ though at least and haven't even finished this but keep looking at it like "when I redo this I should go 40" tall...

I guess I should start with a run down of the system now. It has been going over a year now and haven't had any Huge Probems but have seen some things I will do better next time and hopefully some pointers for others and hopefully people can learn from my mistakes.

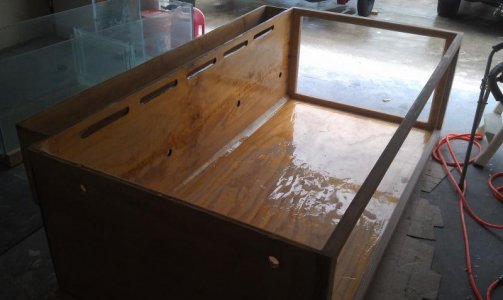
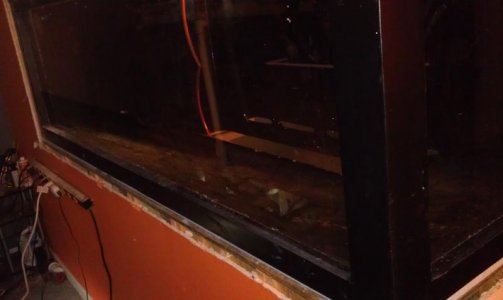
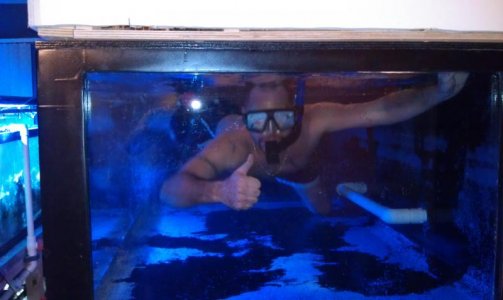
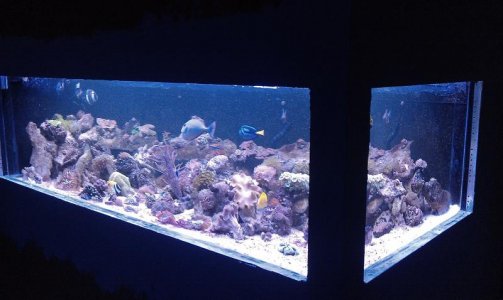
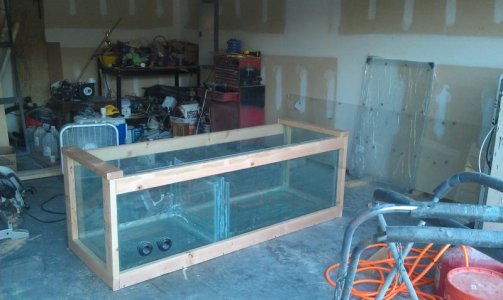
Tank is 96"Longx48"Widex29.5"High Outside dimensions Ill get the insides later
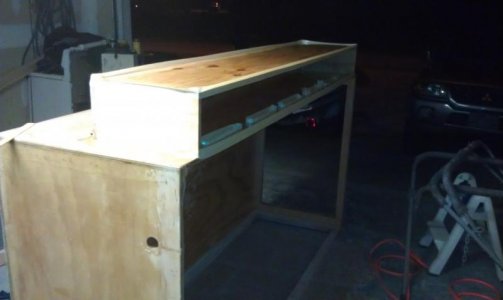
A coast to coastish overflow on the box that is 90"Longx8"Widex16"High
Sump is a glass 135. 72"x18"x25"
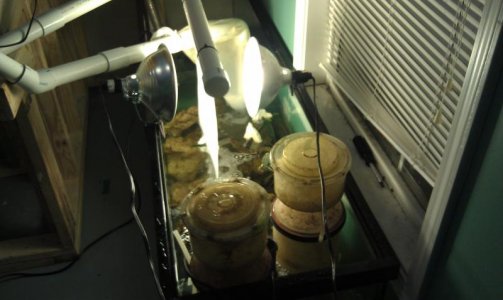
Frag tank is a 40breeder
I have an observation type QT that is a 40breeder
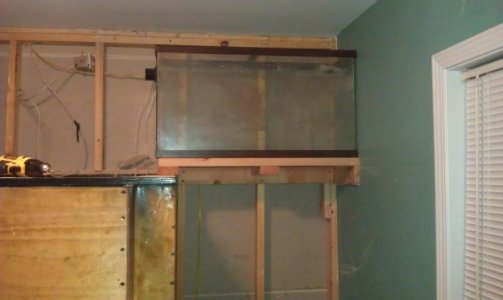
Above the tank is a glass 38 refugium. 36 1/4 x 12 5/8 x 19 3/4
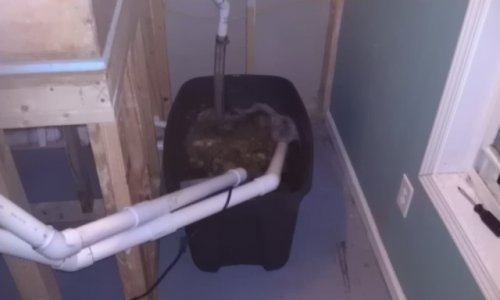
And I guess I use a 40 gallon plastic tote for Topoff water...
 
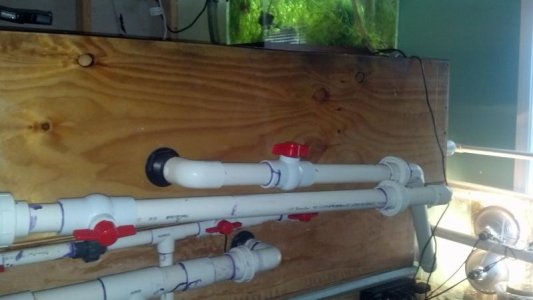
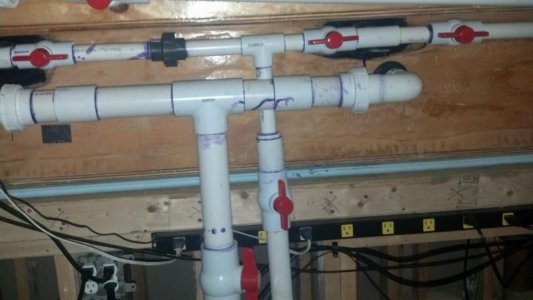
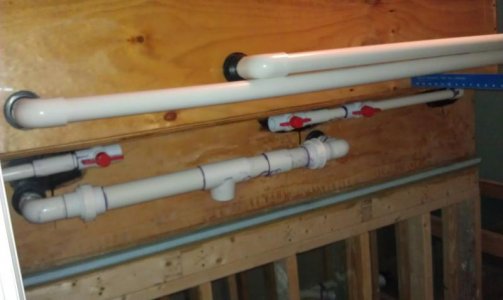
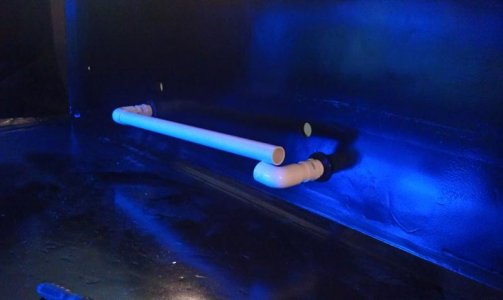
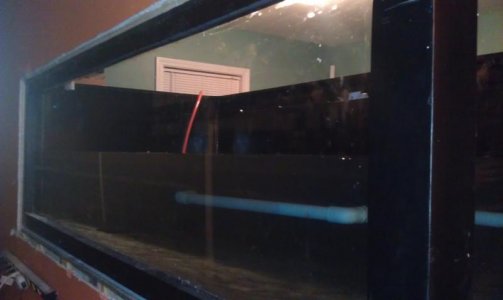
Closed loop is a Reeflo Hammerhead (5500gph-ish?). It drains from a 2' long 2" PVC pipe in the lower half of the tank with notches cut every 1/4" on the front and back or it pretty much the full length. it then returns into 4 1" returns (I have an Oceans Motions now so im debating on replumbing this put not sure if I can without replacing the bulkheads which would mean draining 3/4 of the tank :thumbdown

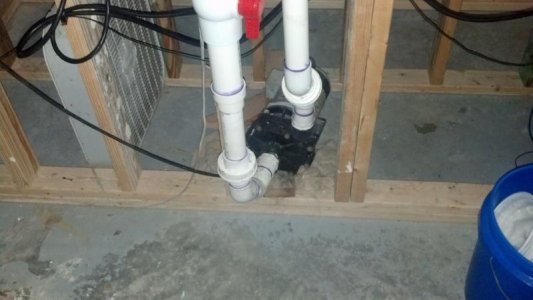
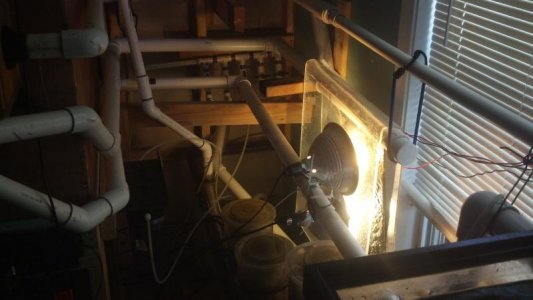
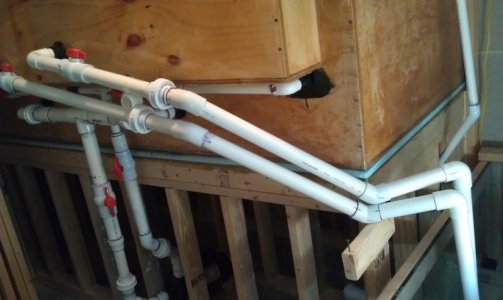
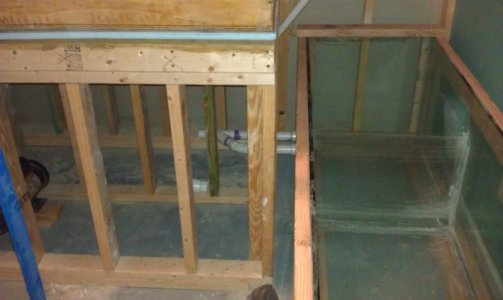
From the sump I return with a Magdrive24 into 2 1" pipes with locline inside the tank. There is also a Magdrive7 that powers the 40b QT. Off the back of the overflow box I have 3 1.5" overflows. One feed the frag tank, One goes into an algae turf scrubber, and the last one just dumps into the same filter sock as the overflow from the frag tank.. Thank god we can post pics to visualize this because its giving me a headache just trying to explain it
:headwalls:

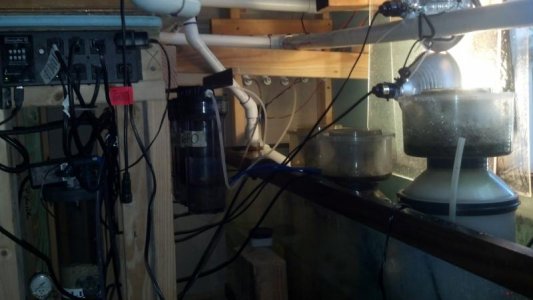
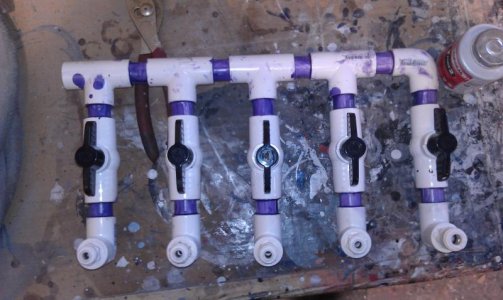
I have 2 ASM G2 skimmers and an ASM g4xx skimmer running. I also have a old 3 stage RODI unit and a Koralian C1502 calcium reactor both fed off of a manifold that is fed off the mag24 return line..


IMG_20131103_083724_143.jpg

IMG_20131103_082431_338.jpg

IMG_20131103_082445_124.jpg

IMG_20131103_083744_073.jpg

IMG_20131103_083843_830.jpg
 
IMAG0045.jpg

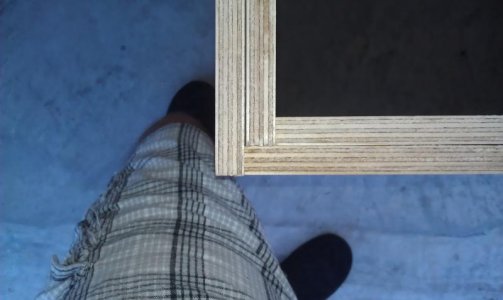
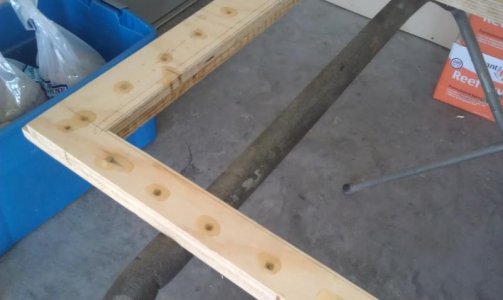
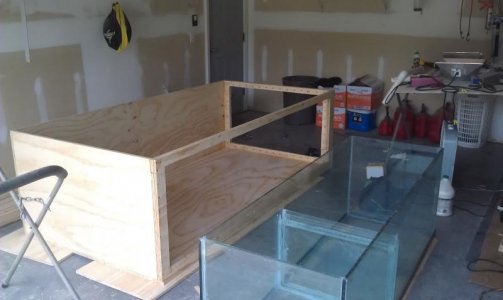
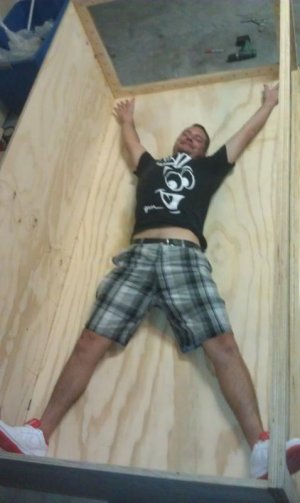
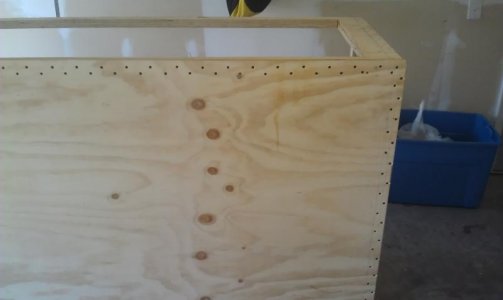
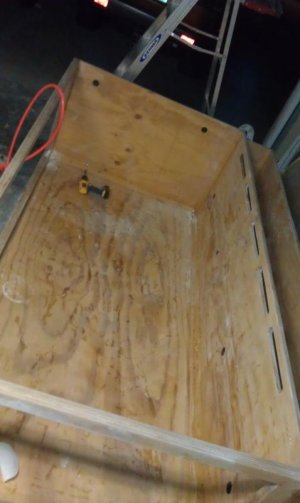
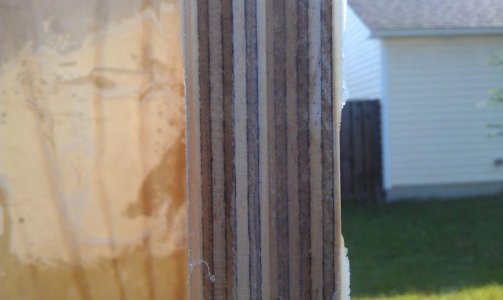
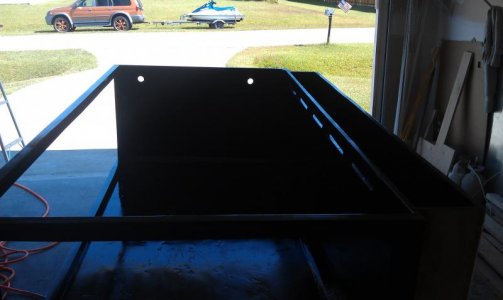
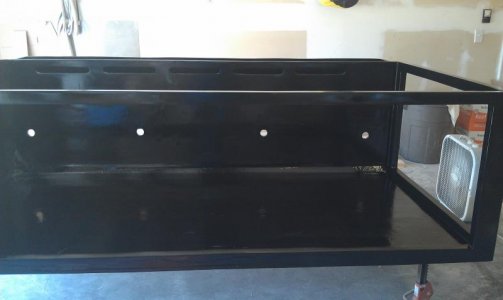
As far as tank construction goes.. It is basically a 4'x8' sheet of 3/4" cabinet grade plywood for a bottom with I think 28" tall walls of the same 3/4" wood. This is viewable from 2 sides so the front and viewable side are made of 2 pieces of the same plywood glued together with titebond III to make it 1 1/2" thick. They are only 2.5" frames so I doubled it up for it to be sturdier.

IMAG0079.jpg

IMAG0038.jpg

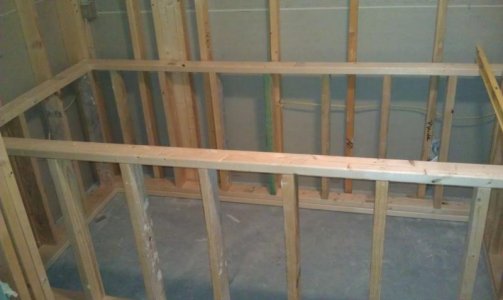
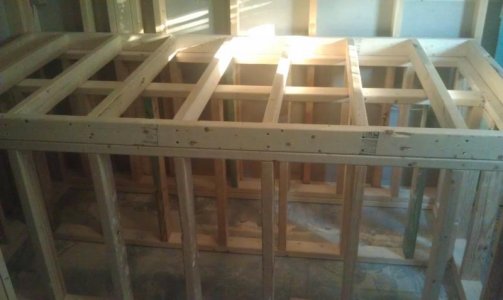
The stand is a bunch of 2x4s and is easily overbuilt....:thumbsup:

IMAG0049.jpg

IMAG0080.jpg
 
IMAG0257.jpg

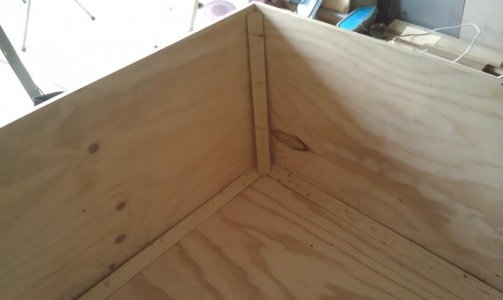
SO this is very important. I ripped 2x4s into triangles and brad nailed them into place. This will keep the pressure from pushing into the corners. The corners are the weakest link when you build a plywood tank...

IMAG0195.jpg

IMAG0346.jpg

IMAG0336.jpg

IMAG0331.jpg

So I used RAKA resin out of Florida which is a 100% solid self leveling resin. I originally ordered 3 gallons but decided I didn't think it was thick enough at first so I ordered another 3 gallon kit and sanded the first coat down and applied the other kit. Online in the comparisions I read it was among the best up with West Systems. It was also recommended by a friend that has done several of these. He gave me most of the information on how to do this and there is no way I could have done this without his insight.

I did however get stuck dragging this tank all around the yard by myself standing it up in all different weird ways for the resin to level out right because he doesn't live near.
 
:rollface:

making this thread is almost as tough as making the tank was... Im gonna post a little more and get it up to having water in the tank pics then gonna take a break until later...

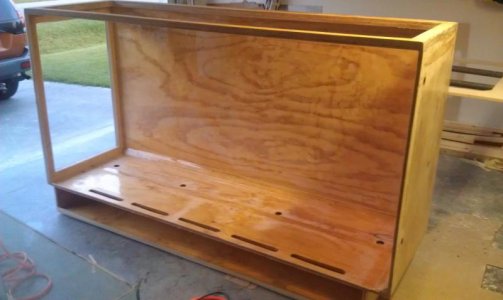
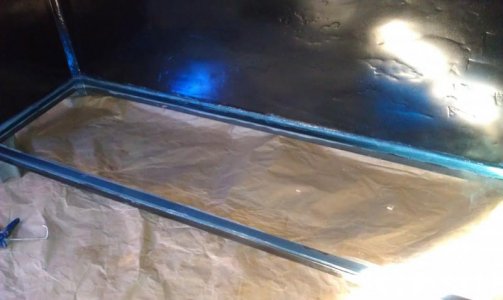
After I got it all resined up with 6 gallons of RAKA and made sure to tilt it and pour my corners heavy to protect them, I sanded it all again and topcoated it with a gallon of Sweetwater Epoxy in black.

IMAG0383.jpg

IMAG0308.jpg

IMAG0386.jpg

IMAG0389.jpg

IMAG0390.jpg
 
Ah whats next??

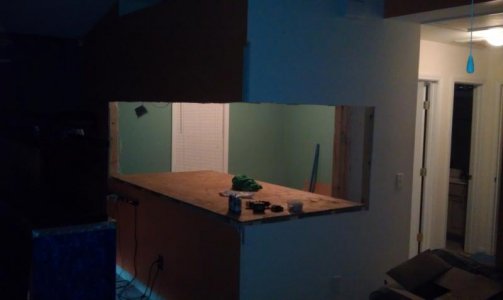
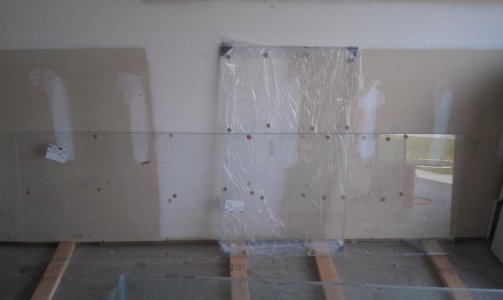
Oh yeah the hole in the wall and the glass... 2 sheets of Starphire (low iron) glass 1/2" thick. Glass has a safety factor and for anything taller then 28" they suggest 3/4" glass. Length of the tank is not important height is because the pressure the water pushes on the glass increases with the height of the water I read somewhere on the internet so it has to be true. Right??

IMAG0408.jpg

IMAG0341.jpg


Just as important as the 16 tubes of silicone I used to glue the glass to the tank was the 16 cases of Natural Light that it took for this build (if not more)...

IMAG0428.jpg

IMAG0433.jpg

IMAG0435.jpg


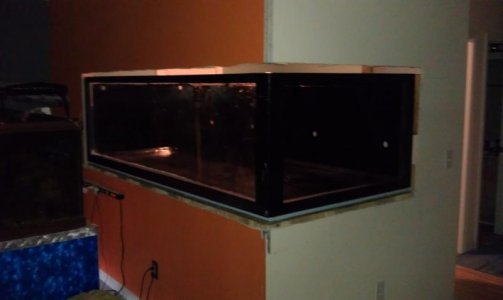
And yes its finally in the wall......kind of
 
Forgot the natty pic :beer:

IMAG0355.jpg

So I put another frame of 3/4" plywood coated in the resin and sweetwater around the top of 4" wide all the way around for a eurobrace... I think I have a pic if I can find it later...

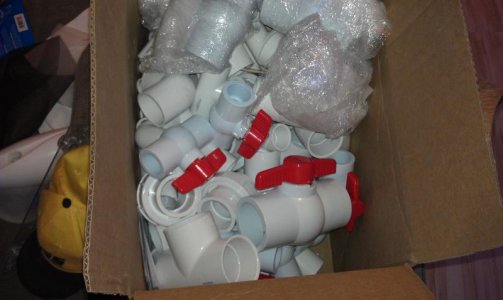
And here comes the plumbing. I ordered it offline for ball valves and unions and even the 90s because they were so much cheaper then lowes...

IMAG0444.jpg

IMAG0473.jpg

IMAG0454.jpg

IMAG0522.jpg
 
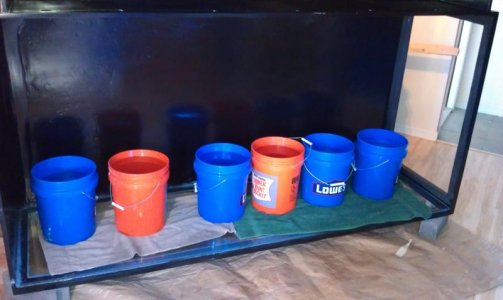
So originally someone had donated a beatup looking 180 that I reseamed to use for my sump. I drilled 2 1.5" holes in it for the external pump I was going to use and glued the baffles in. I closed loop water tested it for a couple weeks in my garage and it worked great.... If anyone actually wants to see it Ill post a youtube of it running in the garage

IMAG0364.jpg

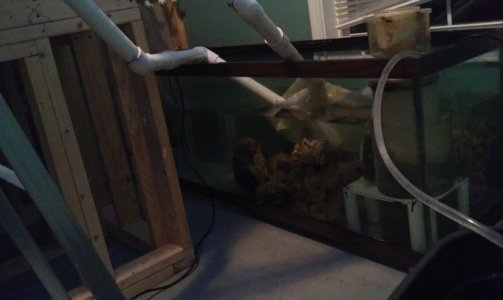
This is my ghetto first run of plumbing just to get it cycling and until I figured out what else I would need to do..

IMAG0484.jpg


The refugium..

IMAG0464.jpg

IMAG0476.jpg

Anyways, a week into the fresh water test inside the house the sump started to leak...

I used this for about a week until I got my 135g sump ready. Thank god I didn't loose power that week...

IMAG0589.jpg
 
One more post this morning and I have some chores I have to get done.... :deadhorse1:

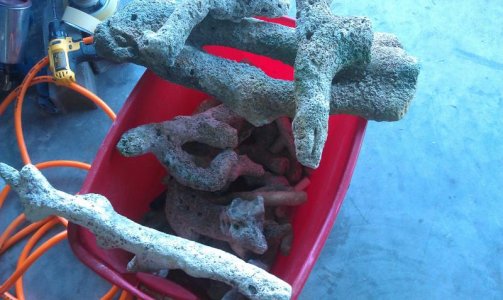
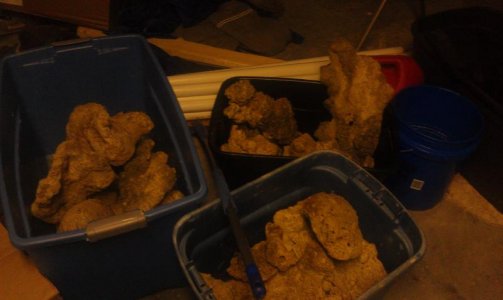
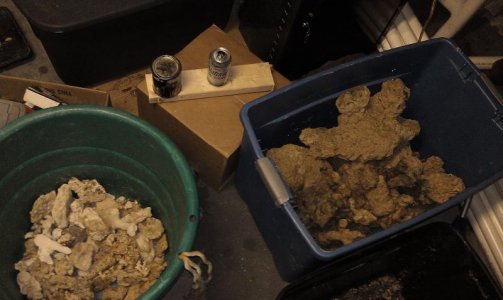
I had gotten a bunch of rock from people that I bleached and then sat in the sun for weeks to go with the live rock from the 135, 90, 40b, 8 gallon tanks I had running at the time.

IMAG0393.jpg

IMAG0760.jpg

IMAG0786.jpg

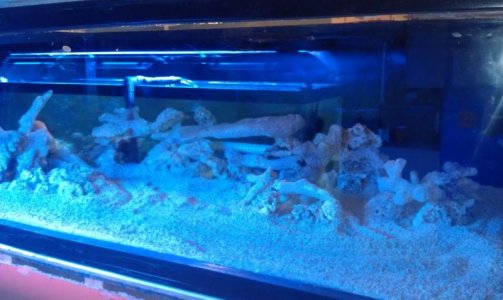
Rock stack v1.0 to just get the rock cycling good..

IMAG0523.jpg

Ill post later when I get back home some after pics.. Thanks for reading if you have made it this far.. Ill post some pics of the LEDs I built to go over it and some pics of it in general..

IMAG0837.jpg
 
Looks like a job well done. Not sure how long you have had the tank filled, but perhaps the only thing that would concern me is the lack of any kind of lateral brace along the length of the tank. Eight feet of 1/2 glass would bow I'd think, and the top rim of plywood isn't going to provide much support outwards. All rimless tanks I've seen, and yours is essentially rimless, at 96 have used at least 3/4 inch glass. While you are correct that height dictates glass thickness more than length, it is my understanding that rimless tanks present a special case.
 
Im about to start posting more pics when I get home but the sides bolding the glass are basically frames so its like almost 2" thick wood with the resin included that are 2.5" wide that run the full length of the glass top and bottom. With the top piece holding them all in square I Dont see any problems with bowing looking down it. I've had it full over a year now so I'm hoping it would have done it by now if it was going to.
 
I haven't been able to find much on engineering limits for plywood tanks. Can you tell us what determined the height of your tank? Was it a personal preference, a limitation of the lighting you wanted to use, or a limitation of plywood as a building material? Any preferred info sources?

Thx

Dave.M
 
Im about to start posting more pics when I get home but the sides bolding the glass are basically frames so its like almost 2" thick wood with the resin included that are 2.5" wide that run the full length of the glass top and bottom. With the top piece holding them all in square I Dont see any problems with bowing looking down it. I've had it full over a year now so I'm hoping it would have done it by now if it was going to.

That's why I asked how long it had been filled for. I think I would have put in some braces, but clearly you haven't had problems ...
 
I haven't been able to find much on engineering limits for plywood tanks. Can you tell us what determined the height of your tank? Was it a personal preference, a limitation of the lighting you wanted to use, or a limitation of plywood as a building material? Any preferred info sources?

Thx

Dave.M

mixture of only having only a 8 foot ceiling and setting it up 3' from the ground so you didn't have to bend over to look at it. If I went much taller I would have had to either lower stand or really been limited on space to work on the tank.

here is the link to a glass safety calculator. If I went taller I would had to buy 3/4 instead of 1/2" glass

http://www.poseidons-palace.co.uk/Poseidons_Palace_Standard_Aquariums.html
 
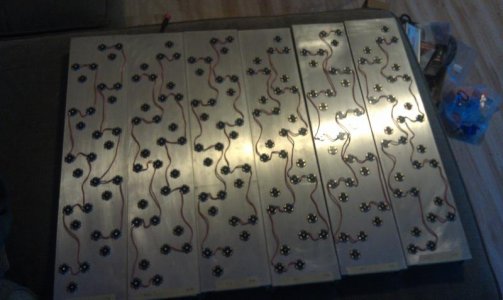
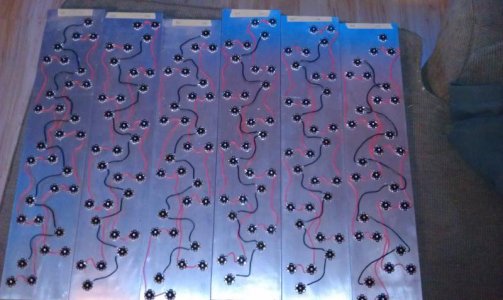
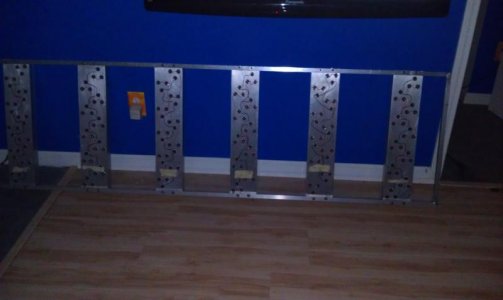
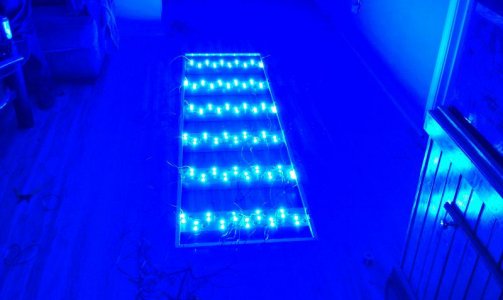
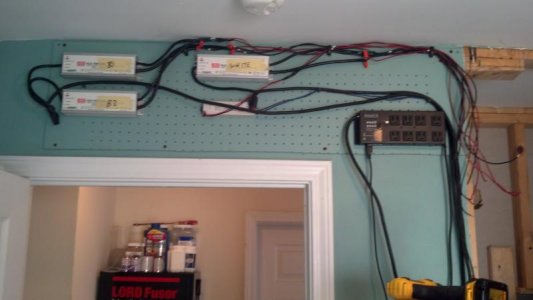
So onto the lights I guess. when I first started it I just hung my 6" 8x80w T5 fixture over it while I was trying to find someone to build mine. I had read a lot about building them but didn't feel comfortable with a diy... Anyways, nobody would do it for me so DIY was my only options short of buying a bunch of $400+ fixtures to hang over it. I went with 204 leds total with 60 degree optics. I bought Cree Leds and meanwell drivers. 60 Neutral whites, 120 Royal Blues, and 24 UVs. I had a piece of 3/16" aluminum C Channel cut into 6 2' pieces for heatsinks and made a frame out of 1/2" aluminum tubing.
The 2 40breeders I have setup has 26" 3/16" aluminum C Channel heatsinks with 10 Neutral whites and 20 Royal blues ran off of 2 meanwell 60-48d drivers. I originally tried red leds over the refugium for calupera growth but the white leds defiantly seem to be doing a better job. I used 6 cheap Chinese white leds powered off of a 18v ac/dc adapter

IMAG0645.jpg

IMAG0648.jpg

IMAG0656.jpg

IMAG0660.jpg

1533.jpg
 
Ive stripped and put bottoms 40+ft when I was 18ish and seen what the ocean can do to the bottoms of boats after years so I know at some point this will fail. Im guessing 10+ though at least ...

I can see why epoxy coated wood would take a beating on the bottom of a boat, but I don't understand why a properly built epoxy tank would not last indefinitely. It's not as though the tank will be getting barnacles scraped off or bumping and rubbing against things.
 
Back
Top