Dutch Royalty
New member
Hi Reef Keepers,
My name is Michel and I am Dutch from nationality. My interest in Reef keeping started many years ago with a small nano tank updating to an RSM 250 and after a 120x80x60 mixed reef tank with a frag tank 165x40x40cm.
In the years with plusses and minuses you come to a point that you really know what you want and what you really don't want in this hobby.
ON the end we al dream about or dream tank.
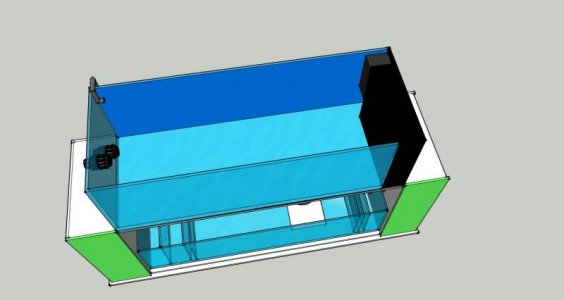
For me after long thinking and experiments with my old tanks I came to the following measurements for my new reef named
Dutch Royalty Reef
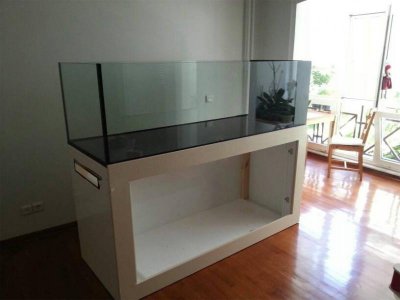
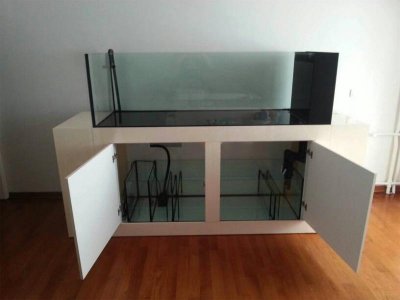
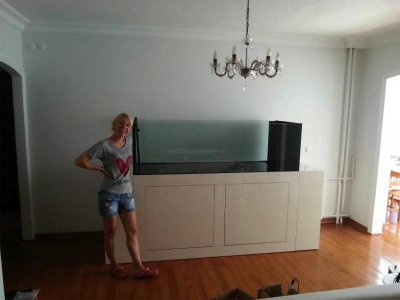
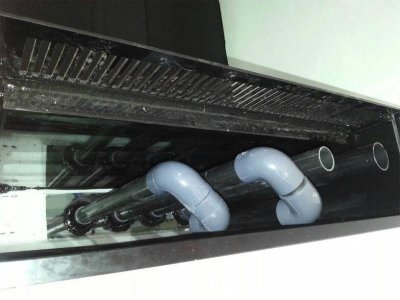
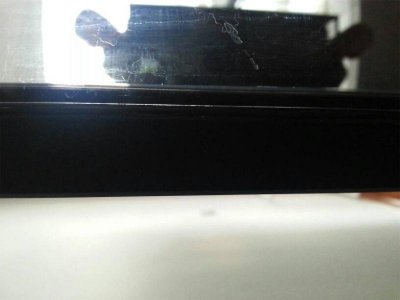
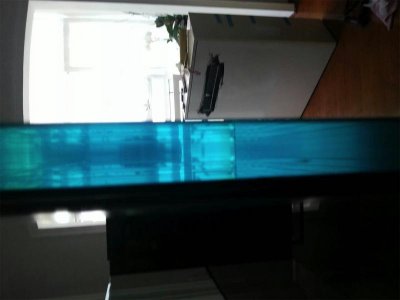
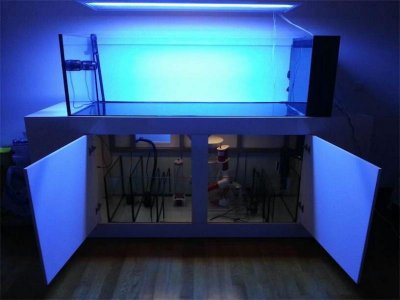
This tank is built out with super crystal clear front glass and left side of 15mm thick.
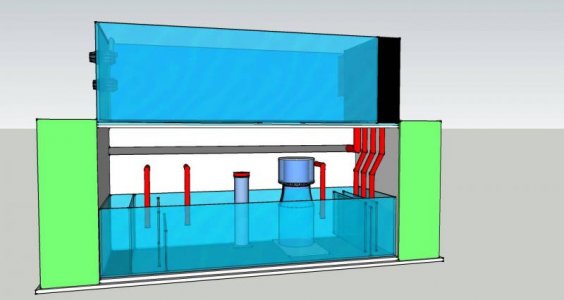
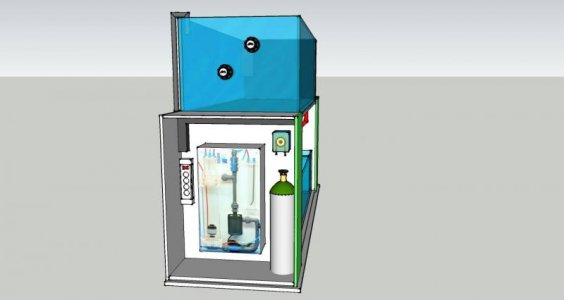
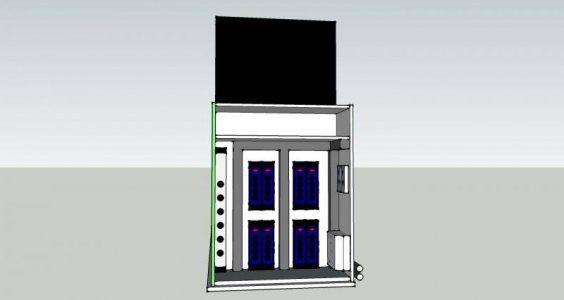
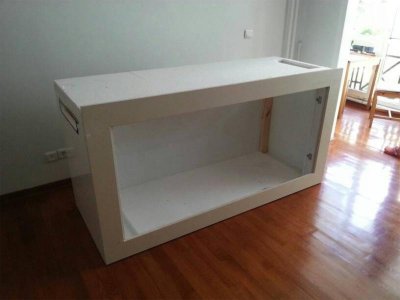
My closet is built in 3 compartments as I call them.
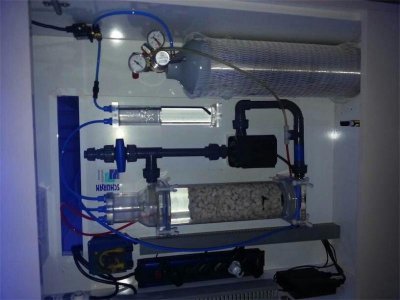
Reactor Room
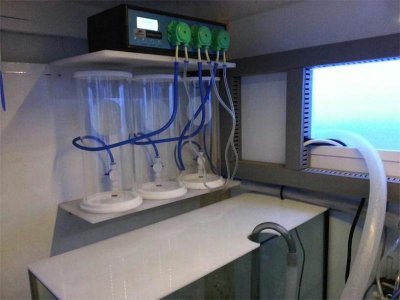
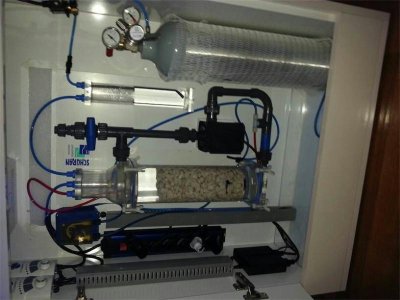
In the reactor room I have standing my Calcium Reactor from Schuran. This is the Jetstream 1 with a Tunze Regulator and solenoid valve. The water flow thru the reactor is done by a one head dosing pump.
In the same room I have as well my two Vortech MP40 controller with a Vortech battery back-up. Under in the closet I have a 5 cm high water collecting trunk for safety.
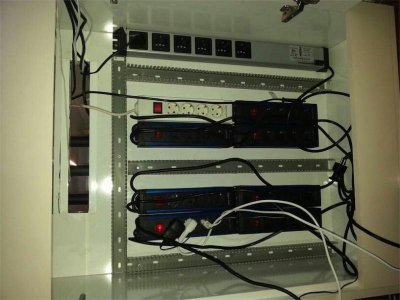
Electric Room
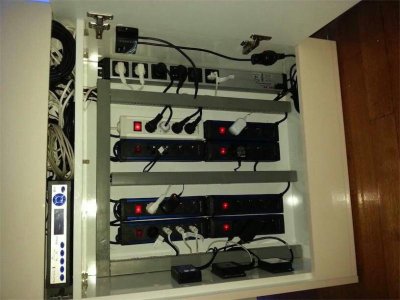
In the electric room I have my Profilux ex3 Aquarium computer and all my sockets that is on and off switchable by 4 sockets each. Next to this I have an 6 socket powerbar from Profilux that control one and other. In this I will come back during introduction of my tank.
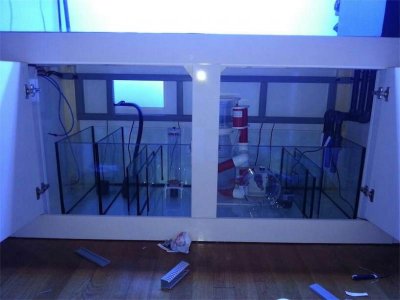
Sump Area
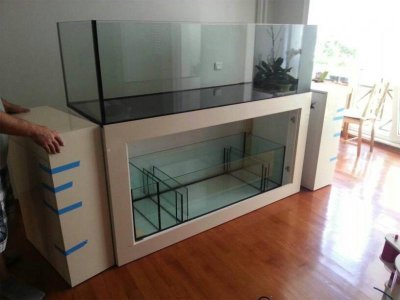
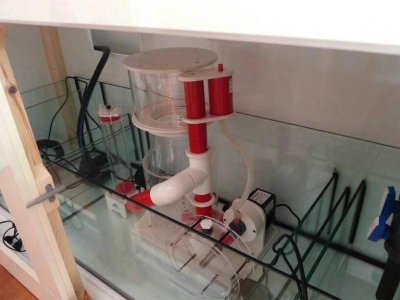
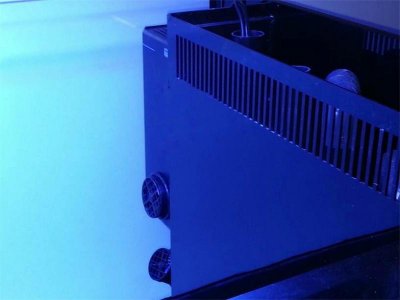
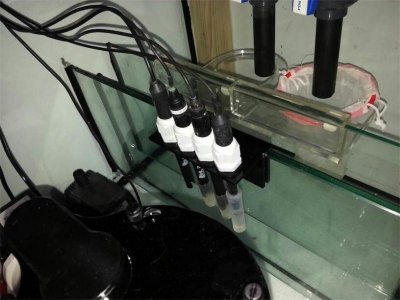
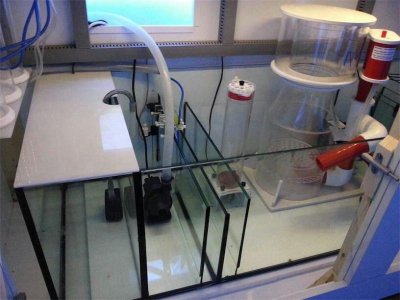
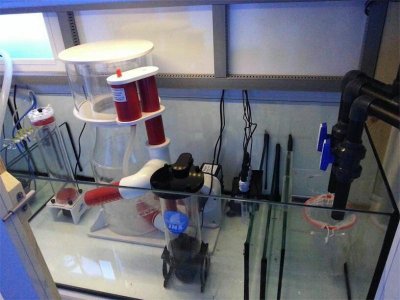
I keep my sump as easy as possible. My sump has a size of 155x60x41cm. In the sump stand a JNS biopellet reactor, BBK 250 Deluxe skimmer, Red Dragon mini 5.000 return pump, Bubble Magus 3 head dosing unit, Eheim compact pump for my chiller (aquamedic titan 1500), Bubble magus carbon reactor, Eheim compact ATO pump and my probes for data to my profilux with some level sensors.
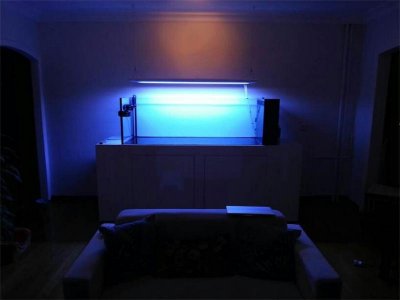
For Lightning I use a Gieseman Matrix 8x80W T5 as I have better results as before with LED.
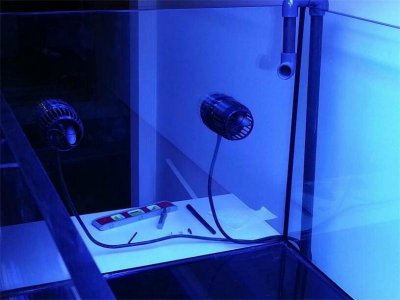
For streaming in the tank I use two MP40 a Tunze wave box and one Tunze 6065 pump
My Tank is electrical and mechanical tested and is ready for water.
Coming days I will post photos from start of the tank how it is designed and built up in details with each process
My name is Michel and I am Dutch from nationality. My interest in Reef keeping started many years ago with a small nano tank updating to an RSM 250 and after a 120x80x60 mixed reef tank with a frag tank 165x40x40cm.
In the years with plusses and minuses you come to a point that you really know what you want and what you really don't want in this hobby.
ON the end we al dream about or dream tank.
For me after long thinking and experiments with my old tanks I came to the following measurements for my new reef named
Dutch Royalty Reef
This tank is built out with super crystal clear front glass and left side of 15mm thick.
My closet is built in 3 compartments as I call them.
- Reactor Room
- Sump Area
- Electric Room
Reactor Room
In the reactor room I have standing my Calcium Reactor from Schuran. This is the Jetstream 1 with a Tunze Regulator and solenoid valve. The water flow thru the reactor is done by a one head dosing pump.
In the same room I have as well my two Vortech MP40 controller with a Vortech battery back-up. Under in the closet I have a 5 cm high water collecting trunk for safety.
Electric Room
In the electric room I have my Profilux ex3 Aquarium computer and all my sockets that is on and off switchable by 4 sockets each. Next to this I have an 6 socket powerbar from Profilux that control one and other. In this I will come back during introduction of my tank.
Sump Area
I keep my sump as easy as possible. My sump has a size of 155x60x41cm. In the sump stand a JNS biopellet reactor, BBK 250 Deluxe skimmer, Red Dragon mini 5.000 return pump, Bubble Magus 3 head dosing unit, Eheim compact pump for my chiller (aquamedic titan 1500), Bubble magus carbon reactor, Eheim compact ATO pump and my probes for data to my profilux with some level sensors.
For Lightning I use a Gieseman Matrix 8x80W T5 as I have better results as before with LED.
For streaming in the tank I use two MP40 a Tunze wave box and one Tunze 6065 pump
My Tank is electrical and mechanical tested and is ready for water.
Coming days I will post photos from start of the tank how it is designed and built up in details with each process

