DYI 600g + -

lapin

New member
I decided to post my tank build. It will be around 600g with a 120g sump. Since i cant find the sump in the die mentions I need I will build it myself.
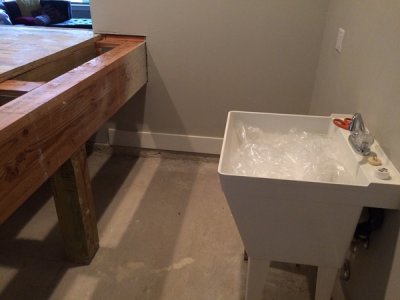
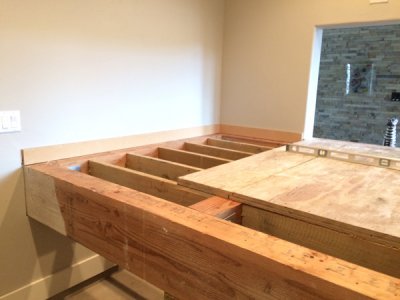
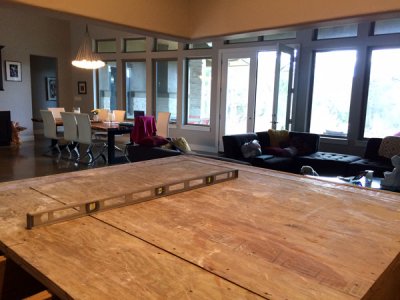
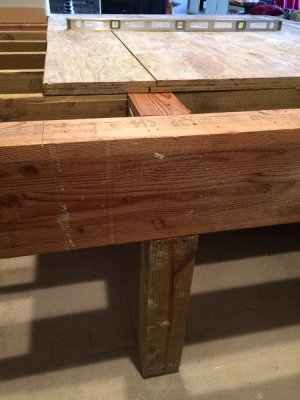
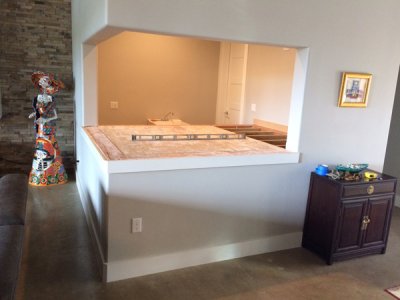
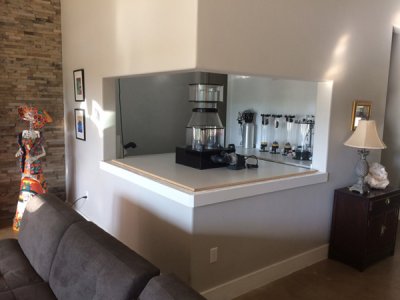
I'll start with the room first. Engineered to hold 18,000 lbs, its a bit over done but ya never know. I like movement in my tanks so it will be full of some softies and a few anemones. The fish will have a great view. Prob going with a few smaller fish. Gobies, Jawfish and a few Clowns to round out the 3 ring circus.
 

Attachments

  • 1aTank_Room2.jpg
    1aTank_Room2.jpg
    89.8 KB · Views: 7
  • 1bTank_Room1.jpg
    1bTank_Room1.jpg
    94.1 KB · Views: 6
  • 1cTank_Room.jpg
    1cTank_Room.jpg
    97 KB · Views: 5
  • 1eTank_Room.jpg
    1eTank_Room.jpg
    96.6 KB · Views: 8
  • 1fTank_Room.jpg
    1fTank_Room.jpg
    101.4 KB · Views: 8
I had a 150 cube in the corner of my wall . This makes me miss it ever more

Sent from my Pixel 2 XL using Tapatalk
 
Looks amazing. Fish room seems small for the size tank you're planning and I'm not sure how much room you'll have under the tank for the equipment you'll need/want. I'd also recommend you leave access panels in the front. I had a 150G that was closed in the front and now have a 350G that I can access, it is a whole lot easier and better.
 
Got the room painted with 4 coats of high gloss water proof paint. Very chiney.
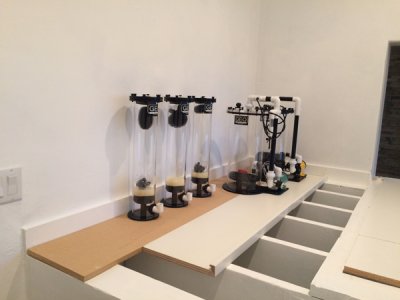
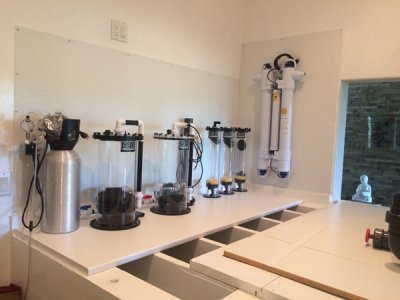
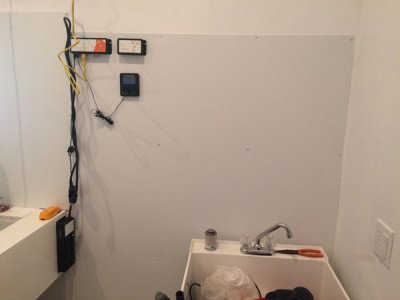
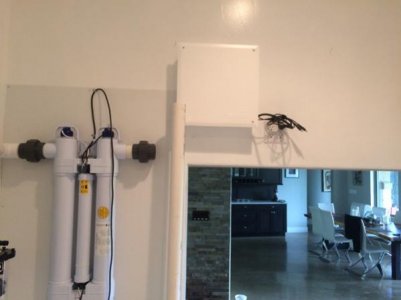
Put up some FRP panels to help against splashes in key areas. Placed the reactors on the wall. Decided to put the small ones further away since the large ones will require some adjustments. Attached the UV unit to the wall. It all seems to be ok.
 

Attachments

  • 2-1Tank_Room.jpg
    2-1Tank_Room.jpg
    100.9 KB · Views: 8
  • 2-2Tank_Room.jpg
    2-2Tank_Room.jpg
    92.8 KB · Views: 8
  • 2-3Tank_Room.jpg
    2-3Tank_Room.jpg
    97.8 KB · Views: 7
Oh wow, this looks like the start of something very awesome.
Any tank details? dimensions? 6'x6' footprint? :):)
Looking forward to seeing this progress
 
The tank will be aprox 5'x5'x3', coast to coast overflow with a bean animal. All my reactors are are GEO. He modded the small ones for a bottom up flow with no tubes down the middle (two little fishes). Not having to deal with that center tube will be a blessing. He does great work.
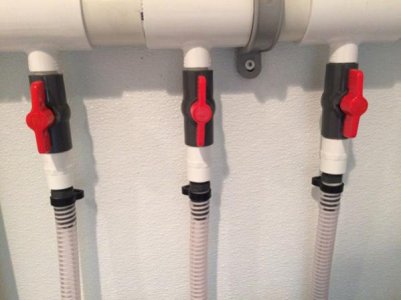
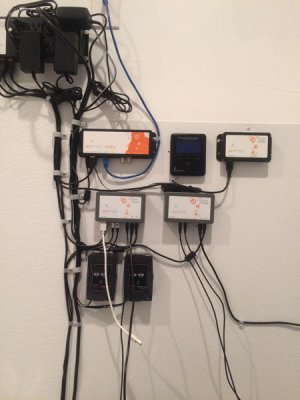
The manifold is done and hooked up to the reactors and UV unit. Unpacked a box marked fish stuff from the move and found my Apex. Put it on the wall. I should unpack everything and see what is what. Placed an order for the sump acrylic. More fun on the horizon.
 

Attachments

  • 3-1Plumbing_Reactors.jpg
    3-1Plumbing_Reactors.jpg
    31.3 KB · Views: 9
  • 3-3Controllers.jpg
    3-3Controllers.jpg
    92.6 KB · Views: 8
Good pick on the UV unit, I believe I have the exact same one. What brand/ where did you get it from?
 
DYI ..... Do Yourself In? Sounds about right with big tanks :lol: Will you make the tank yourself?
 
Good pick on the UV unit, I believe I have the exact same one. What brand/ where did you get it from?

The UV is a Pro Pond 110v. Got it from a place called American Aquarium.
I bought most of my stuff about 2 years ago before I retired and moved. I'm not sure if they are still around, The UV unit was the best one I found that fit my application.
 
DYI ..... Do Yourself In? Sounds about right with big tanks :lol: Will you make the tank yourself?

The tank, funny you should ask. We designed the house about 6 years ago. I priced out a tank then. Got quoted around 10 grand. Well fast forward to now. The economy is running at full steam and everyone is making money. People have more work than they know what to do with I guess. I priced out the tank again and got quotes in the 20 grand range. Ouch... a bit out of my range. So looks like I make it myself. I am familiar with acrylic but not 1" stuff. From quotes I got on the acrylic, it will cost me 3 to 4 grand with cement and stuff. This was not part of the plan but ya gots to do whats ya gots to do. If I mess up the first one, I can build a second and still be ahead.
 
check out fishtanksdirect. They just built me a 450 out of 1" acrylic. Work quality was very good and it didn't cost a fortune.
 
The UV is a Pro Pond 110v. Got it from a place called American Aquarium.
I bought most of my stuff about 2 years ago before I retired and moved. I'm not sure if they are still around, The UV unit was the best one I found that fit my application.

Yep that's the same one I have. Looking forward to following along
 
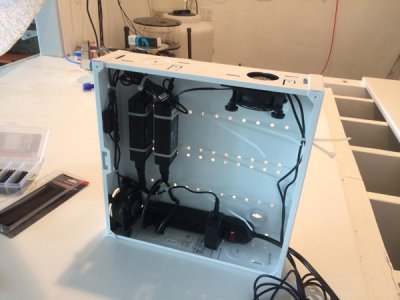
I could not find a solution to the way to many Kessel bricks issue. They run an odd power output. I decided to put them in a box and hang it on a wall.
 

Attachments

  • 2b_Kessel_brick_box1.jpg
    2b_Kessel_brick_box1.jpg
    81.6 KB · Views: 9
  • 2c_Kessel_brick_box2.jpg
    2c_Kessel_brick_box2.jpg
    23.5 KB · Views: 7
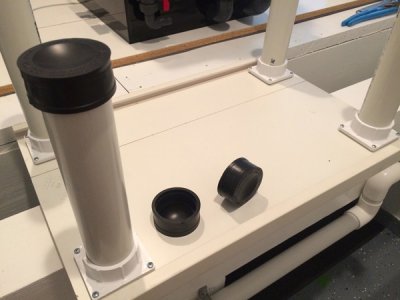
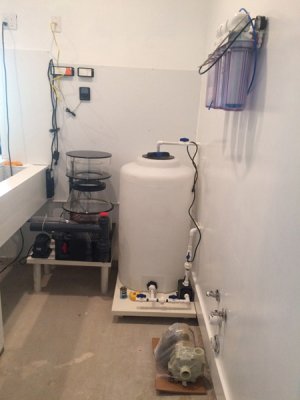
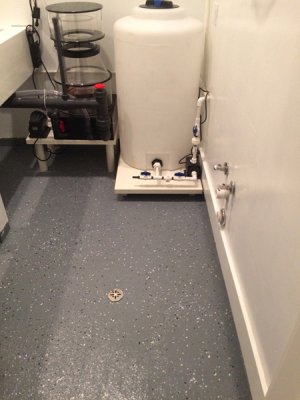
Few more updates. The salt mixing tank is in place next to the skimmer. Made a stand for the skimmer and mixing tank. Used 2" pvc for the legs, capped with those rubber pipe caps. Shimmed inside the caps with rubber to get them level. Got the RO/DI up on the wall over where the sink will go. Epoxied the floor. I think it came out good. Wife hates the flakes. Out of site out of mind. The house has concrete floors. I had them sink the fish room floor 4" and put in a drain, in case of any spills. Never happens to me.....
 

Attachments

  • 2a_Skimmer_Stand1.jpg
    2a_Skimmer_Stand1.jpg
    94.7 KB · Views: 6
  • 2D_Plumbing_Skimmer_Mixing1.jpg
    2D_Plumbing_Skimmer_Mixing1.jpg
    91.4 KB · Views: 9
  • 2E_Tank_Room_Floor1.jpg
    2E_Tank_Room_Floor1.jpg
    99.5 KB · Views: 8
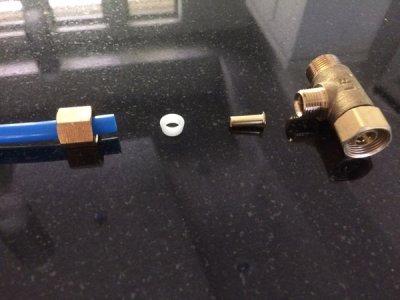
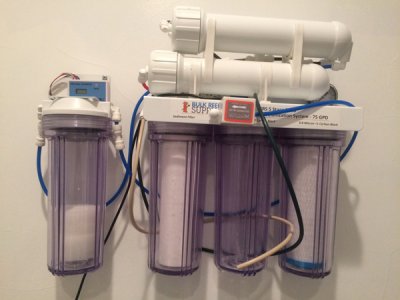
Mounted the Water Saver Kit from BRS and changed out the old membrane. Mounted a solenoid to control the output of RO/DI unit. I hate putting holes in pipes so I found a solution to getting water to my RO/DI unit without a saddle clamp. I did not have anyway to use a normal hose "Y"* like you would use at the washing machine connection. Since I live quite aways from anything, I go to the local hardware store. You need these Ace Hardware part numbers if you have 3/8 water lines from the wall shut off to your faucet.
Add -a-Tee 3/8 - 3/8 - 1/4 #4308995*
Compression Sleeve 1/4 Delrin #41284
Compression Insert 1/4 Brass #41288 (you need this to keep the 1/4 plastic tube from collapsing)
Compression Nut 1/4 Brass # 41222
 

Attachments

  • 1a_RO_plumbing1.jpg
    1a_RO_plumbing1.jpg
    97.1 KB · Views: 8
  • 1a_RO-DI_relay.jpg
    1a_RO-DI_relay.jpg
    95 KB · Views: 8
great choice on the GEO stuff....I love mine, including my 48x48x24 custom cube he built for me! :)

corey
 
Back
Top