You are using an out of date browser. It may not display this or other websites correctly.
You should upgrade or use an alternative browser.
You should upgrade or use an alternative browser.
Finally Dragonvale's 50 gallon Starphire display cube journal
- Thread starter Dragonvale
- Start date
Dragonvale
New member
Muriatic acid and RO water. i think you're wasting the RO water. I like the agressive cleaning of the rock with the muriatic acid water. May be in my future depending on a not yet aptasia eatting coppeband butterfly
Actually that's the waste water from my RO unit (I said RO cause that's what the thread suggested when doing this ) I used that since I needed top off water plus I was lazy. It's actually soaking in waste water from the RO unit right now, since there is residue from the baking soda. I'm going to empty it out tomorrow and run another waste water from the RO unit then do real RO. Then dry it out then grab some emaco from Carlos and start on my aquascape
") :fun4:
:fun4:Even if it were real RO it was only 10 gallons in that tub. So if anyone is going to do this and not cut corners like I did its not to bad. So it was 10 gallons to 1 gallon ratio of the acid.
Dragonvale
New member
Just got the light fixture hangers! Thank you Robert for referring your buddy. Looks nice and will only look better once coated with enamel!
<a href="http://s1297.photobucket.com/user/1Dragonvale/media/poles_zps5064f06e.jpg.html" target="_blank"><img src="http://i1297.photobucket.com/albums/ag21/1Dragonvale/poles_zps5064f06e.jpg" border="0" alt=" photo poles_zps5064f06e.jpg"/></a>
<a href="http://s1297.photobucket.com/user/1Dragonvale/media/poles_zps5064f06e.jpg.html" target="_blank"><img src="http://i1297.photobucket.com/albums/ag21/1Dragonvale/poles_zps5064f06e.jpg" border="0" alt=" photo poles_zps5064f06e.jpg"/></a>
Dragonvale
New member
Here's some progress shots for the tank. I previously had two seaswirls on my 120 and loved them. This time around I'm using a seaswirl but this time its going to be on my overflow. Don't know if that s problem but I'm thinking it should work. I'm going to have a 4 inch acrylic under the seaswirl along with zips tying it to the overflow. Anyone have a similar scenario... good bad? I also bolted the hangers to the tank
<a href="http://s1297.photobucket.com/user/1Dragonvale/media/seaswirl1_zps734b617c.jpg.html" target="_blank"><img src="http://i1297.photobucket.com/albums/ag21/1Dragonvale/seaswirl1_zps734b617c.jpg" border="0" alt=" photo seaswirl1_zps734b617c.jpg"/></a>
<a href="http://s1297.photobucket.com/user/1Dragonvale/media/seaswirl_zps0d9711c3.jpg.html" target="_blank"><img src="http://i1297.photobucket.com/albums/ag21/1Dragonvale/seaswirl_zps0d9711c3.jpg" border="0" alt=" photo seaswirl_zps0d9711c3.jpg"/></a>
<a href="http://s1297.photobucket.com/user/1Dragonvale/media/seaswirl2_zpsacd44161.jpg.html" target="_blank"><img src="http://i1297.photobucket.com/albums/ag21/1Dragonvale/seaswirl2_zpsacd44161.jpg" border="0" alt=" photo seaswirl2_zpsacd44161.jpg"/></a>
<a href="http://s1297.photobucket.com/user/1Dragonvale/media/tank_zps2e018a3a.jpg.html" target="_blank"><img src="http://i1297.photobucket.com/albums/ag21/1Dragonvale/tank_zps2e018a3a.jpg" border="0" alt=" photo tank_zps2e018a3a.jpg"/></a>
Dragonvale
New member
How do you like the tank positioned in the corner? I do the same thing.
At first I didn't like it, looked awkward to me. My fiancee said what's the use of paying for all sides being starphire when you can only see two sides. That was based on how I had it positioned. It mades sense so the tanks is going to be dispayed like that.
Dragonvale
New member
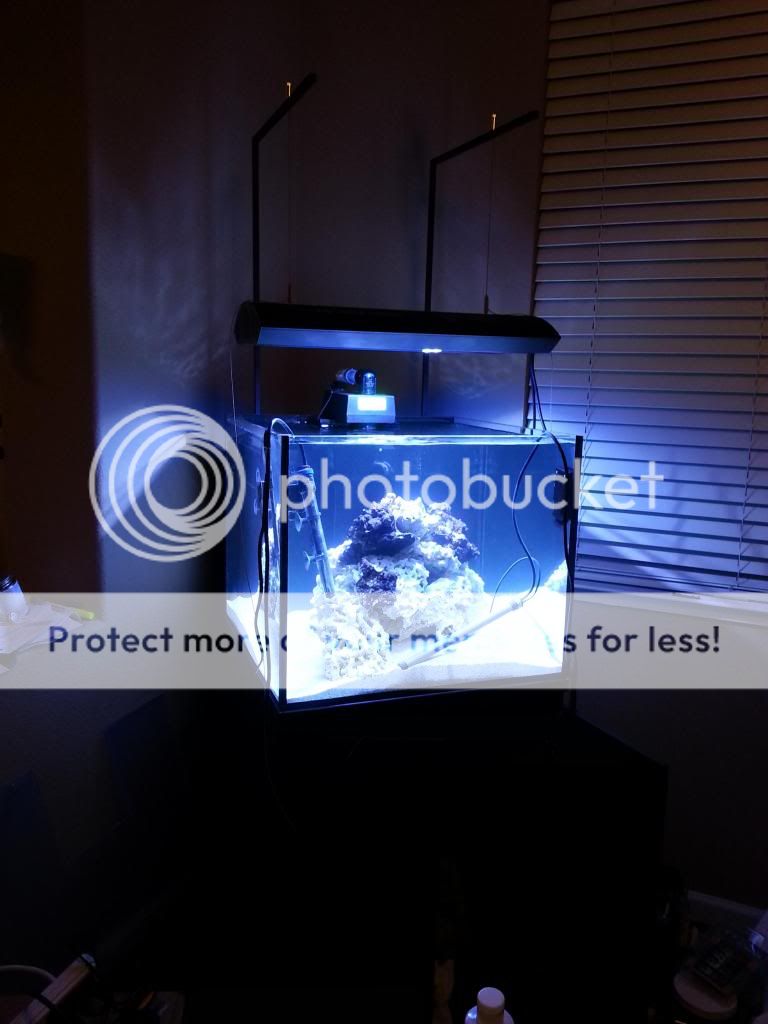
Here's the light fixture I'm putting on the cube. Its a 250 watt metal halide with 22" super actinic T5's and 250 watt phoenix DE.

Here's piping from my overflow with a Herbie style being used.

Here's the full tank shot. I just stacked the rocks there along with tossing in the heaters.

Here's piping from my overflow with a Herbie style being used.

Here's the full tank shot. I just stacked the rocks there along with tossing in the heaters.

Dragonvale
New member
Dang that looks good. With I had that setup for my 24x24x14
Make it. I bought this tank in January I want to say, and its finally just now seeing water. If I had a large garage for tools I would easily have made everything with that amount of time LOL.
Dragonvale
New member
If you just want to make the frame just to hold a tank. I can always let you borrow my miter saw to cut the 2x4 and let you borrow power drill (its not grade A tools but it will make a stand). Just grab the wood and wood screw/dry wall screws. I can't find my bevel so if you do pursue it make sure some here as one.
Dragonvale
New member
Nice tank (I have the same one)!!
Haven't seen the ATO discussed, a 5 gallon Home Depot bucket should fit in the corner behind the tank. Easy access to fill.
Nice... Do you have a thread? For the ATO I'm currently looking for a cheap ottoman that lifts or a trunk. I want it being similar so anything black LOL. I'm putting the ballast in the back since its a old skool fixture that weighs a ton.
Dragonvale
New member
I don't have a thread on RC but there are many pics of my set up on San Diego reefs under the name "50 cube"
I'll check it out, thanks.
Dragonvale
New member
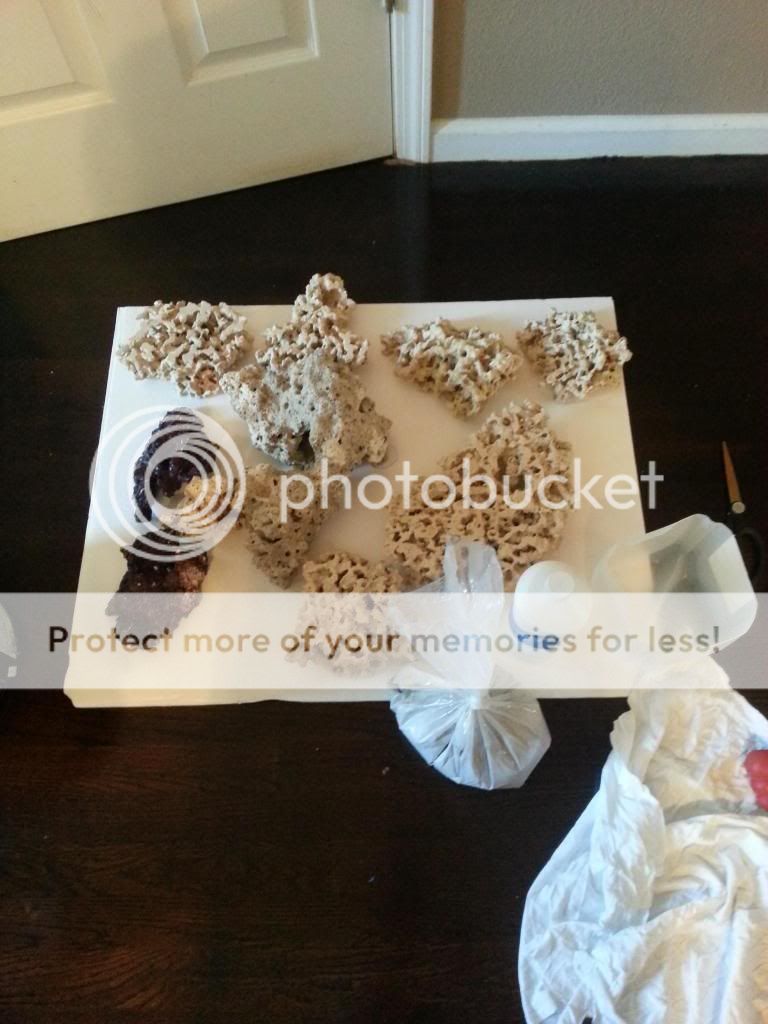
Its been awhile and a lot of progress has been made. Took out the rocks to use the emacco to create smaller pillars. Top of each pier are marcorocks key largo slabs.

Sump
<a href="http://s1297.photobucket.com/user/1Dragonvale/media/sump_zps6ab47aa1.jpg.html" target="_blank"><img src="http://i1297.photobucket.com/albums/ag21/1Dragonvale/sump_zps6ab47aa1.jpg" border="0" alt=" photo sump_zps6ab47aa1.jpg"/></a>
Tank full shot


Sump
<a href="http://s1297.photobucket.com/user/1Dragonvale/media/sump_zps6ab47aa1.jpg.html" target="_blank"><img src="http://i1297.photobucket.com/albums/ag21/1Dragonvale/sump_zps6ab47aa1.jpg" border="0" alt=" photo sump_zps6ab47aa1.jpg"/></a>
Tank full shot

WalrusKisses
Member
Its been awhile and a lot of progress has been made. Took out the rocks to use the emacco to create smaller pillars. Top of each pier are marcorocks key largo slabs.
Sump
<a href="http://s1297.photobucket.com/user/1Dragonvale/media/sump_zps6ab47aa1.jpg.html" target="_blank"><img src="http://i1297.photobucket.com/albums/ag21/1Dragonvale/sump_zps6ab47aa1.jpg" border="0" alt=" photo sump_zps6ab47aa1.jpg"/></a>
Tank full shot
Wooooow! Very nice setup. I can't wait to see all those frags grown out. What are you thinking for livestock?
Similar threads
- Replies
- 9
- Views
- 286
- Replies
- 4
- Views
- 1K
- Replies
- 0
- Views
- 200