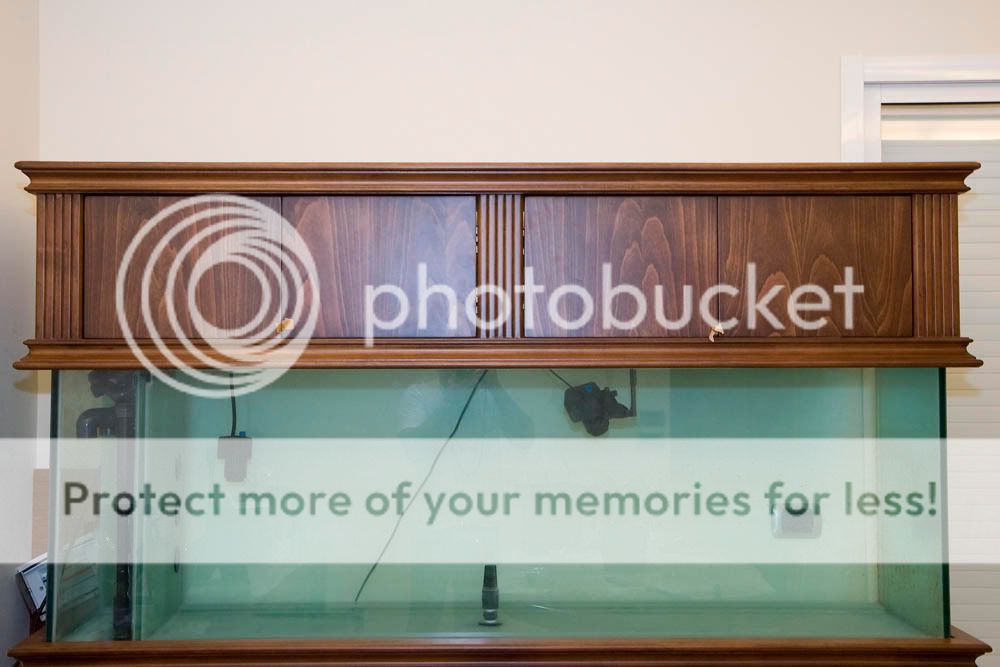
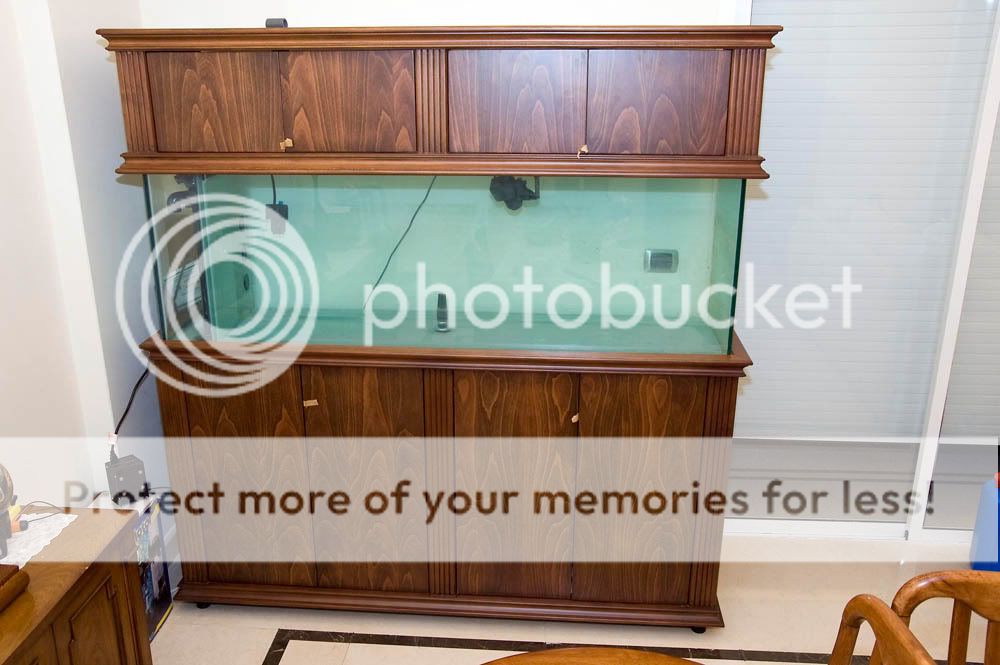
Maroun 150g Build Thread

i see. about the plumbing that is.

to be honest with you i didnt read much of anything in your thread :D all though one thing i did notice is that it looks like your drain plumbing is 3/4" pvc. why not 1 1/2", or at least something larger than 3/4"? maybe it is larger and im just too lazy to read it?

im sure that marc has cleared up any questions you had though, he's pretty good at that. i cant wait to see more progress!

one thing that i didnt know is that there are 2 different easters.... is the easter celebrated here in the U.S. the same as the easter celebrated in Lebanon, just on diffeent days?
 
Chrismunn,
My drains are 1 inch each and the return is 3/4 inch. didn't go for larger than this as the holes would not fit in the overflow. If you are setting up a tank or have plans to setup a tank in the future I would suggest you read it as it's very informative:mad: (now I do sound like one of my old teachers)


one thing that i didnt know is that there are 2 different easters.... is the easter celebrated here in the U.S. the same as the easter celebrated in Lebanon, just on diffeent days?

Easter is the same wherever they celebrate it in the world, It's the same thing for sure between Lebanon and USA, however the orthodox celebrate it on a different date than us catholics, it could happen on the same week sometimes or could be a week or few weeks apart. don't really know why that is. Also I don't know if you have more catholics or orthodox in USA. But here in Lebanon as there are many of both sects we get to have 2 vacations. which is something Students and employees are very happy about.:D
 
Well lots of advance but still no fish in the tank.
will post some pictures of what's been done on the tank as soon as I get them uploaded.
 
Ok Time for some Updates.
Plumbing:

Dursos were elevated as suggested by Melev to minimize water splashing sound.

DSC_8039.jpg


I cut slits in the threads of the tubing instead of making holes for air tubing. I will be regulating the airflow by turning the closed end in or out. I can always cut a second slit if more air is needed, or maybe drill holes in the T Junction as I saw somewhere. I’m just waiting to have the system running to be able to test the water drains for noise to know if this is a good solution or not.

DSC_8034.jpg


DSC_8035.jpg
[/IMG]

DSC_8036.jpg


Got me a second pump, this one is an ocean runner 3500

DSC_8262.jpg


Now I'm wondering which pump to use (the 3500 or the 2500 675 and 945 GPh respectively) as sump return and which one to use to supply my close loop and a spray bar that I'm making from one side of the tank to pump water selectively out of 5 nozzles for now on specific corals that like constant flow on them. the remaining water will go through a SCWD and alternate flow from two outputs on the right corners and two other ones from the Left corners. would 945 GPH be too much for sump circulation? also return from sump is cmoing through 1 3/4 inch would that cause too much unidirectional current in the tank? should I divide it to two 3/4 inch returns from two corners? Any input on this is appreciated. will post pictures of the return nozzles that I'm making.
 
Finally stand covers and canopy were finished and installed. I still need to have the backs made and installed to whish should be happening tomorrow.
This has delayed me a lot so far and unfortunately I still cannot proceed with my plumbing or electricity as they still need to drill for the placememnt of the Halides and my closed loop and plumbing will mostly come from above the tank so basically will be supported by the back of the canopy which shold be installed by tomorrow afternoon. Here are some pics at the workshop, during and post installation.

IMAGE_514.jpg


IMAGE_512.jpg


DSC_8014.jpg


DSC_8017.jpg


DSC_8019.jpg


DSC_8020.jpg


DSC_8025.jpg


Door stoppers on the frame:
DSC_8018.jpg


DSC_8015.jpg


Door supprt on stand cover:
DSC_8013.jpg
 
the access I get without removing the doors is much better than what I had on the 80 G:
DSC_8255.jpg


Support on the tank:
DSC_8258.jpg


DSC_8259.jpg


I used these hinges which detach by clicking on shown lever so I can take out each door by simply unlocking the hinge, this allows me to work better on the sides of the tank and the overflow and pump partition without having the door in my face.

DSC_8026.jpg


DSC_8027.jpg


I decided to go with a 250 20k MH in addition to the 14k 150 w that I now have still I have to wait for the fixture for 2-3 weeks. I will have the 150s installed tomorrow (left and middle of the tank) then when I get the 250 I will shift one 150 to the right of the tank and install the 250 in the middle. I decided to have the fixtures go through the top of the canopy to avoid loosing space in the canopy, my lights will be 12-13 inches high from the water, but as I said this will allow me to have more room to work with the tank, cause less risk of anything falling in the water, and create less heat in the canopy as part of the heat will go direclty out. do you think I'm losing too much light by having the halides this high? if so please inform me before I have them driled tomorrow.
also As I'm not having a chiller for now I got 3 larger fans and 5 bigger ones.

DSC_8260.jpg


the 3 big ones with 3 small will go in the canopy and two small ones will go on the stand from the back as i might have a 75w Halide over my frag tank which is in the stand too. I'm still wondering on how many fans should push/pull air so your advice on this is also needed.
 
That woodwork came out beautifully. I love how it looks like one piece and that it fit so perfectly.
 
Thanks Kar
I wanted a lighter tint as the Birch Natural colour which is much lighter than this was very nice, however I had to match it with the living room colours. Can't say I didin't like it though.
 
Yes, very nice setup. Jealous I am now :-D

Thanks Kingpo.
Just rechecked your cube built and you have nothing to be jaleous about:D Looking great on your tank too however your not updating your thread much lately?
 
Last edited:
That woodwork came out beautifully. I love how it looks like one piece and that it fit so perfectly.

Thanks Melev. I'm lucky I didn't run with any problems with the woodwork like all other things in this tank. Well except huge delays and cost but that's acceptable:)
I was amazed when they placed it over the tank how it just went down snuggly on it.
Concerning my circulation questions do you think I should incraese my return from the sump to the tankfrom 675 to 950 GPH as I got a bigger pump?
Or should I use the bigger one to supply the closed loop and tank circulation shouls 2 1 inch drains handle 950 GPH ( A bit less because of head losss) without noise or microbubbles or is the smaller one a safer bet?
Thanks for any info
 
Whooo hoooo
Lots of great info on this thread and very good looking tank.
Wood work is just perfect. Just take out those plasters from the doors.
Great progress. Can't wait to see it finished.
 
Skypapa

Thanks, Should be finishing wood work by today or tomorrow ,then 1-2 days to work on the electrical setup and I should start transferring things from my 80 and adding some corals and more fish to make it look a bit more active as soon as I know that tank parameters are stable.
 
joeee,
Thanks for your compliments.
Those "plasters" should be going out this afternoon:D
I placed them becasue it was very hard to open the doors without them. I already have the doorhandles which should be installed this afternoon.
 
Last pics of the 80 G before braking it down:

DSC_8158.jpg


This refugium was added after the tank was set and there was no stand to put it in so I made a 3 partition tank ( Skimmer and caulerpainback parition, refugium in middle and a front visible partition that I used as species or grow up tank)
I never finsihed the woodwork on the tank or refugium to hid the ugly tubing which gave the setup a very ugly look which i'm trying to avoid in this new tank, and this is why I'm aiming for no equipment visible in the tank at all
DSC_8161.jpg


Couple of tank shots:

DSC_8171.jpg


DSC_8180.jpg


DSC_8226.jpg
 
Taking it down.

Drained the tank water in a 160 Ltr barrel and few gallons, trying not to stirr the DSB at all.
DSC_8230.jpg


DSC_8232.jpg


Then I too all corals out and placed them in a qtank I recently assembled and which is still not used. and insome buckets with small powerheads in each container.
DSC_8233.jpg


when everything was out I took all the sand,

DSC_8234.jpg


DSC_8235.jpg


I was surprised with the amount of detritus trapped in my DSB and lack of worms and other sand sifting creatures that I used to see very frequently during night checks. Guess the reason for that is that while I was away for the last 2-3 years the tank was fed very conservtively and the DSB was not fed at night at all so I guess this brought down the worm population I used to have. Still the sand was soft excpet for the thin layer on the glas which was a bit harder but still not rock solid.
I intended to rinse it 3-4 times with Tap water however seeing the mount of dstritus in it and the colour of the water at the 10th rinse this went on for much longer than planned.

DSC_8237.jpg


This picture was taken after 6-7 rinses and yuo can still see the colour in it.
Worst part was when I squezed the sponge that Iw as using to take out the last bit of water that could not be siphoned with my bare hand. I had bristles from worms I guess or maybe from urchins that had died inthe tank go into my hand and it took me 30 minutes to take them out by a scotch tape and tweezers. my whole hand was itching like hell.
Only if Coral sand was not so expensive here( 80 usd for 20 KG and that's dried coral sand) I would have tossed it all out and went for nes sand.
In the end after 3-4 days of rinsing extensively, boiling and putting it to dry in the sun then some final 3-4 rinses I was left with 40 KG of clean sand, so I had to buy 40 more to get a bit less than 4 inches sand bed in the 150G. I'm waiting for a new batch of Caribsea Live aragonite sand to arrive (aroun end of the month) to top the non covered sand in teh new tank and to make the Remote DSB in the sump. I will have a 5-6 inch DSB in my frag tank but I'm still wondering if I should have a DSB in my refugium (considering Miracle Mud topped with Caribsea live sand)?
I also saw some fine sugar sized white sand from caribsea that is intended for freshwater tanks. I previously asked about it and got mixed answers from people that used it with no il effect and others that warned about possible problems such as feeding alga in the tank? Any further input would be great.
 
Back
Top