CRJ
Member
OK. Ive been one way, then another. I've changed my mind a couple dozen times, I've made following my build beyond hard. I even have a build thread when I was building a rimless BioCube 29 at the foot of my bed. Well, I can honestly say that what I started with and where I'm headed are two VERY different paths, I've doubled my original water volume, tripled my budget, and am throwing all the effort I can into what I will call my Masterpiece.
This is, my 60 Gallon Shallow Reef Build.
I fell in love with the rimless look the day I first saw a 500G in London Ontario. I knew from that second, i had to have one as it was VERY open to the underwater world, it felt like it was practically spilling over. It seems so inviting, and modern that i knew it was what i needed. I started like anybody does, surfing the forums, asking LOADS of questions, and trying to find what i was I had in my head. I wanted a BIG tank, low and long with TONS of fish i knew i couldn't have, in a space i didn't have available. My first step was making my BioCube 14 an open top, adding a great pump system and the best light i could find. I ended up with EcoTech's MP10w and a Radion Gen1.
I submitted probably a good 8 or so designs to different shops, had quotes all over the map, but for the size i couldn't justify it! I ended up buying a 24x24x14H rimless Neo Nano online, well used and brought it home. it wasnt long before i noticed how damaged it was, and how disapointed i knew id be looking at that every day. I built my own stand for the tank, had everything ready to make the switch, and at the last minutes, I sold it and im so very glad i did. I broke even in the deal, got out of it, and gained some equipment that im planning to bring to my new tank.
Eventually in an email, I was told of a size i could get at a great price, one that i could afford, I could JUST justify, and that fit the space i had. So this thread began. I placed the order for my new display last week, Now have all the details and am in the process of getting everything ready!
Have I bored you yet? OK enough of the story, on to the pictures and the build, that i know everybody loves to gawk at!
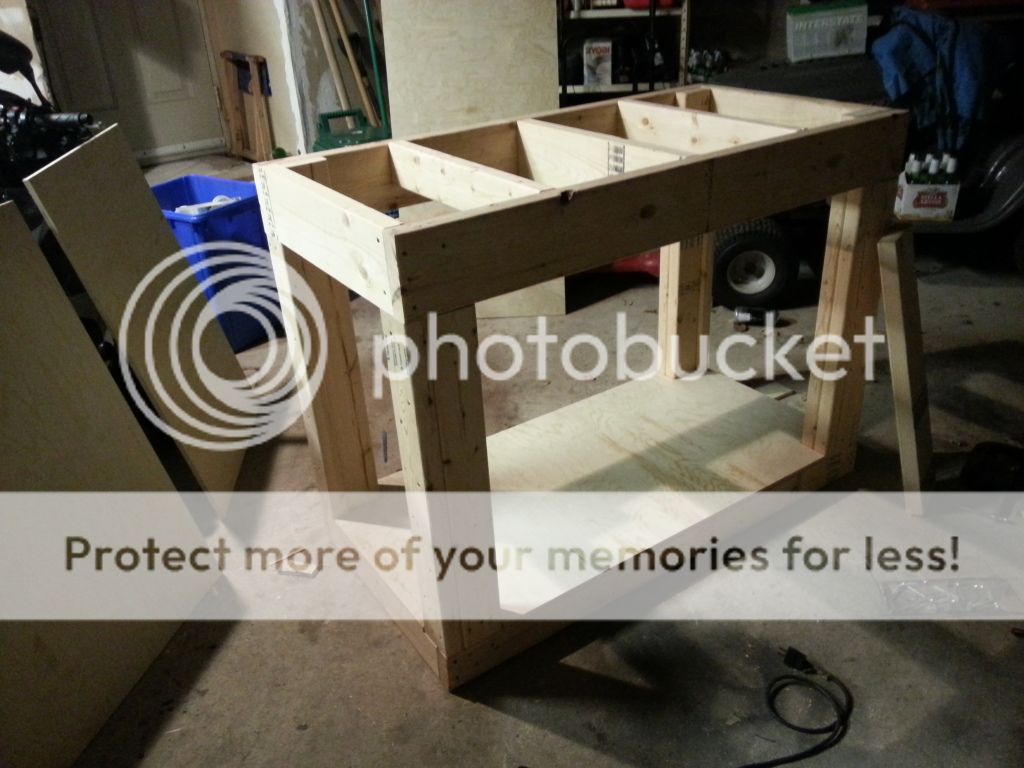
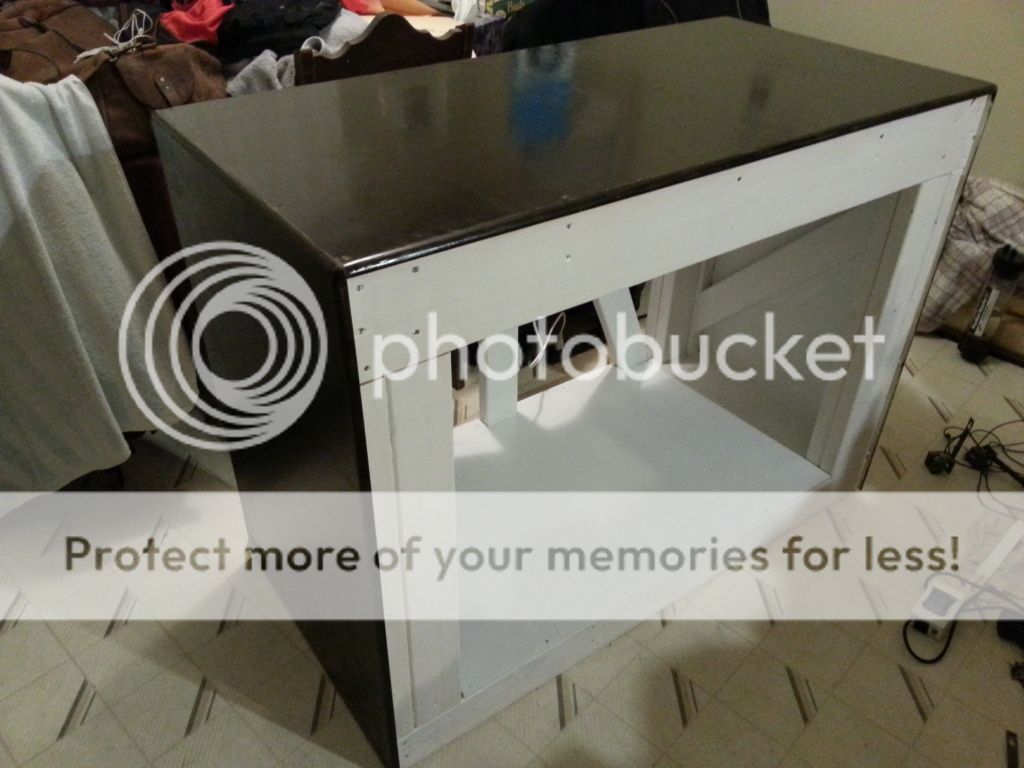
First, my Stand. The stand cost me roughly $140 after all material and supplies, was made from 2x4, 2x6 and lots of hard work. The stand is stained and sealed, inside and out. I'm told it would hold a 150 Gallon, but i don't plan on testing that theory.
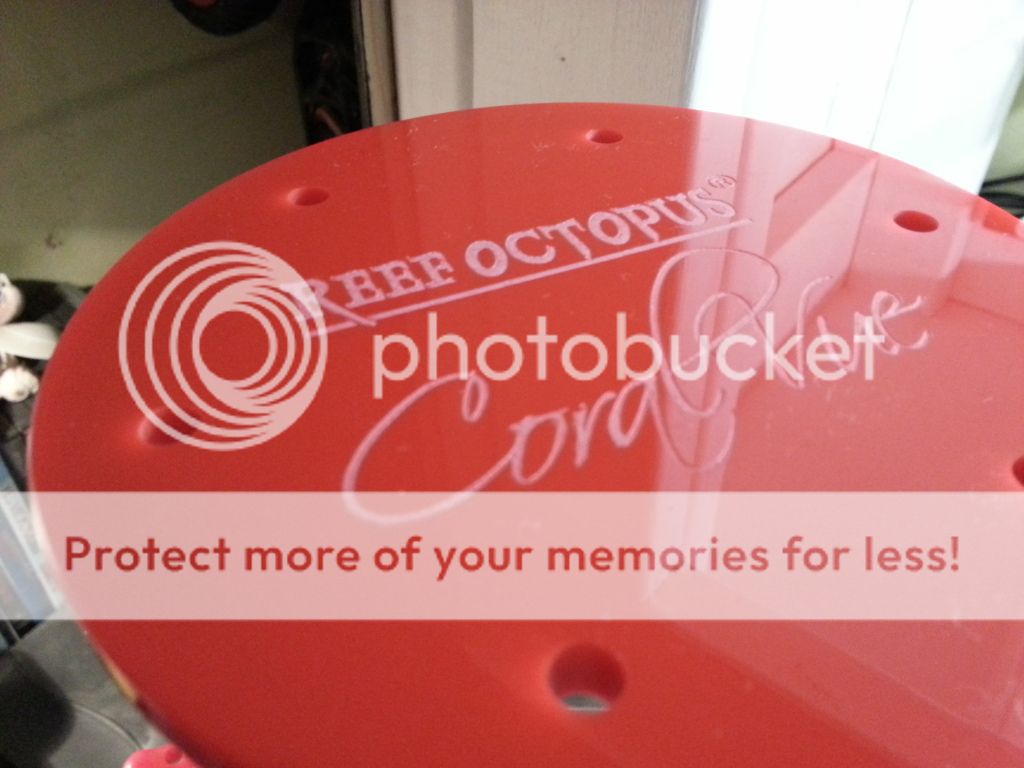
Now for my equipment. I will be running a brand new Reef octopus 110 NWB Skimmer, a JBJ Auto Top Off, a Eheim Return, Ecotech Radion and MP series pumps, and possibly a Apex system. There are lots of smaller things, but the list is too large to list at once.

Finally, the tank. It is a beautiful 36"x24"x16"H Rimless tank by Miracles in Orangeville. The tank has 1/2" glass all around, a 1" drain, 3/4" return, Black silicone and polished edges. Starphire face, but normal on all other panels. Here's the only details i have right now. The tank as of Dec 13th, is 6 weeks away. I have attached a PDF of the tank drawings from Miracles.
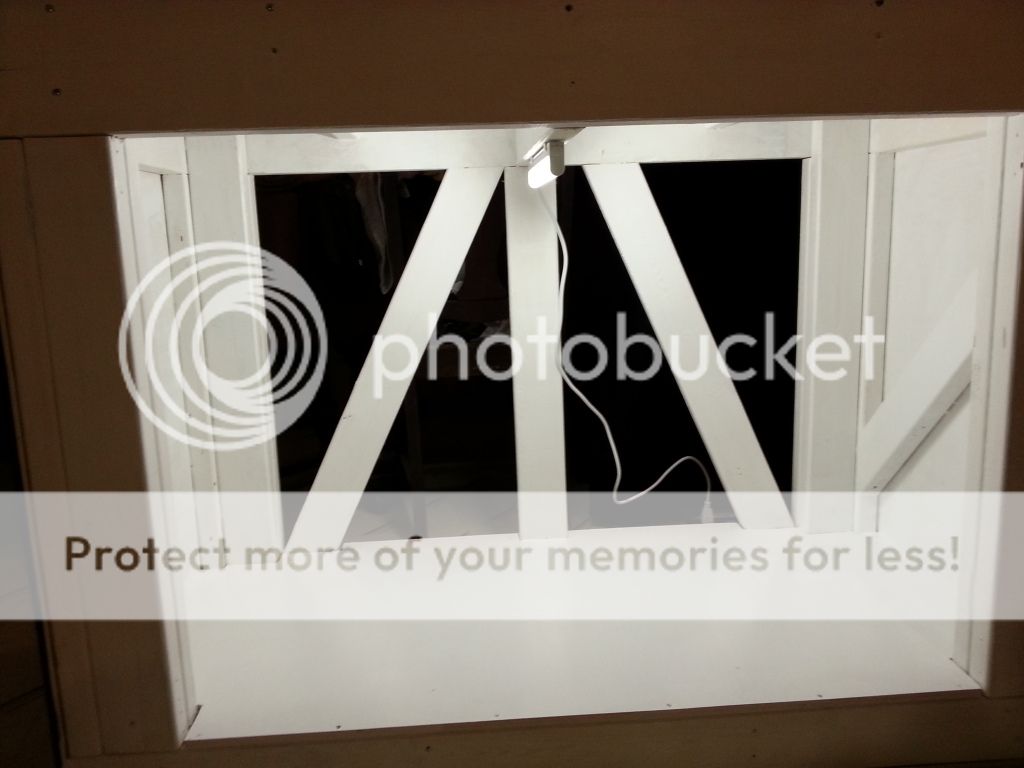
The sump is still in progress, the stand needs a few supports added as I built it for a 24x24 tank, not 36" long, and then its just organizing everything as best as i can to reduce frustration and clutter! my entire bedroom is being moved downstairs along with the tank, to reduce the chance of overloading my tiny current room. Im pretty good about updates, and will do what i can to keep everybody in the loop. This tank will be a very clean look, possibly a two island design with a mixed reef look. I have a design in my head, it will be easier to show then explain it.
Nate
This is, my 60 Gallon Shallow Reef Build.
I fell in love with the rimless look the day I first saw a 500G in London Ontario. I knew from that second, i had to have one as it was VERY open to the underwater world, it felt like it was practically spilling over. It seems so inviting, and modern that i knew it was what i needed. I started like anybody does, surfing the forums, asking LOADS of questions, and trying to find what i was I had in my head. I wanted a BIG tank, low and long with TONS of fish i knew i couldn't have, in a space i didn't have available. My first step was making my BioCube 14 an open top, adding a great pump system and the best light i could find. I ended up with EcoTech's MP10w and a Radion Gen1.
I submitted probably a good 8 or so designs to different shops, had quotes all over the map, but for the size i couldn't justify it! I ended up buying a 24x24x14H rimless Neo Nano online, well used and brought it home. it wasnt long before i noticed how damaged it was, and how disapointed i knew id be looking at that every day. I built my own stand for the tank, had everything ready to make the switch, and at the last minutes, I sold it and im so very glad i did. I broke even in the deal, got out of it, and gained some equipment that im planning to bring to my new tank.
Eventually in an email, I was told of a size i could get at a great price, one that i could afford, I could JUST justify, and that fit the space i had. So this thread began. I placed the order for my new display last week, Now have all the details and am in the process of getting everything ready!
Have I bored you yet? OK enough of the story, on to the pictures and the build, that i know everybody loves to gawk at!
First, my Stand. The stand cost me roughly $140 after all material and supplies, was made from 2x4, 2x6 and lots of hard work. The stand is stained and sealed, inside and out. I'm told it would hold a 150 Gallon, but i don't plan on testing that theory.
Now for my equipment. I will be running a brand new Reef octopus 110 NWB Skimmer, a JBJ Auto Top Off, a Eheim Return, Ecotech Radion and MP series pumps, and possibly a Apex system. There are lots of smaller things, but the list is too large to list at once.
Finally, the tank. It is a beautiful 36"x24"x16"H Rimless tank by Miracles in Orangeville. The tank has 1/2" glass all around, a 1" drain, 3/4" return, Black silicone and polished edges. Starphire face, but normal on all other panels. Here's the only details i have right now. The tank as of Dec 13th, is 6 weeks away. I have attached a PDF of the tank drawings from Miracles.
The sump is still in progress, the stand needs a few supports added as I built it for a 24x24 tank, not 36" long, and then its just organizing everything as best as i can to reduce frustration and clutter! my entire bedroom is being moved downstairs along with the tank, to reduce the chance of overloading my tiny current room. Im pretty good about updates, and will do what i can to keep everybody in the loop. This tank will be a very clean look, possibly a two island design with a mixed reef look. I have a design in my head, it will be easier to show then explain it.
Nate


 They decided to cut down their sales team, and I being the youngest, got the boot. I then revised my resume, got cleaned up and headed to Ford where i applied and on saturday got the job as Sales and Leasing Rep and Internet design/upkeep. I start Tuesday!


")