oranngetang
New member
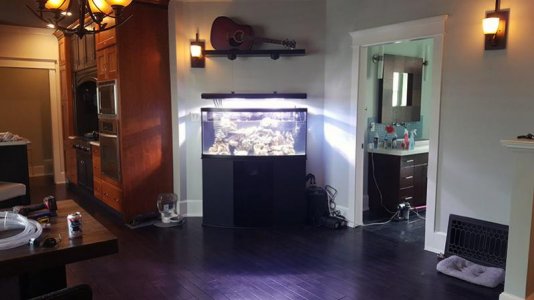
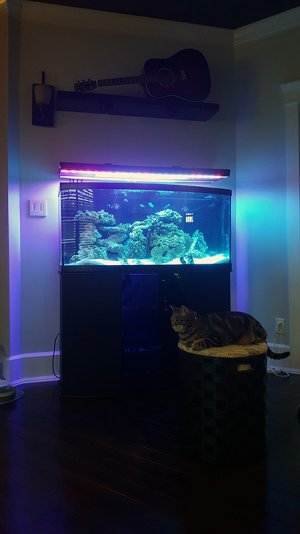
This will be my log of converting an existing 72 G freshwater bow-front to saltwater. I've recently taken a well established 29G Biocube off of a friend's hands and it sparked or at least renewed an interest in keeping saltwater fish. Please feel free to comment or critique anything along the way. This is new to me hobby, and while I feel I've put a fair bit of thought into some of what I'm doing, a lot of it may be firing from the hip. I'll start with a bit of a write up and add photos when I'm able.
The Tank
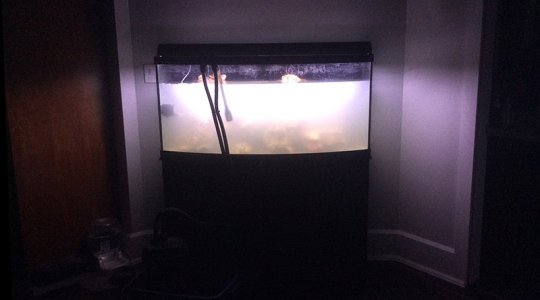
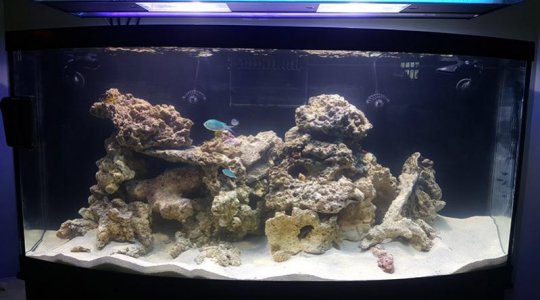
A 72 gallon bow-front and stand that I purchased new from Petsmart several years ago for around $300 CAD. It's served me well to keep a variety of freshwater fish, mainly Malawi Cichlids over the years, with a Fluval 404 and 203 canister filter, single 50 W T8 and 300 W heater.
The stand has a cutout, and is the same stand Oceanic was selling with their saltwater-ready 72 and 92 gallon bow-fronts. That said, Aqueon was already selling these for them, and there was no drilled overflow holes, proper canopy nor is one available.
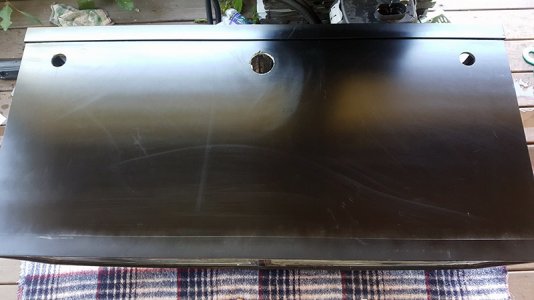
I attempted to create a canopy by using a flush-cut router bit to trace out the curve in the tank. The result was a lot of frustration, wasted wood product, and a seized bearing that cooked the trim on my aquarium. I used some body-filler, sand paper and Krylon paint to restore it to somewhat presentable shape, but not before scratching the crap out of the previously-perfect glass... Oh well, lesson learned I guessed. I decided at this point to also paint the back pane of glass black.
Needing to add an overflow, I initially considered having a bottom drilled design, however reading some information on the Oceanic website, they state that ALL of their aquariums have a tempered base. To me, this pretty well meant I had to run some for of rear mount overflow, of either a hang-on U-tube or drilled internal style overflow box using bulkhead(s).
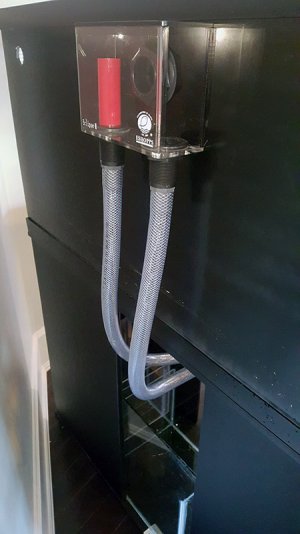
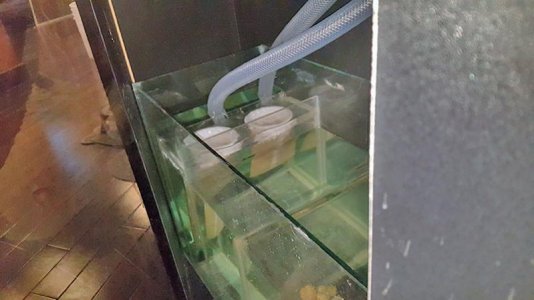
I feel I somewhat 'settled' on an Eshopps Eclipse overflow, size medium. It utilizes a single 1.5" bulkhead, with 2 x 1" bulkheads feeding to the sump. Alternatively, I would have run a 3 x bulkhead drain for a Bean overflow, such as the Synergy Reef or Elite Aquatics but could not justify the extra expense on my first saltwater aquarium. Also, since I'd be drilling the tank myself, the Eshopps overflow included the diamond hole-saw bit and left less room for error. It was also in stock at JL Aquatics for about $160 CAD, which was the lowest price I could find for it.
Using 'settled' as a description of the Eshopps product might lead you to believe it's not a great product, though the opposite is true. I am quite happy with the overflow. It takes some fine tuning to be quiet, and the red safety pipe sits a little high for comfort. I feel for ~$160 CAD it could have come with a stainer to help kill the whirlpool noise, or incorporate a baffle to prevent this. Unless I pinch in the overflow hose enough to raise the level so it constantly trickles down the emergency overflow, it will funnel and suck air. The template, bit and hardware made it easy and quick to install. For whatever reason the instructions asked to double stack the gaskets. Upon installation, I found having a gasket on either side of the glass provided a better seal, than stacking the gaskets on one side, as directed.
I used glue-in barb fittings to run 1" ID reinforced vinyl tubing to from the overflow reservoir to the sump inlet compartment. The main overflow line has a 1" ball valve on it, the emergency line is straight through. There is no 'holder' for the hoses, so I cut a 'mule's shoe" into the bottom of the hoses so that it wasn't able to push against the glass and completely close itself off.
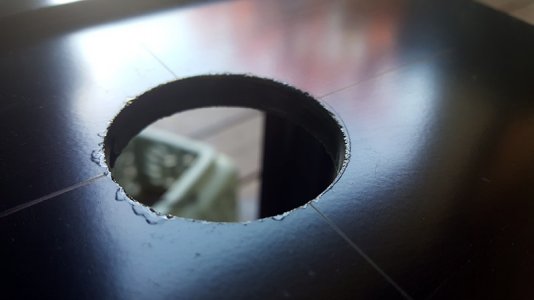
Eager to get the rest of the aquarium prepped for the equipment I had ordered, I looked up the typical drill size for a 3/4" ABS bulkhead and found that whatever I ended up drilling, was larger than ideal. Off-hand, I think may have forgotten I was using 3/4" return lines and used a 45 mm bit for the holes, when a 38 mm was probably closer to what I should have used.
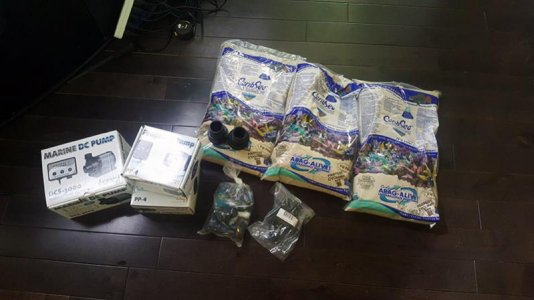
Either way, they DO seal. I'll order up some heavy-duty 3/4" bulkheads in the future to see if I can sneak them into the holes I drilled, for a more long-term, leak-free solution. As is, there have been NO leaks. I placed a single 3/4" return bulkhead about 4" from the top and 4" from the side of the tank in both corners of the rear glass. The tank side is a threaded end, which I used to thread in a 3/4" Loc-line adapter with a 6" flexible nozzle on either side. On the sump side, I glued in a 90 slip to barb fitting, and ran 3/4" ID reinforced clean vinyl tubing. No, I didn't run a check valve, or valve of any other kind on the return lines. They simply tee together ~16" from the return pump and feed from a single 3/4" barb fitting off of the pump.
The Sump
I bought a beat up ~30 gallon plastic trimmed aquarium from a person on kijiji for $40 CAD. She kept snakes in the tank, and the trim was cracked and chewed up. I removed all of the trim, took a straight razor to all of the exterior silicone and gave it a good cleaning. Fearing the worst, I re-sealed all internal seams.
My plan was to use glass for baffles, but oddly found myself doing this on a long weekend and no glass shops were open. I settled on using acrylic sheeting, knowing I'd likely eventually have some separation issues if I chose to use a standard silicone to hold them in place. After watching several online videos of what works to glue silicone, I found an interesting demonstration showing a GE product that seemed to bond to acrylic extremely well. 6 hours of shopping around later I found that this product (GE-55), simply is not sold in Canada... I picked up a tube of generic GE silicone I, containing no mold or mildew killers and went to work.
The first compartment is 14" tall and acts only as a compartment for the two overflow hoses to spill into. This weir holds the hoses out of the way, and acts as a support for what will be my filter sock mount. the second weir is also 14", but is raised off the bottom 2 DVD cases high, which allows filter-sock water to run under and into what will be my protein skimmer compartment. This first compartment allows a lot of the bubbles from the overflow to surface before hitting the filter socks.
I used two 4" Red Sea 225 micron filter socks, that fit snuggly in piece of acryclic with two 3.5" holes cut in it. I bought four so I could switch them out between cleanings.
The protein skimmer compartment is designed to fit a Reef Octopus 110SS, with a 12" weir to allow for perhaps something else. This weir basically sets my 'fuge' height, so I left it at 12" and will build a stool for the skimmer to sit on if I can ever afford to buy one, since it will likely need around 7" of depth.
The fuge section is the bulk of the sump, with only a small 3-weir over-under-over bubble trap separating it from the return pump reservoir. I took several photos along the way of painting, damaging, building the tank and sump, but they seem to have disappeared from my phone.
Attachments
Last edited:

