RocketEngineer
Space is big.
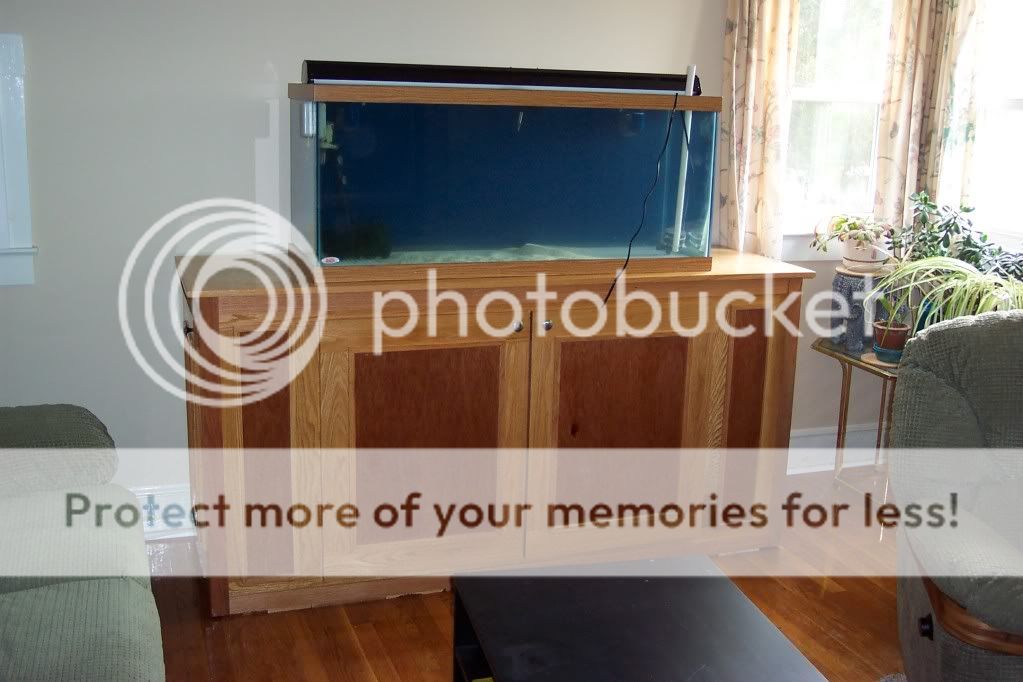
Well, since I finally have water in my 75g setup I figure I would start a thread to show it off.
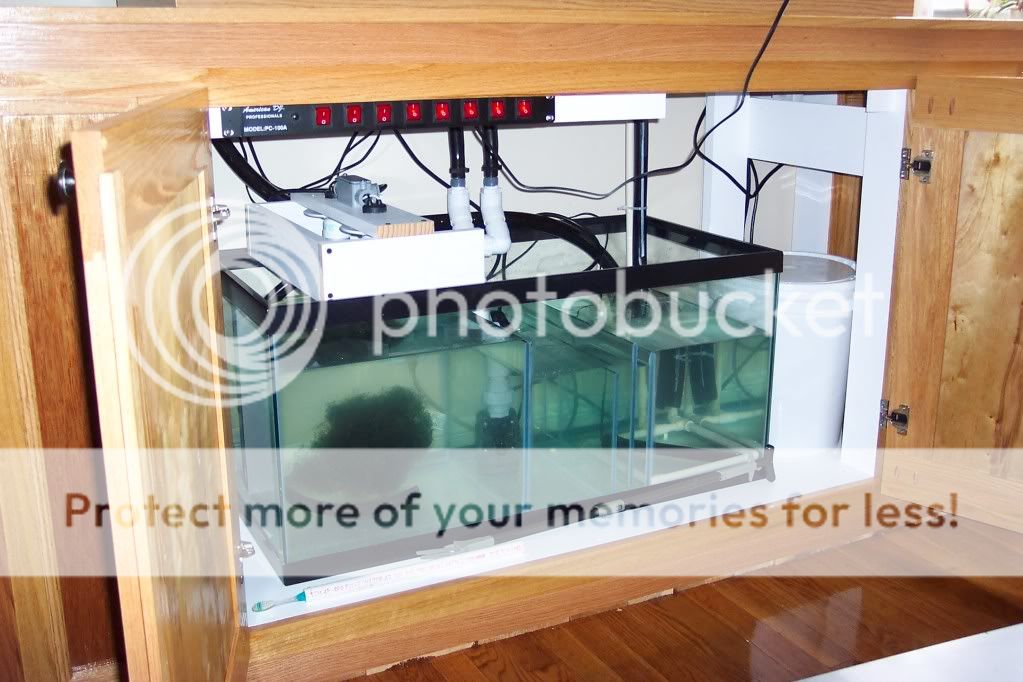
History: I got into the hobby after I bought my first home. I already had a 30g tank which I have had setup for about 2.5 years now. I made a DIY overflow with a simple sump with HOB skimmer on one end, a ball of cheato in the middle and the return pump at the other end. A DIY topoff rounded out the setup. From that system, I have learned a few important things:
1) GO SLOW. Rushing causes more problems then it solves
2) Drill if possible: I have had two minor floods and will always drill my tanks in the future.
3) Regular Maintanence: Its amazing how fast algae cuts down on flow from a powerhead or how much gunk you can remove with just a single water change.
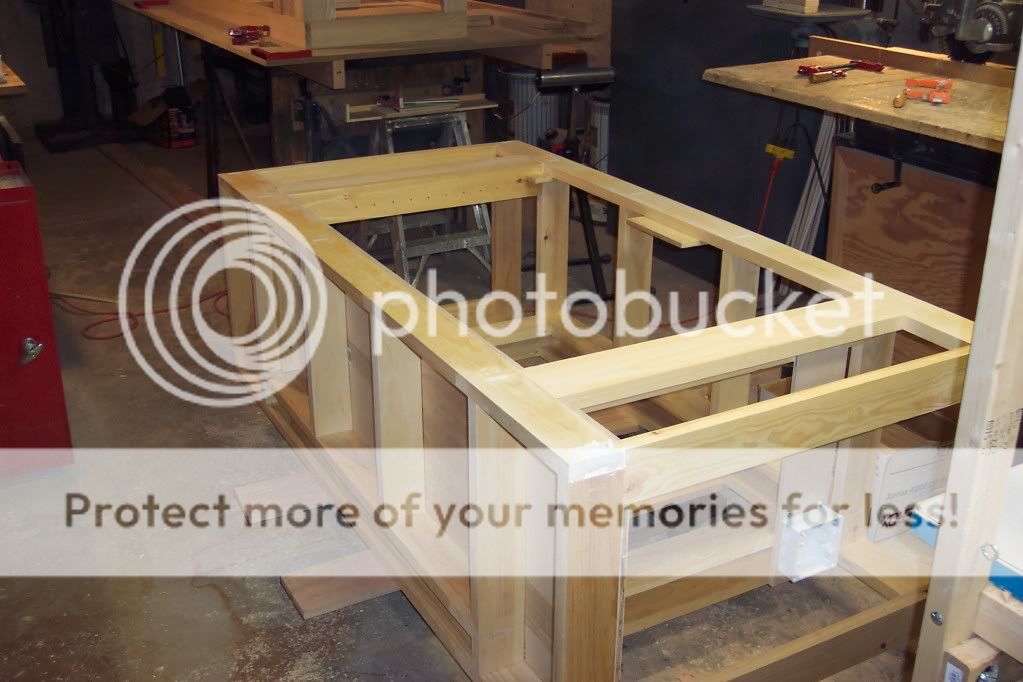
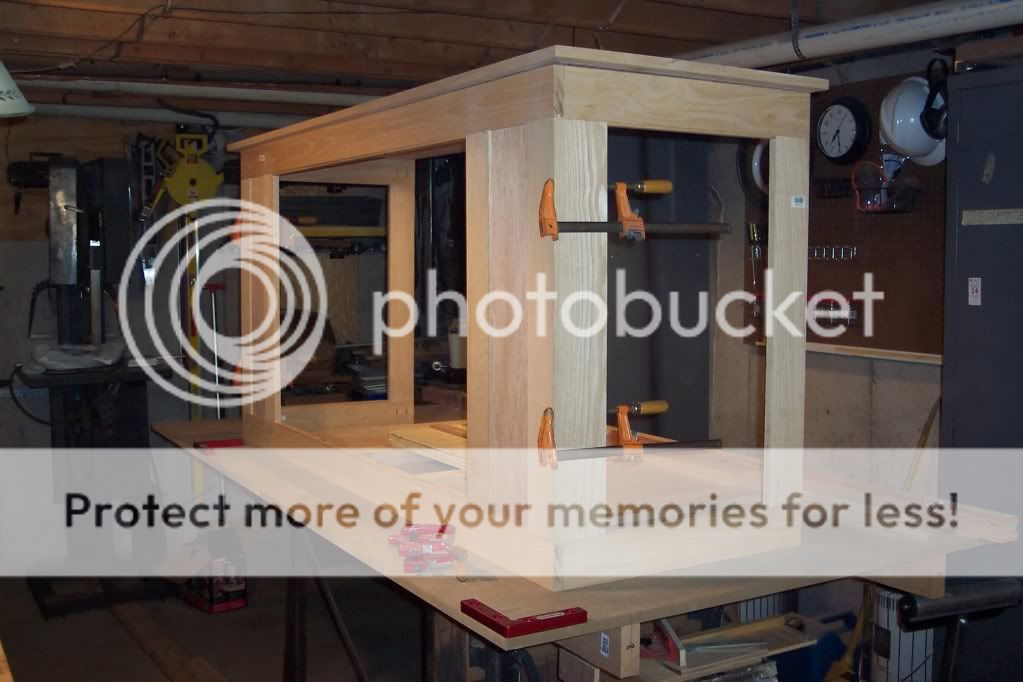
While working on the house, I started designing my upgrade. I owned a 75g which I took down when I moved and decided to build a new stand and drill for an overflow. After alot of planning and numerous changes I finally started
the week of Thanksgiving '09 by purchasing the wood for the stand and cutting the pieces. Since then, my father and I have been systematically putting the stand together and finishing the pieces.
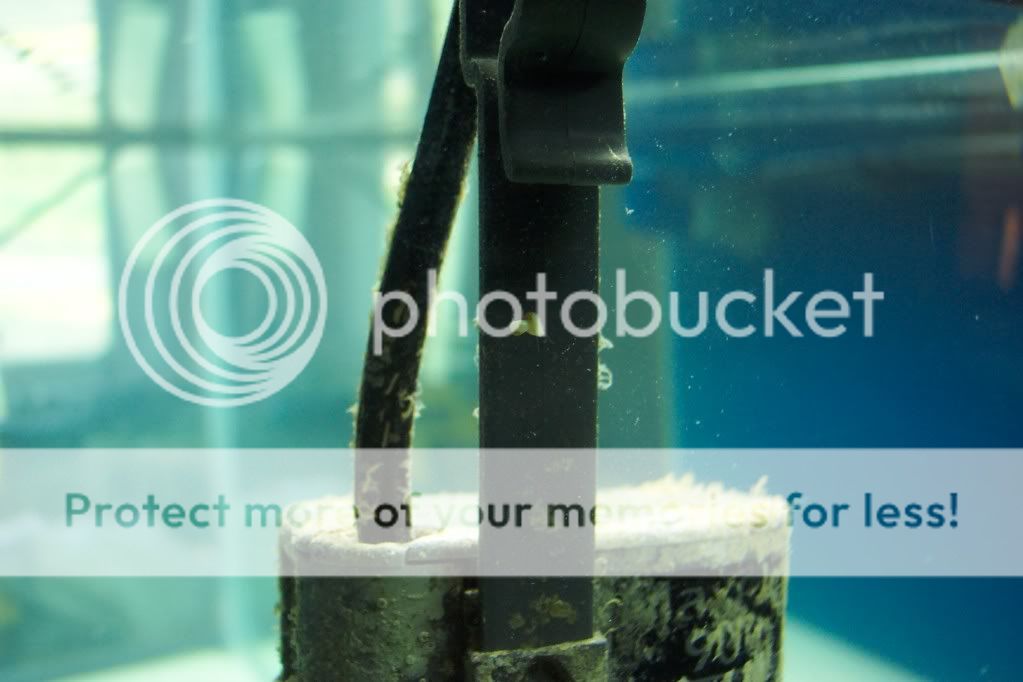
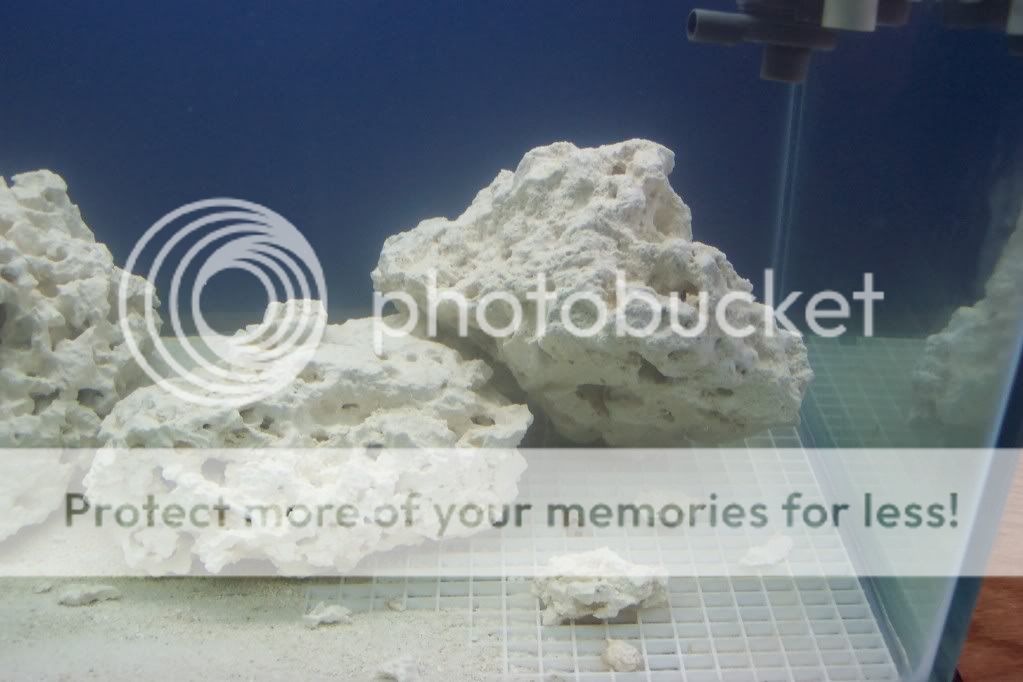
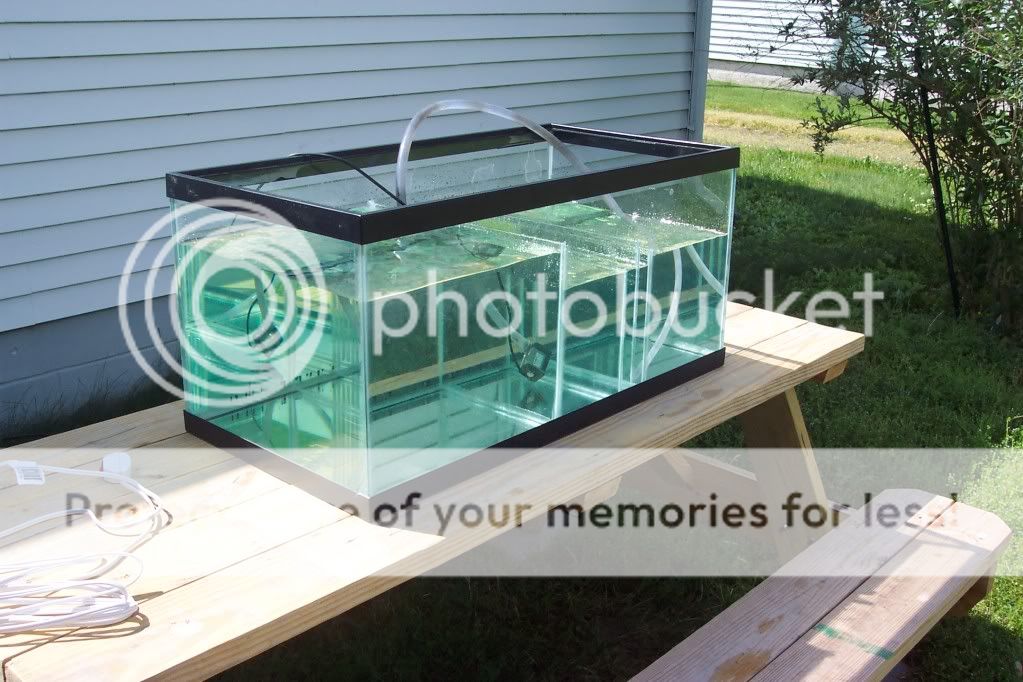
The tank was drilled this spring for a cut pipe overflow and once the pieces were fitted, they were painted royal blue. The back of the tank got two coats of paint, the first was royal blue followed by a back coat of black. The result is that with the lights on the overflow blends into the background.
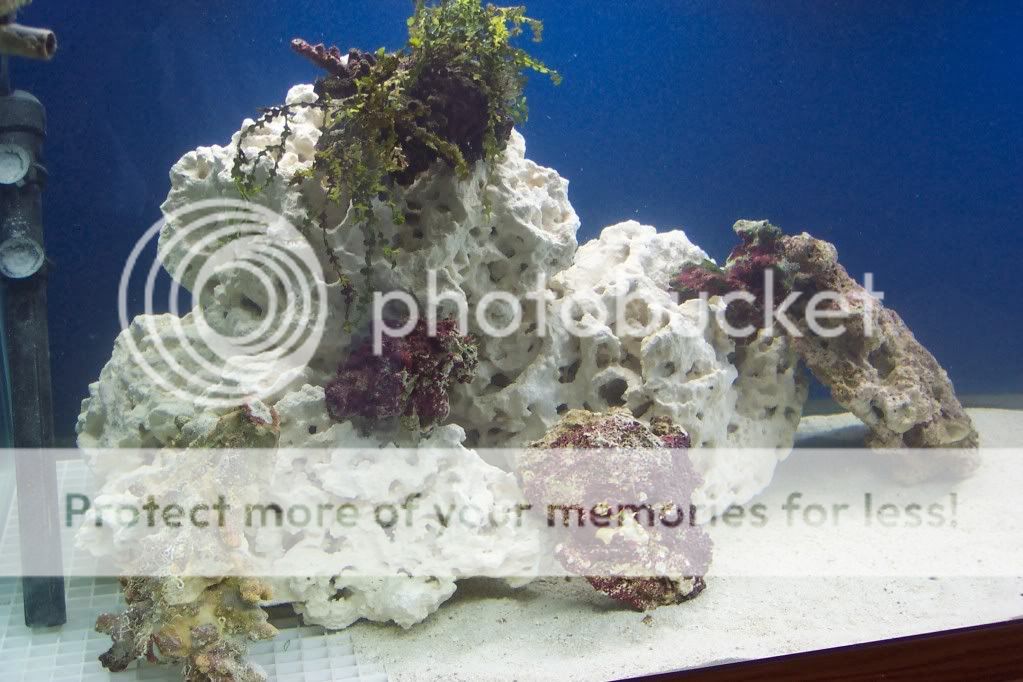
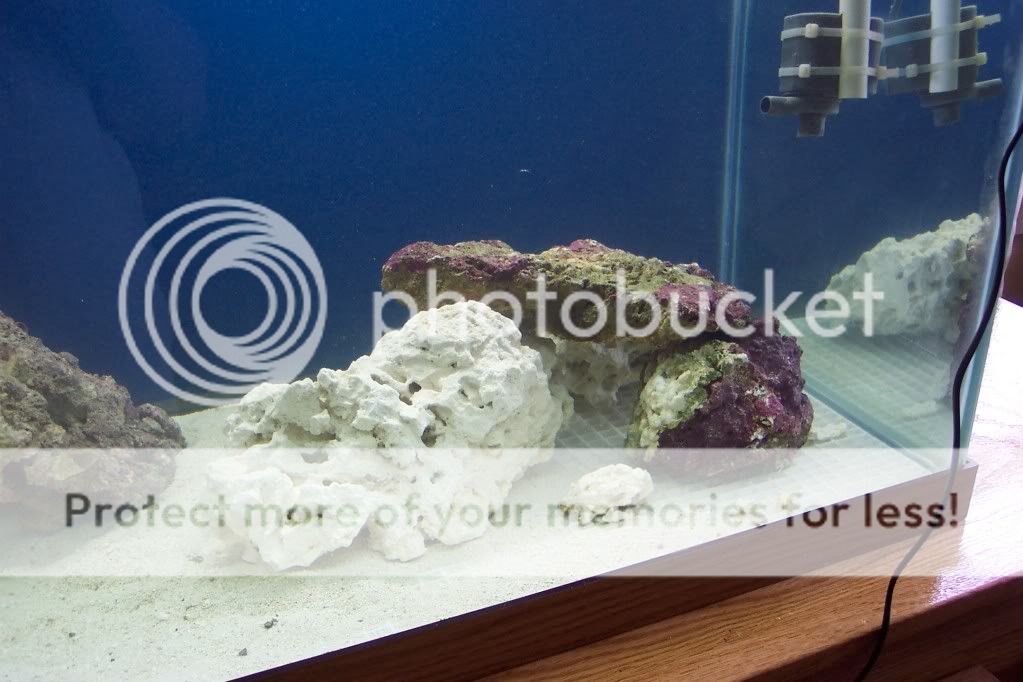
Now, for what folks always want PICTURES!
Stand Construction:
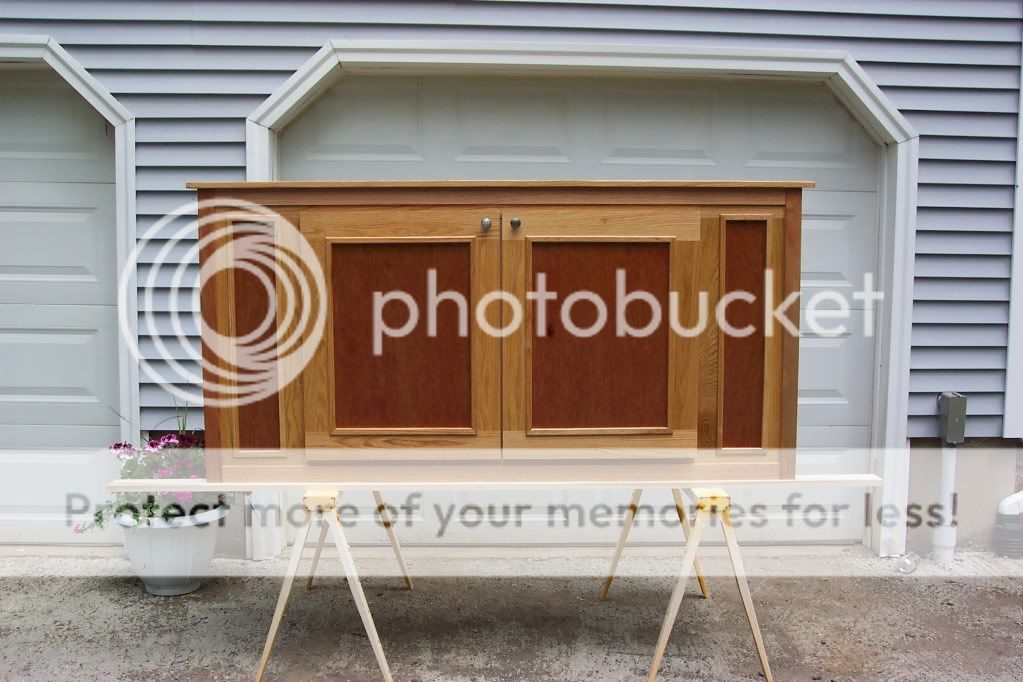
Oak Face Mockup:
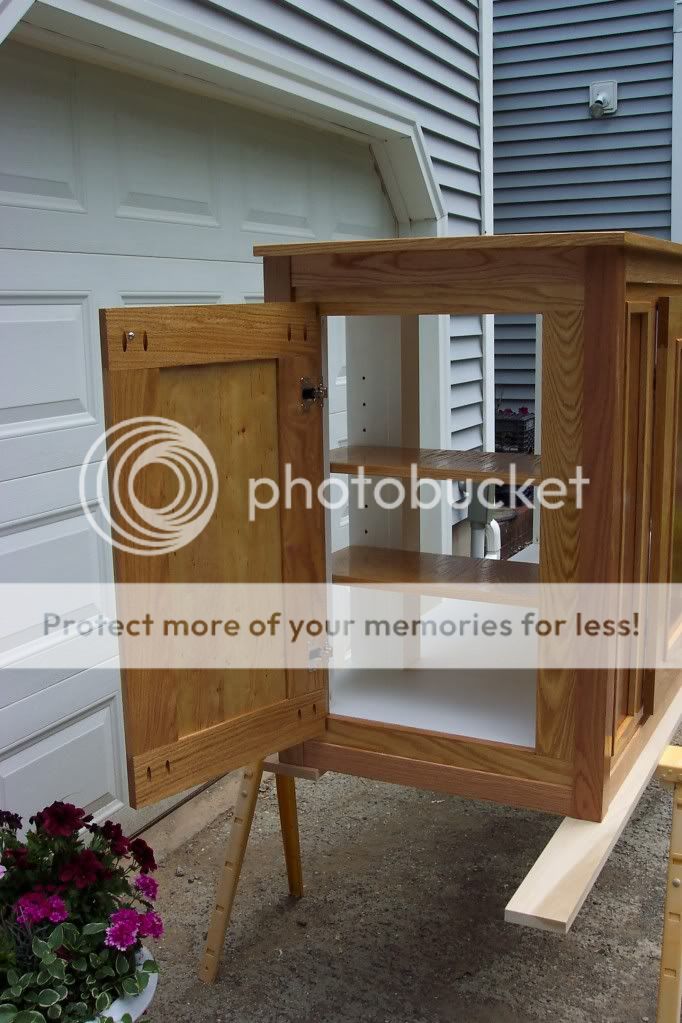
Doors and Shelves

Assembled:
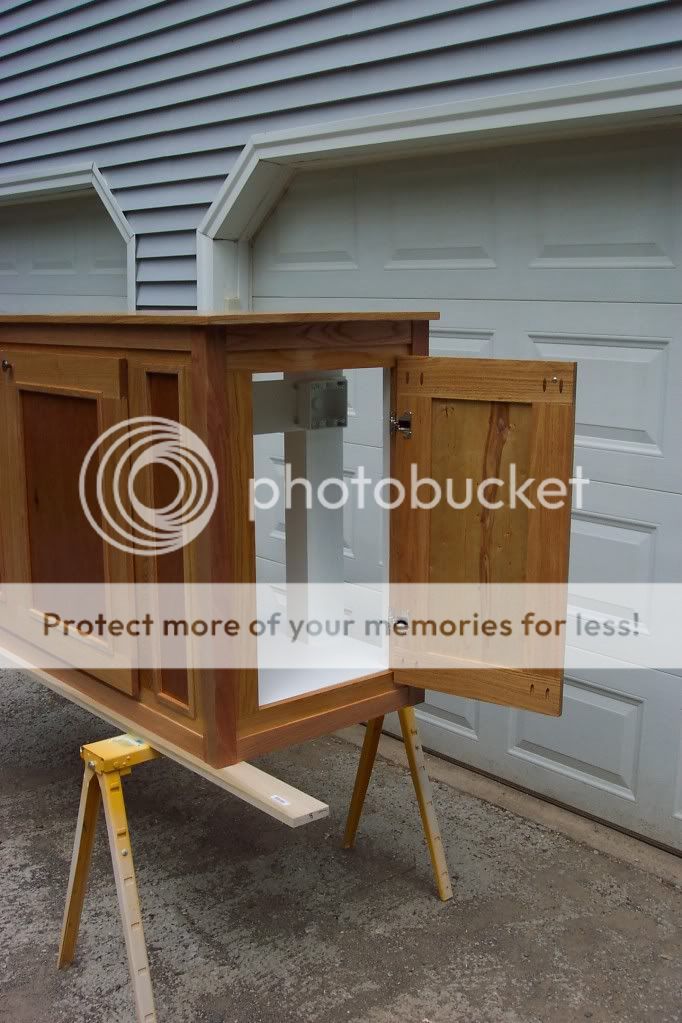
Right Side:
Left Side:
History: I got into the hobby after I bought my first home. I already had a 30g tank which I have had setup for about 2.5 years now. I made a DIY overflow with a simple sump with HOB skimmer on one end, a ball of cheato in the middle and the return pump at the other end. A DIY topoff rounded out the setup. From that system, I have learned a few important things:
1) GO SLOW. Rushing causes more problems then it solves
2) Drill if possible: I have had two minor floods and will always drill my tanks in the future.
3) Regular Maintanence: Its amazing how fast algae cuts down on flow from a powerhead or how much gunk you can remove with just a single water change.
While working on the house, I started designing my upgrade. I owned a 75g which I took down when I moved and decided to build a new stand and drill for an overflow. After alot of planning and numerous changes I finally started
the week of Thanksgiving '09 by purchasing the wood for the stand and cutting the pieces. Since then, my father and I have been systematically putting the stand together and finishing the pieces.
The tank was drilled this spring for a cut pipe overflow and once the pieces were fitted, they were painted royal blue. The back of the tank got two coats of paint, the first was royal blue followed by a back coat of black. The result is that with the lights on the overflow blends into the background.
Now, for what folks always want PICTURES!
Stand Construction:
Oak Face Mockup:
Doors and Shelves
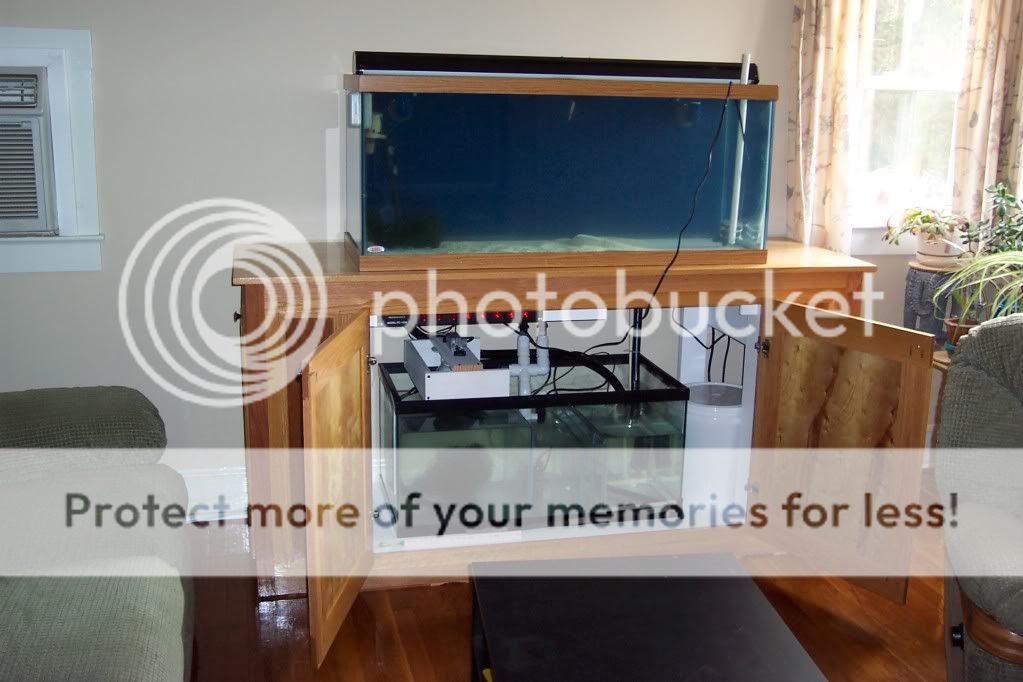
Assembled:
Right Side:
Left Side:


")