BrandonFlorida
New member
Haha, love the english bulldog in your pic 79chopperdr. We have a male named Gilbert..
")


Heres mine, built it myself. I limo tinted my glass doors blacked out during the day see throught at night, makes a nice effect.

davocean,
That looks good, I would like to see the other side of the wall.
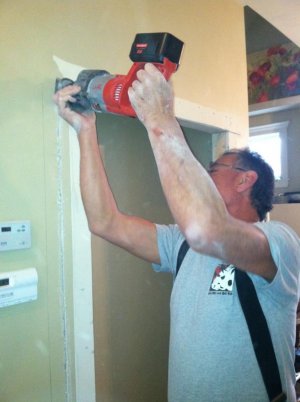
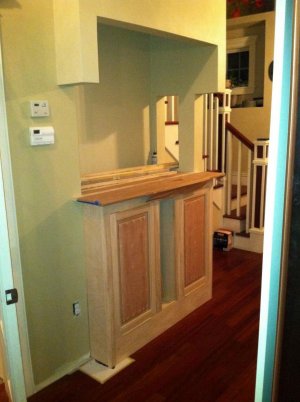
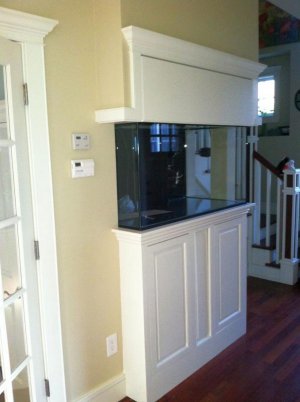
some cab build progress pics... replacing an otherwise thin useless closet space to a custom 120g in-wall build. all plumbing runs to my fish room in the basement.
thanks for looking.