gdemos
New member
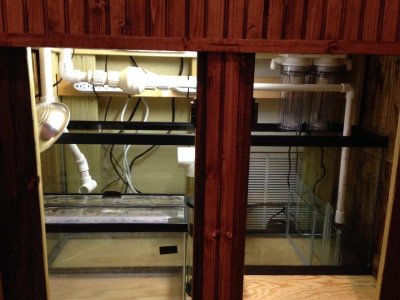
thought about that bottom right wrap, but you'll notice the pillar there on the right... couldn't demo that, structural. so I ended up with a little viewing window as you see there on the right. my future plans include a sushi table there but haven't got around to it. I put a custom upholstered bench unit on the right, not pictured here, kids love to climb up on it and tell me about the algae I have to scrub ")


")


