Sisterlimonpot
Premium Member
Ahh, some old school techniques. If I had made it, I would have used more walnut but that would've ruined the subtleness of the walnut. Hands down it's extremely beautiful!


Let me in on this game.
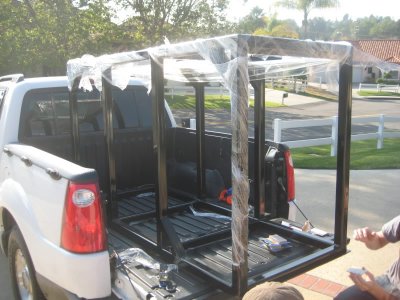
We built it for my brother in-law. Its 2x4 framed and finished with 3/4" maple. Then stained with a dark walnut and clear coated. Interior is a clear span for equipment and sump enclosure.
Interior of the stand (before staining exterior). Interior was lacquered with a solid white oil base and all joints/corners caulked. Should be fairly water tight.
what did you use to protect the wood finish after the stain or paint . i finished painting my stand but should I be protecting it from water damage???
Clear coat lacquer (4-5 coats). Should provide adequate protection.what did you use to protect the wood finish after the stain or paint . i finished painting my stand but should I be protecting it from water damage???


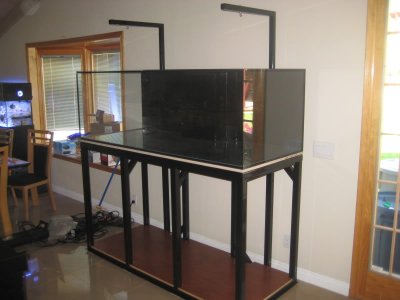
Finished my stand. I built it oversized to fit a 40B sump, and have a 20" x 20" free space for equipment. The bottom will hold a leak as well. The downside is it weighs a ton.


I get PMs too, however there's something about making stands for other people that doesn't entice me. You have to be a good friend of mine to get a stand made by me.