Taqpol
New member
Lighting Update
I still have a little more work to do and some testing, but I hope to get it hung over the tank tomorrow. (Sorry for the mess in these pictures...)
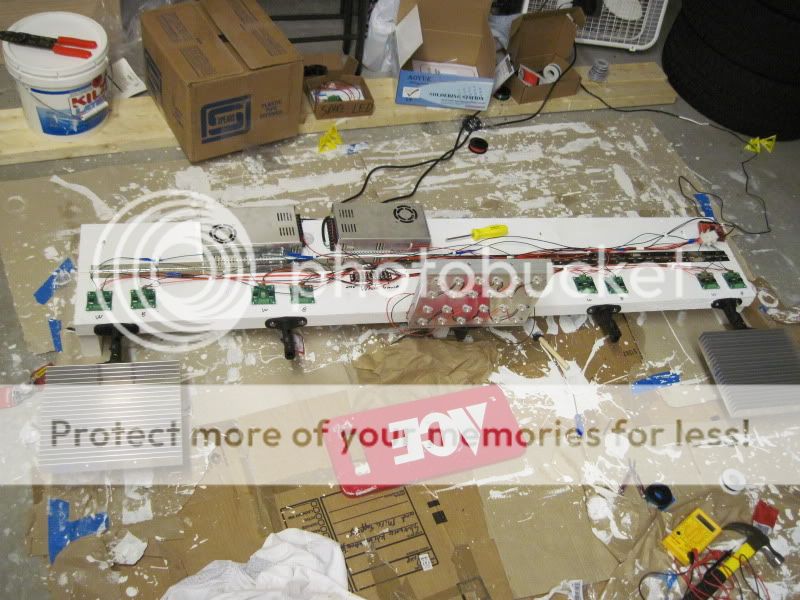
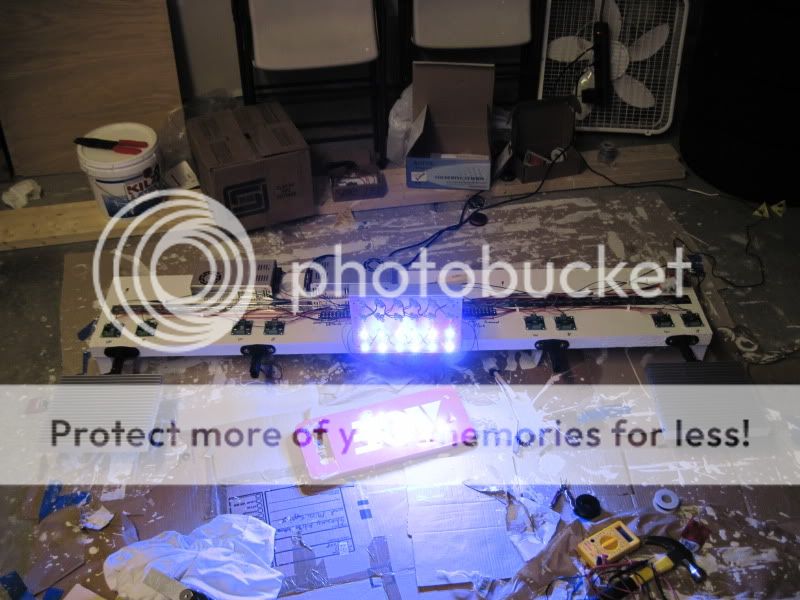
The frame is made entirely out of 2x4's and 2x6's joined together with glue and pocket hole screws. The part on the back is going to screw directly into the five wall studs behind and twelve inches above the tank. The piano hinges allow me to flip the front part up and against the wall in case I really need to get into the tank to do some maintenance. The great part about this design is when I finally get around to building a canopy for my tank (more like the shell of a canopy) it will slide onto the tank and over the light fixture, completely covering it from view.
All five heatsinks are mounted to universal omni-directional speaker mounts I found at a local radio shack. This will allow me to rotate or angle the LED fixtures independently and at any angle I choose, so that I can really play with the directionality of light given to us by LEDs. I know for a fact I will be angling the two exterior fixtures towards the center of the tank to maximize their coverage.
Coincidentally, two 2x6's plus the length of the speaker mount was the exact distance from my wall that i needed to center the fixtures over the tank.
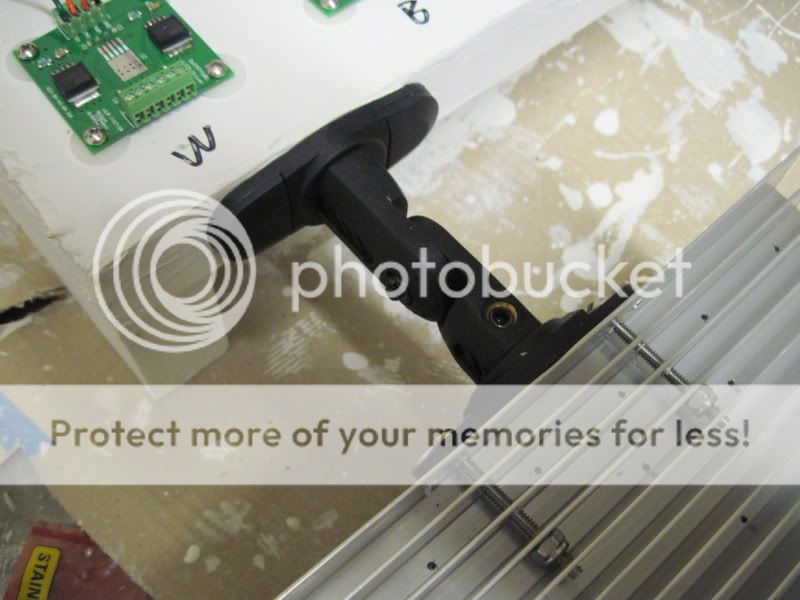
2" stainless steel machine screws coupled with nylon locking nuts inserted through holes drilled in the fins hold the fixtures to the speaker mounts. I did all these holes freehand (no drill press...) so please excuse the catty wompus screw in this picture. The other fixtures are much better.

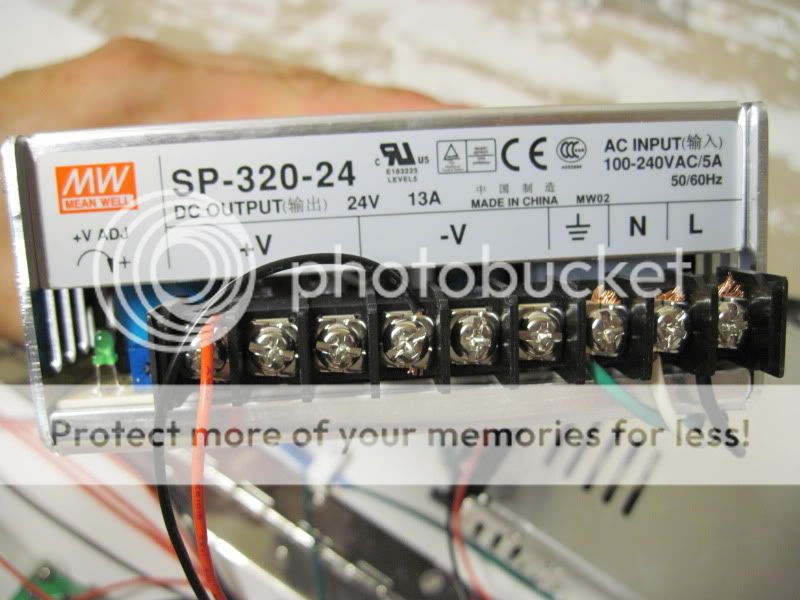
Meanwell SP-320-24 with built in PFC protection.
Hole drilled though the back 2x6 so that the power supply power cords can drop straight through to the dedicated 20A circuit underneath my main tank.
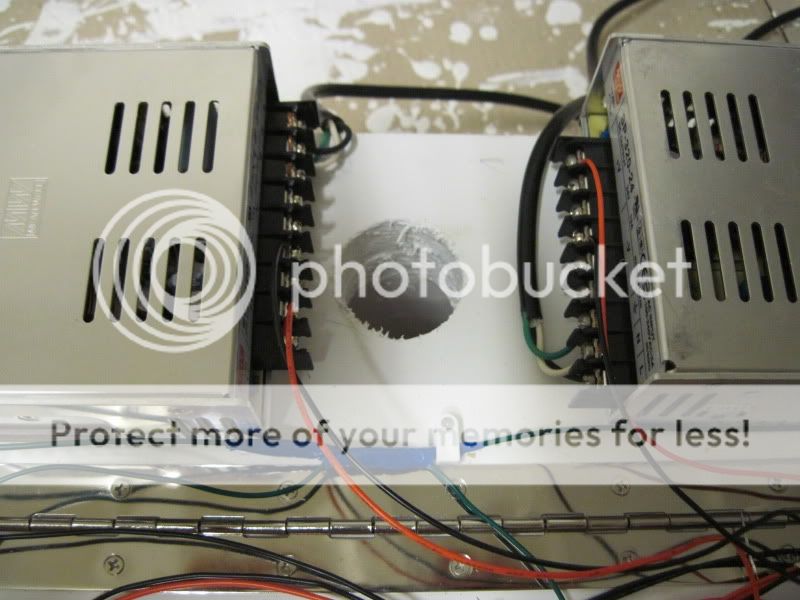
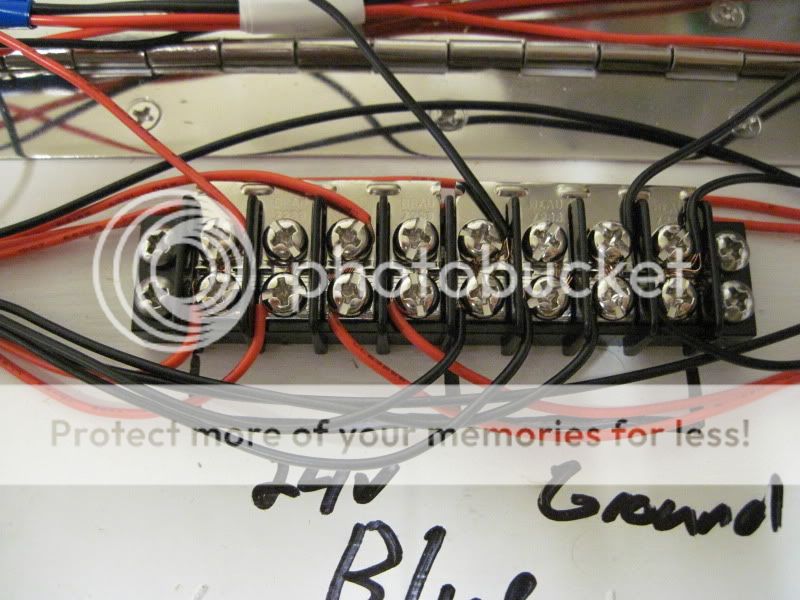
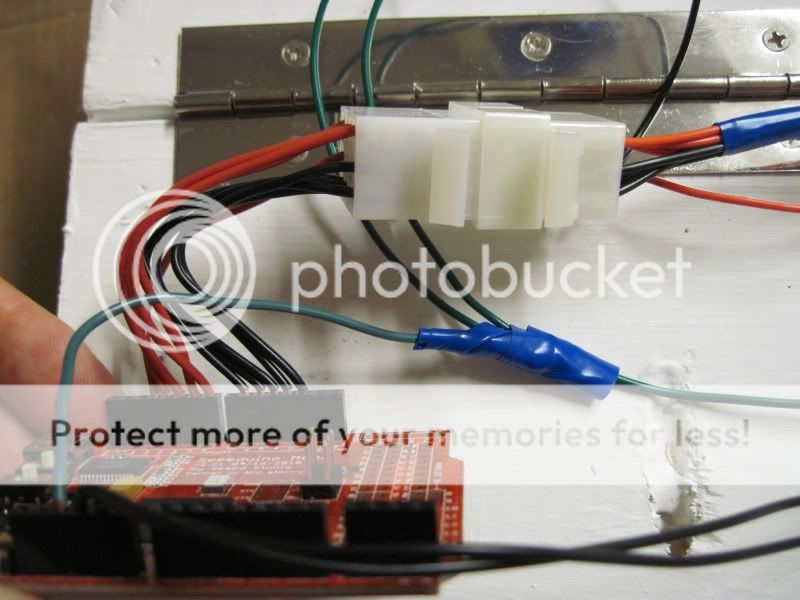
Barrier strips allow me to connect the multiple 24v supplies and Grounds from all ten drivers to a single wire going back to the power supply. I have two strips, one for the blues and one for the whites, divided evenly between 24v from the two different power supplies and the grounds for the individual power supplies.
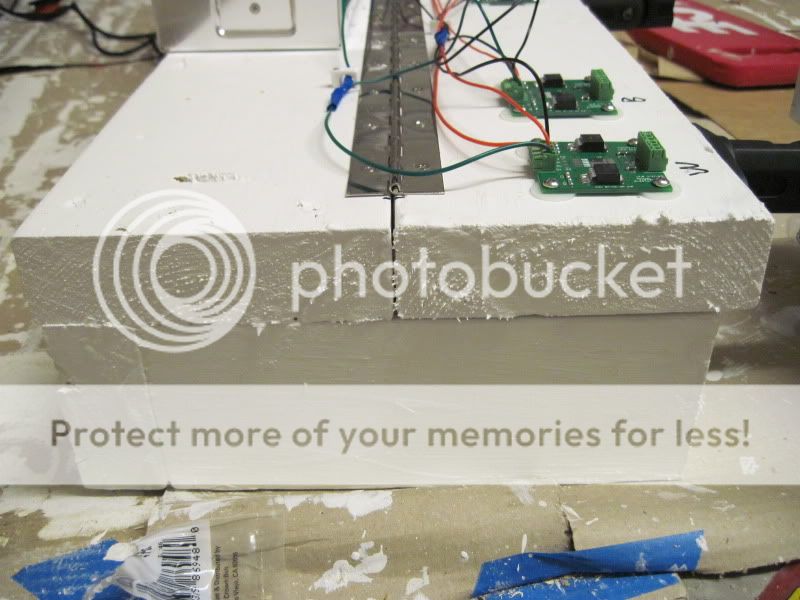
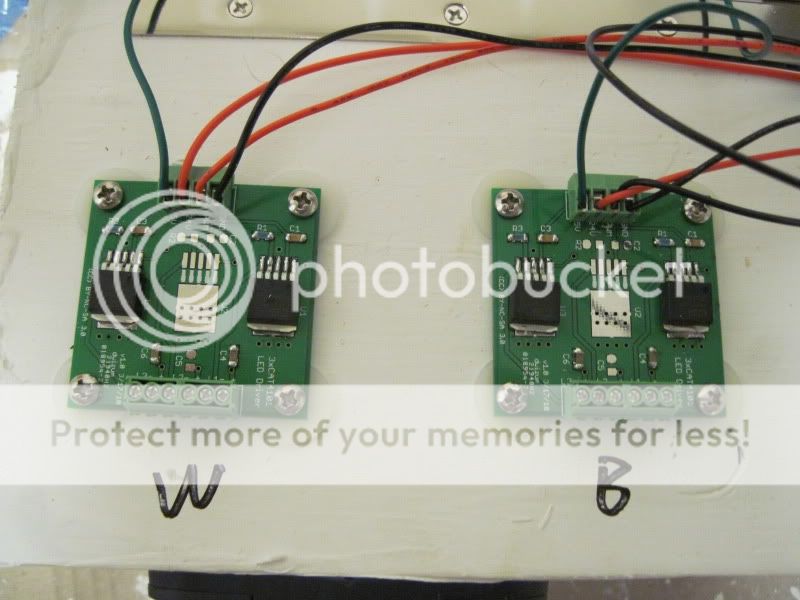
DIY drivers were located on the mobile 2x6 directly in front of their respective LED fixtures.
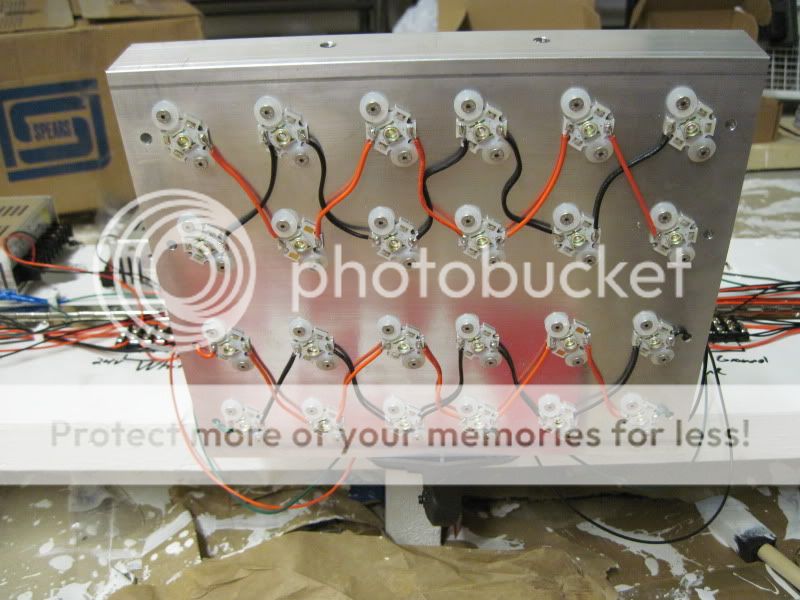
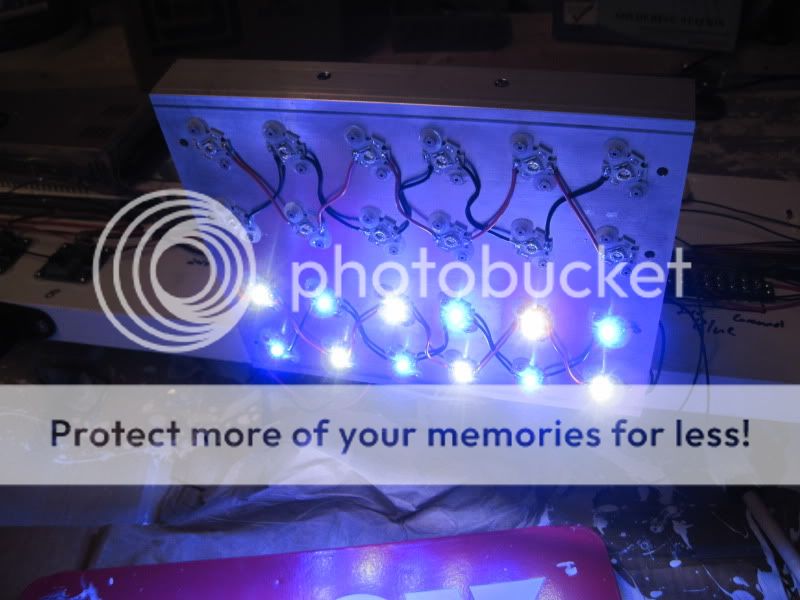
Since I was lucky enough to have access to my father's CNC machine for pre drilling and tapping, I used Arctic Silver thermal paste and screws instead of thermal epoxy this time around. Those are #4-40 stainless steel 1/4" screws with a hex top and nylon washers holding the stars to the pre polished heatsinks.

A finished fixture.
I still have a little more work to do and some testing, but I hope to get it hung over the tank tomorrow. (Sorry for the mess in these pictures...)
The frame is made entirely out of 2x4's and 2x6's joined together with glue and pocket hole screws. The part on the back is going to screw directly into the five wall studs behind and twelve inches above the tank. The piano hinges allow me to flip the front part up and against the wall in case I really need to get into the tank to do some maintenance. The great part about this design is when I finally get around to building a canopy for my tank (more like the shell of a canopy) it will slide onto the tank and over the light fixture, completely covering it from view.
All five heatsinks are mounted to universal omni-directional speaker mounts I found at a local radio shack. This will allow me to rotate or angle the LED fixtures independently and at any angle I choose, so that I can really play with the directionality of light given to us by LEDs. I know for a fact I will be angling the two exterior fixtures towards the center of the tank to maximize their coverage.
Coincidentally, two 2x6's plus the length of the speaker mount was the exact distance from my wall that i needed to center the fixtures over the tank.
2" stainless steel machine screws coupled with nylon locking nuts inserted through holes drilled in the fins hold the fixtures to the speaker mounts. I did all these holes freehand (no drill press...) so please excuse the catty wompus screw in this picture. The other fixtures are much better.
Meanwell SP-320-24 with built in PFC protection.
Hole drilled though the back 2x6 so that the power supply power cords can drop straight through to the dedicated 20A circuit underneath my main tank.
Barrier strips allow me to connect the multiple 24v supplies and Grounds from all ten drivers to a single wire going back to the power supply. I have two strips, one for the blues and one for the whites, divided evenly between 24v from the two different power supplies and the grounds for the individual power supplies.
DIY drivers were located on the mobile 2x6 directly in front of their respective LED fixtures.
Since I was lucky enough to have access to my father's CNC machine for pre drilling and tapping, I used Arctic Silver thermal paste and screws instead of thermal epoxy this time around. Those are #4-40 stainless steel 1/4" screws with a hex top and nylon washers holding the stars to the pre polished heatsinks.
A finished fixture.
 Awesome job on the fixture Alex. Looks great.
 ")
")