davidcalgary29
New member
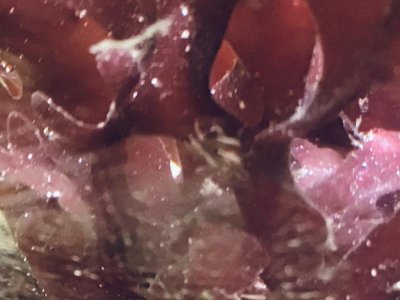
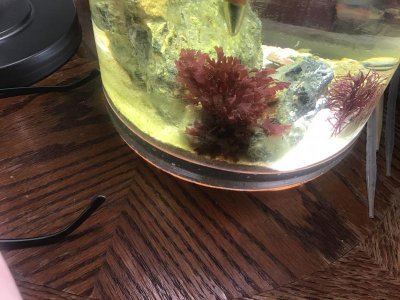
I thought my marine tank adventures ended fifteen years ago, when my 110 gallon custom-build (second hand) burst in the middle of the night (silicon seal rupture), but decided that there'd be nothing better to try in dark, cold days of fall than to start another one...in a jar. Yes, yes, I know -- but I'm only going to try some macroalgae at first. There's a Canadian company that has some lovely halimeda clumps, and I thought this would be a perfect opportunity to do some aquasacaping. Of course, I know zilch about pico setups -- let alone in a jar -- so this should be an interesting experiment.
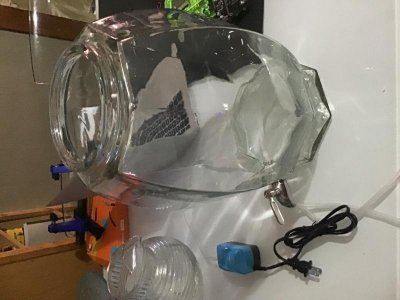
I had a lovely Anchor-Hocking 2g jar that was doing nothing but storing rice, and I thought it would be a good place to start. Now for the hard part: stocking the jar.
I'm a ten-hour round trip to the nearest LFS and, with quarantines and winter-road conditions (with logging trucks...LOTS of logging trucks), a trip was out of the question. And shipping rates are outrageous! Fortunately, Amazon seemed to have everything that I needed. Right?
substrate: CaribSea live sand. I was afraid that it would be too fine, but the grain is fairly large, and that's what I was seeking.
"Aeration" and flow: water pump with air stone
Lighting: faux architect's lamp and SANSI full spectrum 15w bulb
Heating: Pawfly 50w heater. I know this is going to cause problems, and I have a replacement on the way.
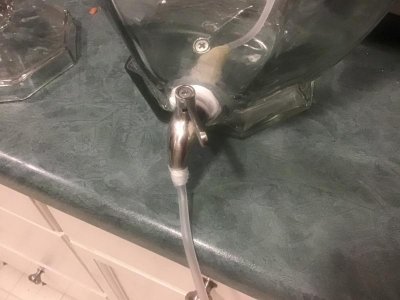
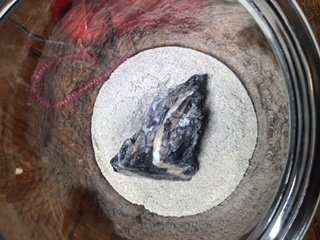
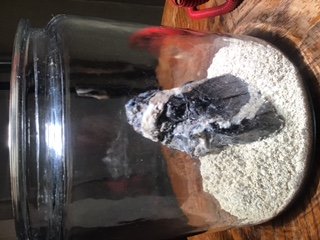
"Topography": Amazon-special seiryu rock. I bought 17lbs for a great price...and found I could only fit in one rock. Oops!
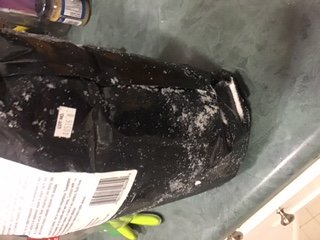
Marine salt mix: Fritz's. Which burst all over the inside of the shipping box during transit. Of course it did.
Day 1:
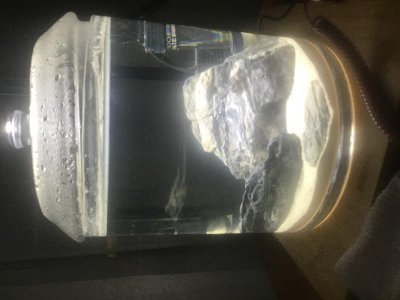
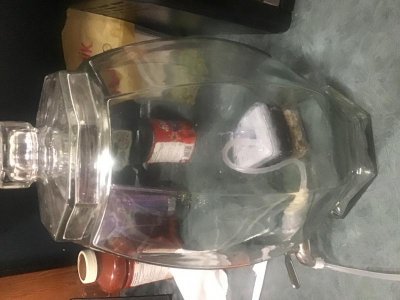
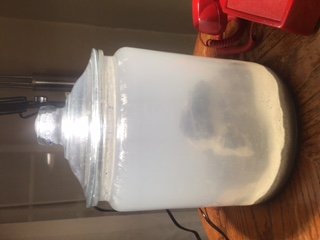
After returning home from a business trip, I decided it was time for the build! I added the sand, rock...and seawater made with tapwater. Yes, yes...criticize if you must (and you will), but I was too tired to set up the RO unit I bought off of Amazon. Pump and heater went in next; lighting was turned on.
SG: 1.015 (I decided to go lightly on the salt as I had to convert from imperial to metric with a mix of imperial and metric kitchen utensils), and did not want to oversaturate the jar. Plus, my brain was tired after a long drive on icy roads. Now that I know better, I'll fix it tomorrow.
KH/Mg/ -- ? Test kit arriving next week.
To do:
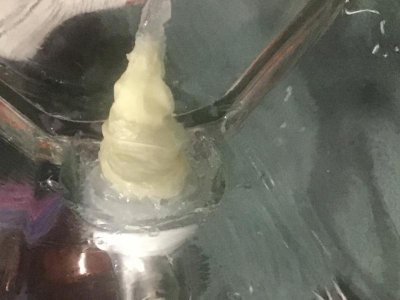
-fix the lid. I was planning to drill a hole through the lid through which the lighting and air hose could be inserted. The air stone is throwing up a surprising amount of spray, though, and I'm concerned that a hole will be very problematic. I don't like leaving the lid half-on, though.
-move the rock. It's too far in the front of the jar, and ruins the aspect. Plus, the back of it is more interesting.
-Check water parameters daily! I've got to see how SG changes daily in such a small, and potentially closed, system.
-Oxygenation. Is this going to be a problem?
I had a lovely Anchor-Hocking 2g jar that was doing nothing but storing rice, and I thought it would be a good place to start. Now for the hard part: stocking the jar.
I'm a ten-hour round trip to the nearest LFS and, with quarantines and winter-road conditions (with logging trucks...LOTS of logging trucks), a trip was out of the question. And shipping rates are outrageous! Fortunately, Amazon seemed to have everything that I needed. Right?
substrate: CaribSea live sand. I was afraid that it would be too fine, but the grain is fairly large, and that's what I was seeking.
"Aeration" and flow: water pump with air stone
Lighting: faux architect's lamp and SANSI full spectrum 15w bulb
Heating: Pawfly 50w heater. I know this is going to cause problems, and I have a replacement on the way.
"Topography": Amazon-special seiryu rock. I bought 17lbs for a great price...and found I could only fit in one rock. Oops!
Marine salt mix: Fritz's. Which burst all over the inside of the shipping box during transit. Of course it did.
Day 1:
After returning home from a business trip, I decided it was time for the build! I added the sand, rock...and seawater made with tapwater. Yes, yes...criticize if you must (and you will), but I was too tired to set up the RO unit I bought off of Amazon. Pump and heater went in next; lighting was turned on.
SG: 1.015 (I decided to go lightly on the salt as I had to convert from imperial to metric with a mix of imperial and metric kitchen utensils), and did not want to oversaturate the jar. Plus, my brain was tired after a long drive on icy roads. Now that I know better, I'll fix it tomorrow.
KH/Mg/ -- ? Test kit arriving next week.
To do:
-fix the lid. I was planning to drill a hole through the lid through which the lighting and air hose could be inserted. The air stone is throwing up a surprising amount of spray, though, and I'm concerned that a hole will be very problematic. I don't like leaving the lid half-on, though.
-move the rock. It's too far in the front of the jar, and ruins the aspect. Plus, the back of it is more interesting.
-Check water parameters daily! I've got to see how SG changes daily in such a small, and potentially closed, system.
-Oxygenation. Is this going to be a problem?
Attachments
Last edited: