thedoogan
New member
Hello everyone,
I've lurked on ReefCentral for a long time now, only asking the occasional question. I thought I would introduce myself with my latest build.
I'm Joel, and this is the beginning of my reef addiction:crazy1:
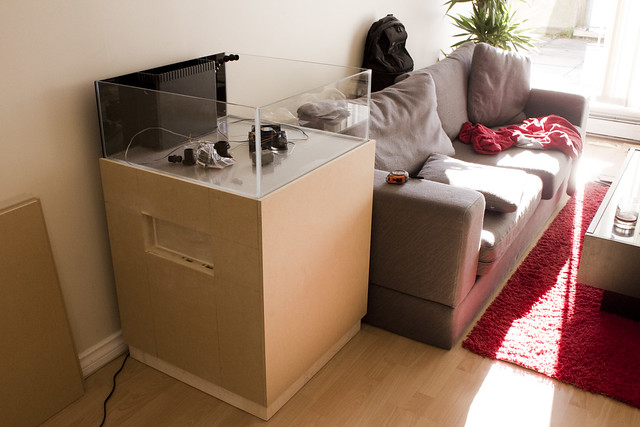
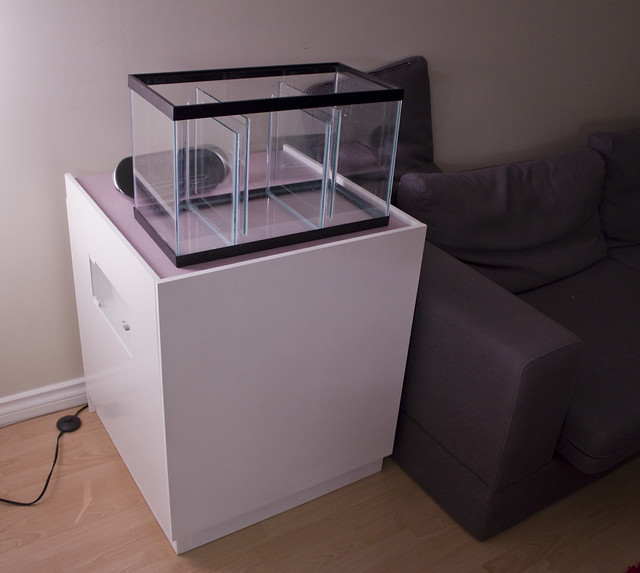
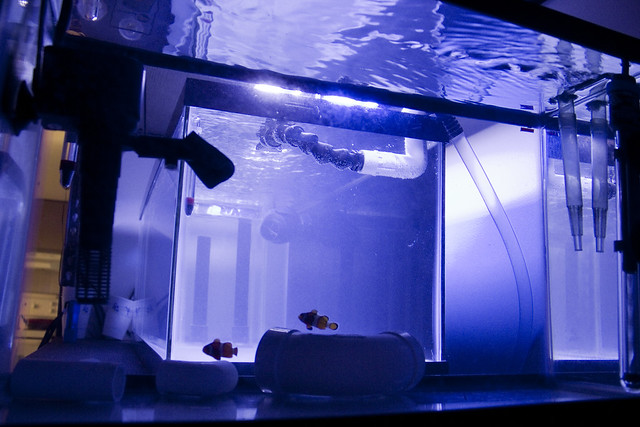
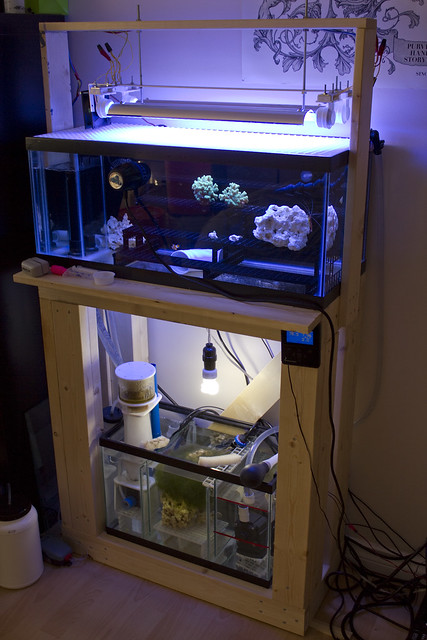
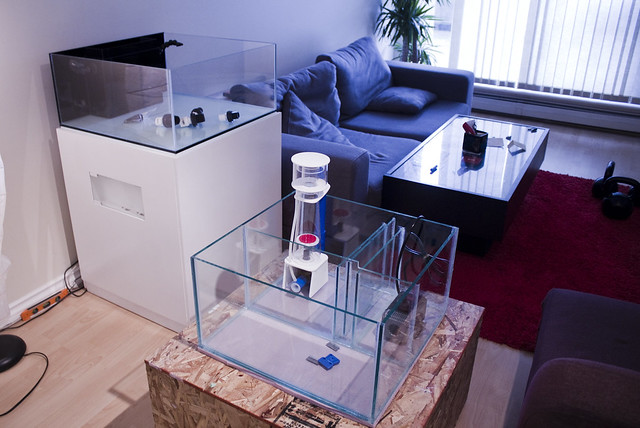
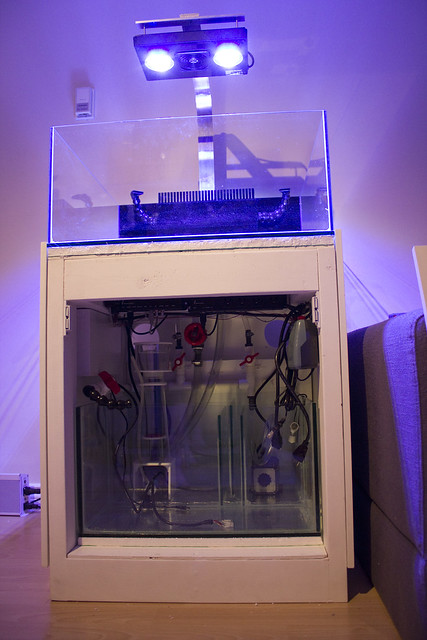
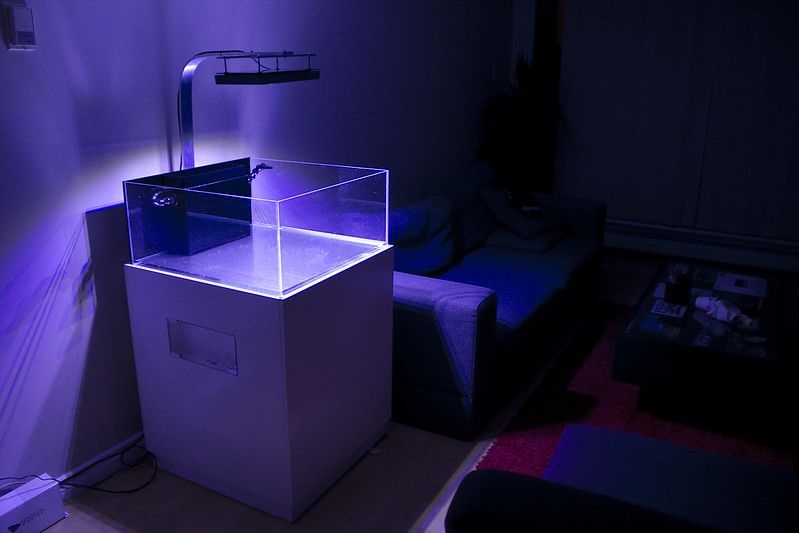
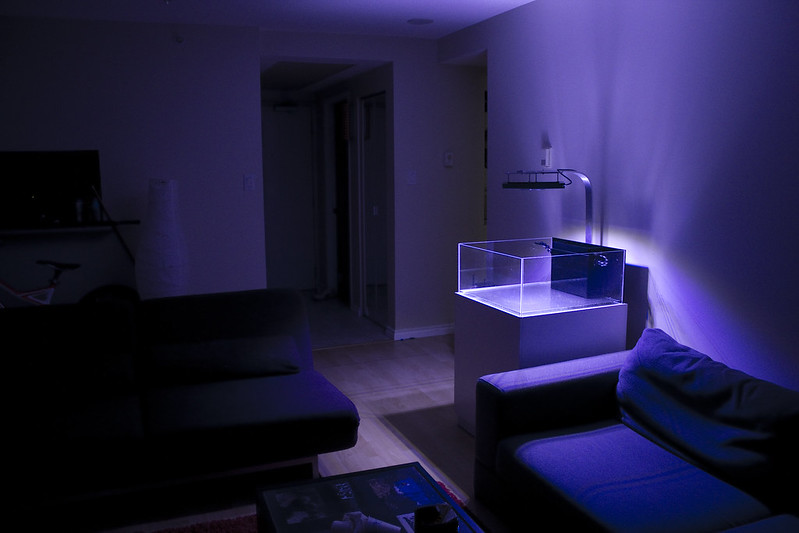
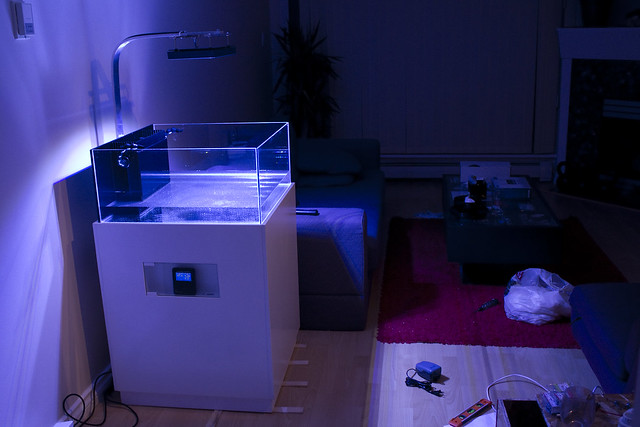
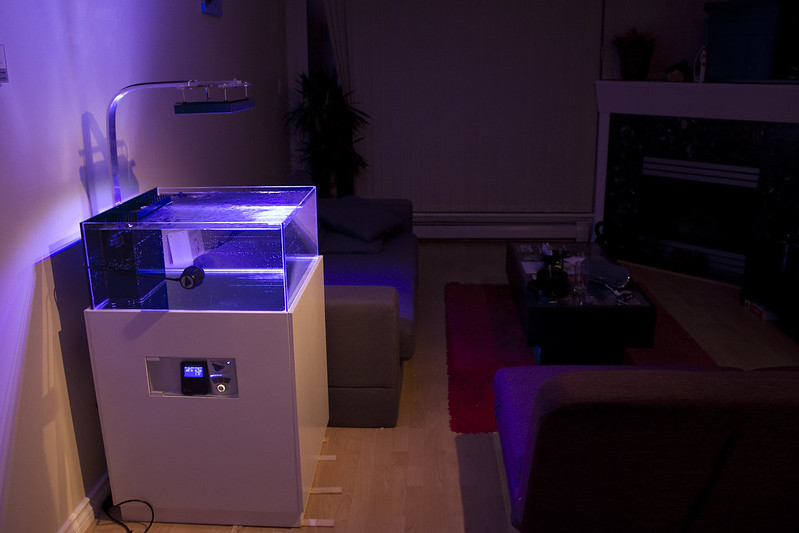
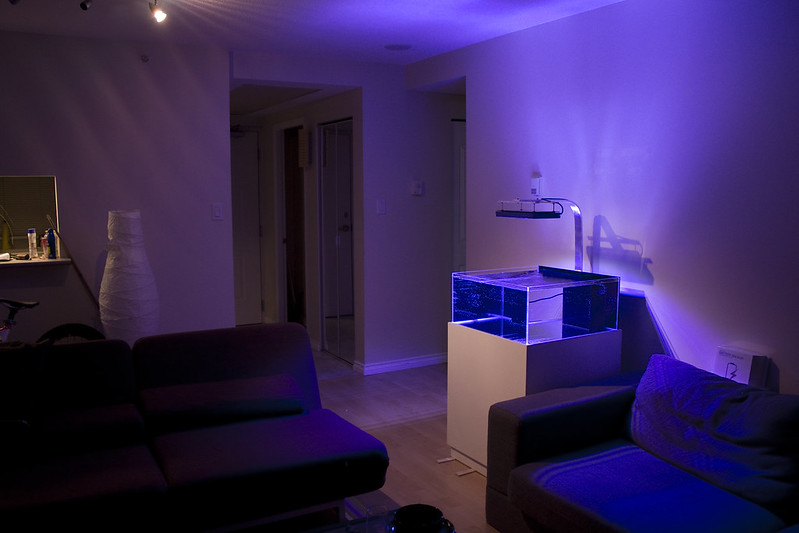
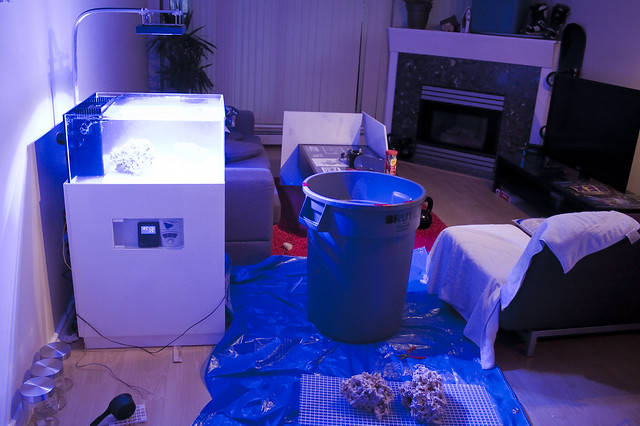
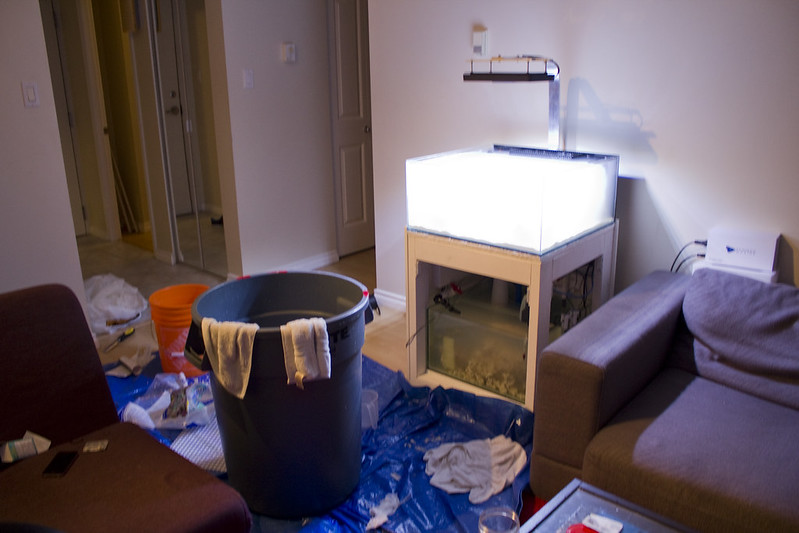
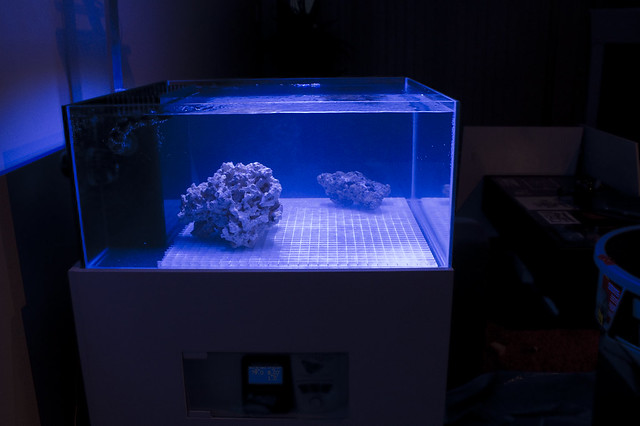
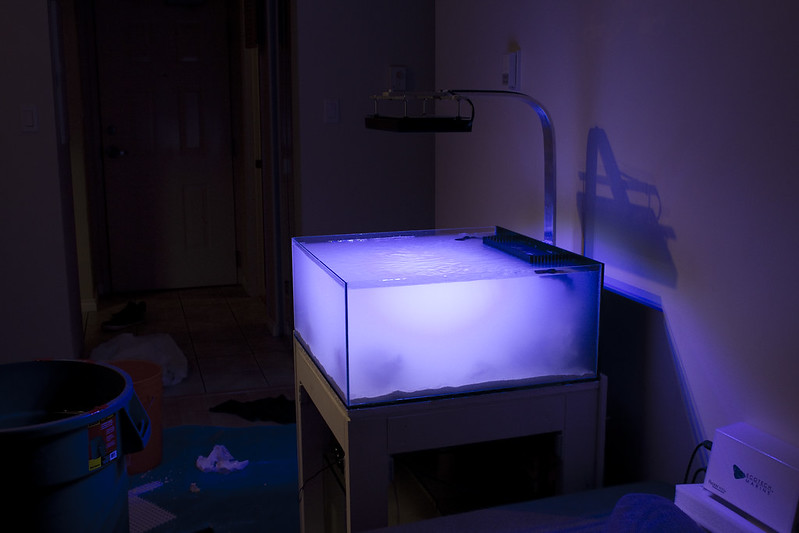
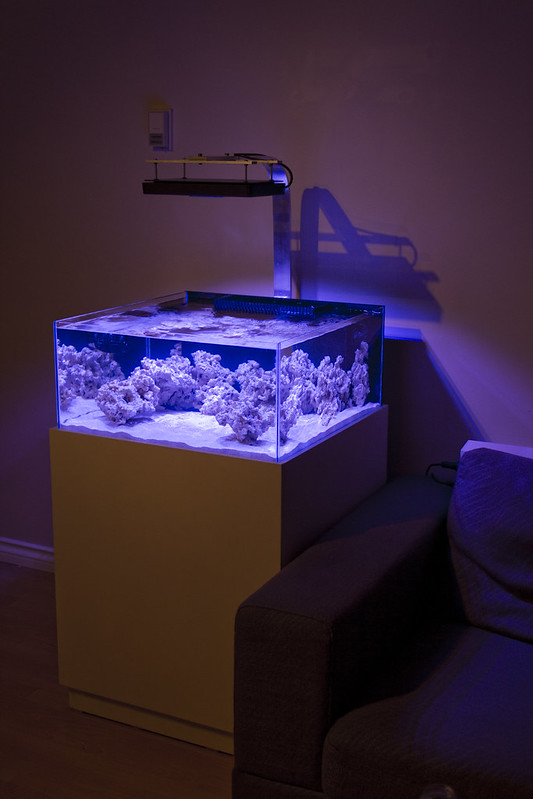
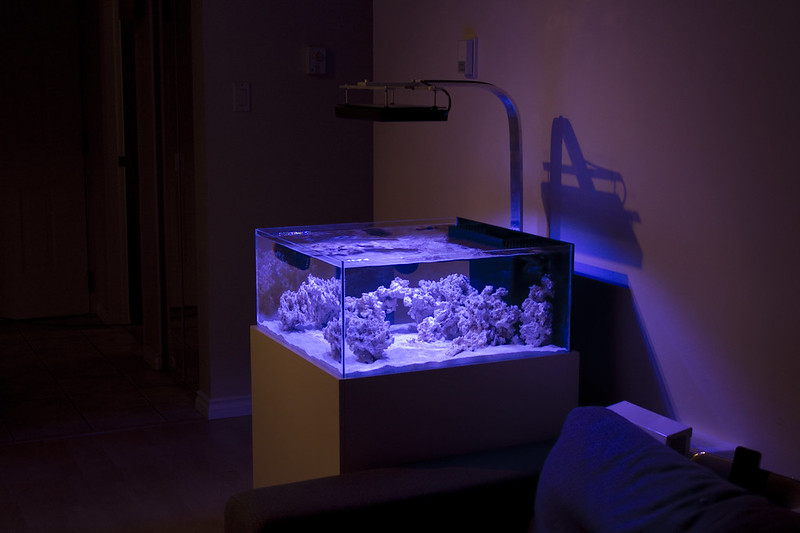
Current tank
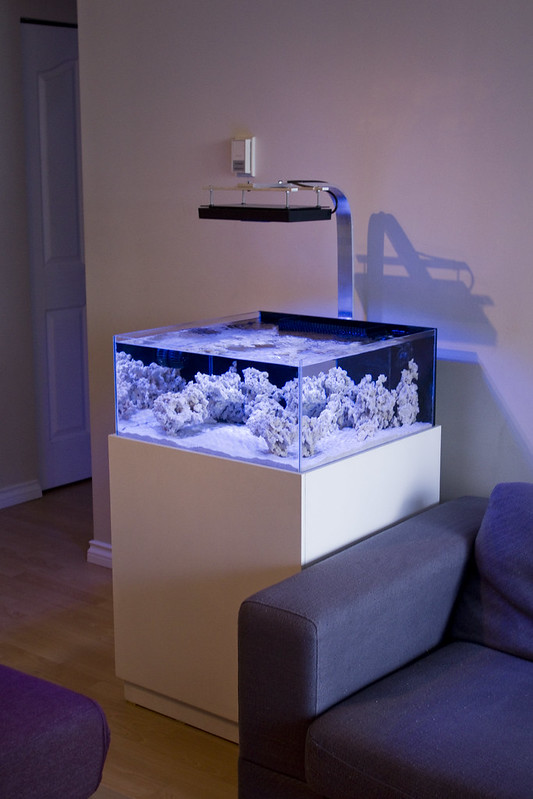
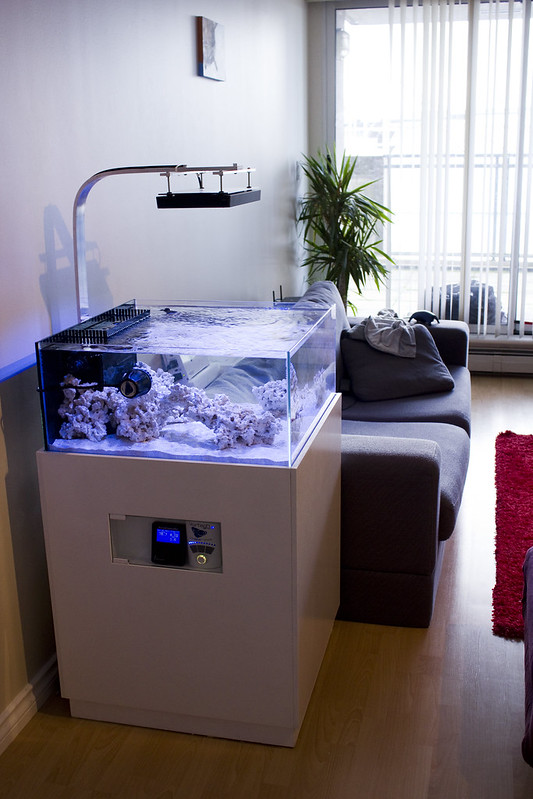
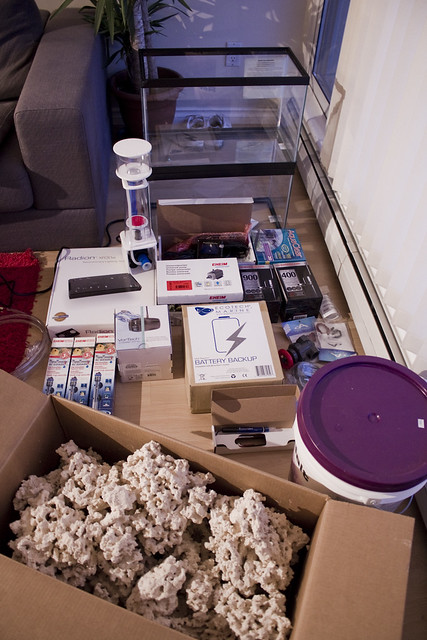
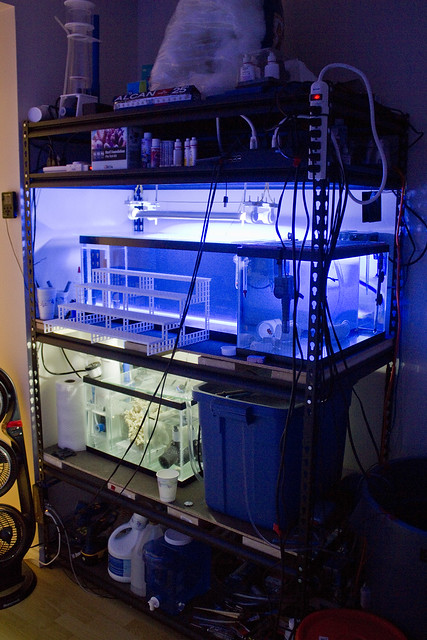
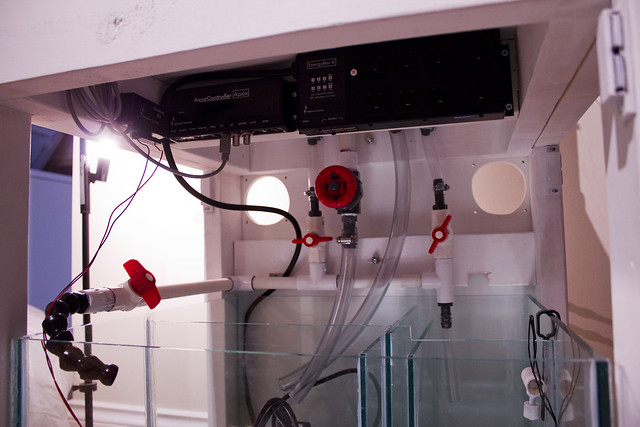
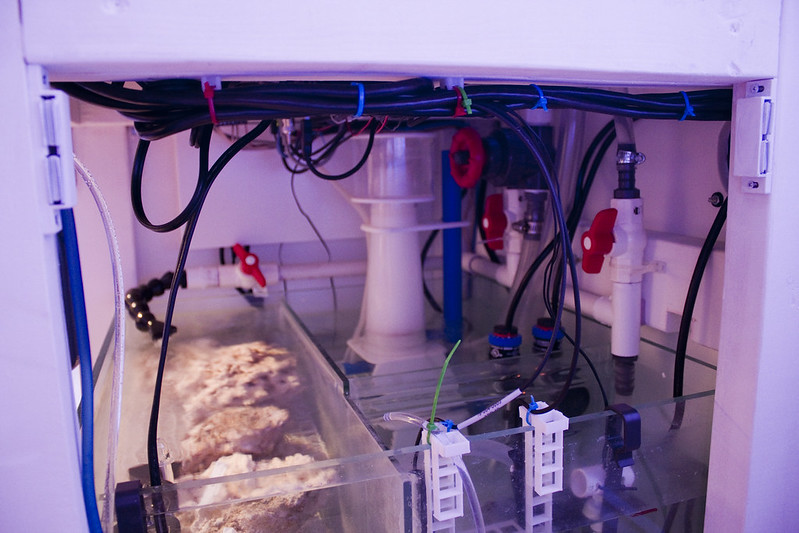
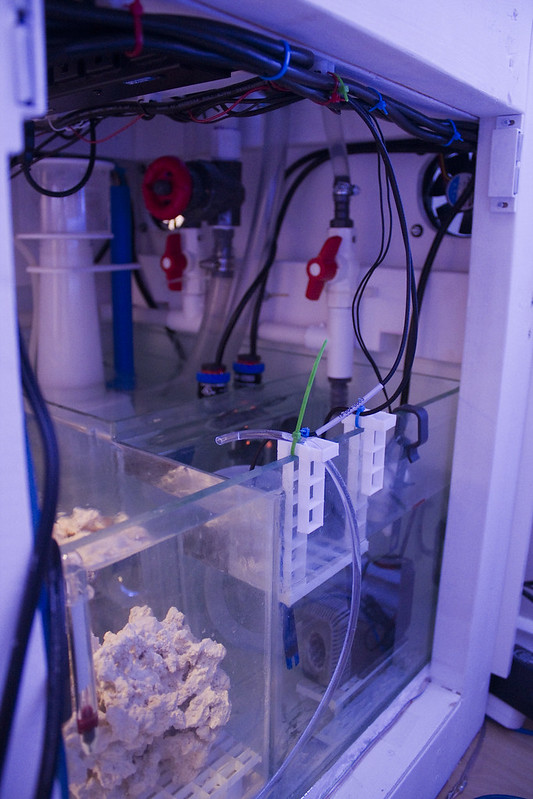
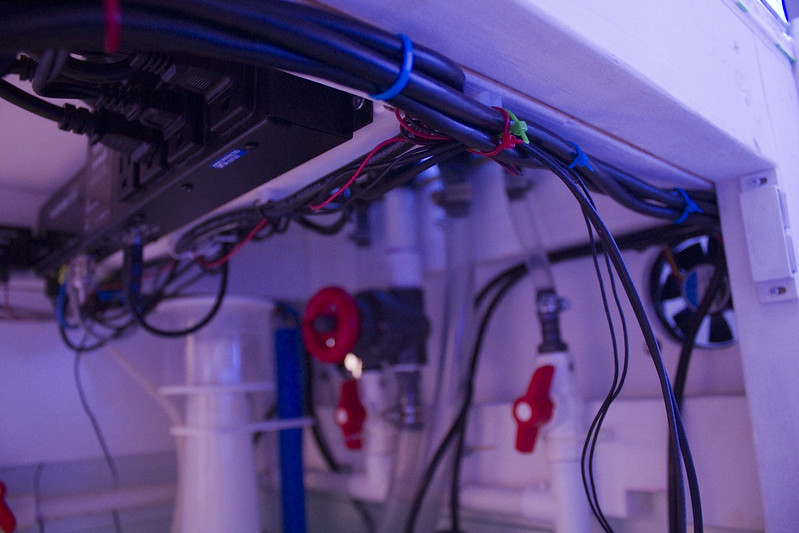
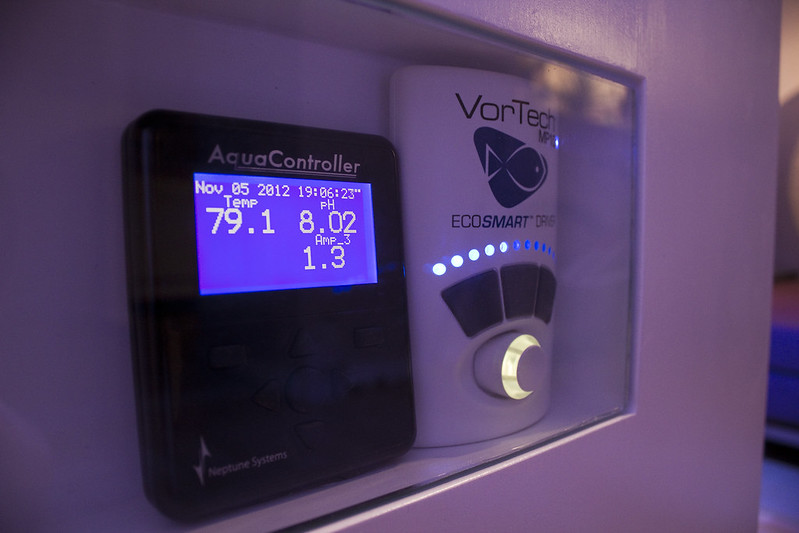
Equipment
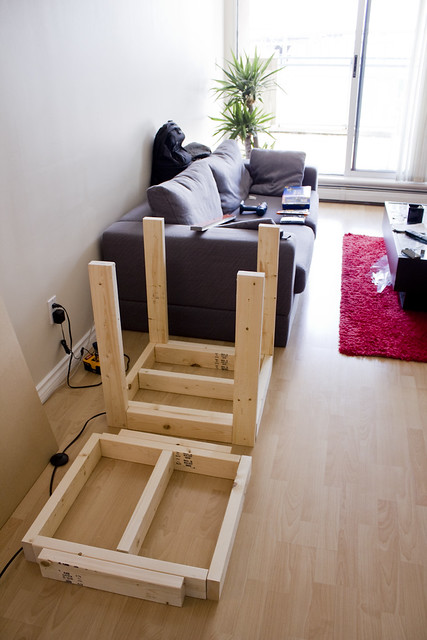
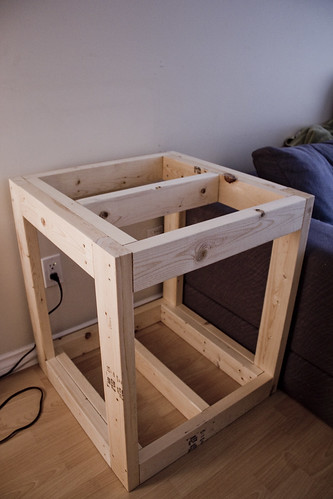
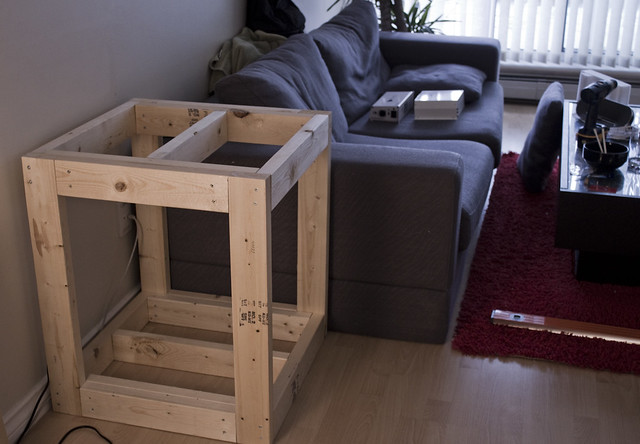
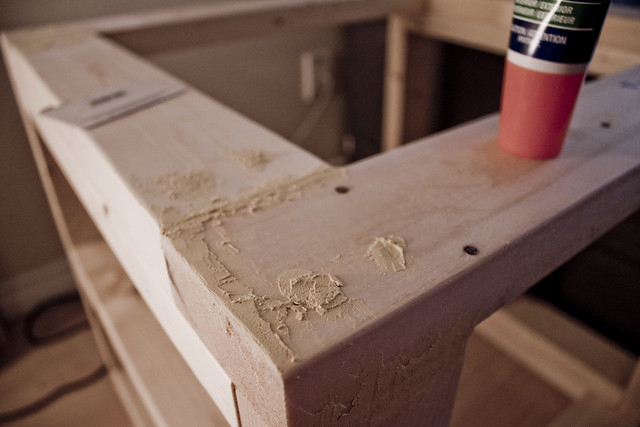
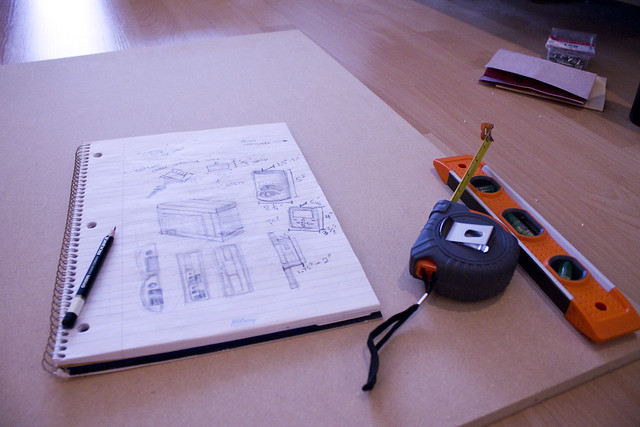
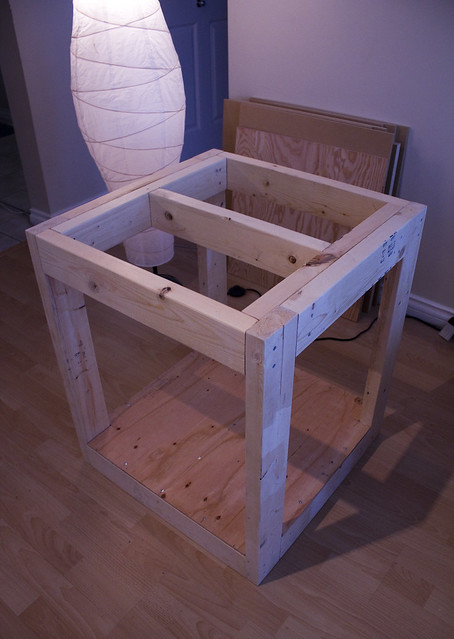
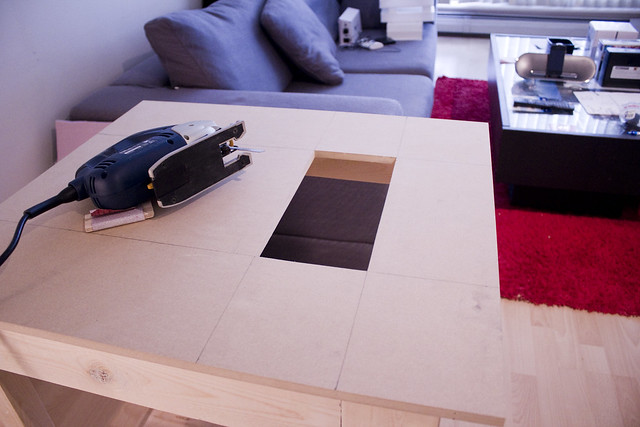
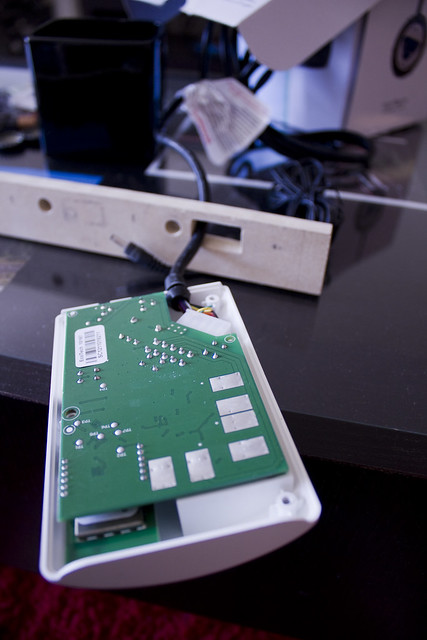
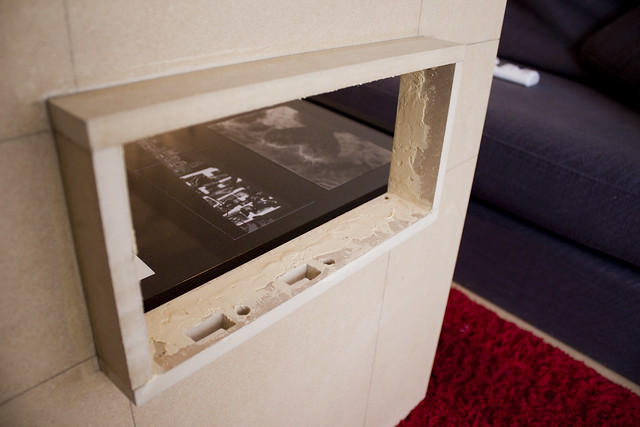
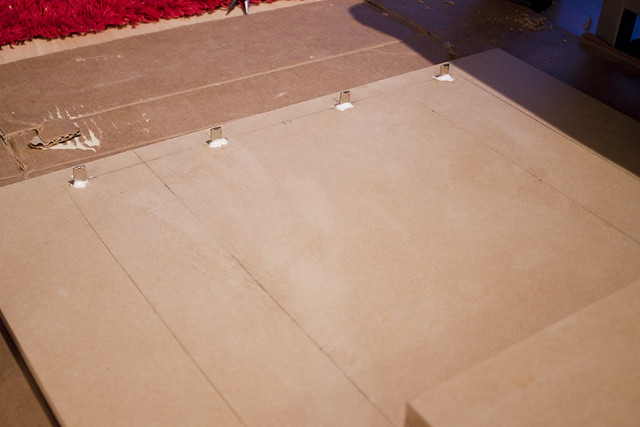
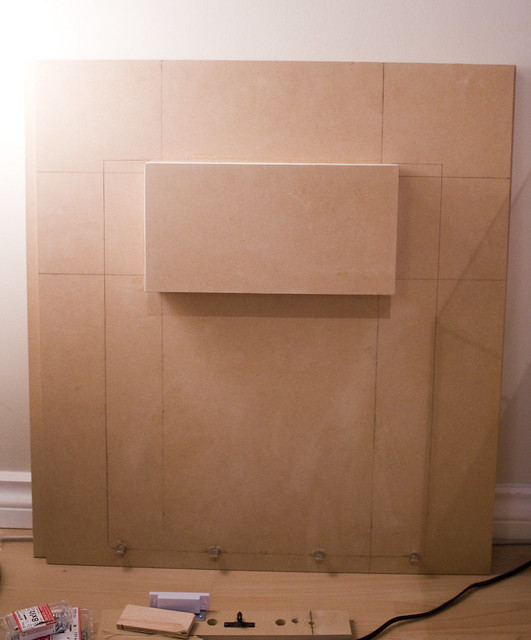
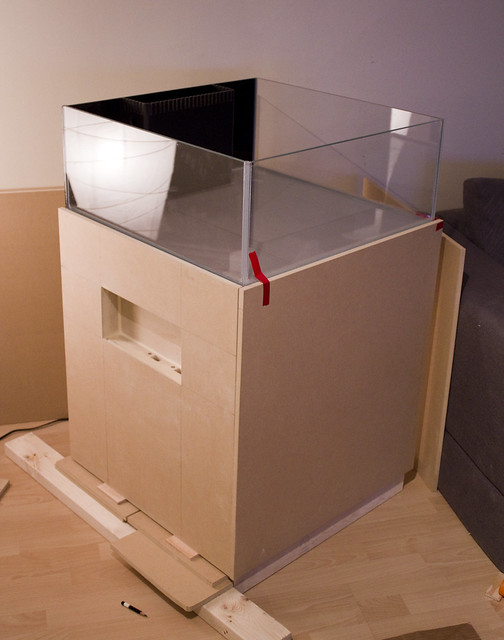
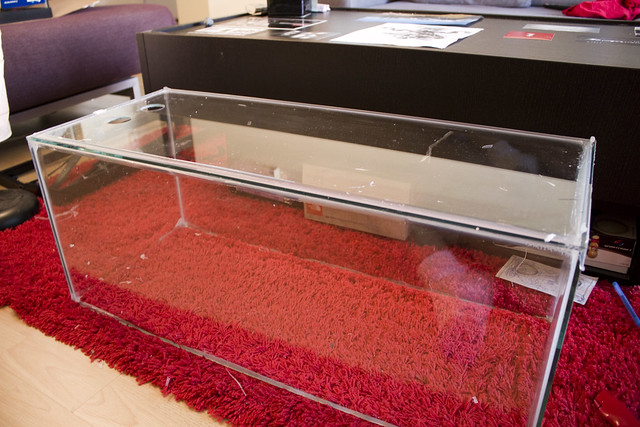
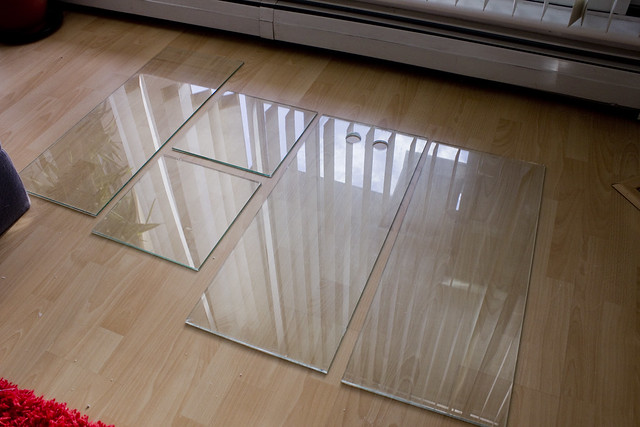
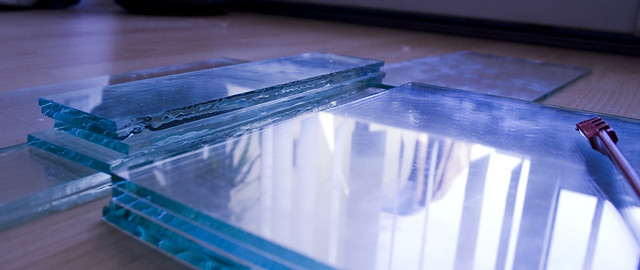
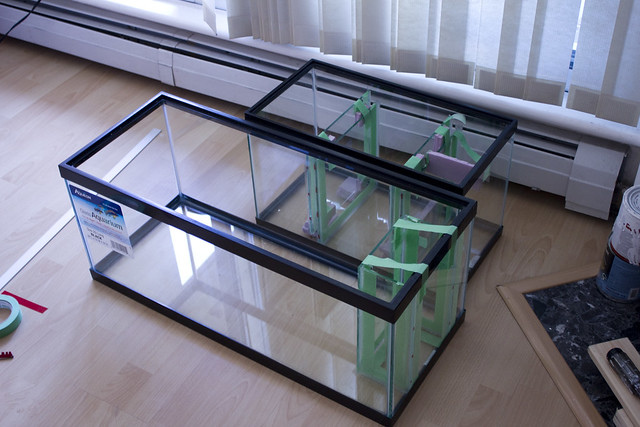
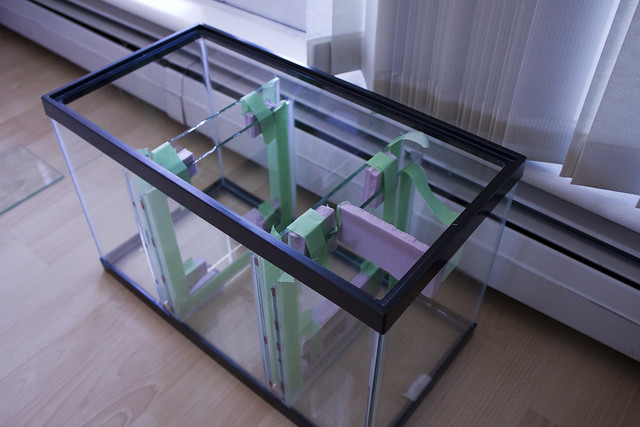
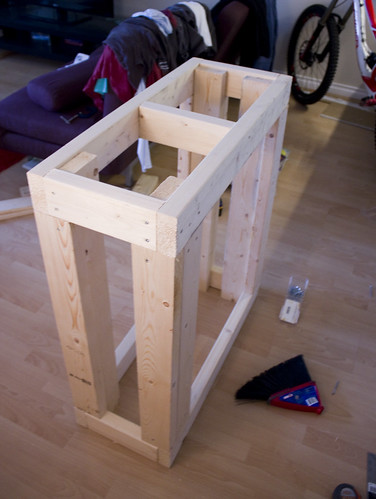
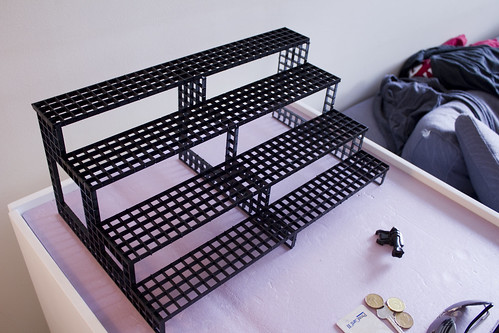
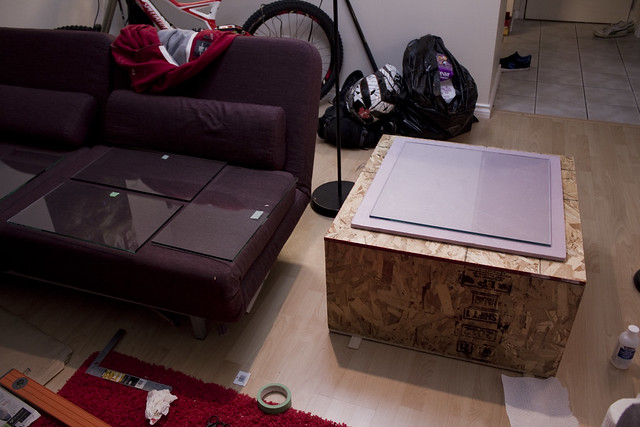
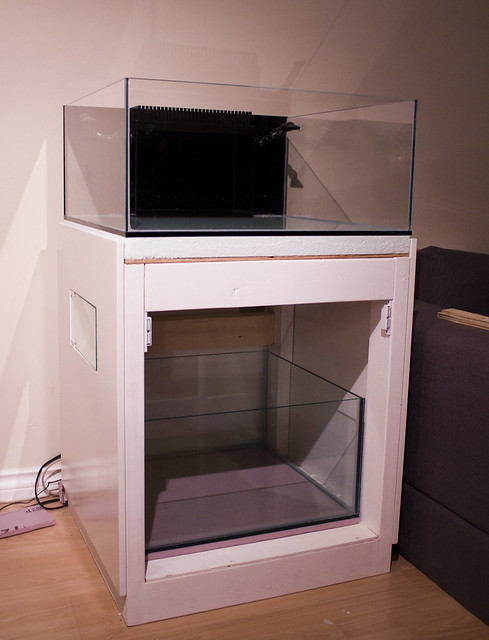
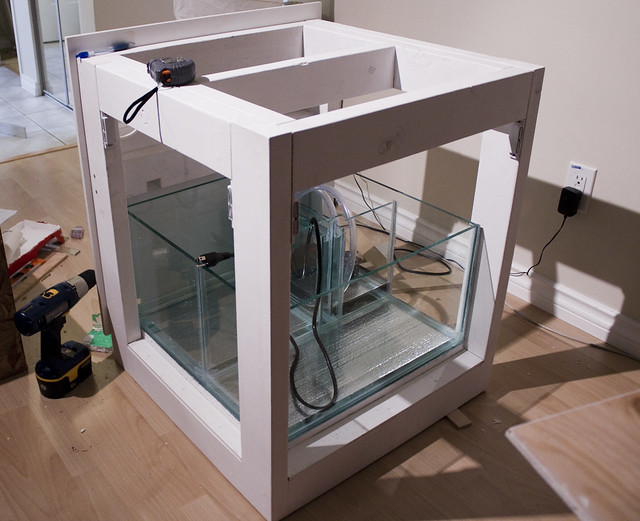
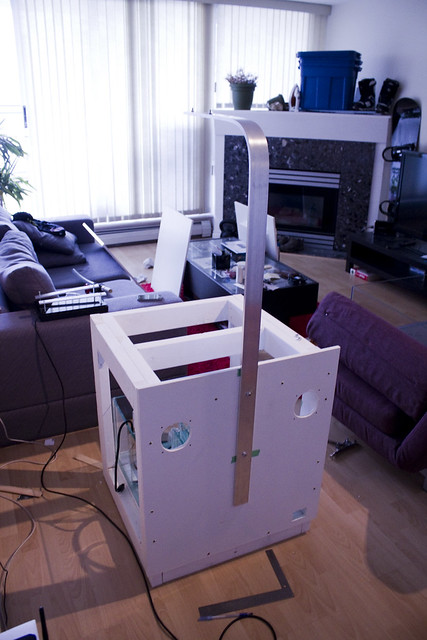
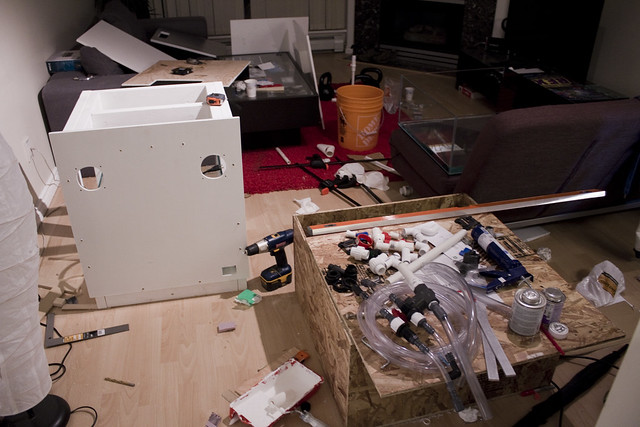
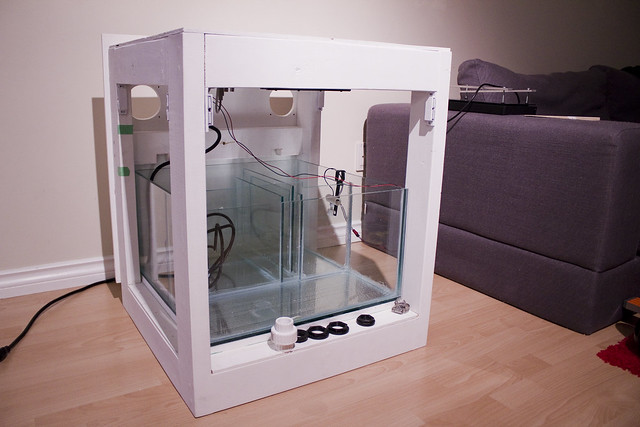
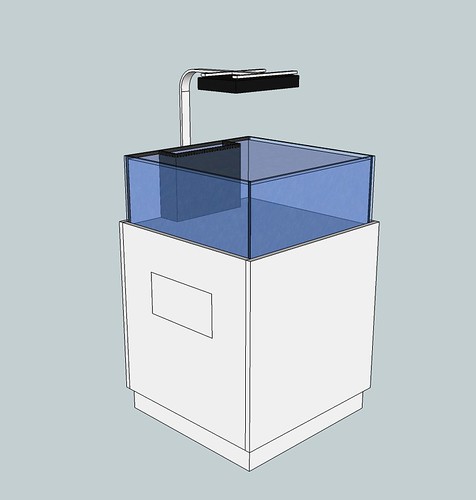
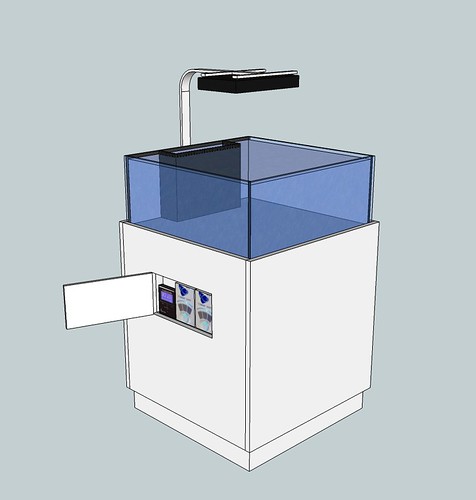
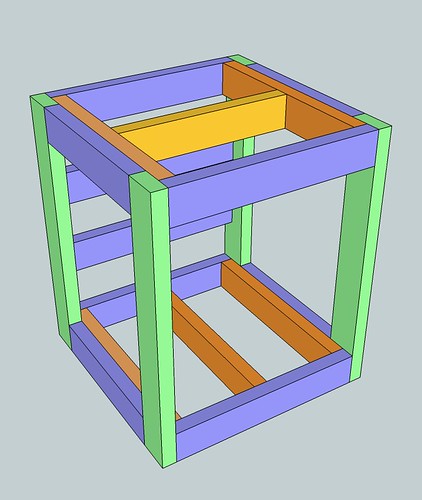
The Design
I've lurked on ReefCentral for a long time now, only asking the occasional question. I thought I would introduce myself with my latest build.
I'm Joel, and this is the beginning of my reef addiction:crazy1:
Current tank
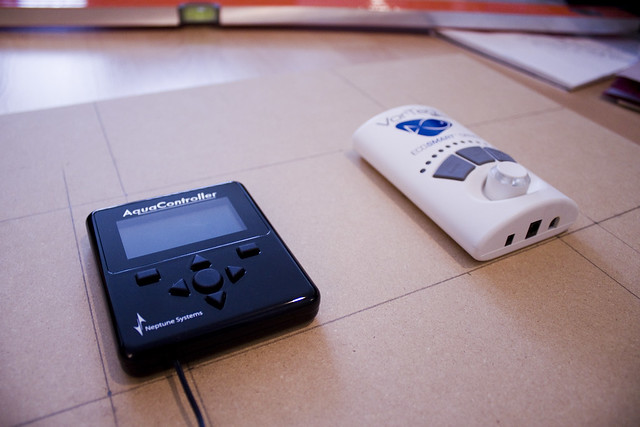
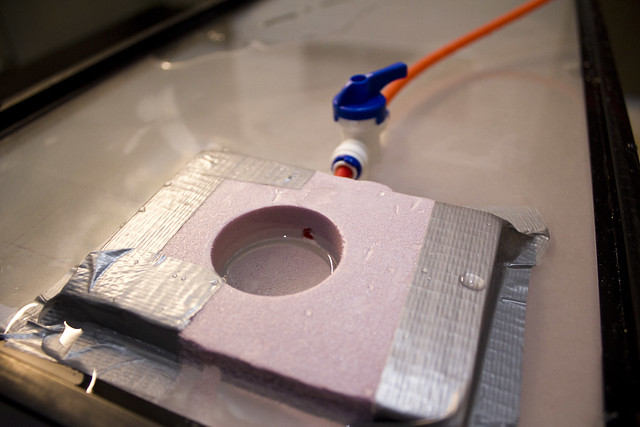
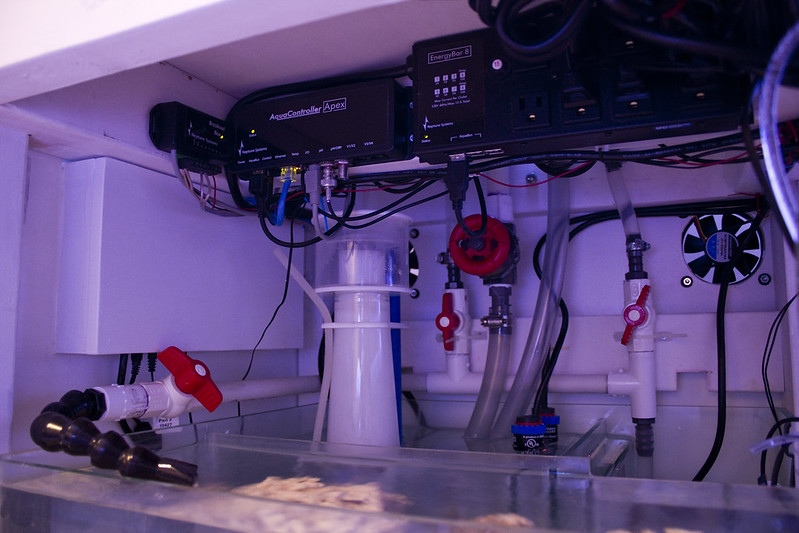
Equipment
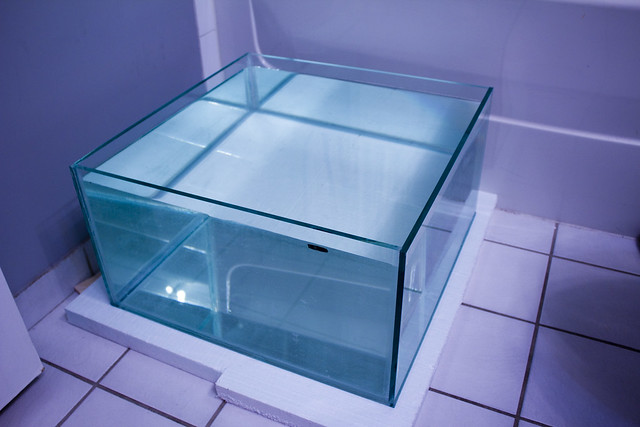
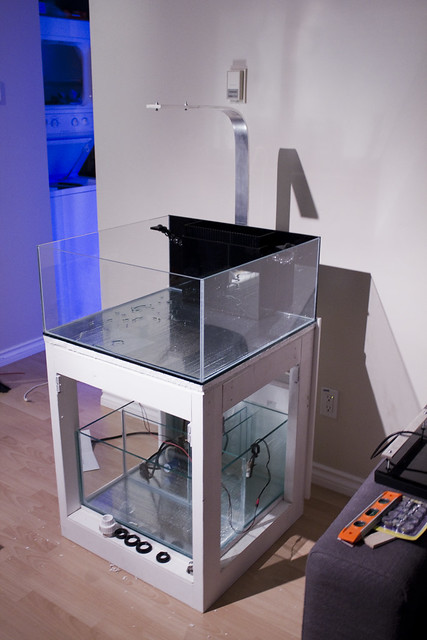
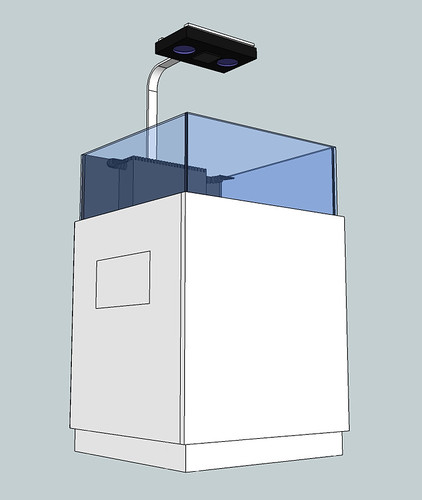
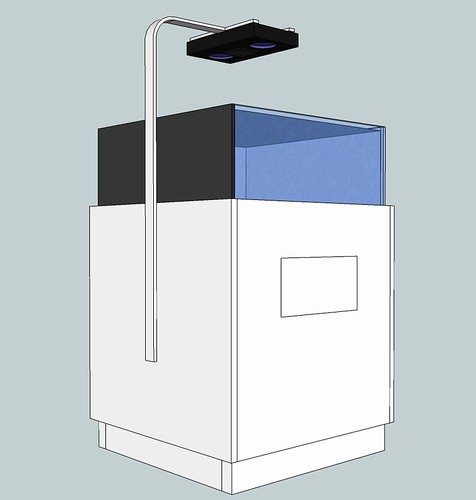
- Tank: 24x24x11
- Sump: 21x21x12
- Lighting: Ecotech Radion
- Flow: Vortech Mp10
- Backup: Ecotech batter backup
- Return Pump: Eheim 1250
- Heaters: 2x 75 watt Ebo-Jager
- Skimmer: SC65
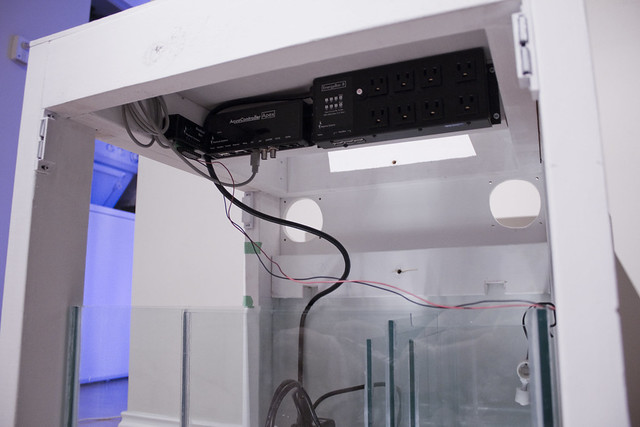
- Controller: Neptune Apex - Temp/pH probes
- TopOff: Breakout box/2 float switches+Aqualifter
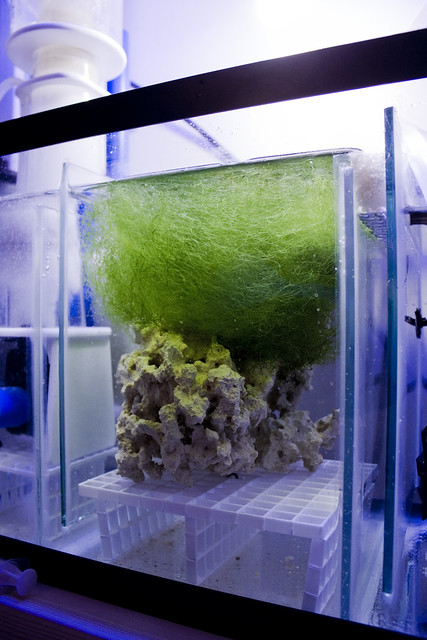
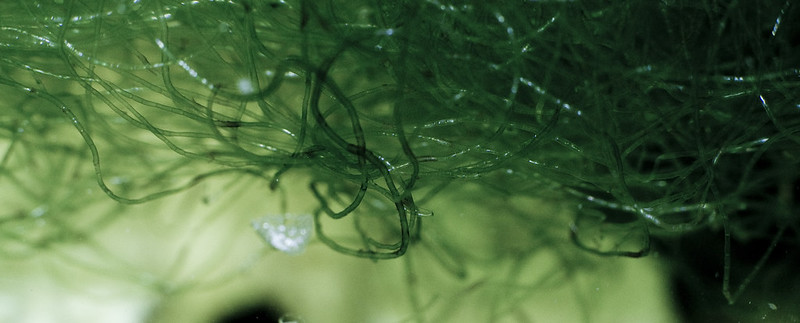
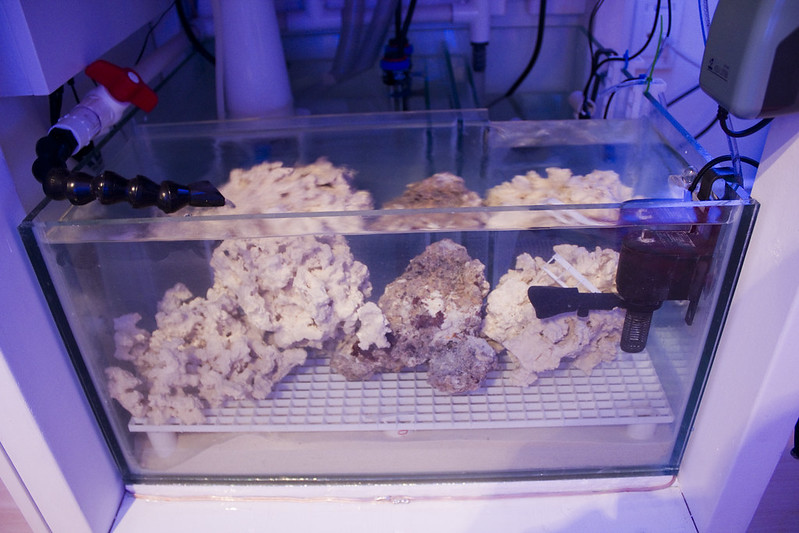
- Bio-Filtration: 50 lbs Marco dry rock + Refugium
- Mech-Filtration: TLF 150 Reactor, Carbon+Rowaphos
- Dosing: Two-Part - Marine Magic triple doser
- Quarantine: 20 long, Mag250, Ebo-Jager 100 watt, SC65, TLF reactor, Tunze nano6015, Hydor425
The Design