Wooden External Overflow Box?

You might ask how can I insert the bulky flange-side of the bulkhead into the skinny, internal overflow-box, when I couldn't do it in the last tank with the same design. The answer lies in the order of construction. Before I fabricate the internal overflow-box in the new tank, I could insert the bulkheads first. That way, they would already be there, once the internal overflow-box gets built up around those prepositioned bulkheads. In doing this, I could have the flange side in the internal box.

What if you need to replace the bulkhead? Or a gasket, even? The plan you describe below of removing the glass sounds really crazy - you wouldn't be able to do that with the tank running.

I think that positioning the flange side of the bulkhead in the internal overflow-box would prevent leakage from the tank better then positioning the flange side of the bulkhead in the external overflow-box. Here's why: When testing the tank yesterday, I observed that the waterline in the external overflow-box did not rise very high during normal operation. However, the waterline of the internal overflow-box is always at maximum height, to the top of the weir. It seems that there is a greater risk of water leakage at the bulkheads in the internal overflow-box than in the external overflow-box because there is more water pressure at the bulkheads in the internal overflow-box. More pressure equals more opportunity to leak water at the bulkhead gasket/seals. Stated otherwise, there is more water weight pressing against the bulkheads in the internal overflow-box, under normal circumstances, than there is pressing against the bulkheads in the external overflow-box.

Logic here is correct but honestly it's a tiny difference. If we assume a 6" difference in depth, that's a difference of only .22 psi. Not worth it, IMHO.
 
What if you need to replace the bulkhead? Or a gasket, even? The plan you describe below of removing the glass sounds really crazy - you wouldn't be able to do that with the tank running. Logic here is correct but honestly it's a tiny difference. If we assume a 6" difference in depth, that's a difference of only .22 psi. Not worth it, IMHO.

Thanks, DerWilleZurMacht. You are correct. It would be a poor design choice, if a quick repair were needed, especially if needed at least once every two years. It's hard to quantify the .22 psi as translated into the percentage of a risk of a leak. I have not yet had the need to replace a gasket or a bulkhead before, and had two tanks running for several years now. However, that is not to say that my experience is the norm here.

How frequently have you had to replace a bulkhead or seal? It may be more of an issue than I had considered. So thanks, for the idea. As it stands now, if I had to replace a gasket or a bulkhead with my current BeanAnimal design (a different aquarium, altogether), I would have to tear apart the plumbing system for the affected bulkhead because my bulkheads and PVC piping are "welded" together with PVC Glue. Thus, I haven't ever had the expectation that doing such a repair would be easy or done while the system is operating.

I'm thinking that the upside to having the seals/gaskets sealing the flange at the glass side of the aquarium, rather than the wood box side, also helps ensure a better seal, due to the smoother surface of glass.

Yet, you have given me pause to re-think this idea, and I will consider your view carefully. Thank you for your informed opinion. It is very helpful.
 
UPDATE with Pictures: Wooden, External Overflow-Box Going Strong!

UPDATE with Pictures: Wooden, External Overflow-Box Going Strong!

Hey, All:

I wanted to post an update on the status of my wooden overflow box. So far, after about 8 weeks in submerged water, it is more than holding steady: it is supremely strong. The glued and epoxy-painted box is dry as a bone. There are absolutely no leaks, not even the slightest drop!

The BeanAnimal overflow system is working flawlessly. The water flows smoothly from my skinny, internal overflow-box through five holes drilled in the back wall of the aquarium via bulkheads, to the wider, trough-like, wooden, external overflow-box on the rear of the tank. The water then drains down into the sump, via the "siphon" line and the "open-channel" line, with the third PVC line operating as a dry, emergency, overflow channel.

When fabricating everything together, I initially had some challenges attaching the wooden, external overflow-box to the back of the tank. The wooden holes did not seem to accommodate a flush finish against the bulkheads. But this problem was quickly fixed, when I identified that Wood Hole No. 2 was bored at a slight, upward angle. This caused the bulkhead to cheat upward, as well, at a very slight angle. I predicted that leaving the connection in that state would surely cause a leak. So I simply re-bored out Wood Hole No. 2 a little bit, at a straighter angle. This allowed the bulkhead stem to penetrate straightly through the wood hole. Voila. Worked like a charm. The box fit nicely and snugly on the back of the tank, with a very tight seal.

The nice thing about a wooden overflow-box is that I don't need to worry about cracking it, by some mishap or accidental bump. Wood is so easy-going, I just love it.

Here are some pictures of the entire setup. I will add more aquascaping and LR as the tank matures--it's still a very new setup. (Though the box has been going for 8 weeks, I had to kill the LR and start over with it, due to bryopsis algae that developed from LR purchased at a LFS; so the tank is still relatively new and cycling. That is why it looks so new and barren in the photos. Adding to this barren look is the fact that this is a bare-bottom tank; it will ultimately have zoas and coralline algae growing on the floor of the tank. Give it time, folks!)

I recommend installing a wooden overflow-box, if you are the least bit unskilled in fabricating an external overflow-box out of glass and attaching it to the back of an aquarium.

Photo: Straight On View of Tank. (Notice The Internal Overflow-Box Along the Upper, Back Side of the Tank):

20131026_171828_zps55861a19.jpg


Photo: Above the Overflow Box, From the Left Side:

20131026_171851_zps21d8b9d7.jpg


Photo: Beneath the Overflow Box, From the Left Side:

20131026_172052_zps7d3bfc2c.jpg


Photo: Right Side View of Tank, Depicting Both the Internal and External Overflow Boxes:

20131026_171922_zpsf57c9e14.jpg


Photo: Beneath the Overflow Box, From the Right Side:

20131026_171947_zpsfd134721.jpg


Photo: Above the Overflow Box, From the Right Side:

20131026_171936_zps33e4b104.jpg


Photo: Unskirted Tank Stand, Revealing Trigger System Ruby Sump with Drainlines, SWC Skimmer, and Waterfall Algae Turf Scrubber

20131026_172120_zpse2aed8ae.jpg


Photo: Unskirted Tank Stand, from Right Side:

20131026_175302_zpsa2e72ad7.jpg
 
Last edited:
I wanted to post an update on the status of my wooden overflow box. So far, after about 8 weeks in submerged water, it is more than holding steady: it is supremely strong. The glued and epoxy-painted box is dry as a bone. There are absolutely no leaks, not even the slightest drop!

I recommend installing a wooden overflow-box, if you are the least bit unskilled in fabricating an external overflow-box out of glass and attaching it to the back of an aquarium.

I'm looking at doing an overflow soon for my tank (125g), I question the longevity of this idea. How's it holding up?
 
Why would one have an external box on a drilled tank?

Doing the external overflow allows you to reduce the space in the tank of the required overflow box, some people don't like how much space this can take up. Instead of making it deep enough to handle the piping of say 1 - 1.5" PVC, you only need it deep enough for say 1-1.5" (not sure of exact size needed) to then bring the water to the external box.

For myself doing a freshwater tank with it being heavily planted I've heard most guys complain about the size the internal overflow tanks up and it can also cause a bit of a shadow for lighting.
 
Updated Mar. 22, 2014, with Pictures: About 7 Months Old and Going Strong!

Updated Mar. 22, 2014, with Pictures: About 7 Months Old and Going Strong!

I'm looking at doing an overflow soon for my tank (125g), I question the longevity of this idea. How's it holding up?

Thanks for your question, Chayos. As of today, March 22, 2014, there have been no problems, whatsoever. No leaks, no drips, and no cracks in the paint. The top surface of the stand beneath the box is gathering dust, but no water droplets. The outside surface of the box is dry as a bone. The inside surface of the box that is exposed to air is gathering salt-creep, but that has presented no problems at all. The water level in the external box stays level at about a third of the way up, and with the BeanAnimal design, there has never been a flood or overflow of water from the external box.

As you point out, I really like the slimmer profile of the coast-to-coast weir inside the tank, which is made possible by the external overflow box, outside of the tank. I am deeply comforted by the fact that the wooden, external box won't crack or chip like glass, no matter what happens, ever. (I have child who has historically tried to smack things against different parts of the tank or try to drop things in the tank. The thought of things bumping against the external box doesn't worry me as much as it would if it were made of glass.)

When you think of the paint on the external overflow box, think of really tough nail polish. That's what it is like. In the pictures below, see how shiny the black paint is. The hard-as-nail-polish epoxy seals the wood, and I am rather impressed by its rugged, water-proof quality. The seals between the overflow box and the back of the tank are water-tight. Yet, I was very careful when making the adjustments, for fear of over-tightening the bulkheads, with possible risk of cracking the back wall of the aquarium. But all went well; no worries there.

The only "problem" I have ever experienced with any of the two overflow boxes is that my Starry Blenny will sometimes jump into the internal, overflow box, sometimes making it as far as the external, overflow box. However, this is not really a "problem"; I scoop the confused Blenny out of either box with great ease (even the skinny box has room for a small fish net) and put the fish back in the tank. :)

Anyhow, good luck with your design. Keep us posted. I absolutely love the wooden, external box.

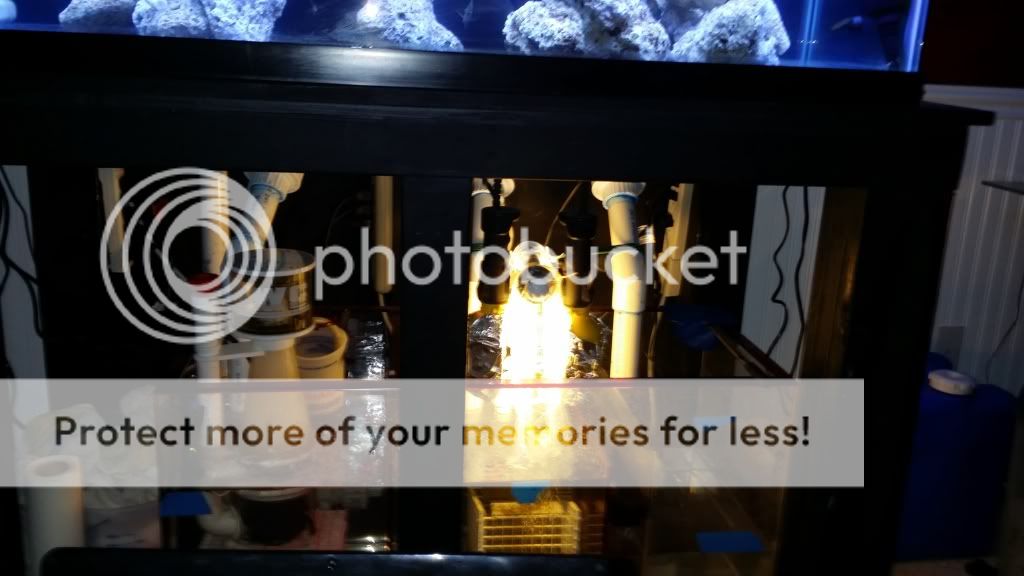
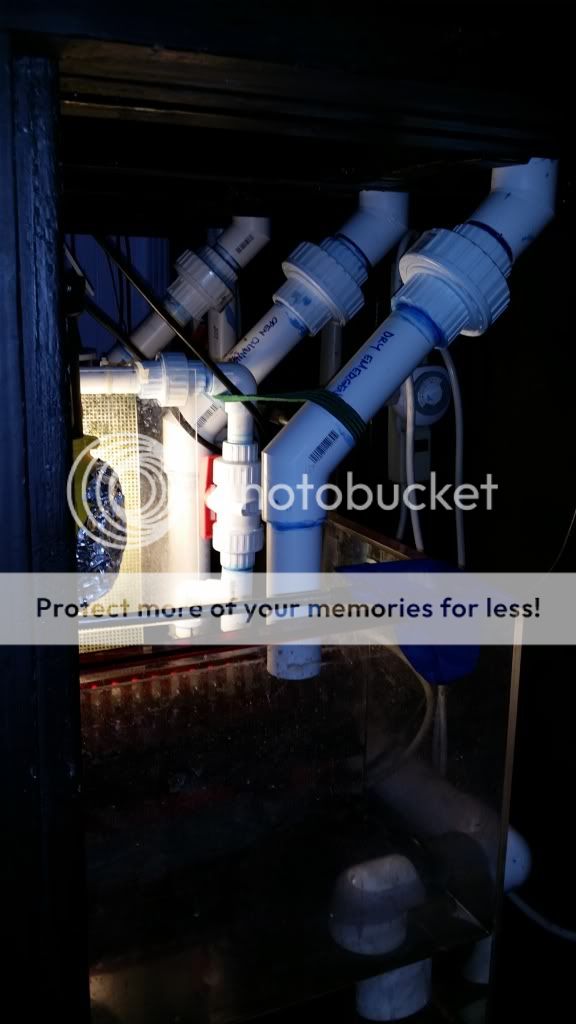
Here are photos of the entire setup, taken today:

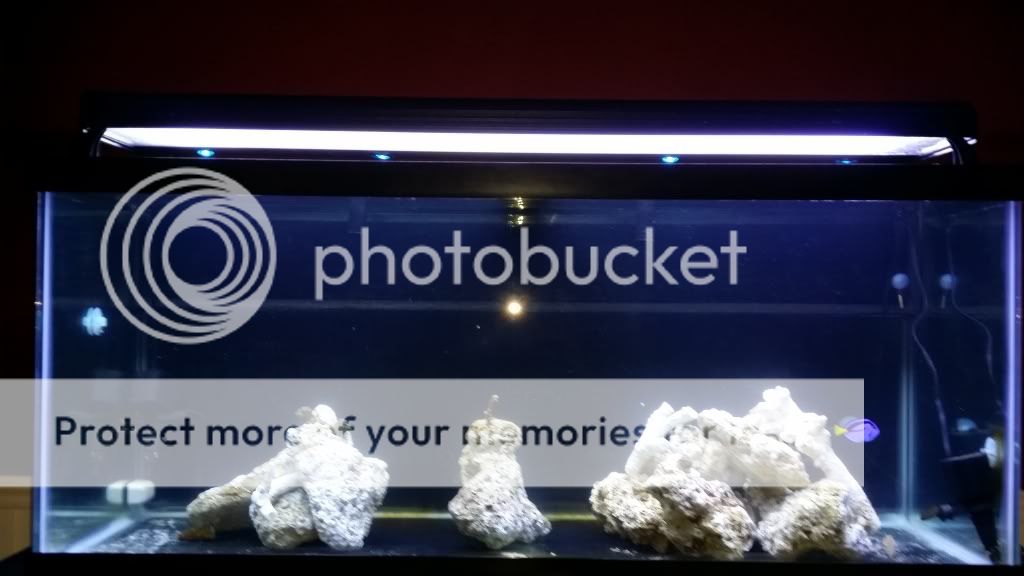
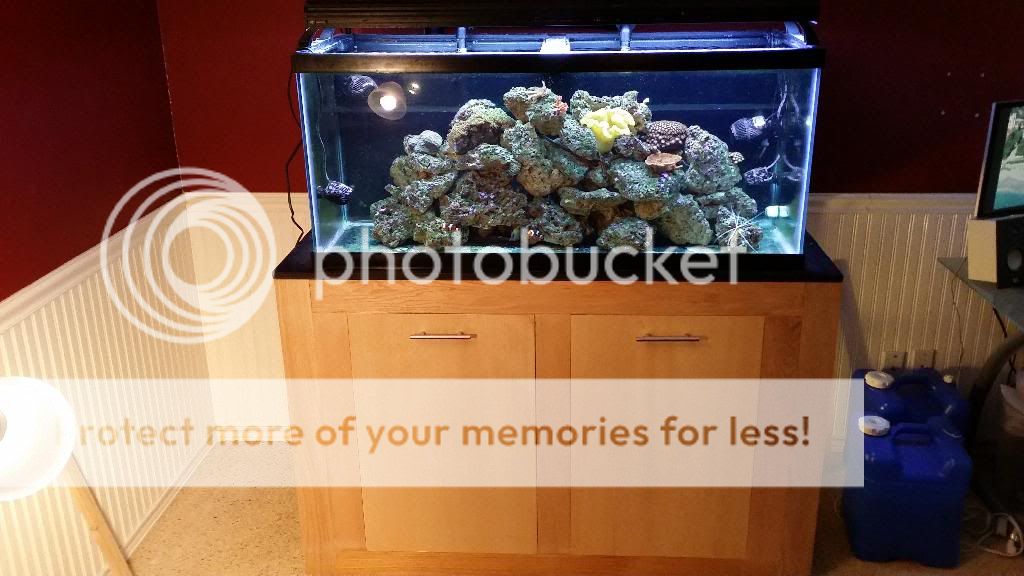
Photo 1: Looking at the bare-bottom aquarium-set-up from the front, displaying my DIY stand with pop-out cabinet doors, the reef wall, and the unobtrusive, internal, overflow box, which is skinnier, front to back, with an external box behind it than it otherwise would be. That is the benefit, aesthetically, of using an external, overflow box in conjunction with an internal, overflow box. Now, I admit that the external, overflow box is a bit of an eyesore, when glancing at the setup from the side (see pictures below). However, I intend to house the external overflow box inside a rear canopy-hutch that will hide the external, overflow box and look like the a continuation of the aquarium stand. So there will be no eyesore, when I am done. I just haven't gotten around to that project yet.

20140322_161123_zpsov8uw7rx.jpg


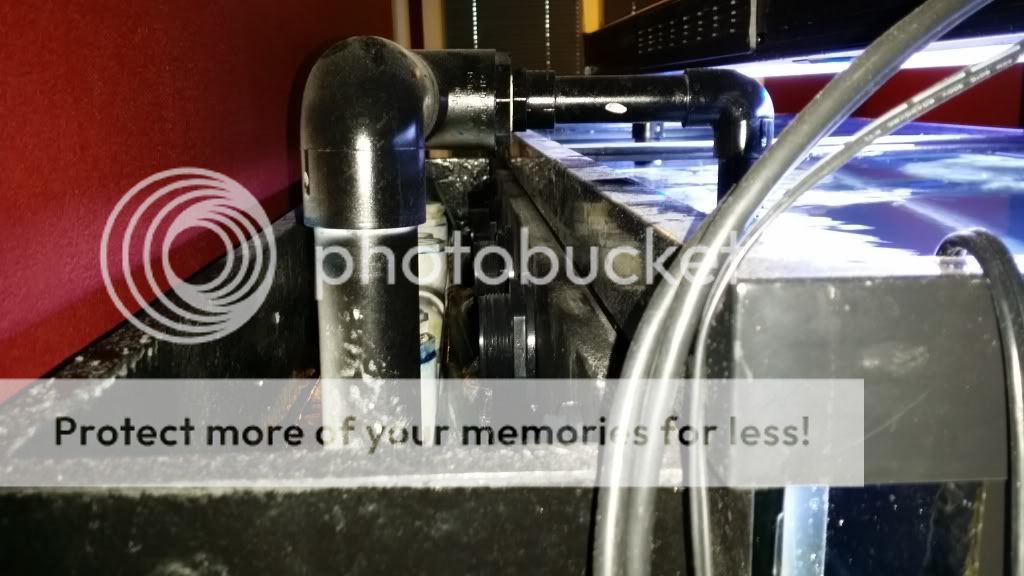
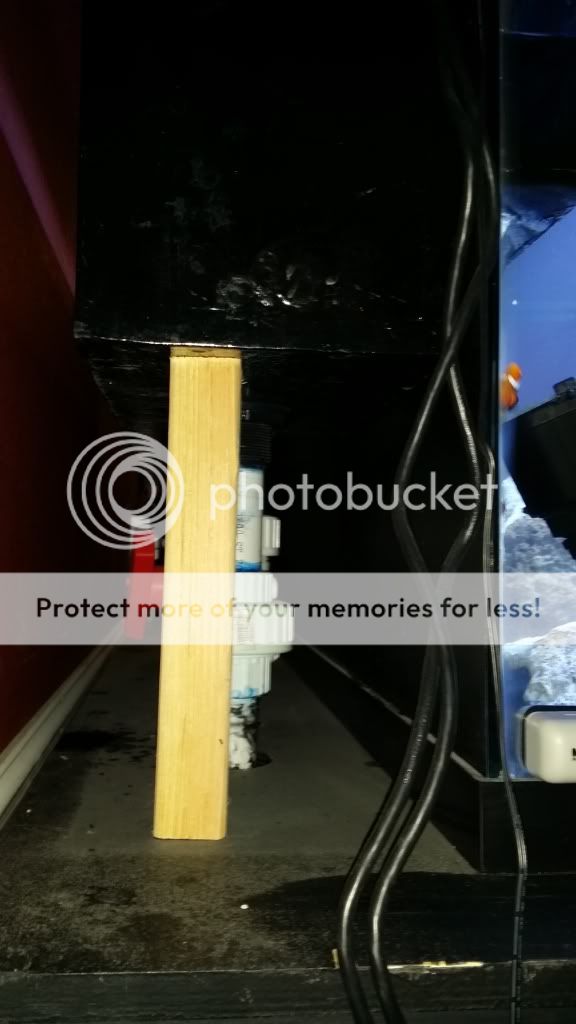
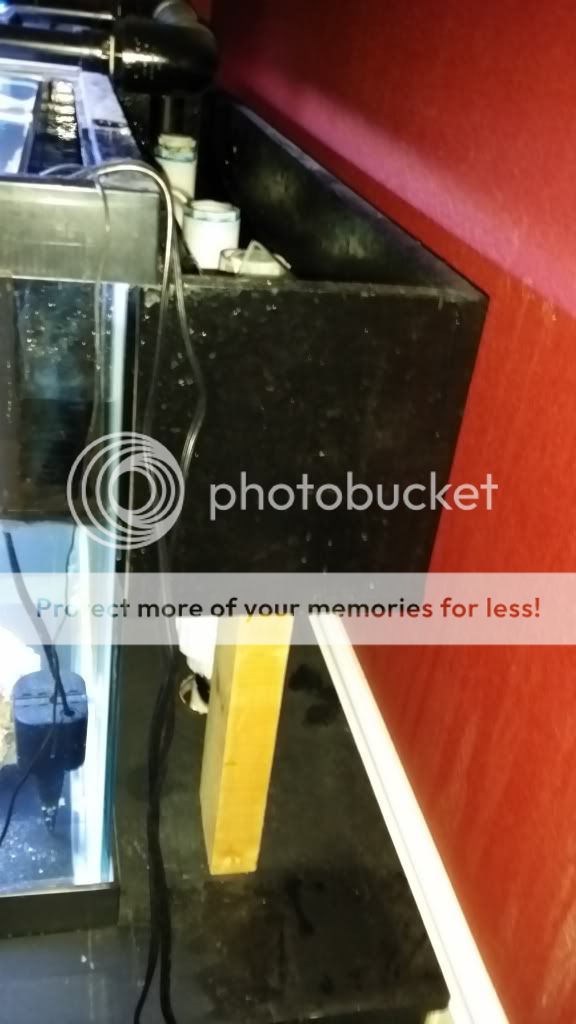
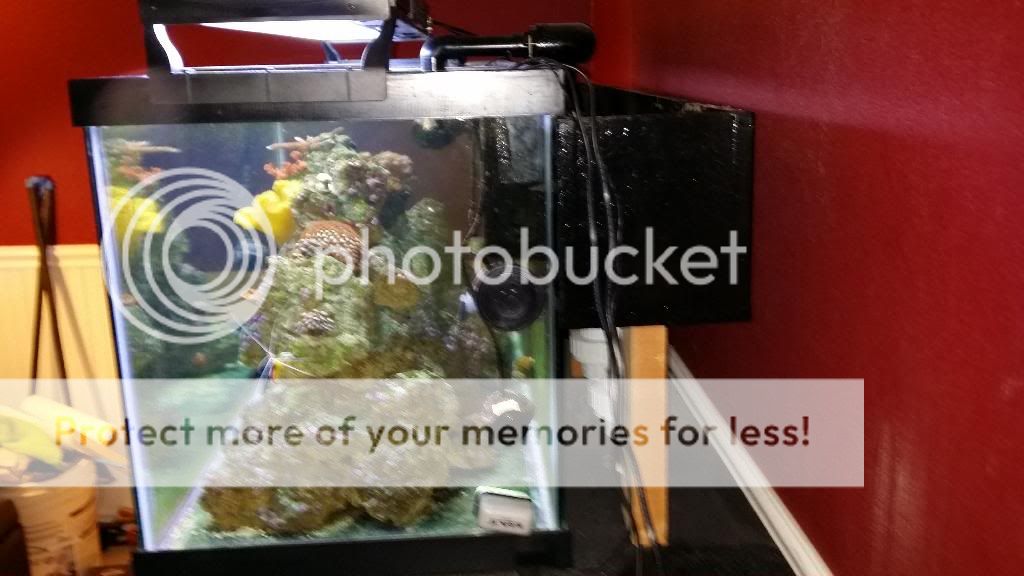
Photos 2-3: Looking behind the tank from the left, beneath and above the wooden, external, overflow box. Note the salt-creep above the box on its edges, and how dry and dusty it is below, with no sign of leakage. This box will be covered from view by the canopy-hutch, when I am done. Note also that there is a slim piece of glass propped at an angle in the external, overflow box, to allow the water to cascade more quietly into the overflow box. (You can see it with gathered saltcreep.)

20140322_161208_zpsedsvv1of.jpg


20140322_161228_zpsm88edvcv.jpg


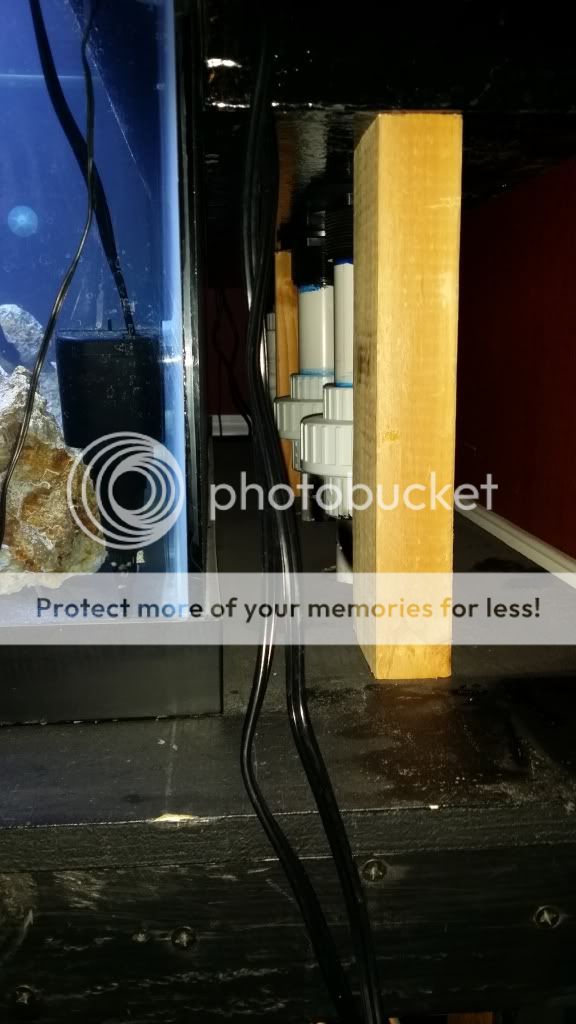
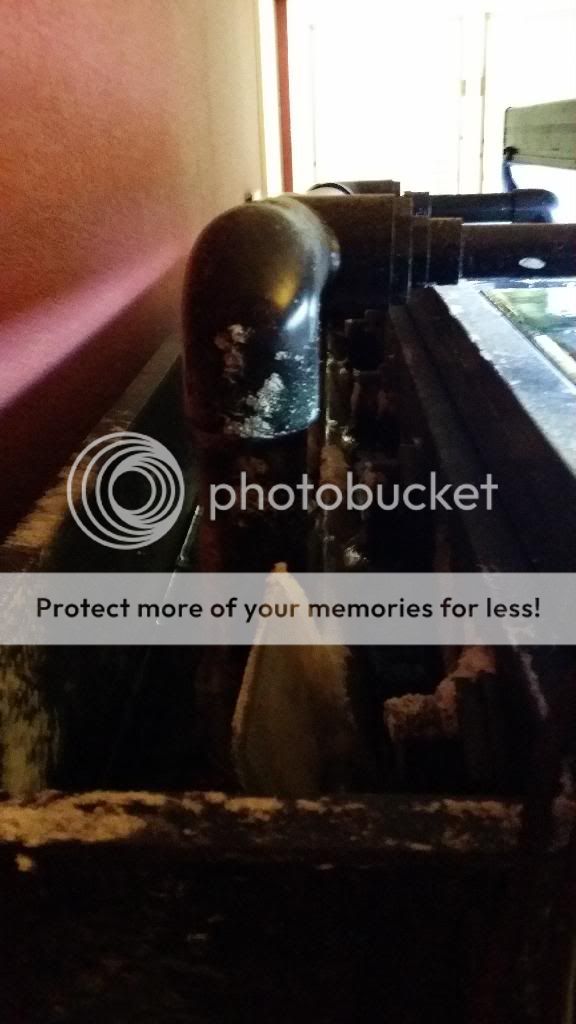
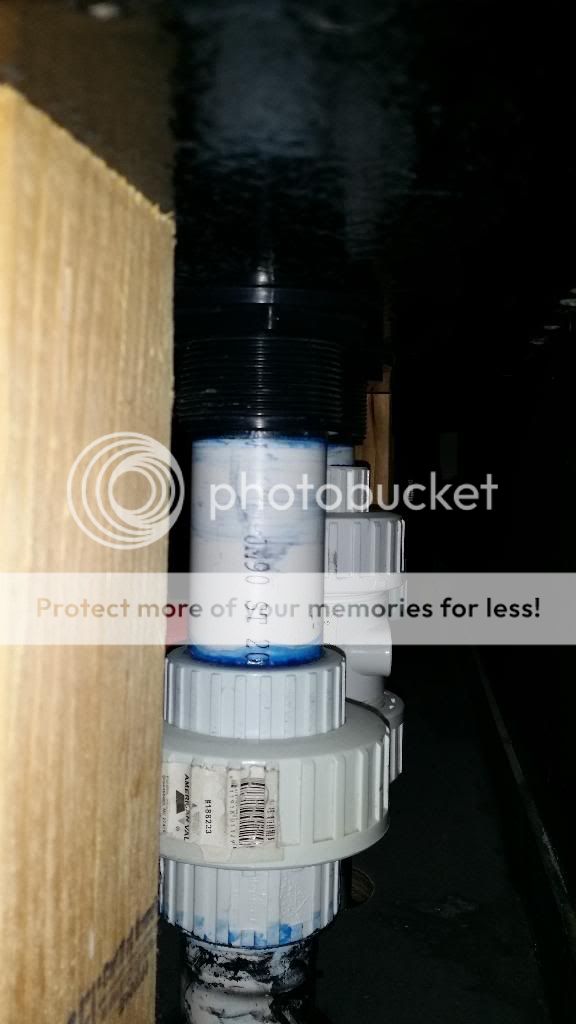
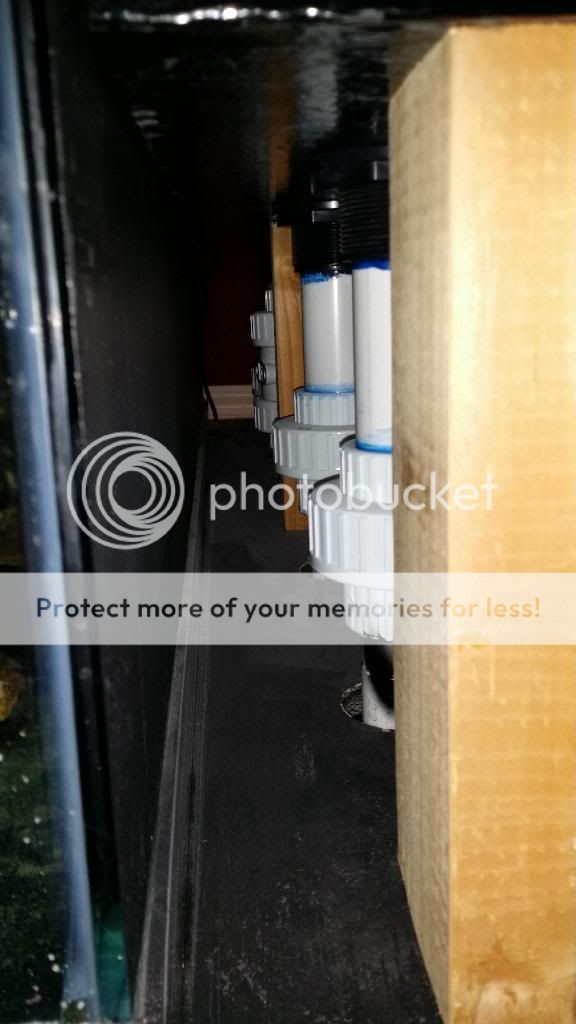
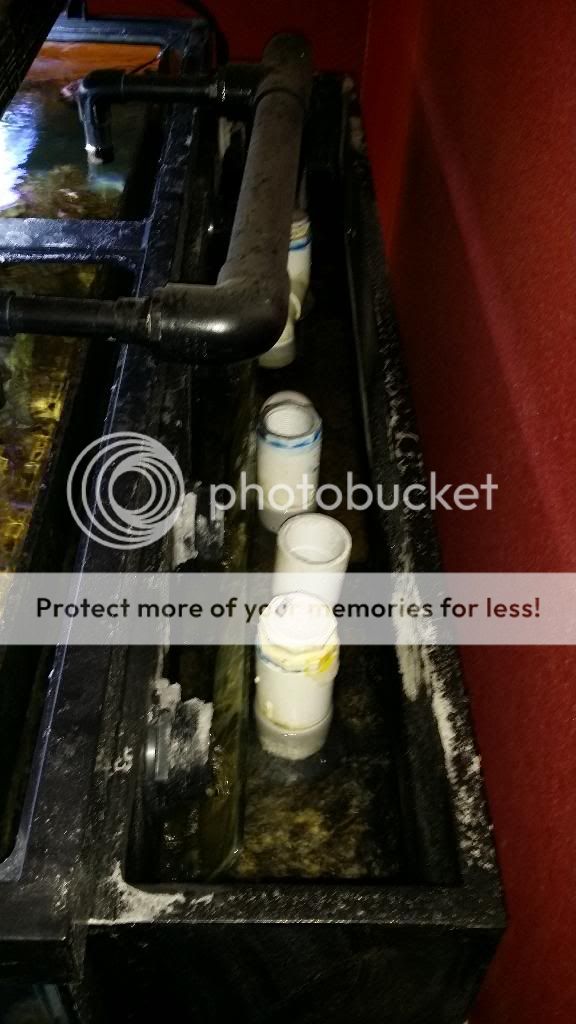
Photos 4-6: Looking behind the tank from the right, above and beneath the wooden, external, overflow box. Again, note how dry and dusty it is below and the salt-creep above, from evaporation, but that has caused no problems.

20140322_161300_zpsrtleir1d.jpg


20140322_161311_zps2d6exh5o.jpg


20140322_161325_zpsut5vgfct.jpg


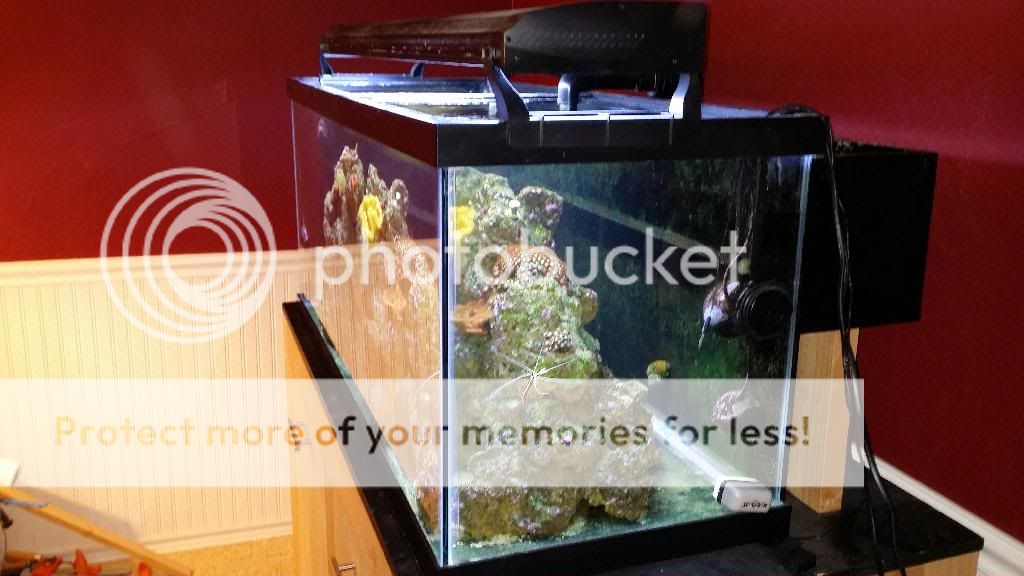
Photos 7-8: Looking from the right side. Note how skinny and unobtrusive the glass, internal box is from the side-profile view. By comparison, see how deep the wooden, external box is.

20140322_161356_zpslnl3kml2.jpg


Note: there is no nuisance algae in this tank, thanks in part to the BB tank and the DIY, waterfall, algae turf scrubber (not pictured). What you seen as green matter on the walls and the floor of the aquarium is actually coralline algae, in its pre-purple stage; its hard and crusty.

All in all, I'm very happy with this tank.


20140322_161408_zpsdxlhrg8a.jpg
 
Back
Top