125-gallon Rebuild?

Ding Dong! The witch is dead!

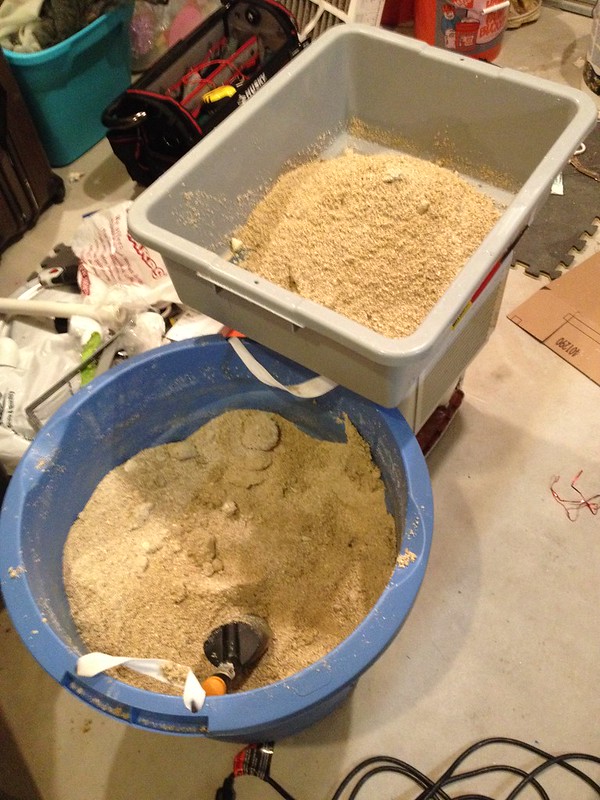
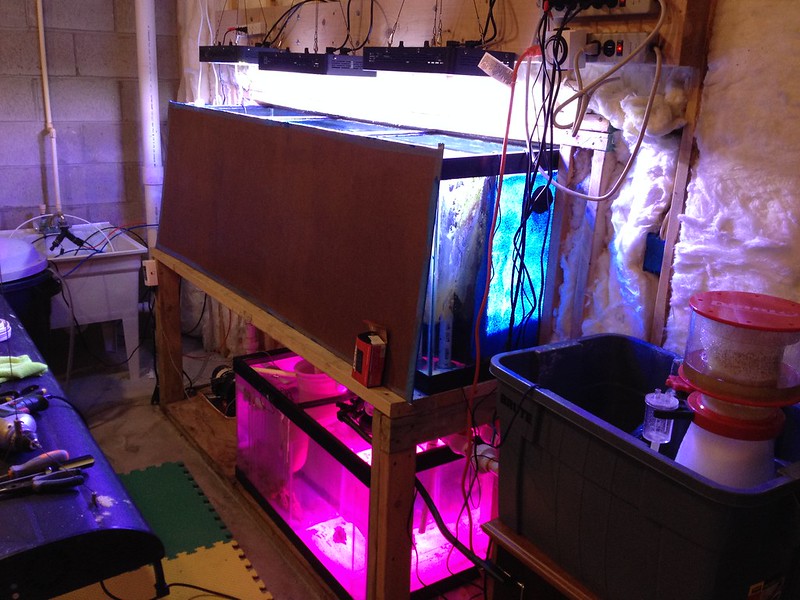
I finally, after all these years, was able to go tighten the leak. First of all, I had to empty the tank, which I was already doing as part of my break-down and rebuild.

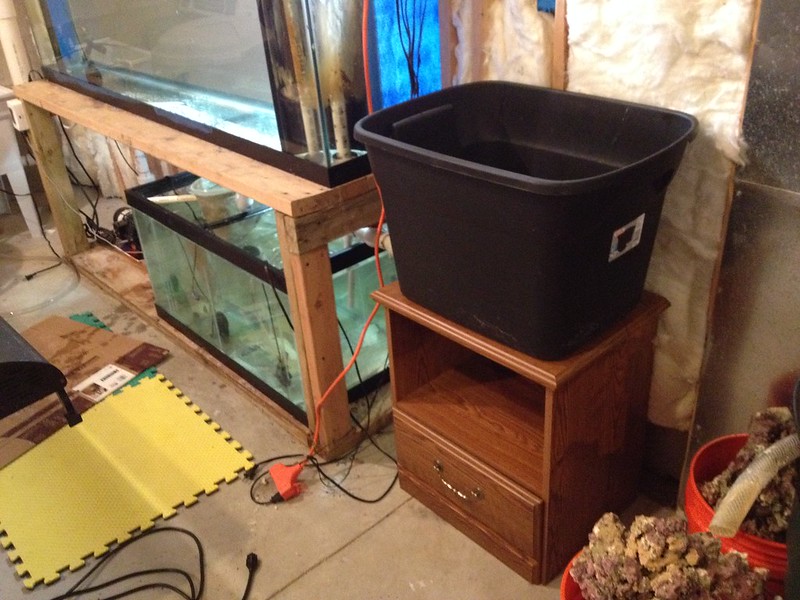
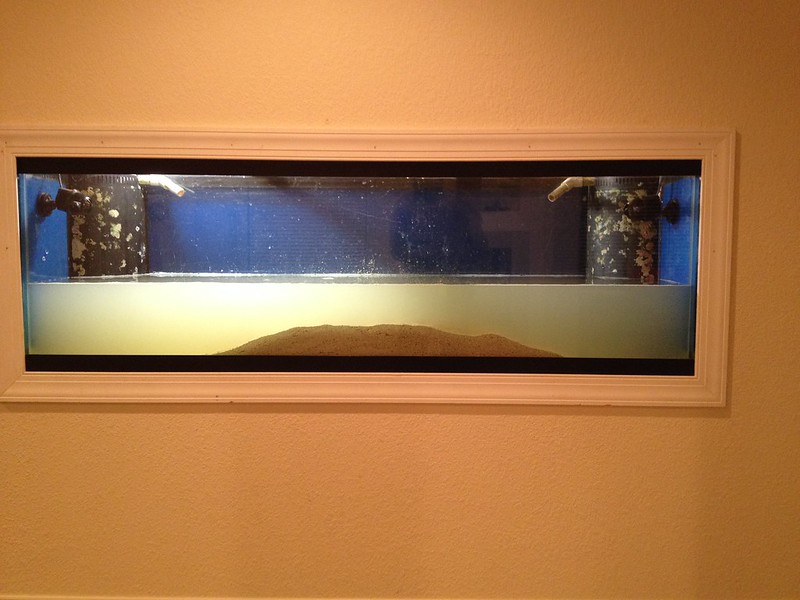
I was then able to prop it up just an inch or two:


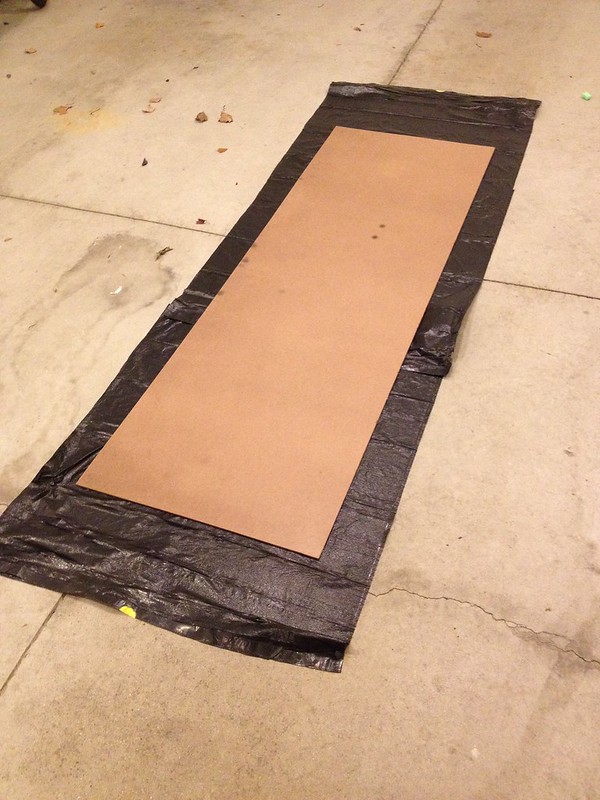
In order to accomplish this, I needed to tear apart the frame on the outer side:


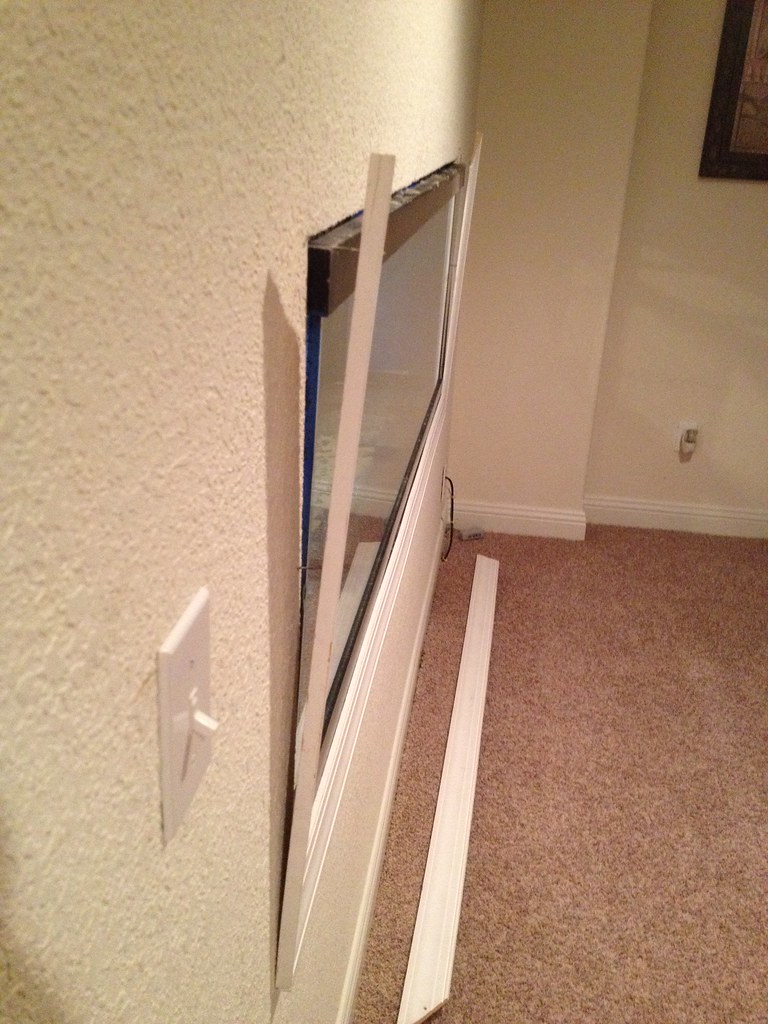
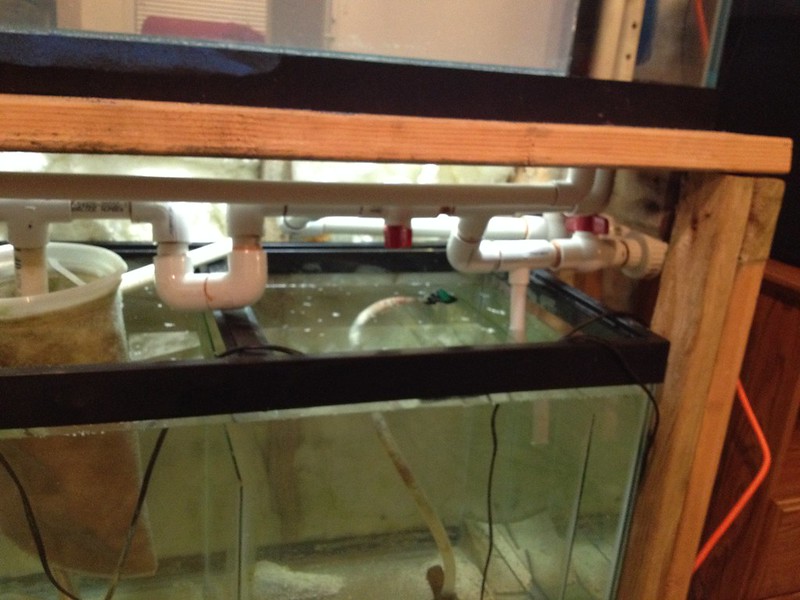
This is how much room I had to work with:


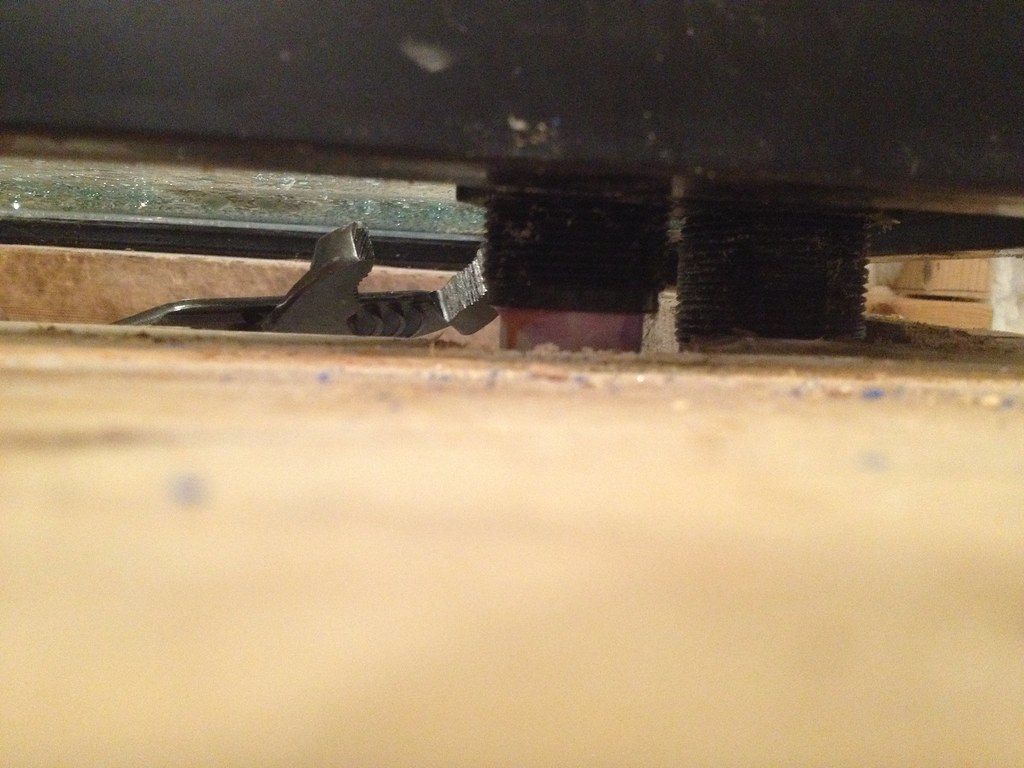
But in the end, I was able to tighten the nuts. Just hope I didn't overtighten!
 
In other news, I took apart and cleaned the sump. I am fully broken down now. Need to clean sand and rocks, and after that I will be all cleaned as well, and the rebuild can begin.

Also, received my new Reef Octopus Diablo skimmer! super excited to see it in action!

 
Put sump back in place, fixed plumbing, and added a lot more plumbing for a secondary sump to put my new protein skimmer. I cannot put my protein skimmer in my real sump because (1) the water level is too deep in my sump and (2) there is too little vertical height beneath the tank. My prior sump sat outside on an upside-down bucket. This one will go into a rubbermaid secondary sump--had to do a lot more plumbing to accomplish that.


I was planning on using a hard plastic, painted blue, that I could just slide behind the tank for display, and slide out when i need access from the back.

On the local forum I'm with, one of the members uses Velcro and clothe on the back of the tanks so if he wants he can change the color
 
Just an idea for the back look of the tank. I don't know how hight he ceilings are but maybe you can mount a pull down background, like how a project screen works. You can pick a solid color or get a picture printed on one. Then you can set it about a foot back from the tank and when you are not working in that back room you can just pull it down for a clean look. Then when you need you just let it roll back up out of the way when you are in the back room. Kind of hits both ideas of a clean background that's not permanent and a see through of each side.

Great setup otherwise. Can't wait to see it all stocked up.
 
Very nice idea. Maybe even just a cheap projector screen painted blue suspended from the ceiling....
 
Man! You've been busy!

Do you have any stocking plans or interesting aquascaping coming up?

Stocking.... Wow haven't even thought that far--previously my favorite inhabitants were: yellow tang, blue hippo, diamond goby, purple firefish, purple/yellow basslet, clown. Would love those guys back. One thing I wanted to get into was anthias but never got that far--their feeding schedule scares me.

I had good softies, and was just getting into SPS when my first original big crash happened. Definitely want to have a lot of SPS.
 
Finished plumbing in the secondary sump for my new monster Diablo skimmer--but of course there was a leak in my plumbing, so I am waiting for silicone to dry before I can do more. I am using a Brute as a secondary sump with bulkheads--some say it can't be done, but I figure, what have I got to lose? (famous last words)


Also, installed my new RO/DI from BRS, which unfortunately leaks--working with customer support to fix it (they are helpful so far).


rebuilds suck, but so rewarding when finished. and seems like your doin very very well with this rebuild. good luck and good job so far...
 
with my new secondary sump, i've had to re-do a lot of plumbing, which leaked, and has set me back a few days. I finally have things un-leaked, i think. The official tap water phase has begun tonight, with no immediate leaks yet.

Also, made the backing--I like the projector screen idea, but for now went with a simple wooden board--I forget what it is called, something between cardboard and plywood--and painted in blue. It will rest freely just behind the tank, easily removed for access/cleaning etc.

The board:


Primer layer (got the kids to help):


Paint Layer:


Not pictured is a clear final layer for waterproofing, front and back.
 
rebuilds suck, but so rewarding when finished. and seems like your doin very very well with this rebuild. good luck and good job so far...

I don't know... I'm kinda having fun (until the stupid plumbing leaks that set me back for a couple of days). It gives me a chance to do it right this time around. Also making sure not to cut corners or take shortcuts this time around--which, like you said, I think will be rewarded in the future.

thanks for the kind words!
 
Well, I have been working night shift for this past week, so I had little time to devote to the tank.

That being said, the current project was cleaning my old sand, one batch at a time:


Started filling up the tank with RO/DI and the sand as I cleaned it:


Here is a little more progress:


Got my old rocks ready for a bleach bath:


It's less than 20 degress outside, and I am not sure what the freezing point of bleach/water mix is, but I hope the powerhead is enough to keep water from freezing over.


Also, the wife and I decided to pain the basement:

 
Got my ReefBreeders value LEDs, super excited to set them up:


Got them installed and running. Had to tweak the colors to get it looking right:


The Reefbreeders fuge light is quite red. hope it grows some good cheato.

My ammonia one week ago was almost 2, now it's 0.25, so I am well on my way.... just don't have any rock yet... it's all frozen outside!
 
Lookin great!! I can't wait to have a proper fish room.

I would at least put up some paneling up to cover that insulation. It will slowly shed fibers that probably won't harm the tank but are not good for you and the kids to be breathing.
 
i heard those reefbreeders fuge lights are good. they grow many kinds of macro in fuges rather quickly. i have been eyeing them up for some time now...
 
Back
Top