40 breeder build

Update: I have been making decent progress on the build. I am almost finished with construction of the stand, then I will build a canopy, and finally paint everything white.

I picked up a 20 long to do a diy sump, and I am looking for recommendations on spacing between the baffles. My plan is to run 4 sections, 1st:skimmer, 2nd:return,3rd:fuge,4th:ato reservoir. I will be using a sicce 2.0 return pump, and plumbing it to a manifold. I will use the manifold to feed a gfo reactor, a carbon reactor, the fuge, and the display tank. I will also plumb and extra unused spot for future additions such as a uv light or whatever I need.

Thoughts? Recommendations? Thanks.
 
4 chambers in a 20l sump might be a bit tight. I've found that you want to leave as much space as possible for the return section since that's where evap happens. If you set up an ATO then it's not as big a deal, but it's still nice to have the space. Imo, I would remove the fresh water reservoir and split that space between the fuge section and the return.
 
4 chambers in a 20l sump might be a bit tight. I've found that you want to leave as much space as possible for the return section since that's where evap happens. If you set up an ATO then it's not as big a deal, but it's still nice to have the space. Imo, I would remove the fresh water reservoir and split that space between the fuge section and the return.

I purposely wanted the return section to be small, I will be using a tunze osmolator ato, so I figured with that section being small it would help to maintain more consistent salinity. Is that not true?

I also do not have anywhere to store top off water, so it will have to be sectioned out of the sump. I think a 5" or so section will be plenty of top off water.
 
I also do not have anywhere to store top off water, so it will have to be sectioned out of the sump. I think a 5" or so section will be plenty of top off water.

a 5" section in a 20L won't hold more than 3 gallon. that's not a lot of top off water.


J.
 
I purposely wanted the return section to be small, I will be using a tunze osmolator ato, so I figured with that section being small it would help to maintain more consistent salinity. Is that not true?

I also do not have anywhere to store top off water, so it will have to be sectioned out of the sump. I think a 5" or so section will be plenty of top off water.

I hear what you're saying, but I don't think the size of the return section should have any effect on salinity if you run an ato, that would depend on how high you set the low water sensor. For some reason I just remember wishing I had made the return section larger when I built an acrylic sump a bunch of years ago.

I really like the idea of building your own sump. I remember being surprised how much the bubble trap and the thickness of the baffles add up. A 20L is 30" long (29.5" inner) 12" wide and high. Let's say you use only 8" for the skimmer, 5" for the return, you need 2.25" for the bubble trap if you use a 3/4" space, that's 15.25", 2 more baffles make it 15.75". You can get just under 7" out of the fuge and fresh water sections, and if you baffle up to the top you can get 4 gallons of fresh water in there. Maybe you can pick up some space with a smaller footprint skimmer? If you drop to 5" on the reserve you can get 7" in the return but only 2.9gal fresh water. I'm sure you will figure out a good use of the space.

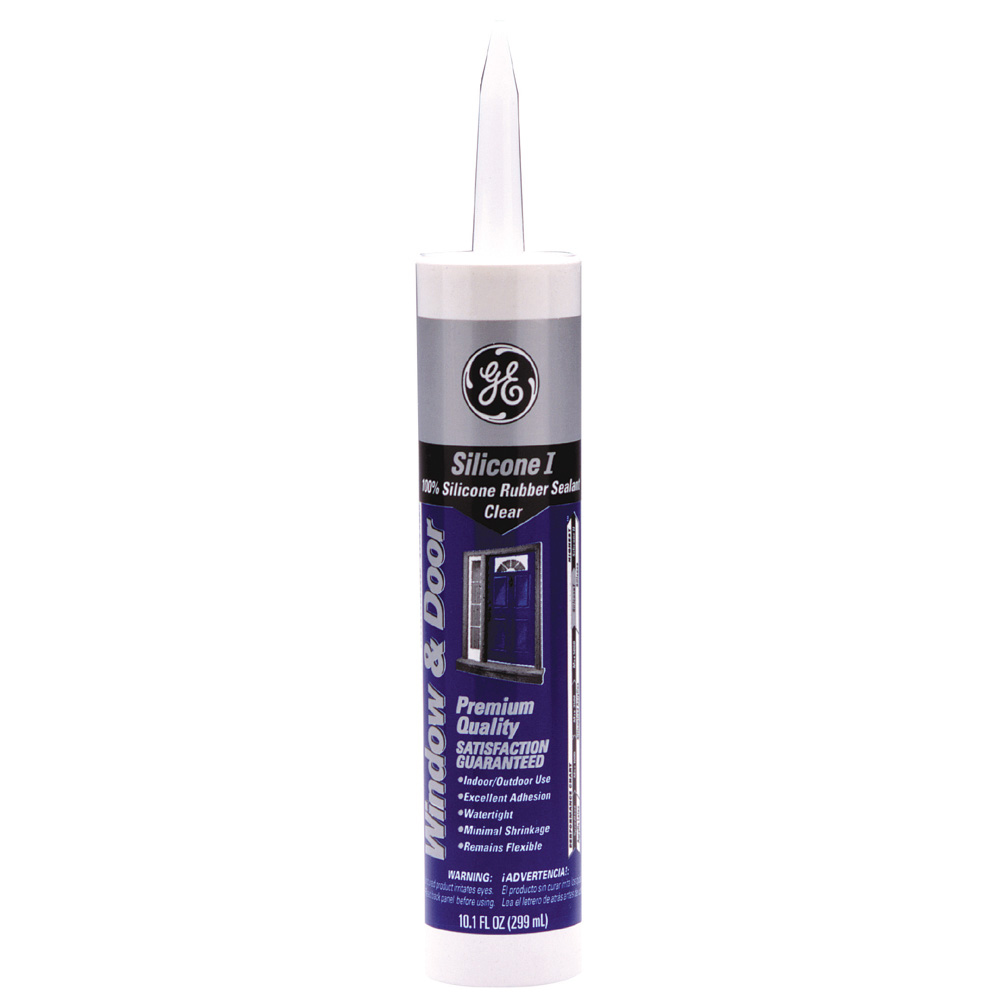
What were you thinking about using for the baffles? I got glass ones when I did a 75gal sump because all I read was you wouldn't be able to get a good water tight bond if you mix materials. Getting glass cut wasn't as cheap as I expected, I don't remember the price. I'm going to be starting to build a 50 gal sump and I'm curious to see which route you take. I just found this:
GE Silicone I
Model: GE012A

100% Clear Silicone I Window & Door Sealant

059028006006.jpg


Buy it at Lowes for less than $4/tube.

It is the SAME silicone that All-Glass Aquarium uses (sold at most pet stores). GE used to label his silicone "aquarium safe" (or something like that) but is now selling it to AGA (reselling it way at a higher price!!!!) and by contract, if you call them, they will not say that it's the same thing nor that is aquarium safe, even thou it is!

:)

Hopefully someone can confirm that's correct. At any rate I'm looking forward to watching your progress, I'm sure it's going to come out great. Any pictures of the stand and the sump would be cool to see.
 
I'm thinking 10" for skimmer, 5" for return, 5" for ato reservoir, and whatever is left will be my fuge. I mean, I've had a tank going for a while now without a fuge at all, so I think even of it is small, it's better than I have now. It's more important to me to have an auto top off than a large fuge, and this is the only way I can do it.

I am running a tunze 9004 skimmer for now, which has a super small footprint and is magnetized to the side instead of resting on the bottom, so in theory, I could possibly use my skimmer section to house some live rock or even some chaeto as well.
 
The build is progressing slowly but surely. work keeps sending me out of town so it has been difficult to get much accomplished.

i have finished the stand, still need to build a canopy but im holding off on that and will just add it later after everything is up and running.

i ended up getting glass cut at lowe's for the baffles. fairly inexpensive. i used ge 1 silicone to glue them in place. i changed the layout up a little from my original plan and decided on a more traditional skimmer, fuge, return layout. i did incorporate a 5 gal ato reservoir. im out of town for work again at the moment and cant remember exactly what dimensions i ended up going with on the spacing. somewhere around 5" on the skimmer, 5" for the return, i believe the fuge is 10 or 11 inches, and the ato reservoir is the remainder. i spaced the baffles using a 2x4, so they are roughly 1.5" off the bottom, and 1.5" apart.

i took my brs dual reactor apart and rotated the housings to seperate each reactor independent from each other. i built a manifold off the return pump to feed them, and left an extra port for a uv sterilizer at a later date.

i drilled 3 holes in the bottom of the 40 breeder, and build an all glass center overflow. i went with a herbie style drain. i have the return coming up through the overflow box, and t'ing out 90 degrees towards the sides, i then put a 45 degree fitting on the end and will be adding locline and nozzles to that. i assembled everything and filled it with tap water to test and it performed flawlessly. no leaks, no flooding when power to the pump is removed, and the siphon will restart itself when power is returned.

it is currently all broken back down, i painted the stand right before leaving town. hopefully once i get back in town i will be ready to transfer everything from my 20gal tank into the 40 breeder.

i have 40lbs of dry rock and 40lbs of dry sand that i cycled by putting in a plastic tub of saltwater with a heater and powerhead. i pulled a small piece of liverock from my established 20gal tank and placed it in the tub, and i ghost fed until i saw an ammonia spike. i did this a few months ago, and have continued to ghost feed it a few times a week to keep the bacteria alive. it should be good and cycled. i also placed a grow light over it to hopefully get the "ugly" stage over with before actually setting up the tank.

i have pics on my phone but im not sure i can upload them, ill give it a shot and see what happens. i always used photobucket and we all know what happened there. ive tried a few other sites since then and really dont like any of them so i need to find a good place to host the pics.
 
Going to see if this works for uploading photos.

First few pics of during construction of the stand. i chose to use 2x4's and 3/4" plywood. I made a rectangle out of the 2x4's the same dimensions as the tank, i then used my table saw to notch the 2x4's so that they would sit flush on top of the 3/4" plywood. this way, the plywood is supporting all of the weight of the tank and distributing it evenly down to the metal adjustable feet that i installed on the bottom of the stand. the plywood will ensure there is no bowing or flexing creating any pressure points on the tank, and the leveling feet will ensure that i can perfectly level the tank once in place. I also ran some trim around the plywood to cover up all the edges and clean it up a bit. i made the trim stick up slightly higher than the 2x4's to help lock the tank into position exactly where i wanted it. didnt want to rely on my eyeballs to get it straight on the stand and then realize it was a little crooked after it was full of water haha.

https://photos.app.goo.gl/ksMFpaRBS4xZwMPG2
https://photos.app.goo.gl/d2dxuIPGAF2Q3wf32
https://photos.app.goo.gl/pJC2ZeT0ToYSevjh1
https://photos.app.goo.gl/tnKBMHXsTL4vIp0k1
https://photos.app.goo.gl/UgDLUWLVV2T5yvRW2


my quick little hole drilling guide
https://photos.app.goo.gl/5NMwRFHzEyehWuyN2
https://photos.app.goo.gl/LkE8pmau5sXadakN2

painted the back of the tank black, and installed the drain pipes. from left to right i have full siphon, emerency drain, and the return
https://photos.app.goo.gl/ytUKSEYKsd4LaJmv1
 
Last edited:
i forgot to take pictures of the overflow before siliconing it in place. basically i siliconed the 3 pieces together, painted the inside black, and once dry, i siliconed that into place on the tank.
https://photos.app.goo.gl/N6FbUP6TGT0joS303
https://photos.app.goo.gl/rZOBt7V8QBJrq9773

here is my modified brs dual reactor. basically, i removed the nylon screws holding the top plate on, unscrewed the reactors from each other, rotated them 90 degrees, and reinstalled the nylon screws. i then used 1/2" barb fittings for the "in" and "out".
https://photos.app.goo.gl/jguVt6vOPOxyhBUW2
https://photos.app.goo.gl/fJfWwFlqhPsGoCnn1

here it is plumbed into the manifold. i just have the 2 outlet lines dumping back into the return section. i plan to put zipties on all the connections once it is mounted permanently.
https://photos.app.goo.gl/SS5t4APcwJg0QMbF3

here is the rest of the plumbing and a picture of the water test.
https://photos.app.goo.gl/TuGkg8KnJkDkLro63

picture of the display during the water test. white pvc at the top for the return is temporary, i was waiting for my locline to come in and wanted to go ahead and check for leaks.
https://photos.app.goo.gl/SuTy4foVx31BvF5Y2


overall i am pretty happy with how it is all turning out. i wish i had done it a little differently and made the stand big enough to house a 40 breeder sump as well, but i can live with it. i think this setup should work ok. my skimmer section is pretty small, but my tunze 9004 skimmer fits great, i could actually fit 2 of them in there if 1 turns out to not be enough, or worst case scenario i can flip it around and have the tank drain into a small refugium in the first section and place a larger skimmer in the second chamber. i really only wanted the refugium for chaeto anyway, and if i have to move the skimmer i'll just run a chaeto reactor off of my manifold instead.

i purposely left out filter socks as i want the tank to be low maintenance and didnt want to deal with cleaning them all the time. my plan is to do a water change once a week by vacuuming out the sump and whatever has settled in it. if that turns out to not work very well i figure i can easily build a media rack to hold some filter floss, and place it in the baffle between the fuge and the return pump.

didnt get a chance to take pictures of the stand after i painted it. i painted it white inside and out. ill have to get those once i get back in town.
 
Back
Top